Colors
QUICK SUMMARY
- Access your color wheels by tapping the colored dot inside your Tool Wheel.
- You'll find RGB, HSL and COPIC color wheels to choose from.
- Activate the Color Picker to choose color directly from your Canvas.
The Color Wheels

At the center of the Tool Wheel is a circle representing the current color and opacity of your active tool.
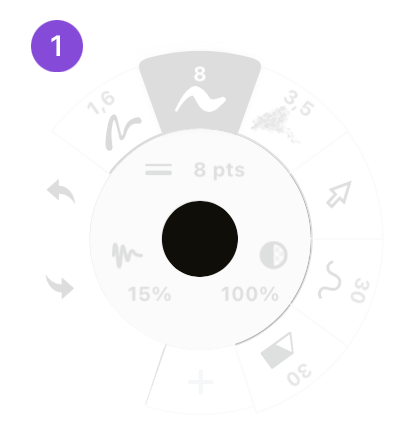
- Tap the color dot in the center of the Tool Wheel to bring up your current color wheel.
When you open the Color Wheel, you will see your current color wheel, as well as additional options in the inner ring.

- Your current color wheel.
- Star button. This will take you to the Colors menu, where you can find and create color palettes (currently available on iOS only).
- Copic Color Wheel. Currently active.
- HSL Color Wheel. Tap to activate.
- RGB Color Wheel. Tap to activate.
- Color Picker. Tap to activate the Color Picker.
The Copic Color Wheel
The Copic color wheel is a set of colors picked by Too Corporation to help artists and designers add consistency to their work. Copic colors are sorted by pigment and saturation, and are represented on the wheel by a letter + number code. Visit here to learn more about Copic colors.

- On the innermost circle, you will see a tonal value spectrum, true black, and white.
- Next is a ring of cool, warm, neutral, and tonal grays.
- Then, the colors in their blending gradients.
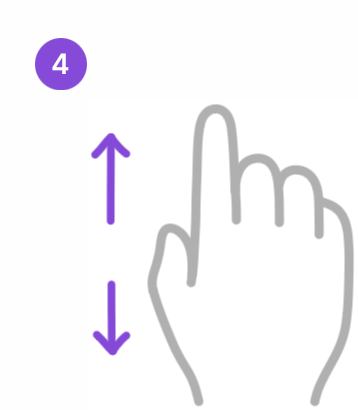
- Drag your finger up or down to turn the wheel.
- Tap a color to set it to your active brush.
The HSL Color Wheel
The HSL color wheel consists of three sliders: Hue, Saturation and Lightness.

- Tap the HSL button to activate the HSL Color Wheel.
- The Hue Slider is the inner slider on the wheel, and it allows you to change the base shade of your color.
- The Saturation Slider is the slider closest to the top of your screen. It appears as a slider with grey on one end and the pure hue on the other. This allows you to adjust the amount of pigment in your color.
- The Lightness Slider is the third slider, located underneath the Saturation Slider. This allows you to change how light or dark your color is, with the lightest being white and the darkest being black.
- To adjust any of these sliders, drag the little circle handles back and forth.
- You can also Tap+Hold on a value to inline edit it directly.
The RGB Color Wheel
The RGB color wheel consists of three sliders: Red, Green and Blue. The RGB color model is an additive color model in which red, green, and blue are added together.

- Tap the RGB button to activate the RGB color wheel.
- The Red Slider is the slider closest to the bottom of your screen. The higher the number, the more red there is in your color.
- The Green Slider is the slider in the middle. The higher the number, the more green there is in your color.
- The Blue Slider is the slider closest to the top of your screen. The higher the number, the more blue there is in your color.
- To adjust any of these sliders, drag the little circle handles back and forth.
- You can also Tap+Hold on a value to inline edit it directly.
The Colors Menu and Color Palettes (iOS only)
In the Colors menu, you can find color values, create custom colors, and customize palettes. You can access the palettes via the Color Palette under the Tool Wheel.

- To access the Colors Menu, Tap+hold the color at the center of the Tool Wheel or tap the star button on the innermost color ring.
In the Colors Menu, you will see:

- Current Color. This shows your current active color. You can tap the color to open whichever color wheel you have active. Tap+Hold+Drag the color dot to add it to any of your color palettes.
- This shows the color values of your current color. You can manually type the COPIC, RGB, HEX and HSB, or Tap+Drag along the spectrums beneath, to change the color.
- In My Palettes are your custom palettes. Tap a palette to activate it on the Canvas. Your selected palettes will appear in the swipeable palette menu under the tool wheel.
- Tap the + button to create a new palette. You can have an infinite number of palettes, and each palette can have up to eight colors.
- At the bottom are the Dynamic Palettes, helpful for choosing matching shades based on your existing colors.
Adding Colors to a Palette

- To add a color to a palette, Tap+Hold+Drag the color. You will see a color dot pop up from the menu. You can drag colors from:
- Current color dot
- Copic Color Wheel
- Other Palette
- Drop the color in the palette you want, when you see the + icon.
- To rearrange colors in a palette, Tap+Hold+Drag the color, and move it to its new place.

- To remove a color from a palette, Tap+Hold+Drag the color away from the palette and release it.
Using Color Palettes on Canvas (iOS only)

- In the Colors Menu, choose which palettes you want to activate by tapping them.

- On your Canvas, your active palettes will appear below the Tool Wheel. Tap a color to set it as your active tool's color.

- You can swipe between your active Color Palettes.

- To access the color blending mode, Tap+Hold+Drag on the color palette to choose a color.
How to Drag & Drop Colors into Concepts (iOS only)
You can drag colors straight into your color palette from apps that support Drag & Drop. Note that the interactions will differ between apps.

- Open Concepts and your other app in split-screen mode.
- Start dragging the color from the other app with Tap+Hold+Drag.

- Drag & Drop the color straight to your Concepts color palette and release when you see the + icon.
Sharing Color Palettes
Live Sharing a Color Palette (iOS only)
If you have a Concepts subscription, you can share your palettes with anyone who has a free Concepts account. Shared palettes are read-only and non-editable by anyone except the owner. Any change you make to a palette will update live on the accounts you have shared your palette with. We recommend naming your palette before sharing it. (Please note that sharing and receiving palettes is only available on iOS.)

- Tap+Hold the palette you wish to share.
- Tap Share in the popup that appears.

- In the Palette Sharing screen, you can tap Share to directly share the palette from your device.
- You can also copy the link to your palette and share it via email.
- If at any point you want to unshare your Palette, tap Unshare.
Color Picker

Concepts' Color Picker can be used to select a color from the screen and also to set the properties of a particular stroke.

- To start using the Color Picker, tap the Color Picker icon in the inner circle of the Color Wheel.
- You can also Tap+Hold on the canvas to bring up the Selection menu, and toggle to the Color Picker.

- When you drag the Color Picker on canvas, the crosshairs at the center of the Color Picker show you where the color is picked from.
- The bottom half of the circle around the Color Picker shows the currently selected color of your tool.
- The top half of the circle shows the color your Color Picker is currently touching.
- To pick the color the picker is touching, just lift your finger or stylus off the screen.
There are a few additional options for the Color Picker.
- Alpha On/Off toggle. When Alpha is on, Color Picker detects color and opacity, ignoring the background. When Alpha is off, color is picked at 100% opacity and includes the background.
- Brush Type. You can tap the Brush Type icon to pick the properties from the stroke to your currently active brush slot.