Concepts is an infinite, flexible creative tool for all your good ideas. Available on iOS, Windows and Android.
Draw Your Own Hand
Learn how to draw your own hand in this tutorial adapted from our free Concepts: Classroom Edition iBook.
This article was adapted from our free Concepts: Classroom Edition iBook for students and teachers. This iBook is filled with engaging lessons to help you learn sketching and design basics, while getting up to speed with our vector-based sketching app Concepts. While the iBook is designed to be a companion to the Classroom Edition, everything applies to Concepts, too.
In this lesson, we’ll introduce you to Concepts and show you how — with a little training and determination — anyone can draw!
Part of the Design Cycle is being able to sketch something well enough that you can get to know your idea. How do you get good at drawing something? How do you get good at doing anything?
- Learn about it.
- Try it. (It’s okay to fail miserably!)
- Practice until it becomes comfortable.
Not that designers or artists ever really feel “comfortable” drawing anything… each thing they draw is a brand new drawing, and drawing takes research, experimentation and concentration. But they’ve become comfortable with the steps they need to work through in order to get it “good.” That means with practice and determination, you can do it, too!
In this task, you’ll learn how to draw your own hand based on a photo you take of it. You’ll also learn how to import an image and start sketching with Concepts.
OBJECTIVE: Draw Your Hand Using a Photo
1. Remember, the first part of learning how to draw something is learning about what you’re trying to draw. Let’s start by taking a picture of your hand.
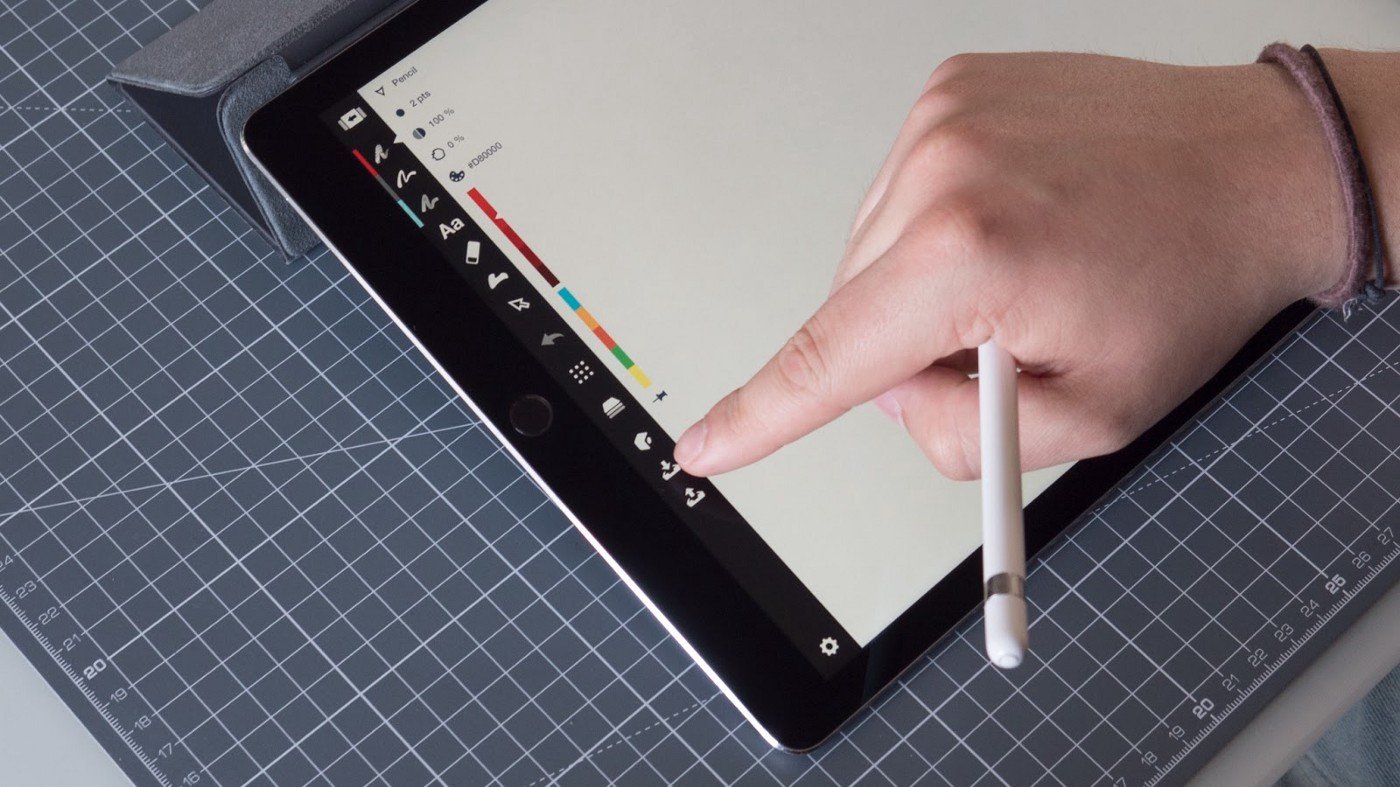
In the Main Toolbar, you’ll find every tool you need to make everything you imagine inside Concepts.
Touch the Import button on the toolbar.
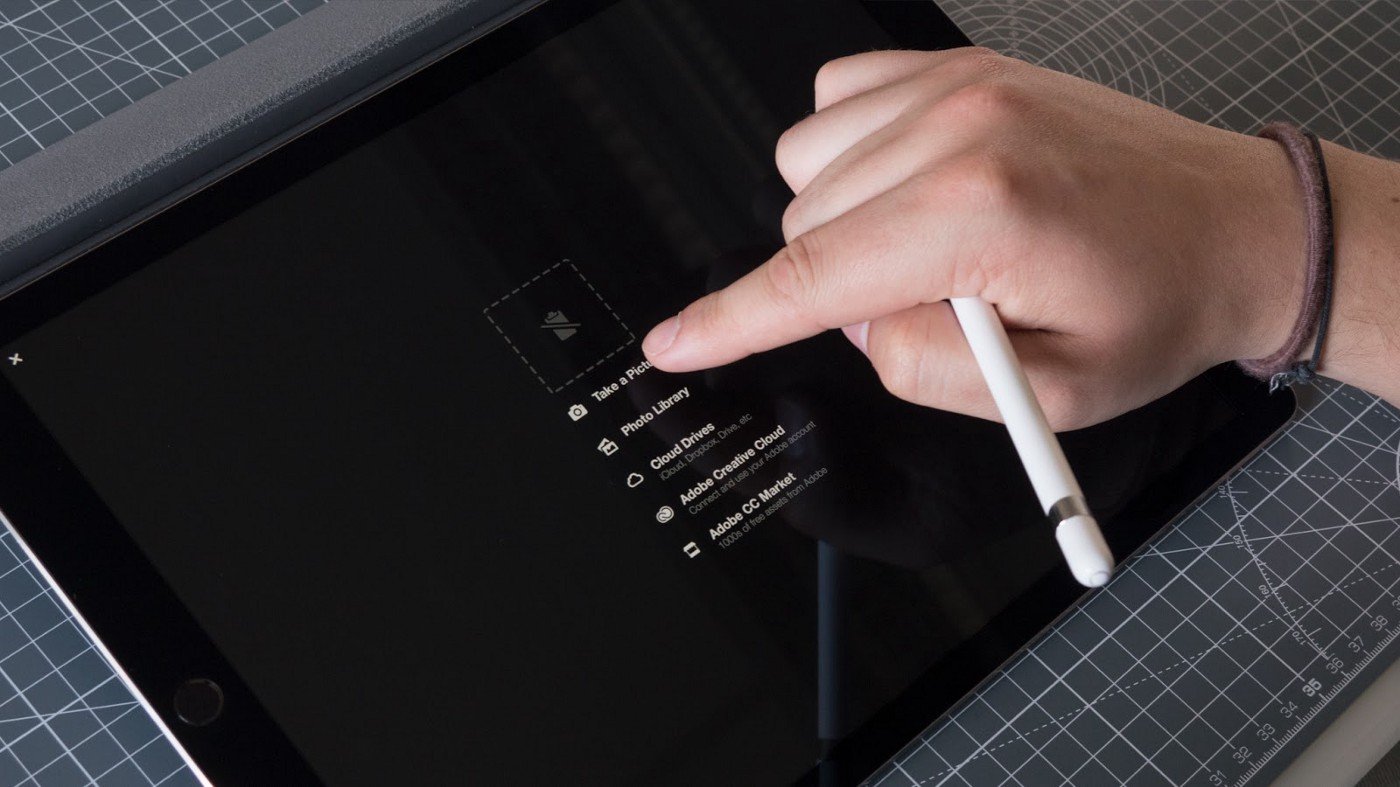
2. Now touch Take a Picture.
3. Take a picture of your hand or have a friend do it for you. Then tap Use Photo in the bottom right corner.
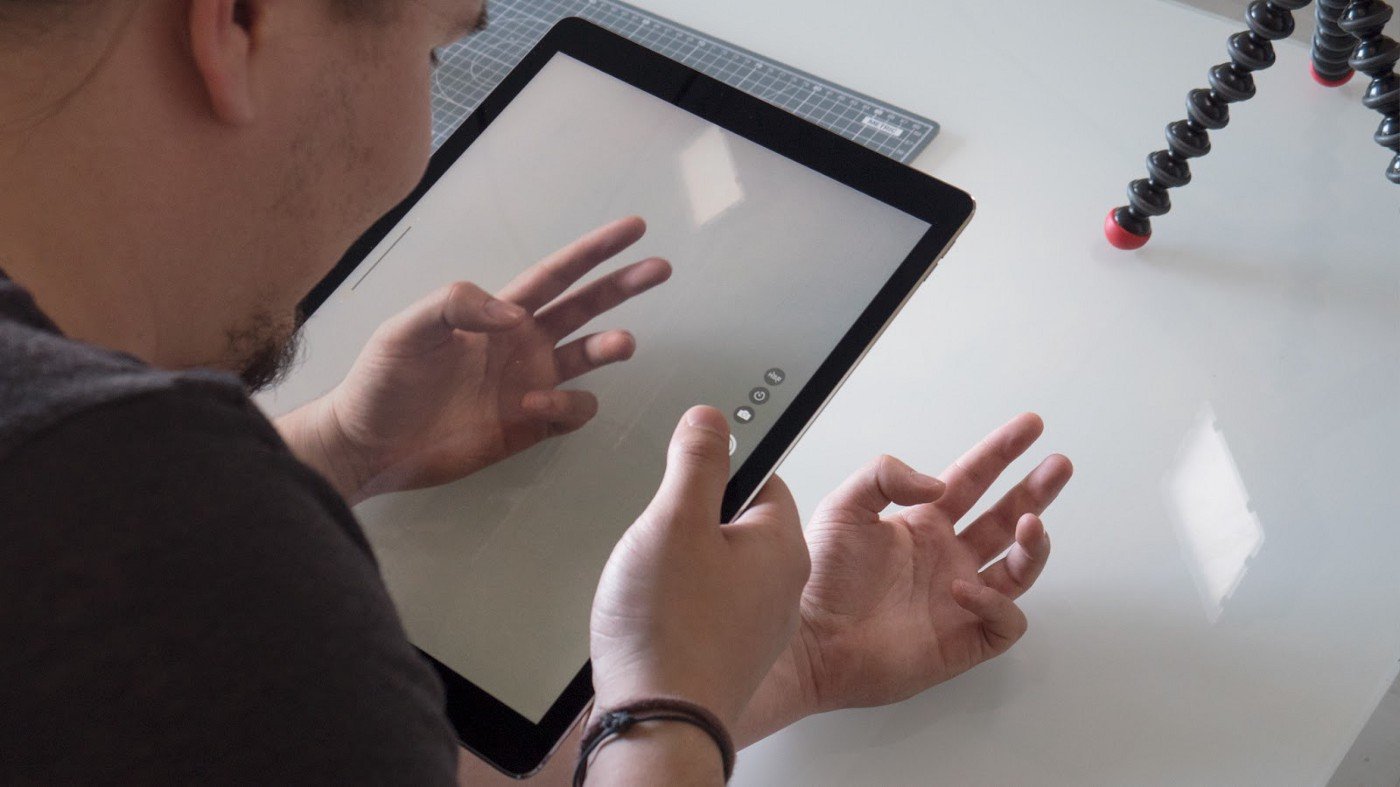
Your photo will appear, ready to go! You can make the photo bigger by spreading two fingers on the screen, smaller by pinching two fingers, or rotate the photo by turning two fingers. Just tap the screen to set it in place.
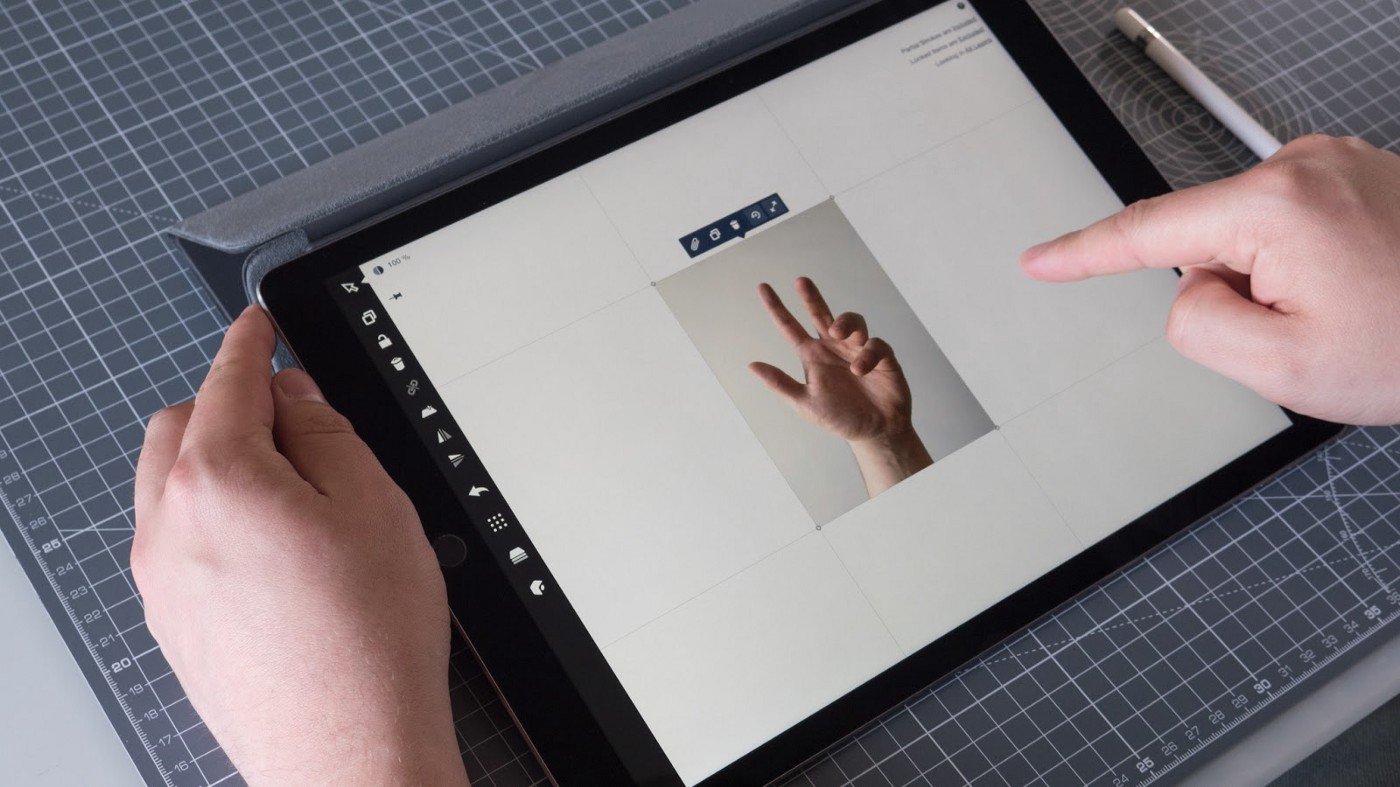
4. Now it’s time to start drawing! Choose a Pencil or Pen tool.
To do this, tap one of the tool buttons on the main toolbar. The very top button brings you back to the Gallery. The tools come next.
Look at the inner menu that appears — this is your customization menu. It lets you customize everything about your tool. At the very top of it, there’s an arrow pointing down with the name of the active tool just next to it. Tap it and select a pen or pencil from the tool wheel.
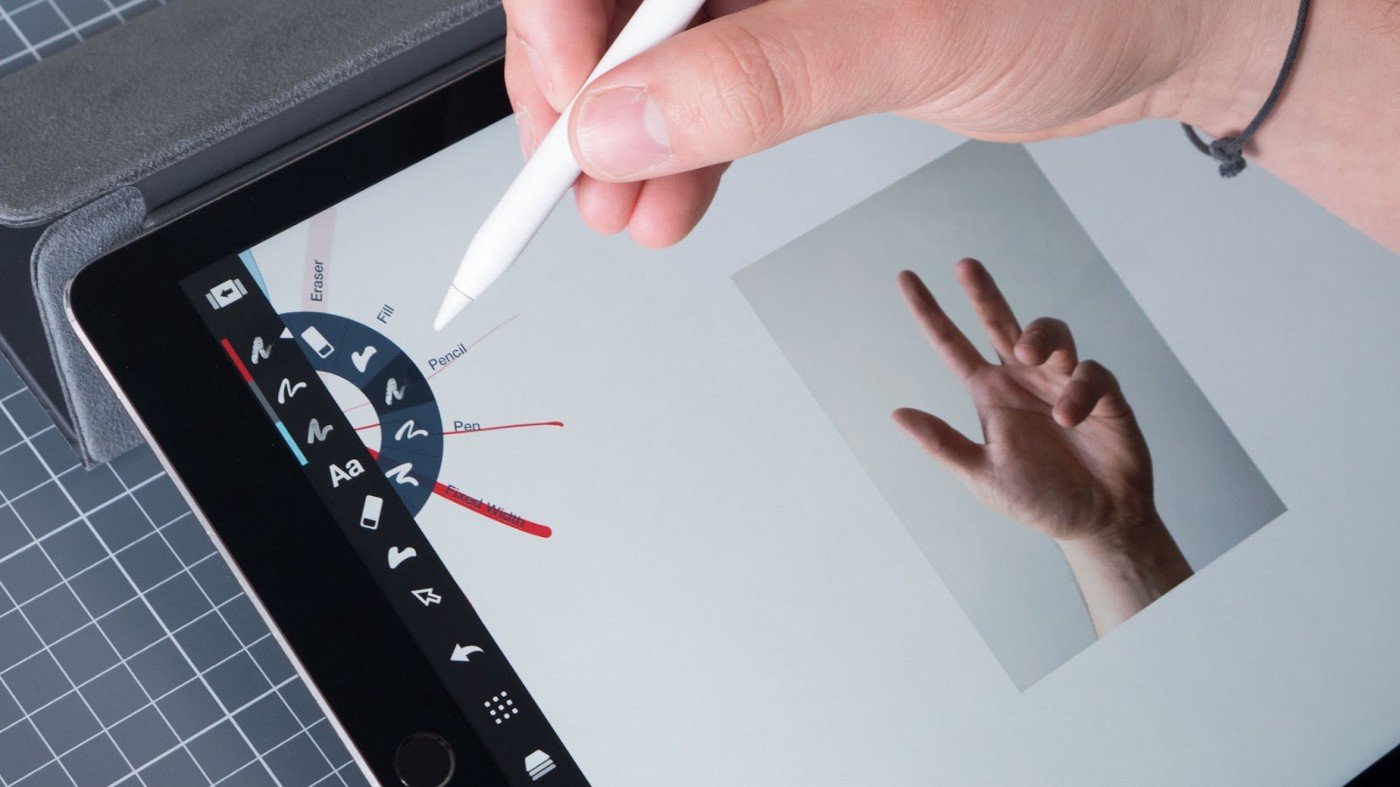
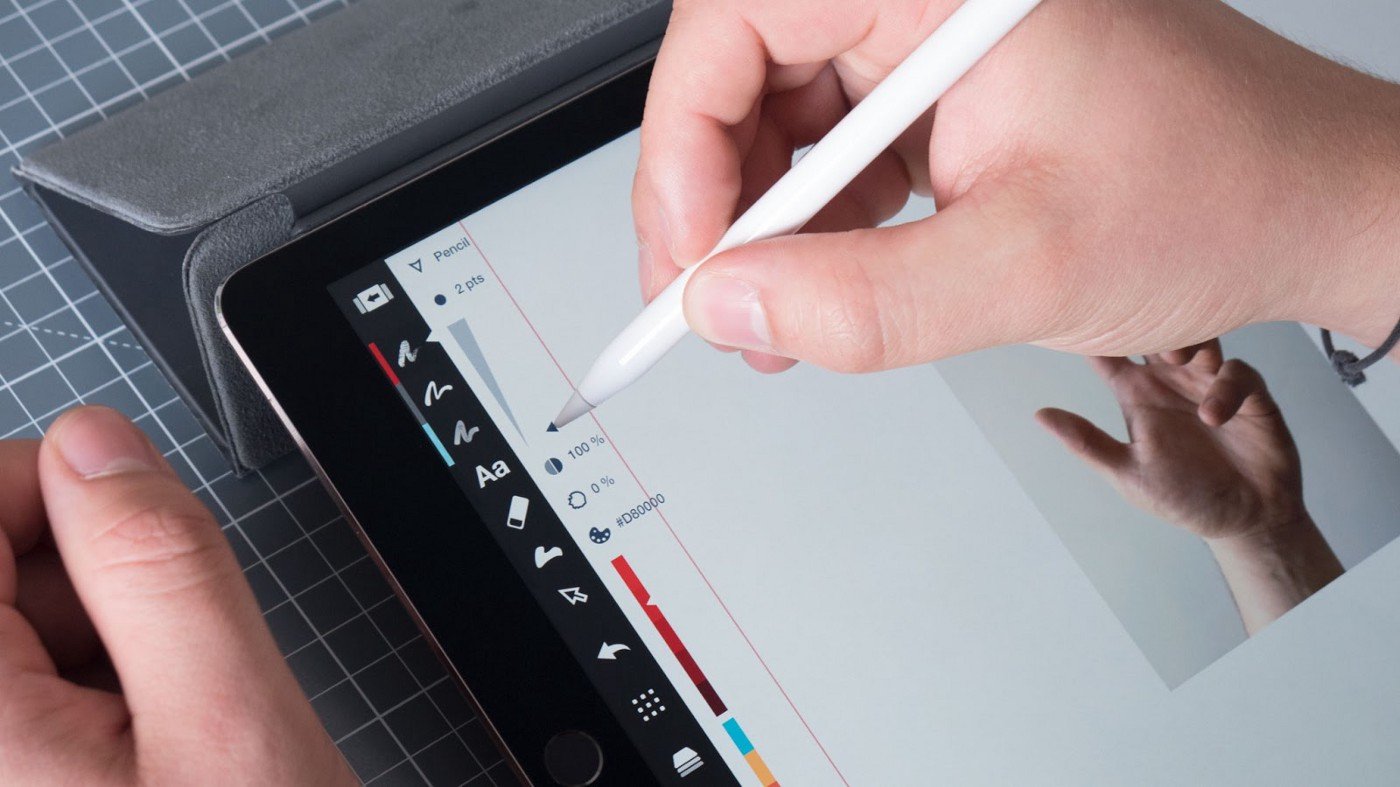
You can make your tool size bigger or smaller by touching the Size Slider on the customization menu. Just drag your finger up or down the slider.
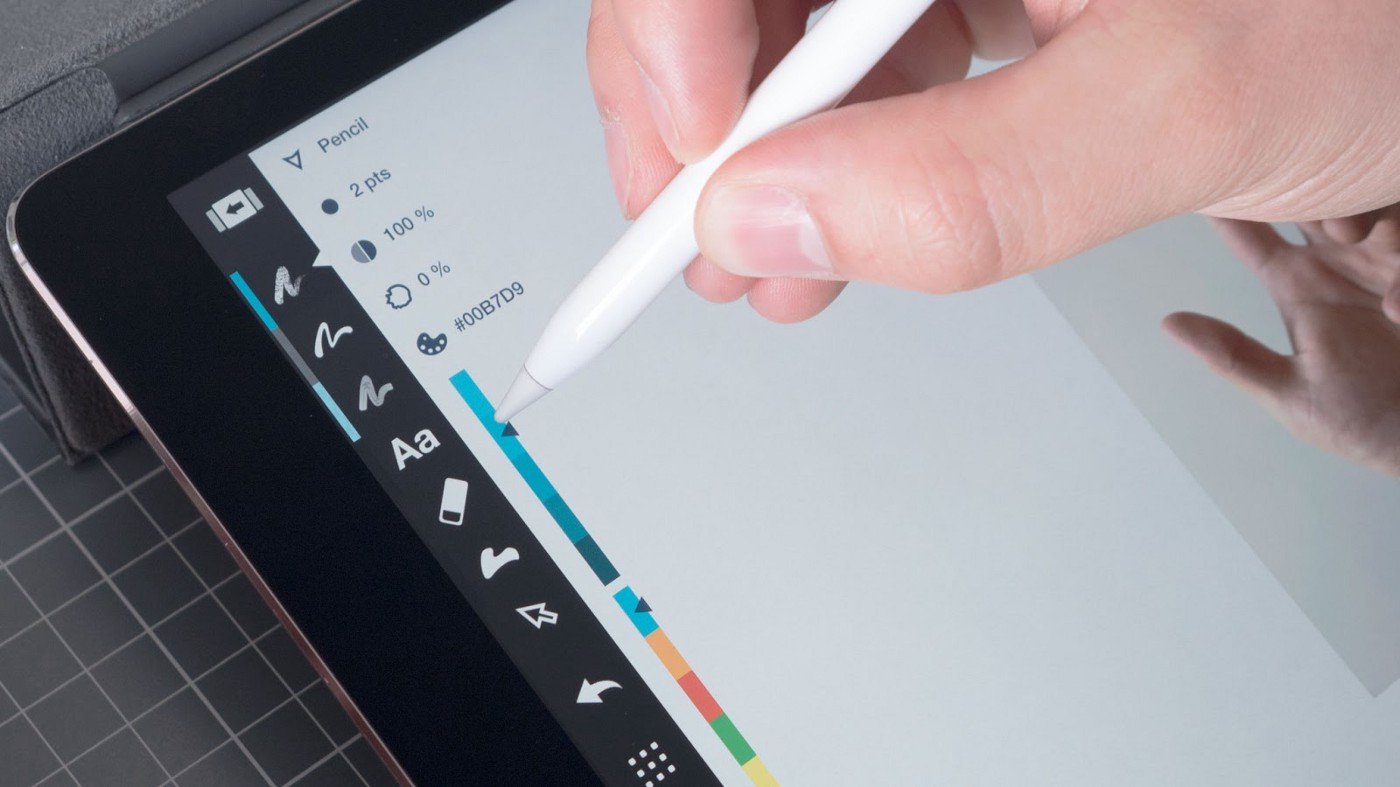
You can choose a color, too. For now, tap the Blue color on the lower Favorites bar.
5. Start tracing the outline of your hand. You can use a stylus or your finger to draw.
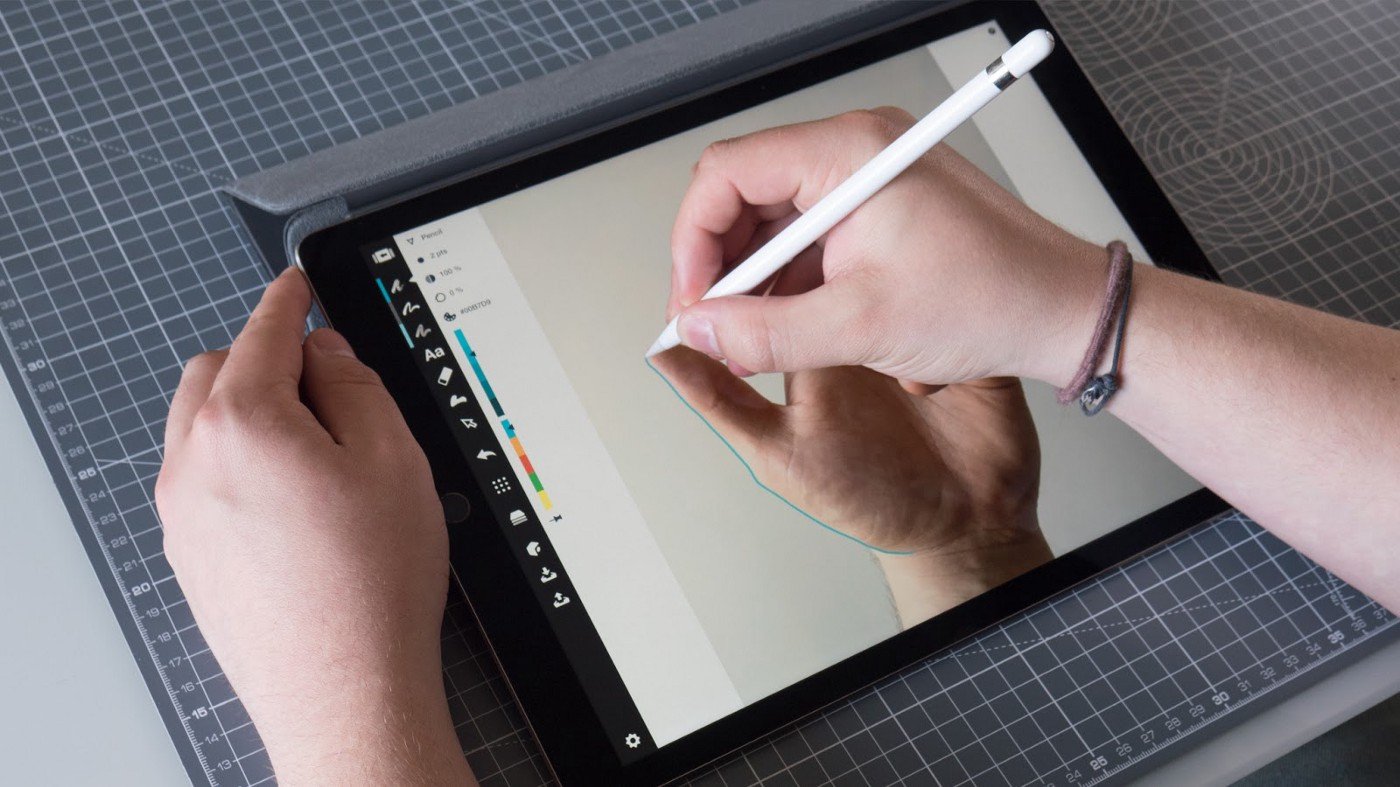
To zoom in and make it easier to trace, spread two fingers apart on your screen. Pinch two fingers together to zoom back out. (If you’ve zoomed in and out in Apple Maps, this is the same gesture.)
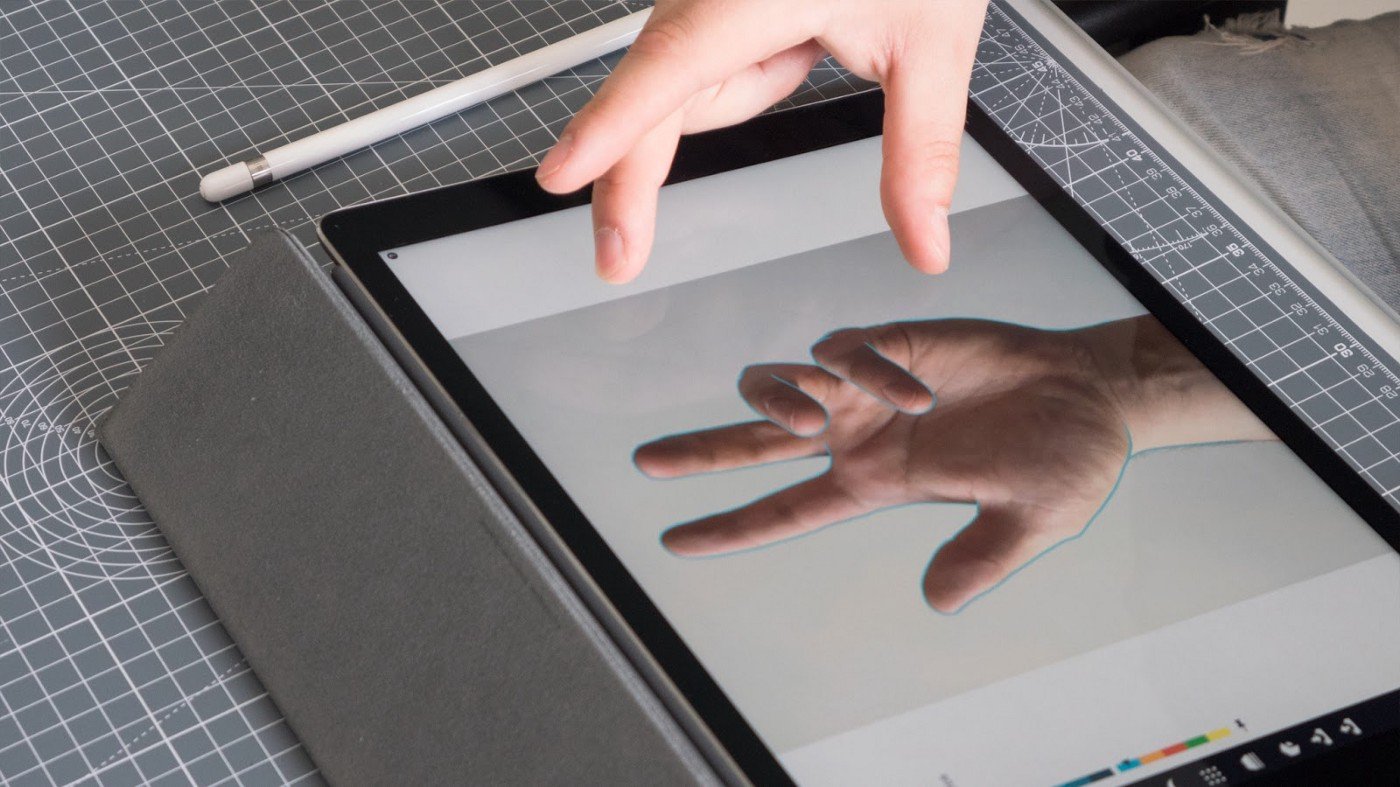
Go ahead and add some of the main details of your hand, like the lines on your palm and in the joints of your fingers.
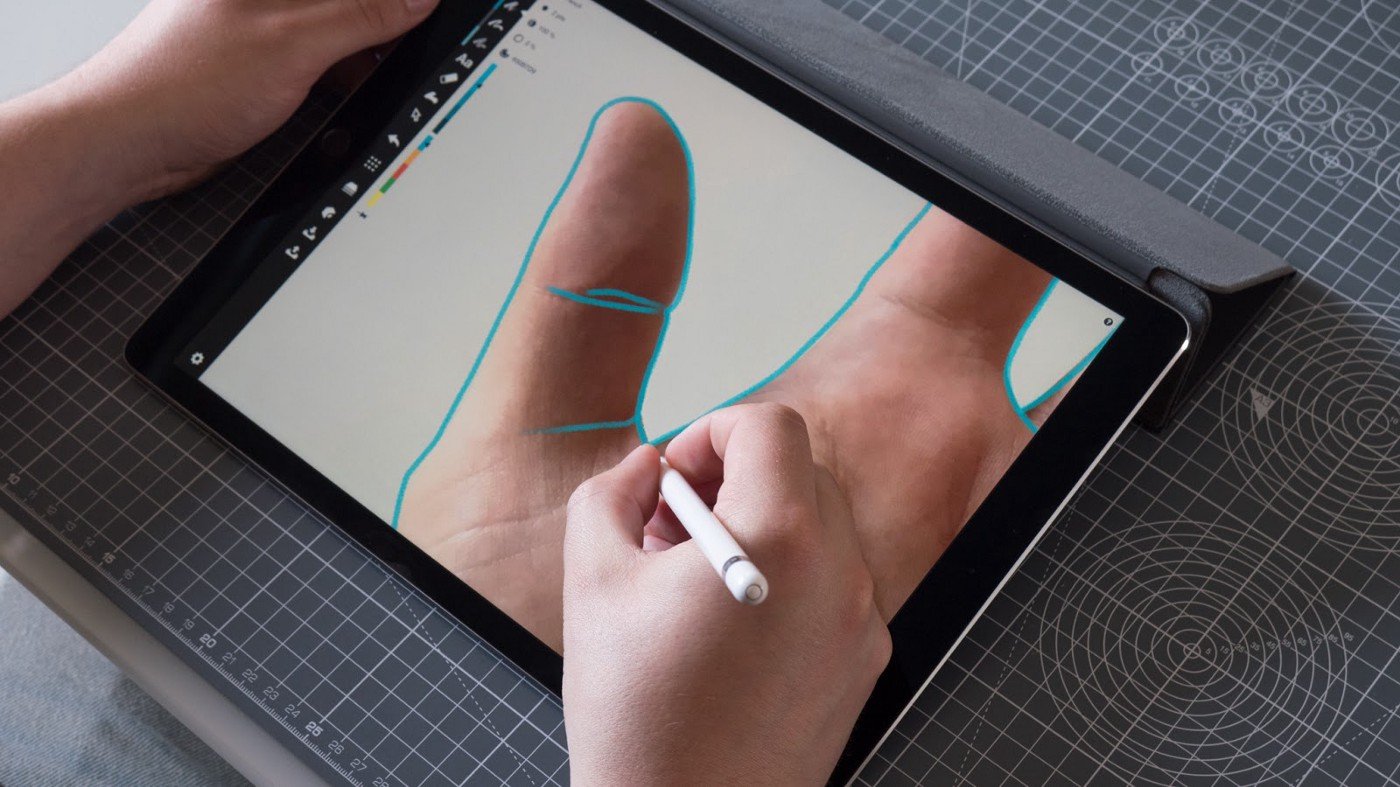
If you make a mistake, tap undo — it’s the button in the middle of the toolbar that has an arrow pointing backwards.
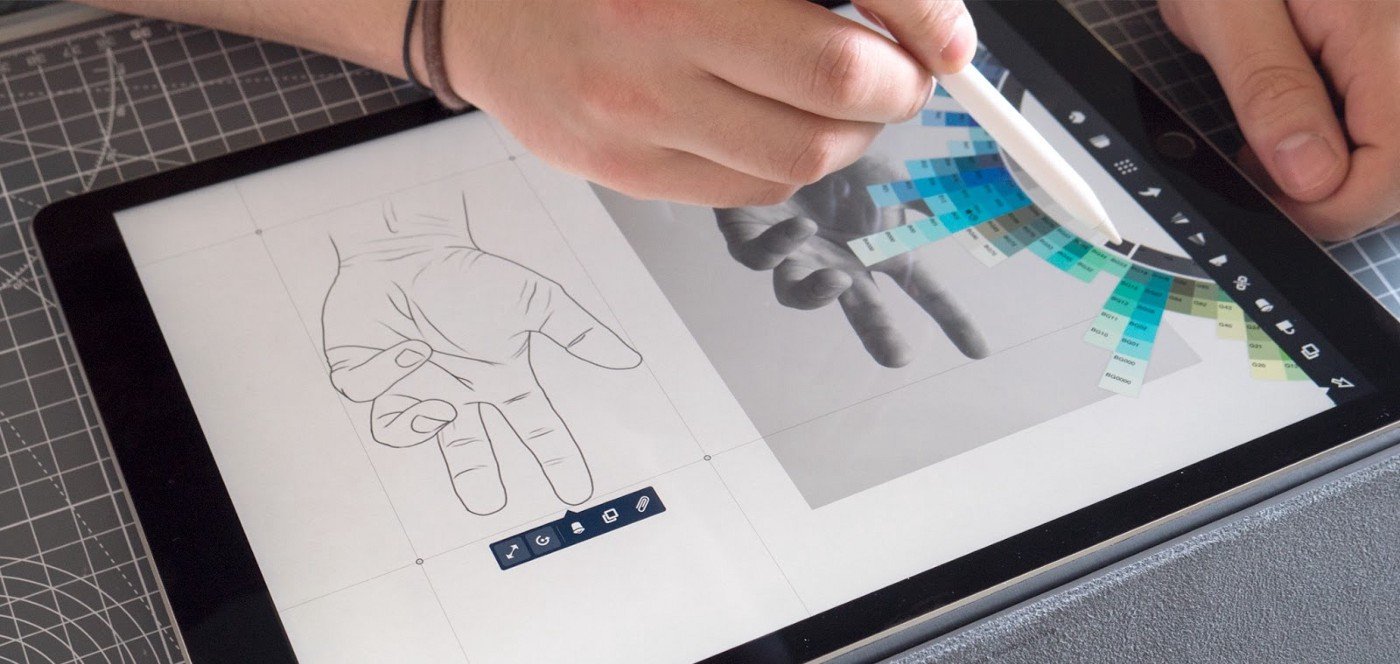
6. When you’re done outlining your hand, it’ll look something like this.
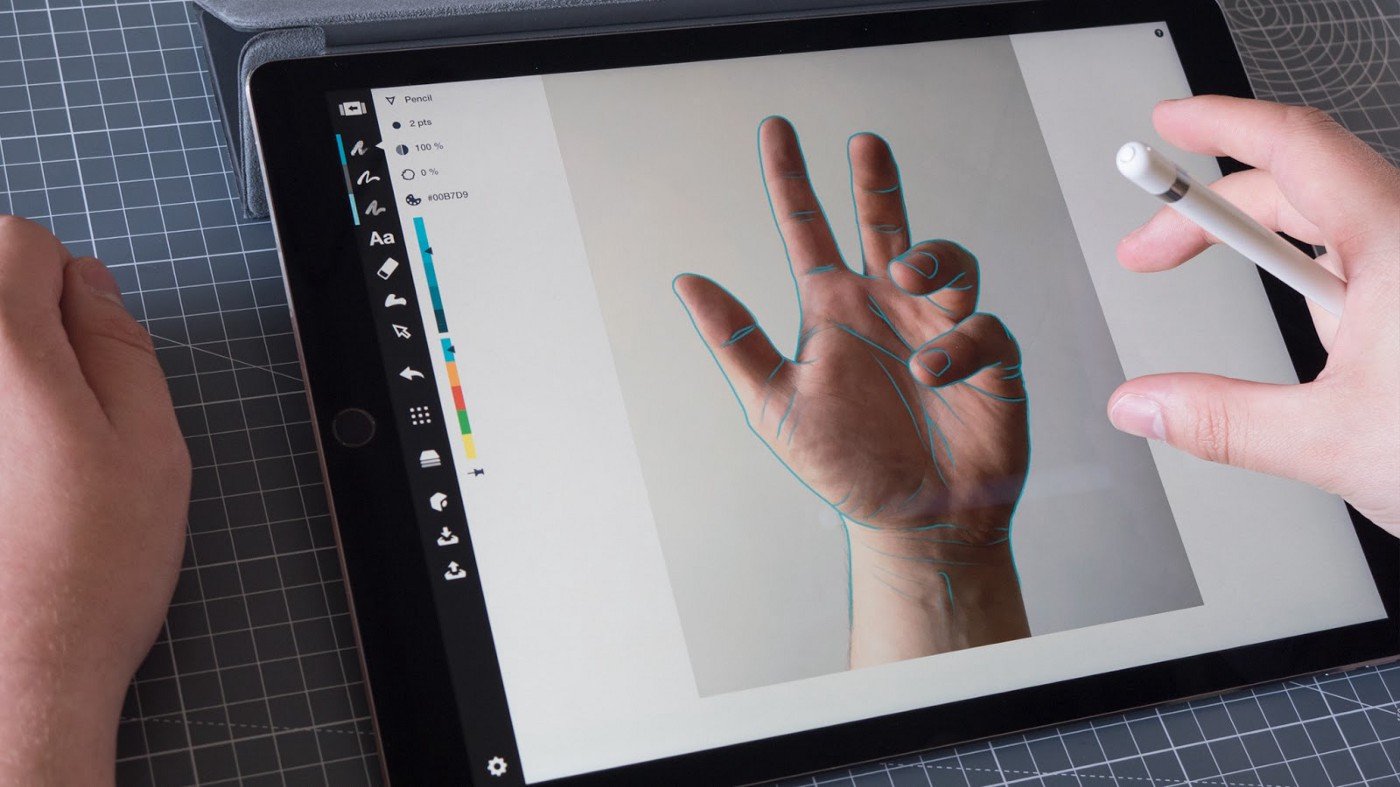
Great sketching!
7. Now let’s move the photo away from your sketch.
Tap-and-hold the photo of your hand with your stylus or finger.
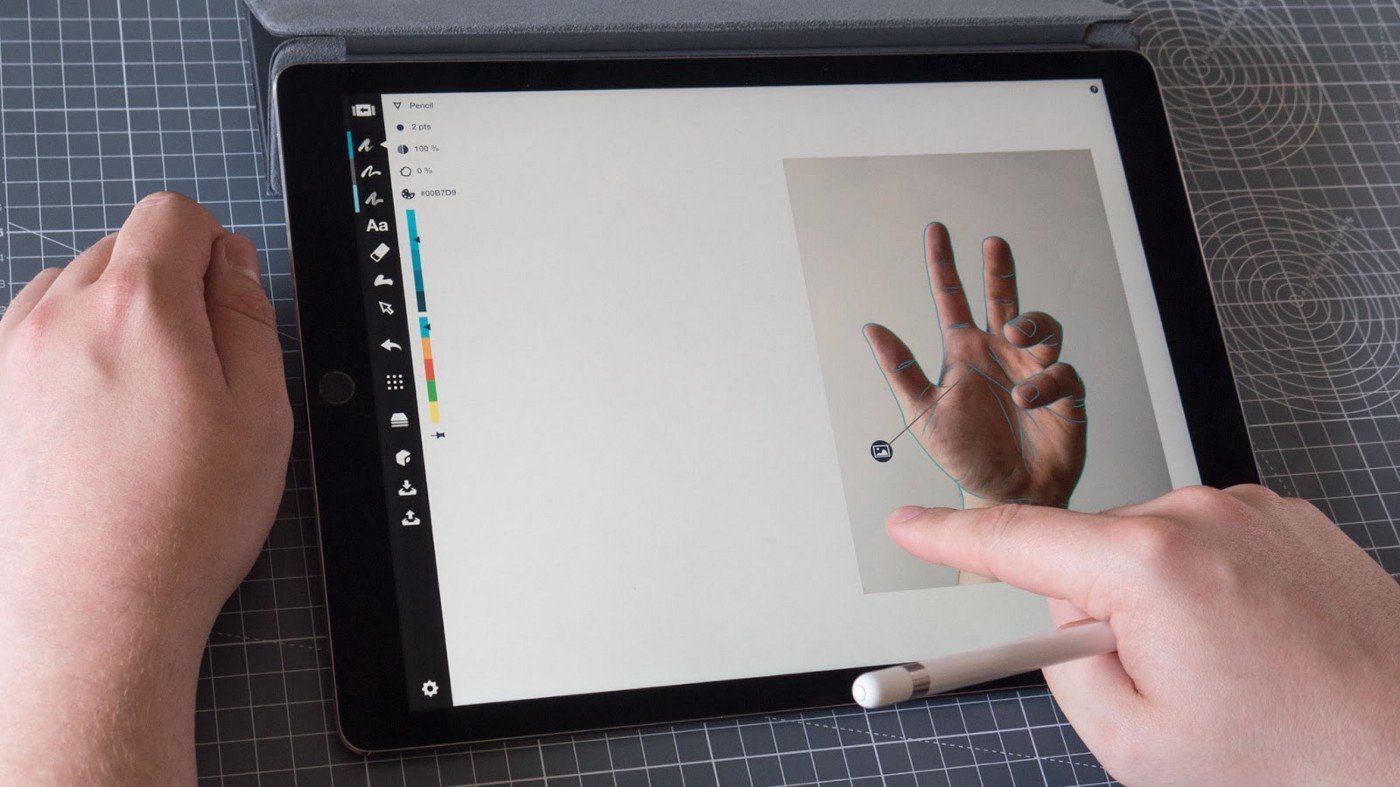
A pin will pop up with an image icon on it. Tap that pin to select your image.
8. Touch the selected image with one finger and drag it off to the side. There’s your awesome sketch!
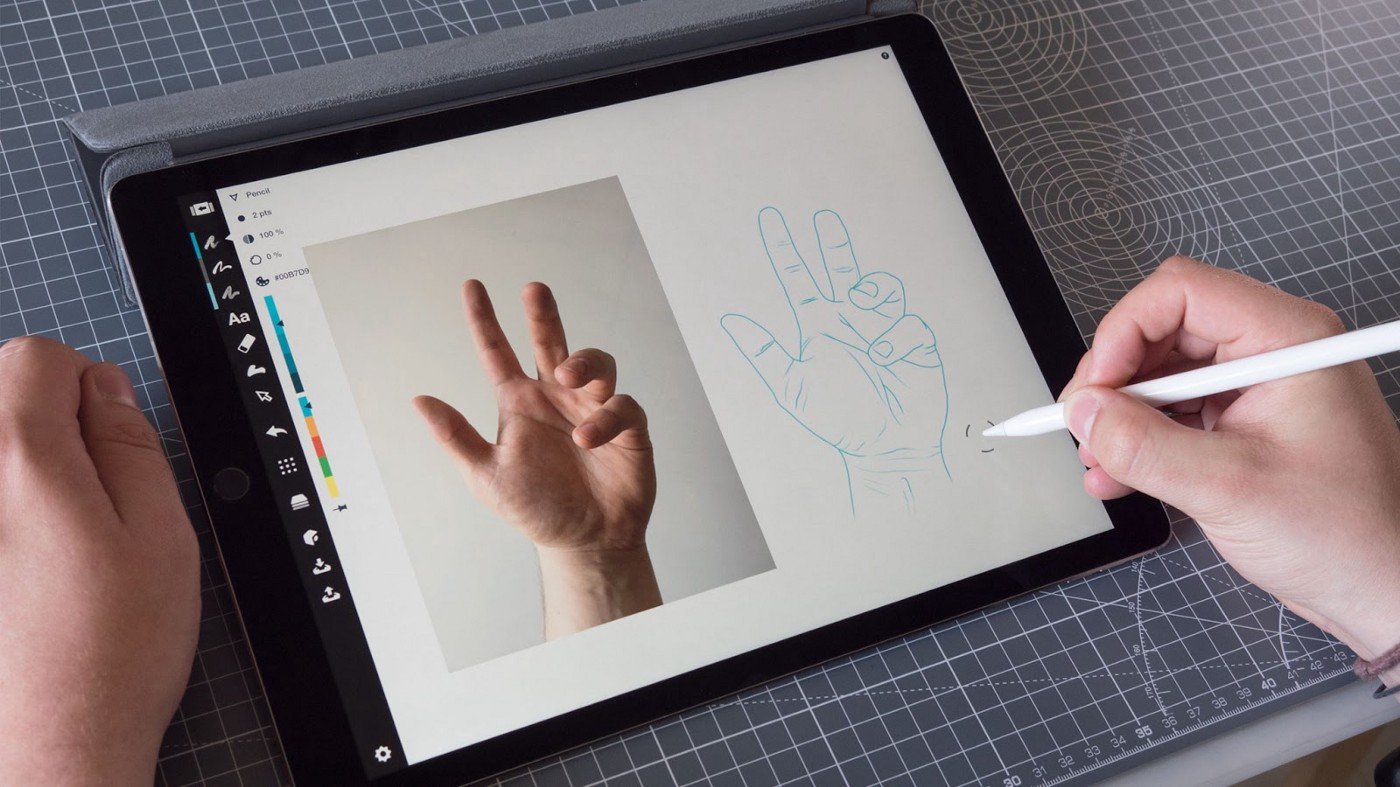
9. Now tap-and-hold the screen near your sketch until the selection circle appears. This means you’re about to select the strokes in your drawing. Drag your finger around the entire drawing to lasso it in blue.
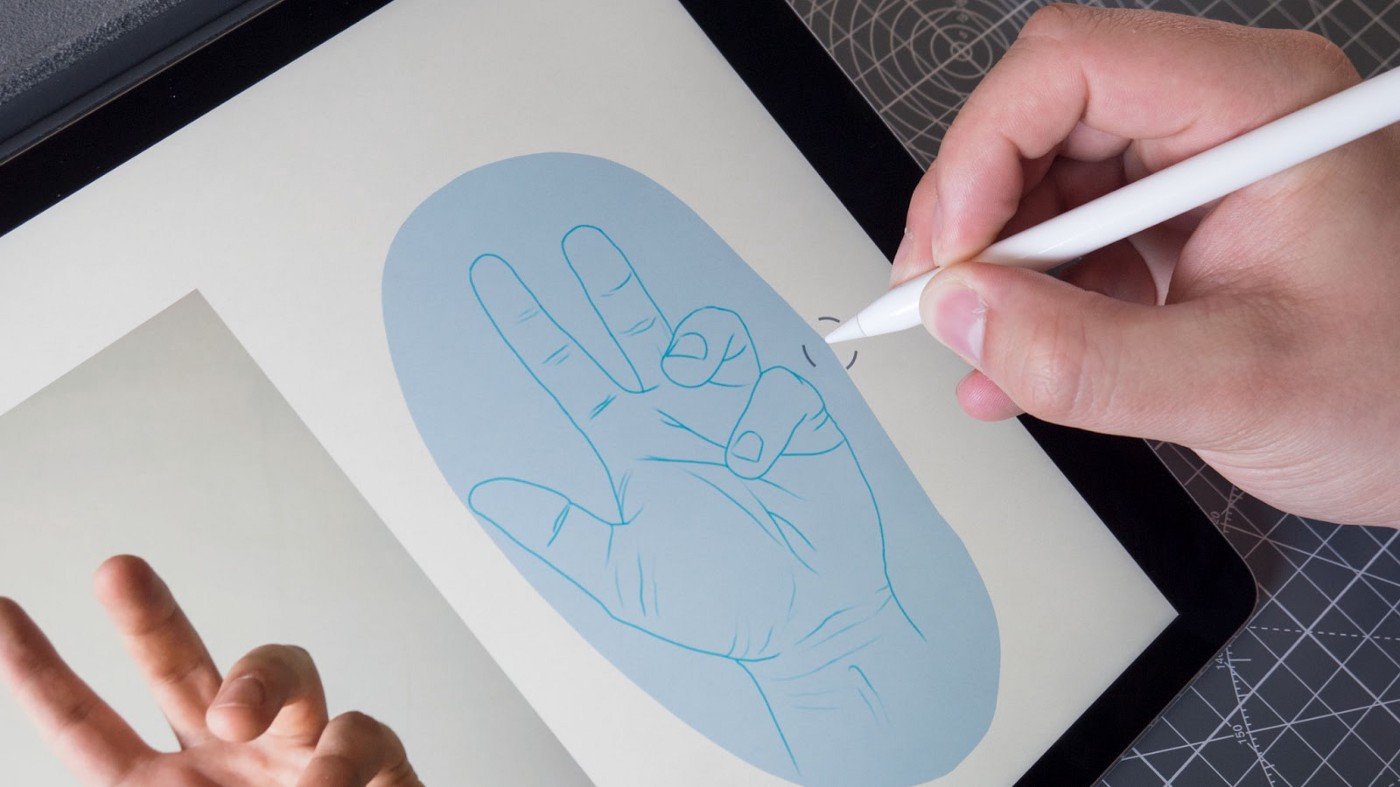
10. Now that your drawing is Selected, you can do a lot of cool things with it! Let’s change it to a different color. Touch the artist’s palette on the customization menu. Choose your favorite color from the COPIC color wheel.

Done? Tap the screen to exit the color wheel. Tap the screen again to exit selection mode.
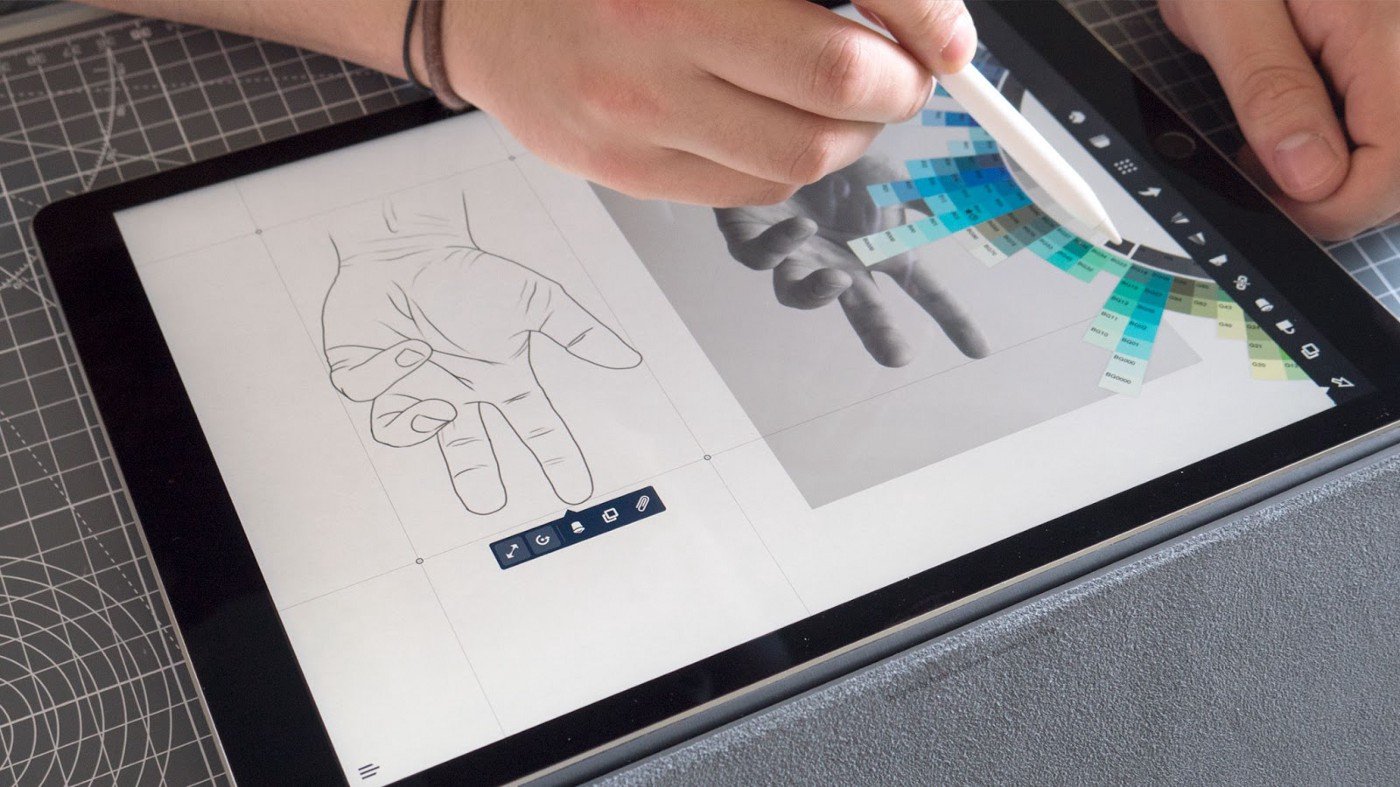
There’s your hand, expertly sketched!
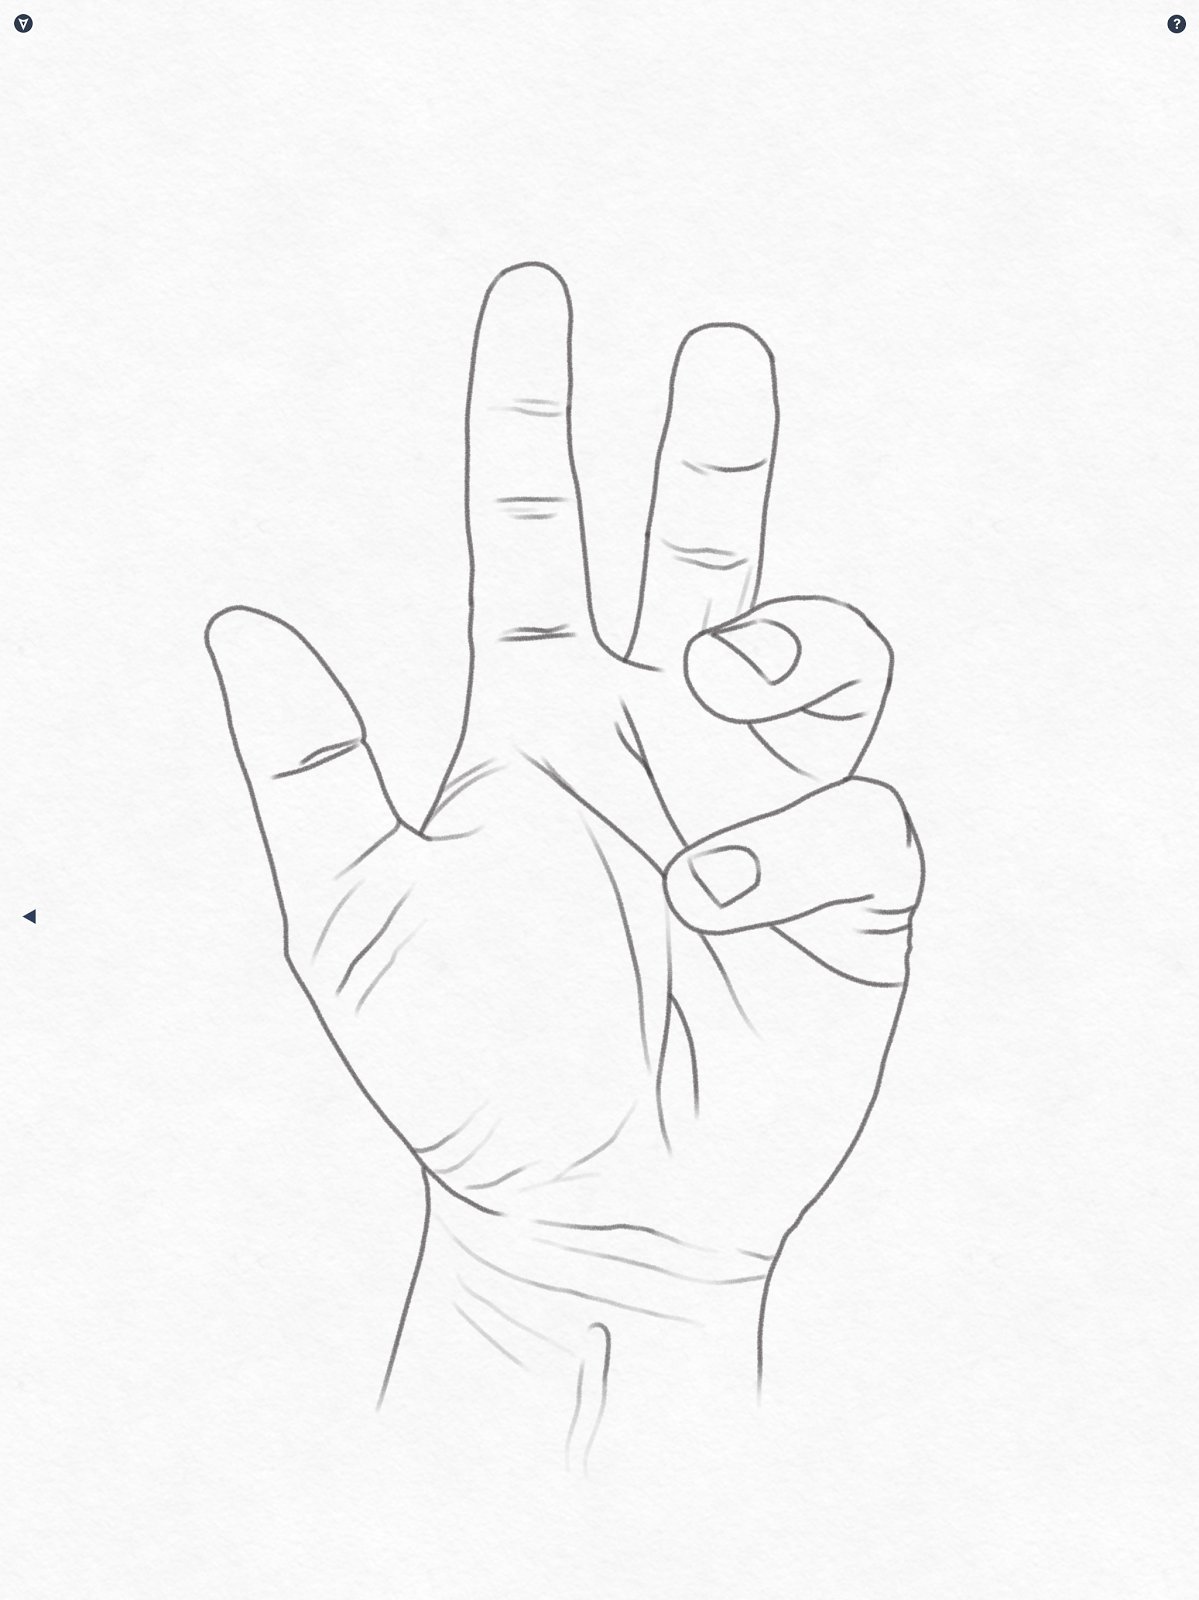
That wasn’t so difficult, was it? You accomplished something! By actively tracing your hand on the photo, your eyes, mind and fingers learned about the landscape of the human hand. You paid close attention to its shape and details — information that will help you when you try to draw a hand again.
Well drawn!
PRACTICE
Take a photo of your hand in a different position and draw it again. But this time, give it a new look. Maybe robotic, animal or plant? Imagine what kind of machinery, fur, scales or textures it might have and sketch them onto the photo of your hand.
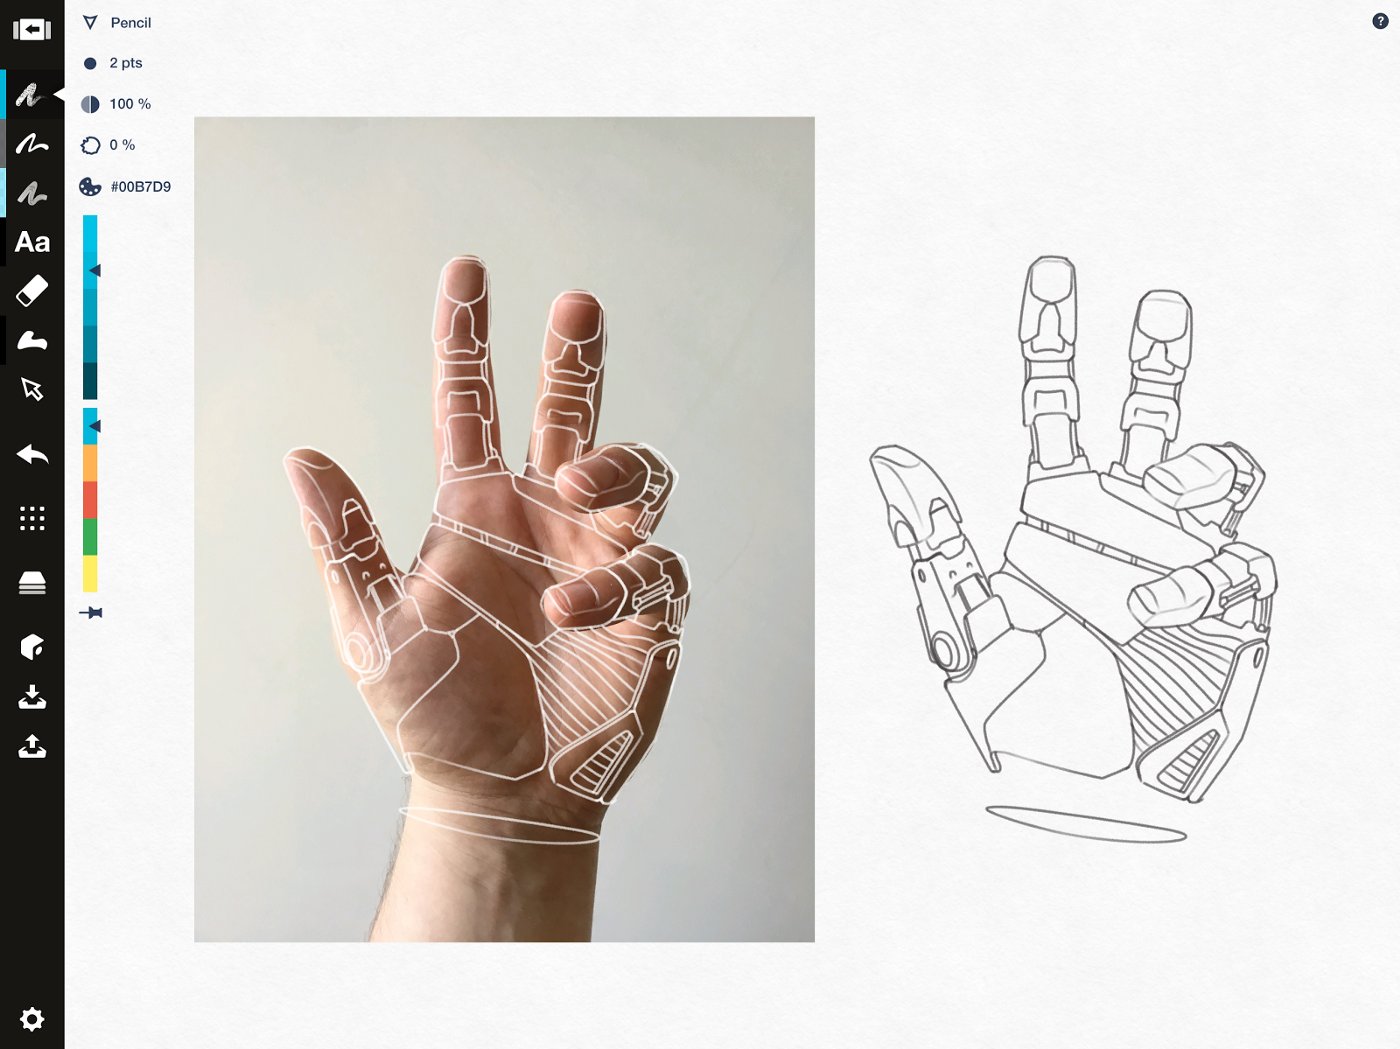

For more lessons, including drawing low-poly art and applying light and shading, download the iBook and use your iPad’s multi-tasking capability to sketch alongside it. Look out for more content coming soon!
Are you interested in using Concepts in your classroom? Contact us at education@concepts.app and we will be happy to help you get started.
Text by Erica Christensen
Illustrations by Lasse Pekkala
Photography by Santtu Kouvonen
Recommended
Learn to Draw Series - Drawing isn't just for artists, it's for everyone. In this free YouTube series, learn to sketch and communicate your ideas with designer Lasse Pekkala.
The Transparency of a Glass Sphere - Learn how to use layers and the soft eraser to draw a glass sphere in this tutorial from artist Mick Fisher.
How to Design in Concepts - Get started using Concepts' Shape Guides, Snap, Selection and Layers as you design a simple object.