Concepts is an infinite, flexible creative tool for all your good ideas. Available on iOS, Windows and Android.
Create a Photo-based Brush
Learn how to turn a photo into a custom brush in Concepts.
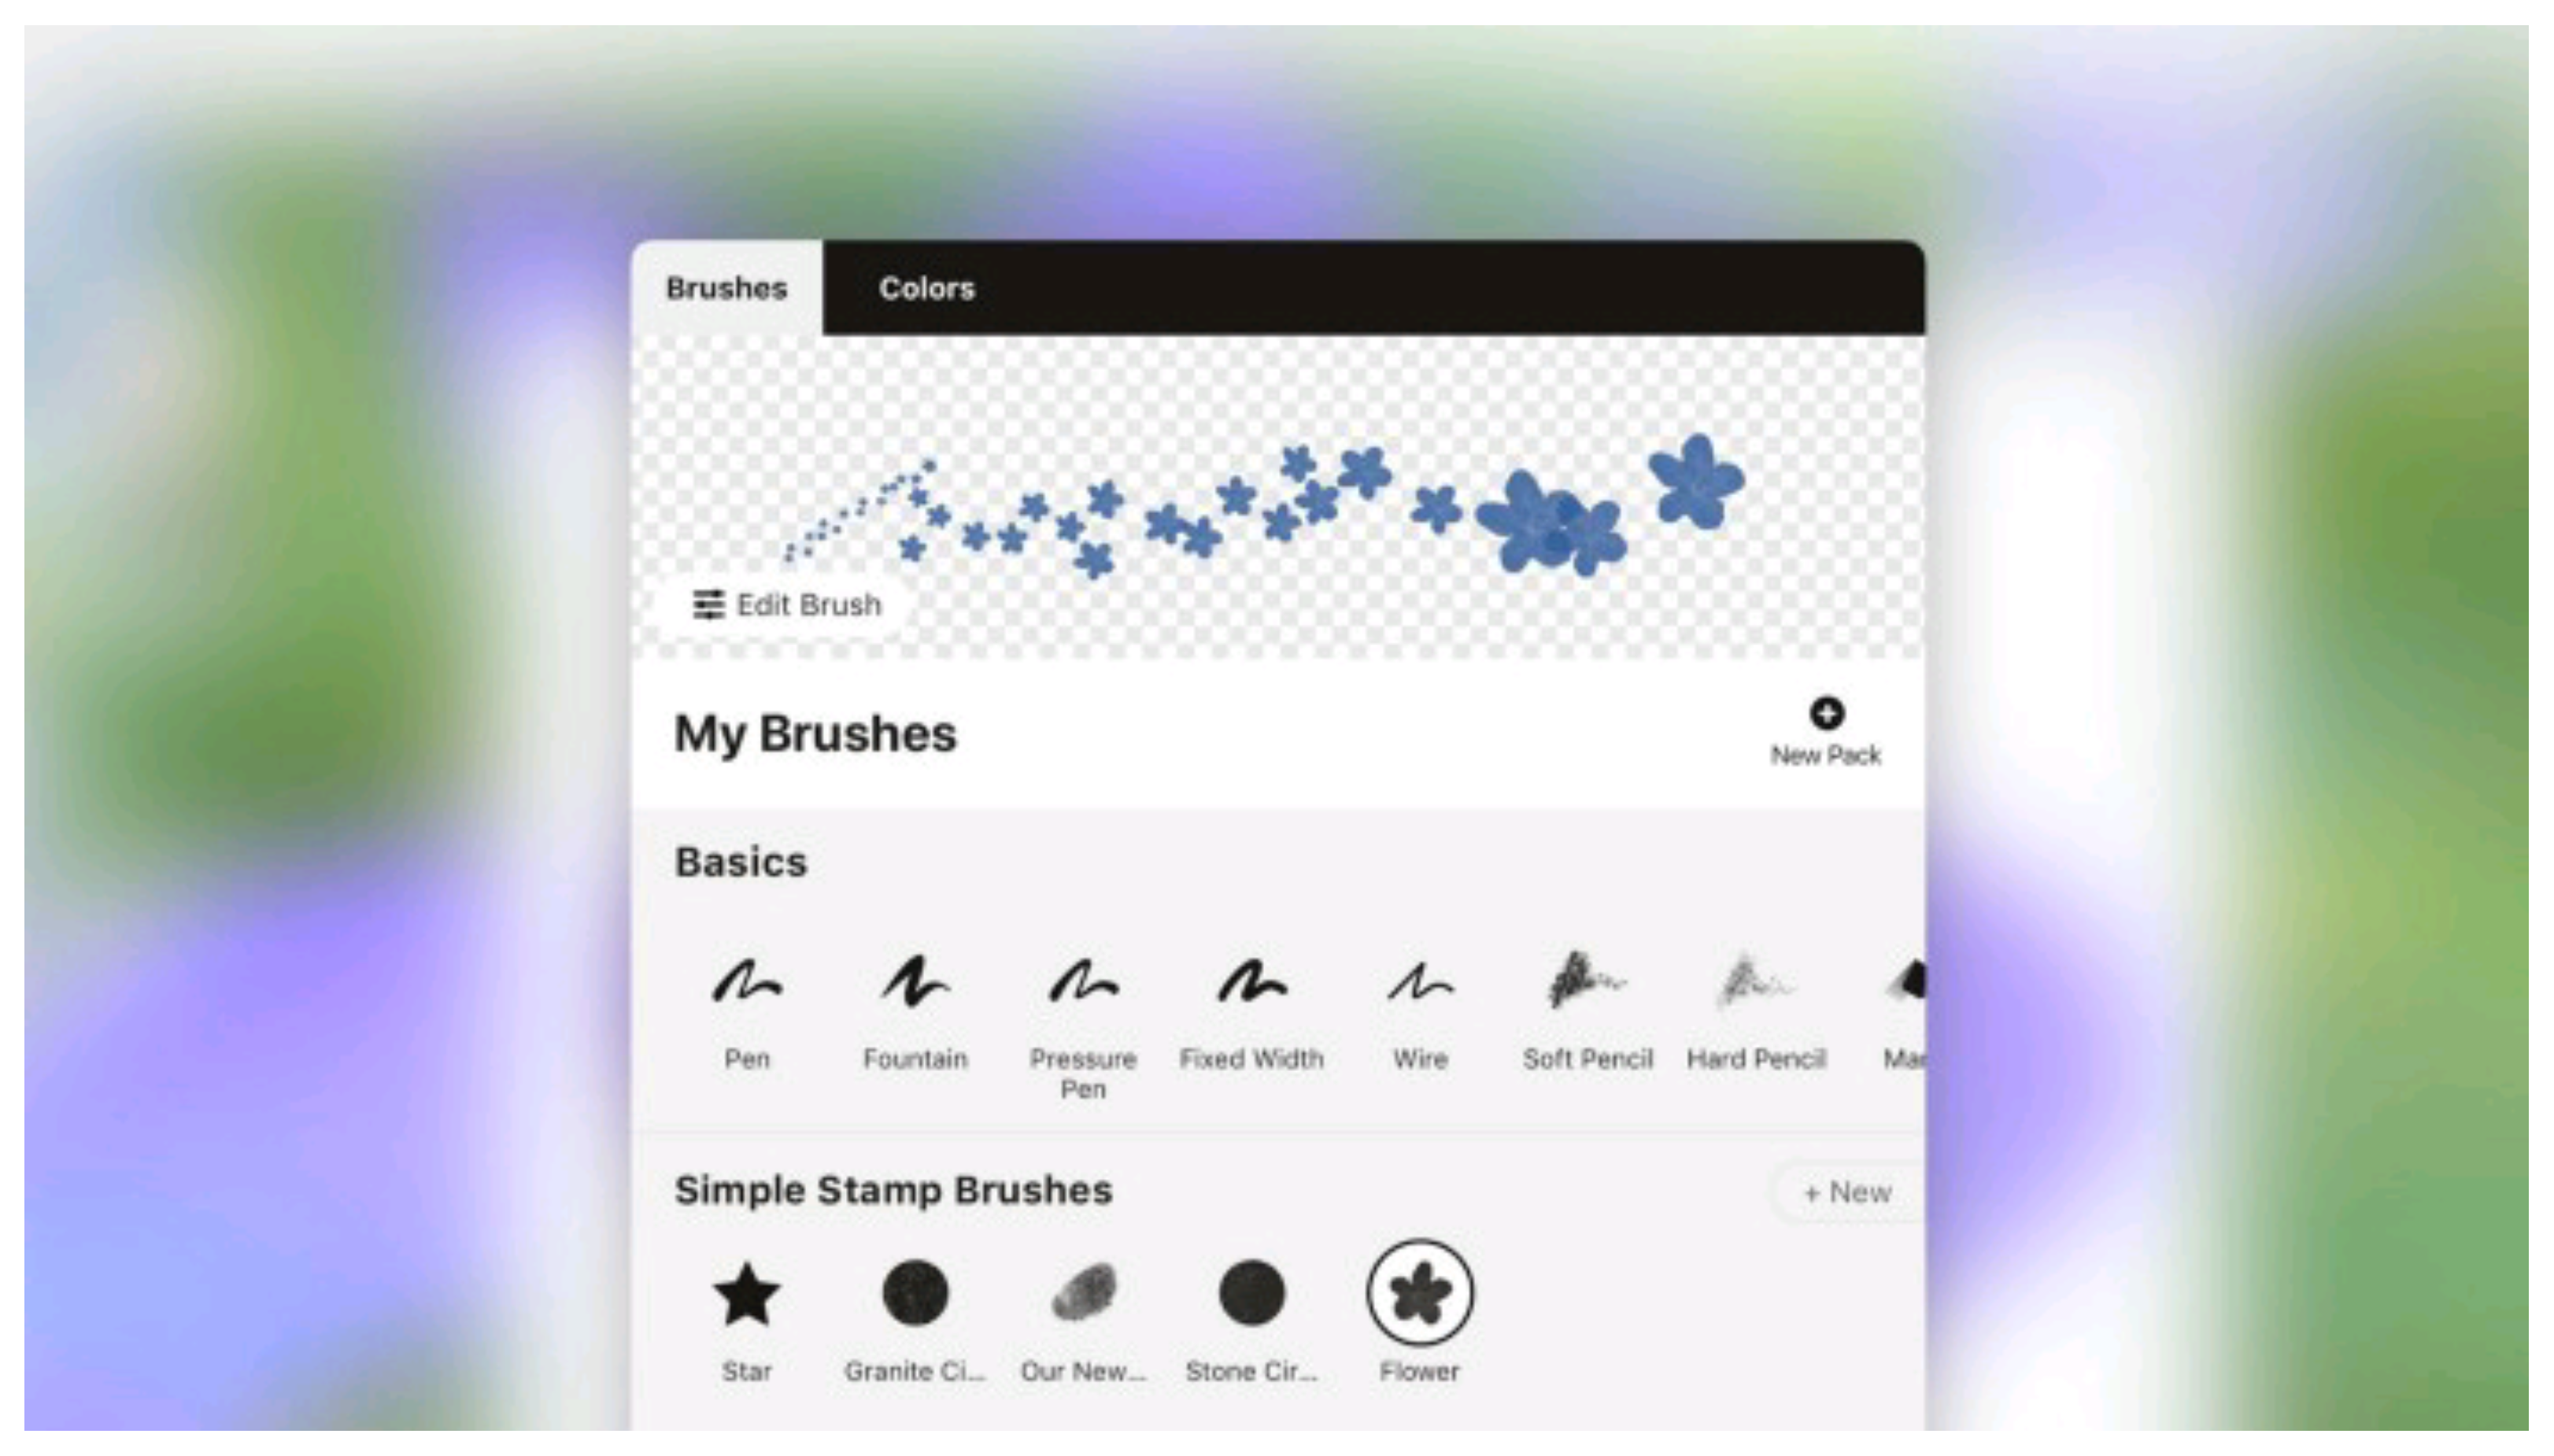
With Concepts' brush editor, you can easily take any image and make it into a personalized brush for your sketches, flyers, invitations, designs or artwork.
In this tutorial, we'll share how you can take a photograph and create a custom brush from it. Use the image below or try importing your own, and feel free to download the finished brush stamp later in the tutorial and make a brush with it.
Creating the Stamp
1. Take a photo.
Take a picture of an object - for example, it can be your face, your friend or a flower. Textural areas or patches also work well.
The best results are clear objects you can see well in the photo, and that you can center within a square-shaped canvas or artboard.
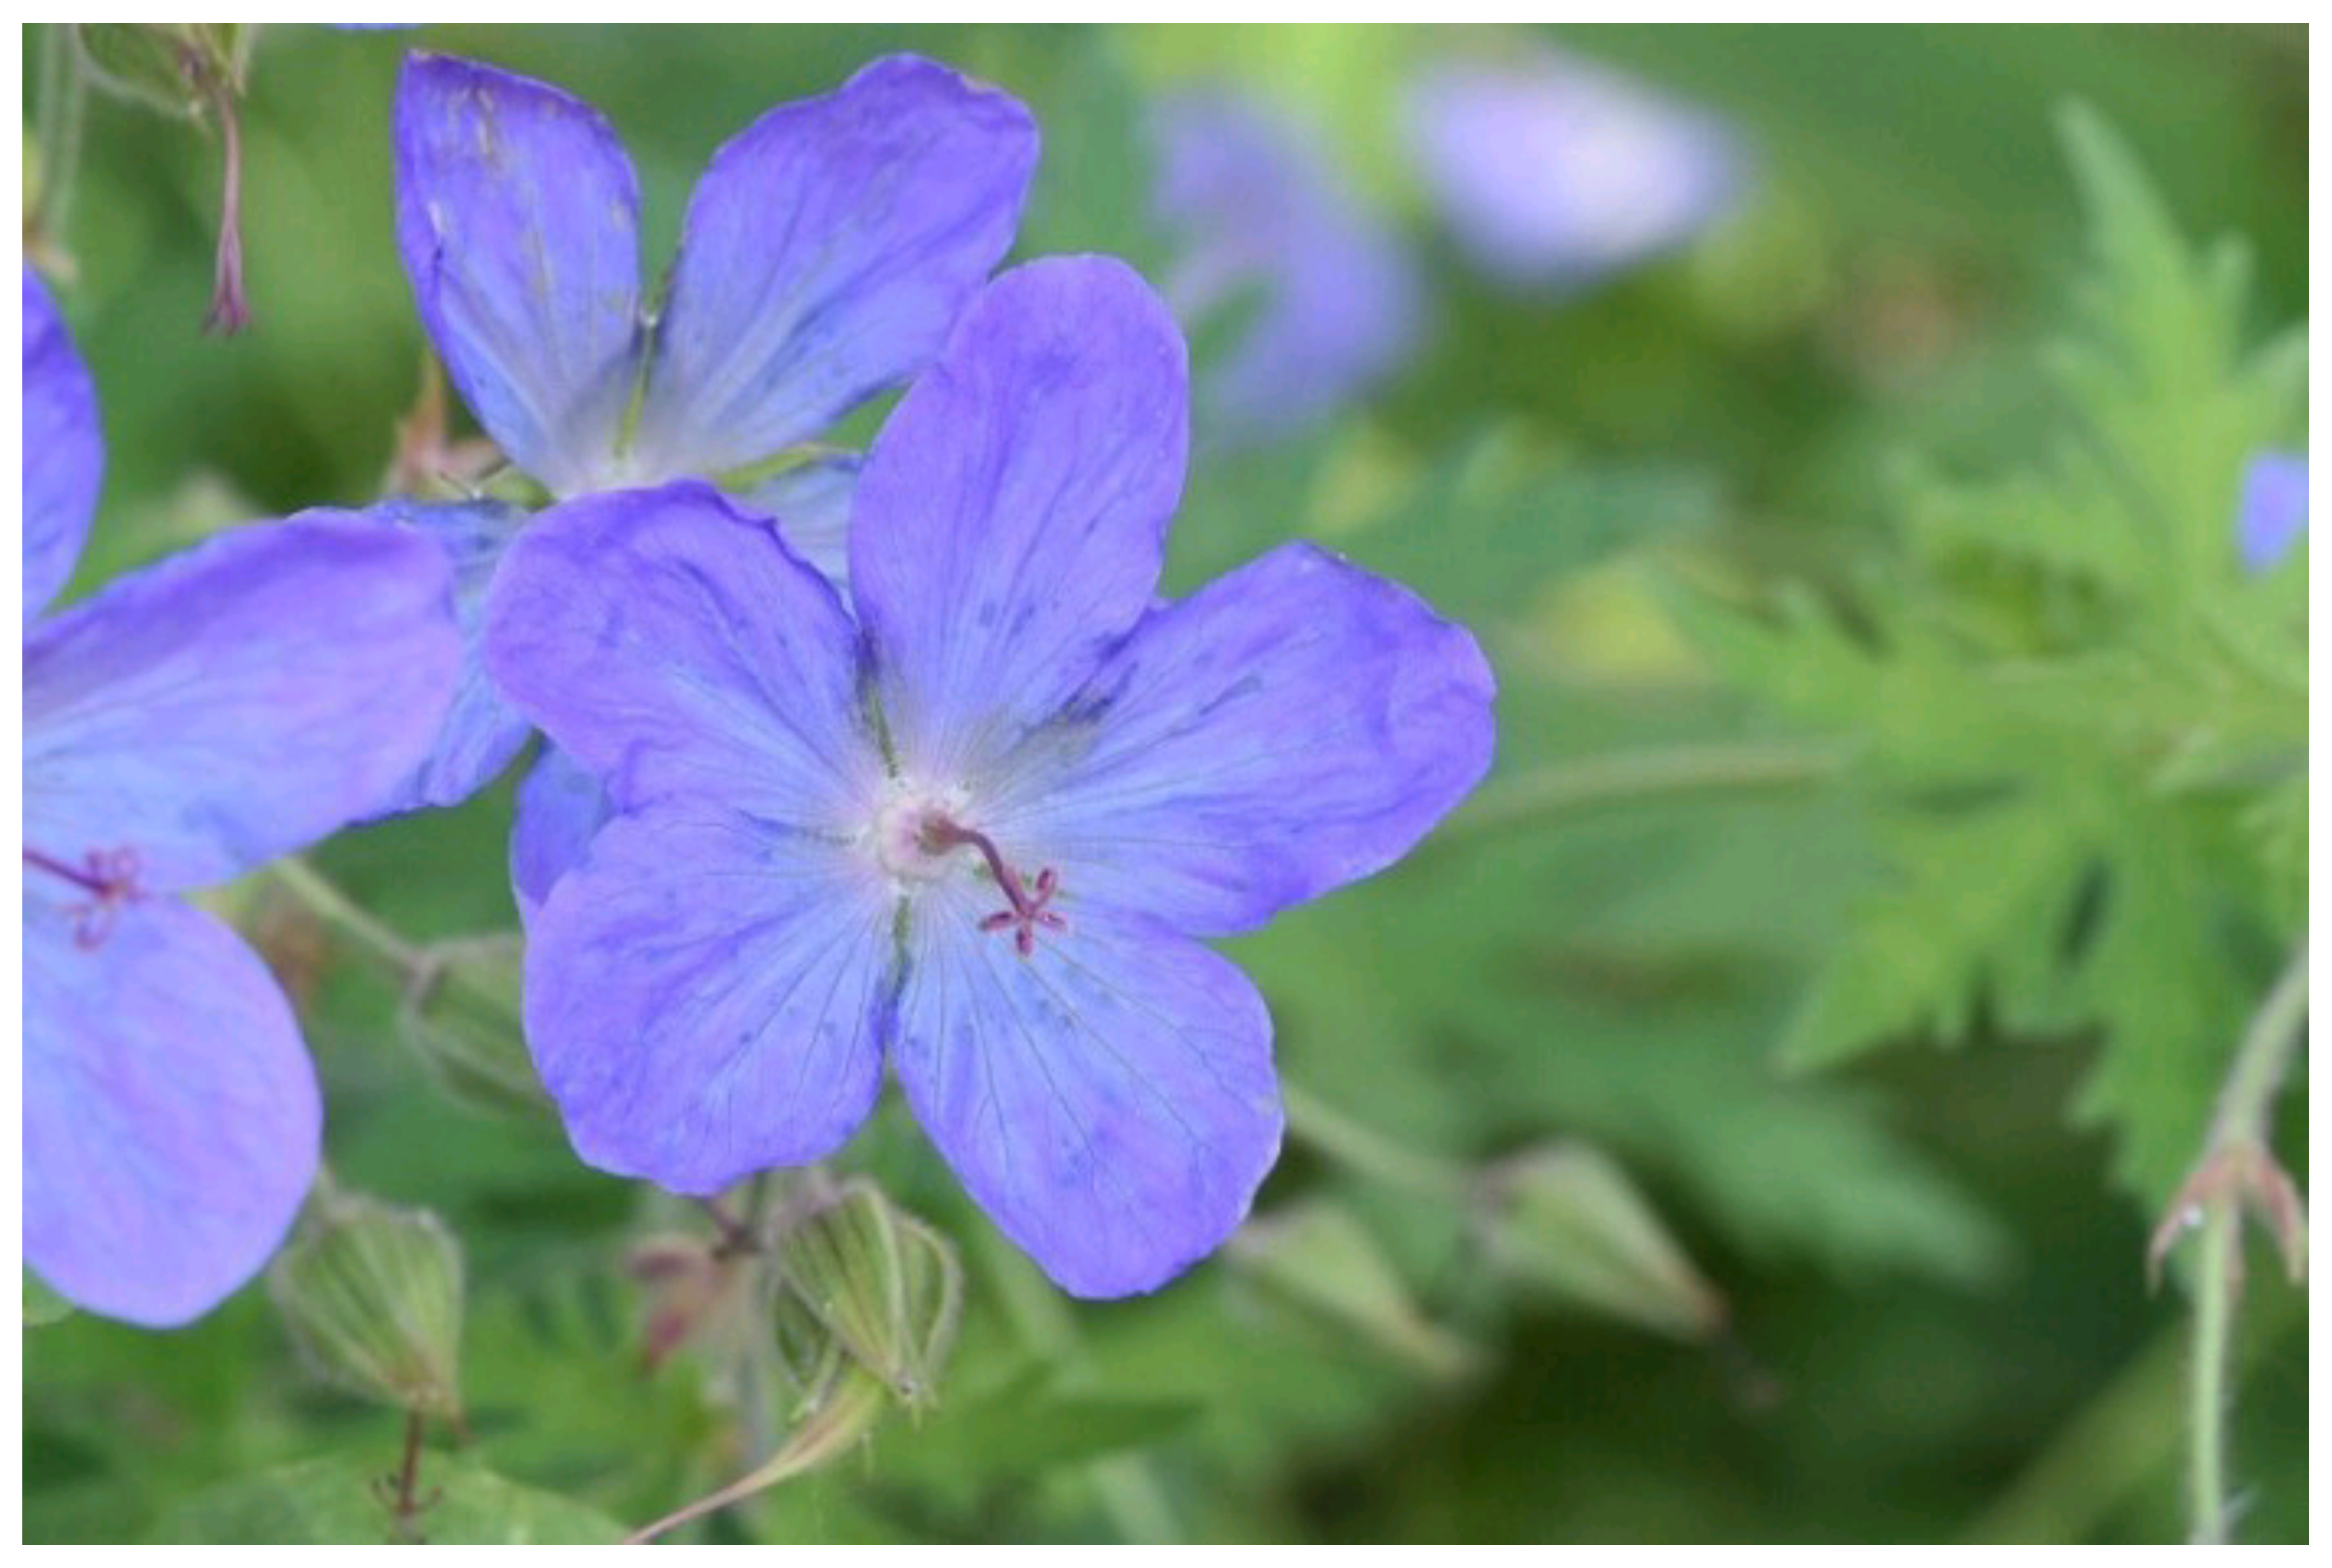
Download this photo, if you want.
2. Create an artboard.
In Concepts, open Settings. Create an artboard of 512 x 512 px with a plain white background.
You have room to size it from 256 px to 1024 px depending on how large you want the final brush to be. Larger sizes take more memory in your drawing, so stick with smaller sizes to maximize efficiency.
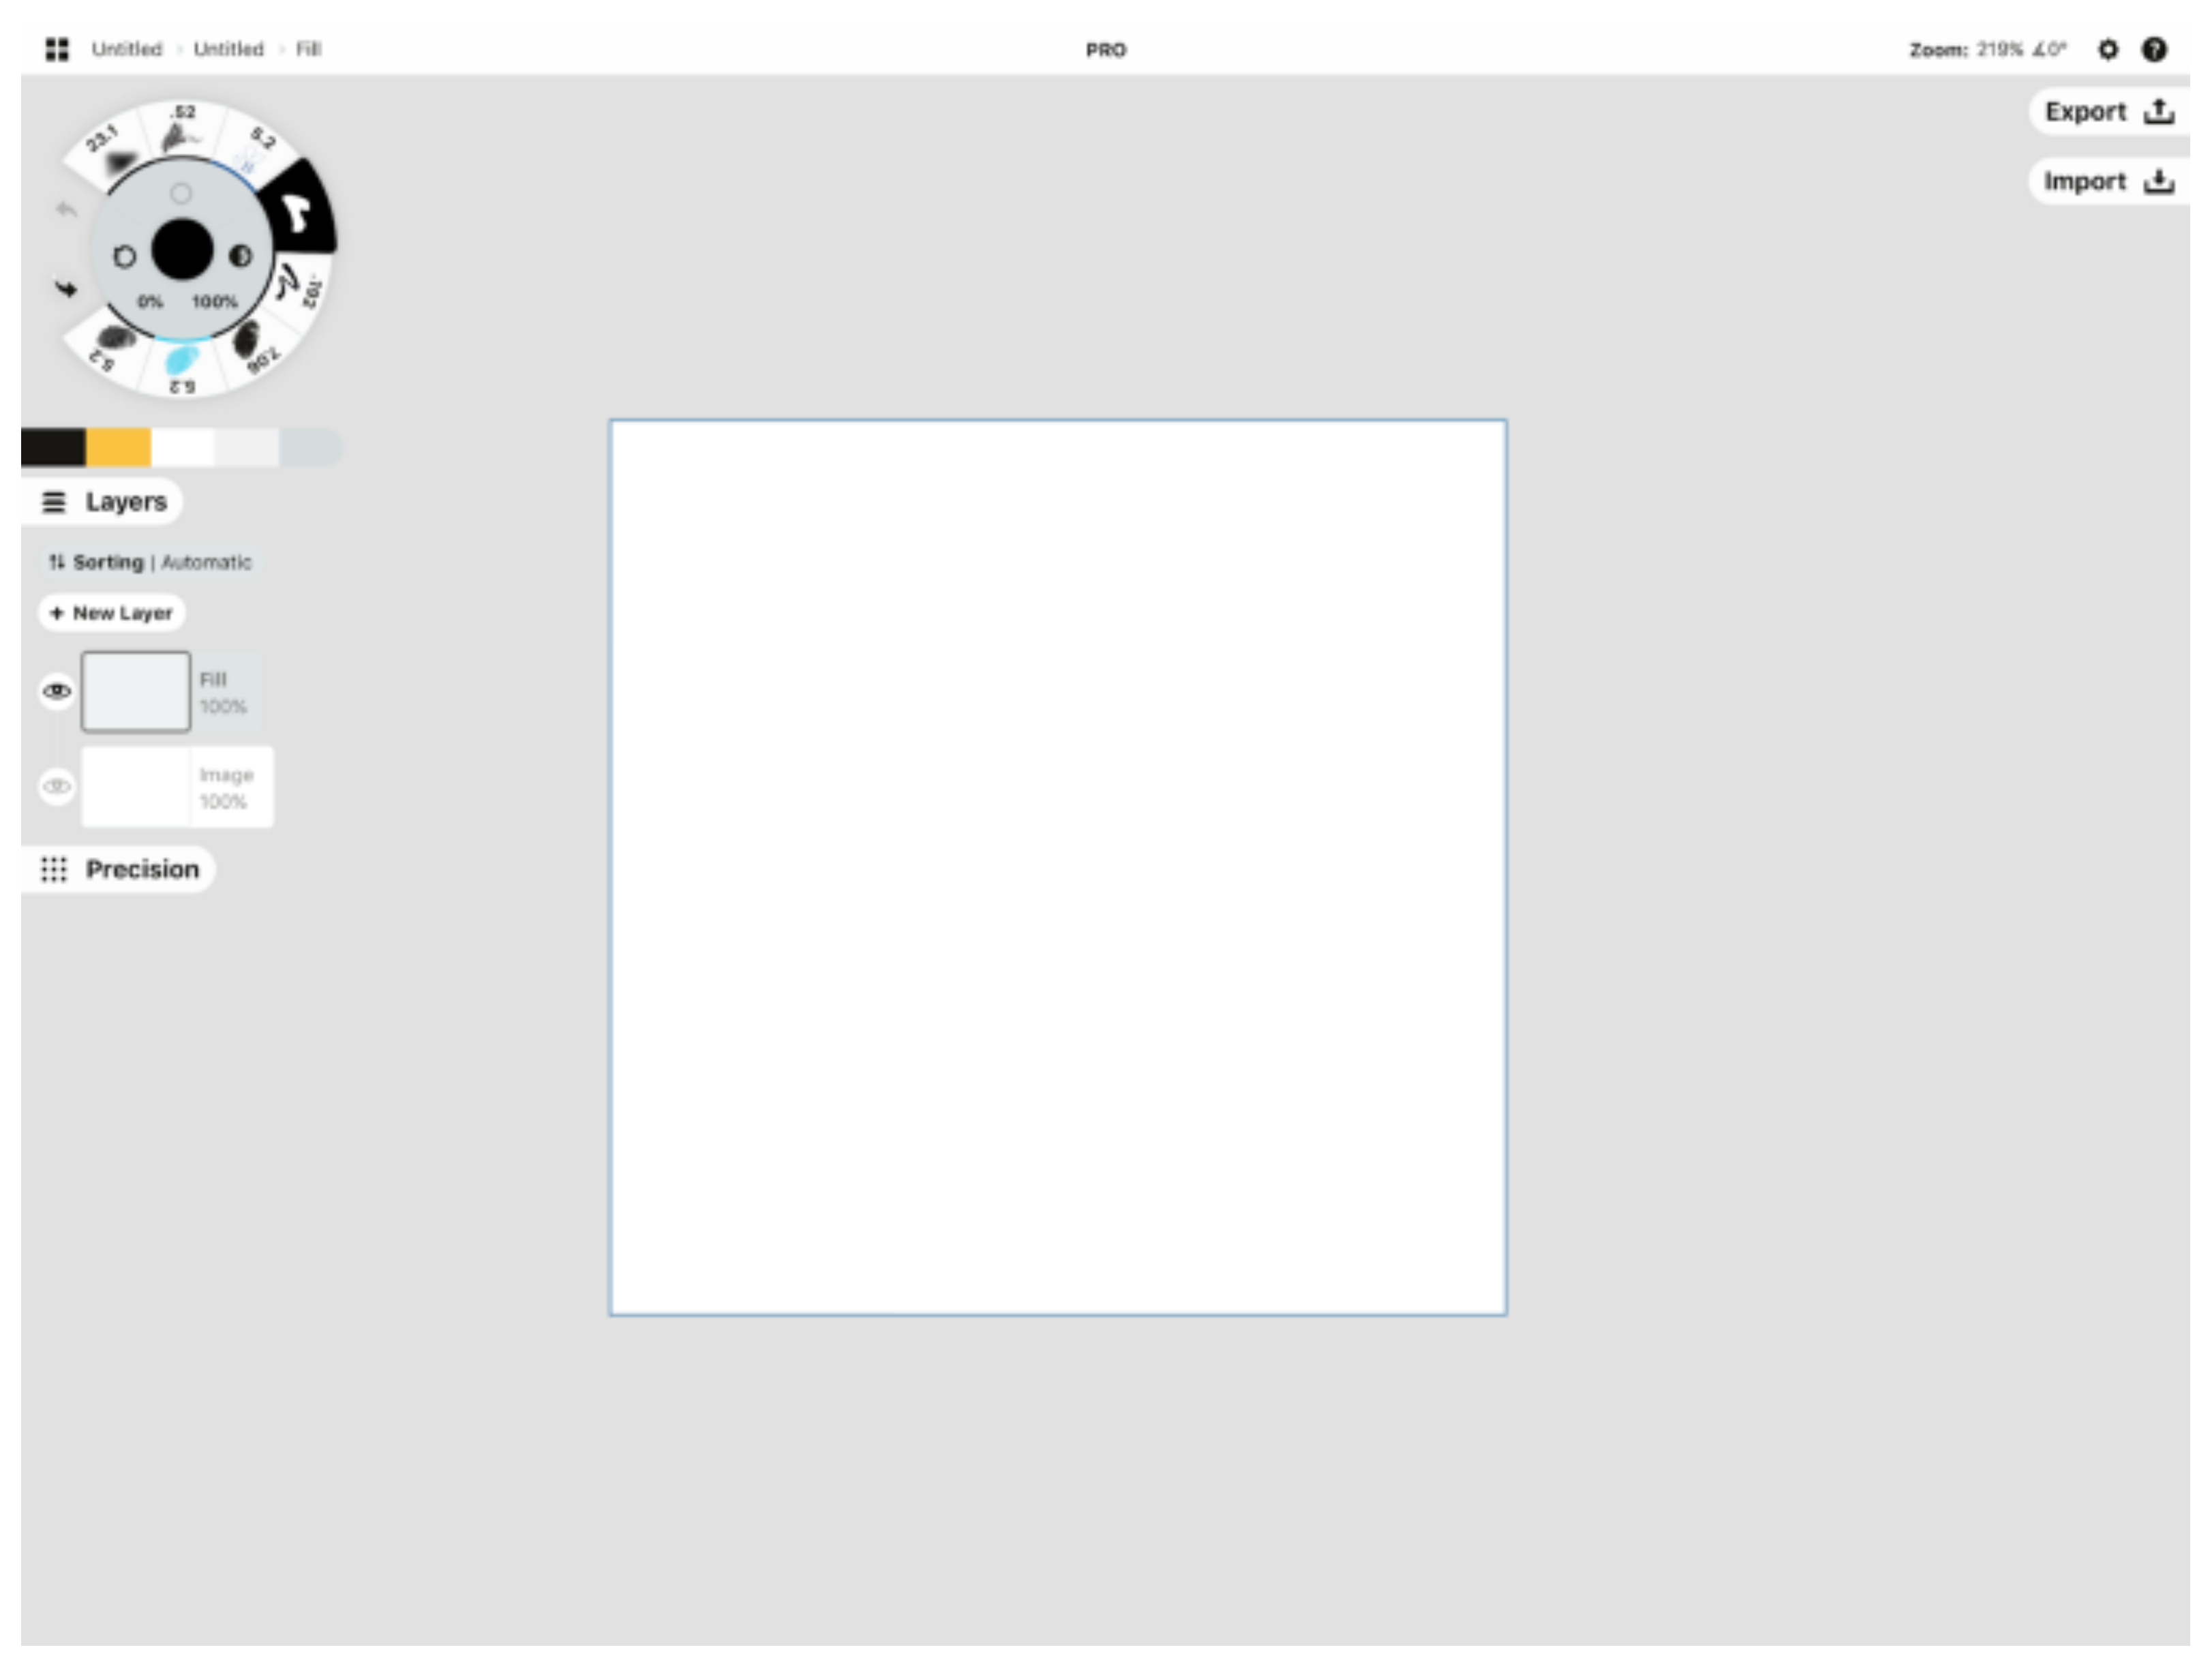
A 512 x 512 px artboard, zoomed in a bit.
3. Import your image.
Center the area of the image you’d like to isolate inside the artboard. Go all the way to the edge.
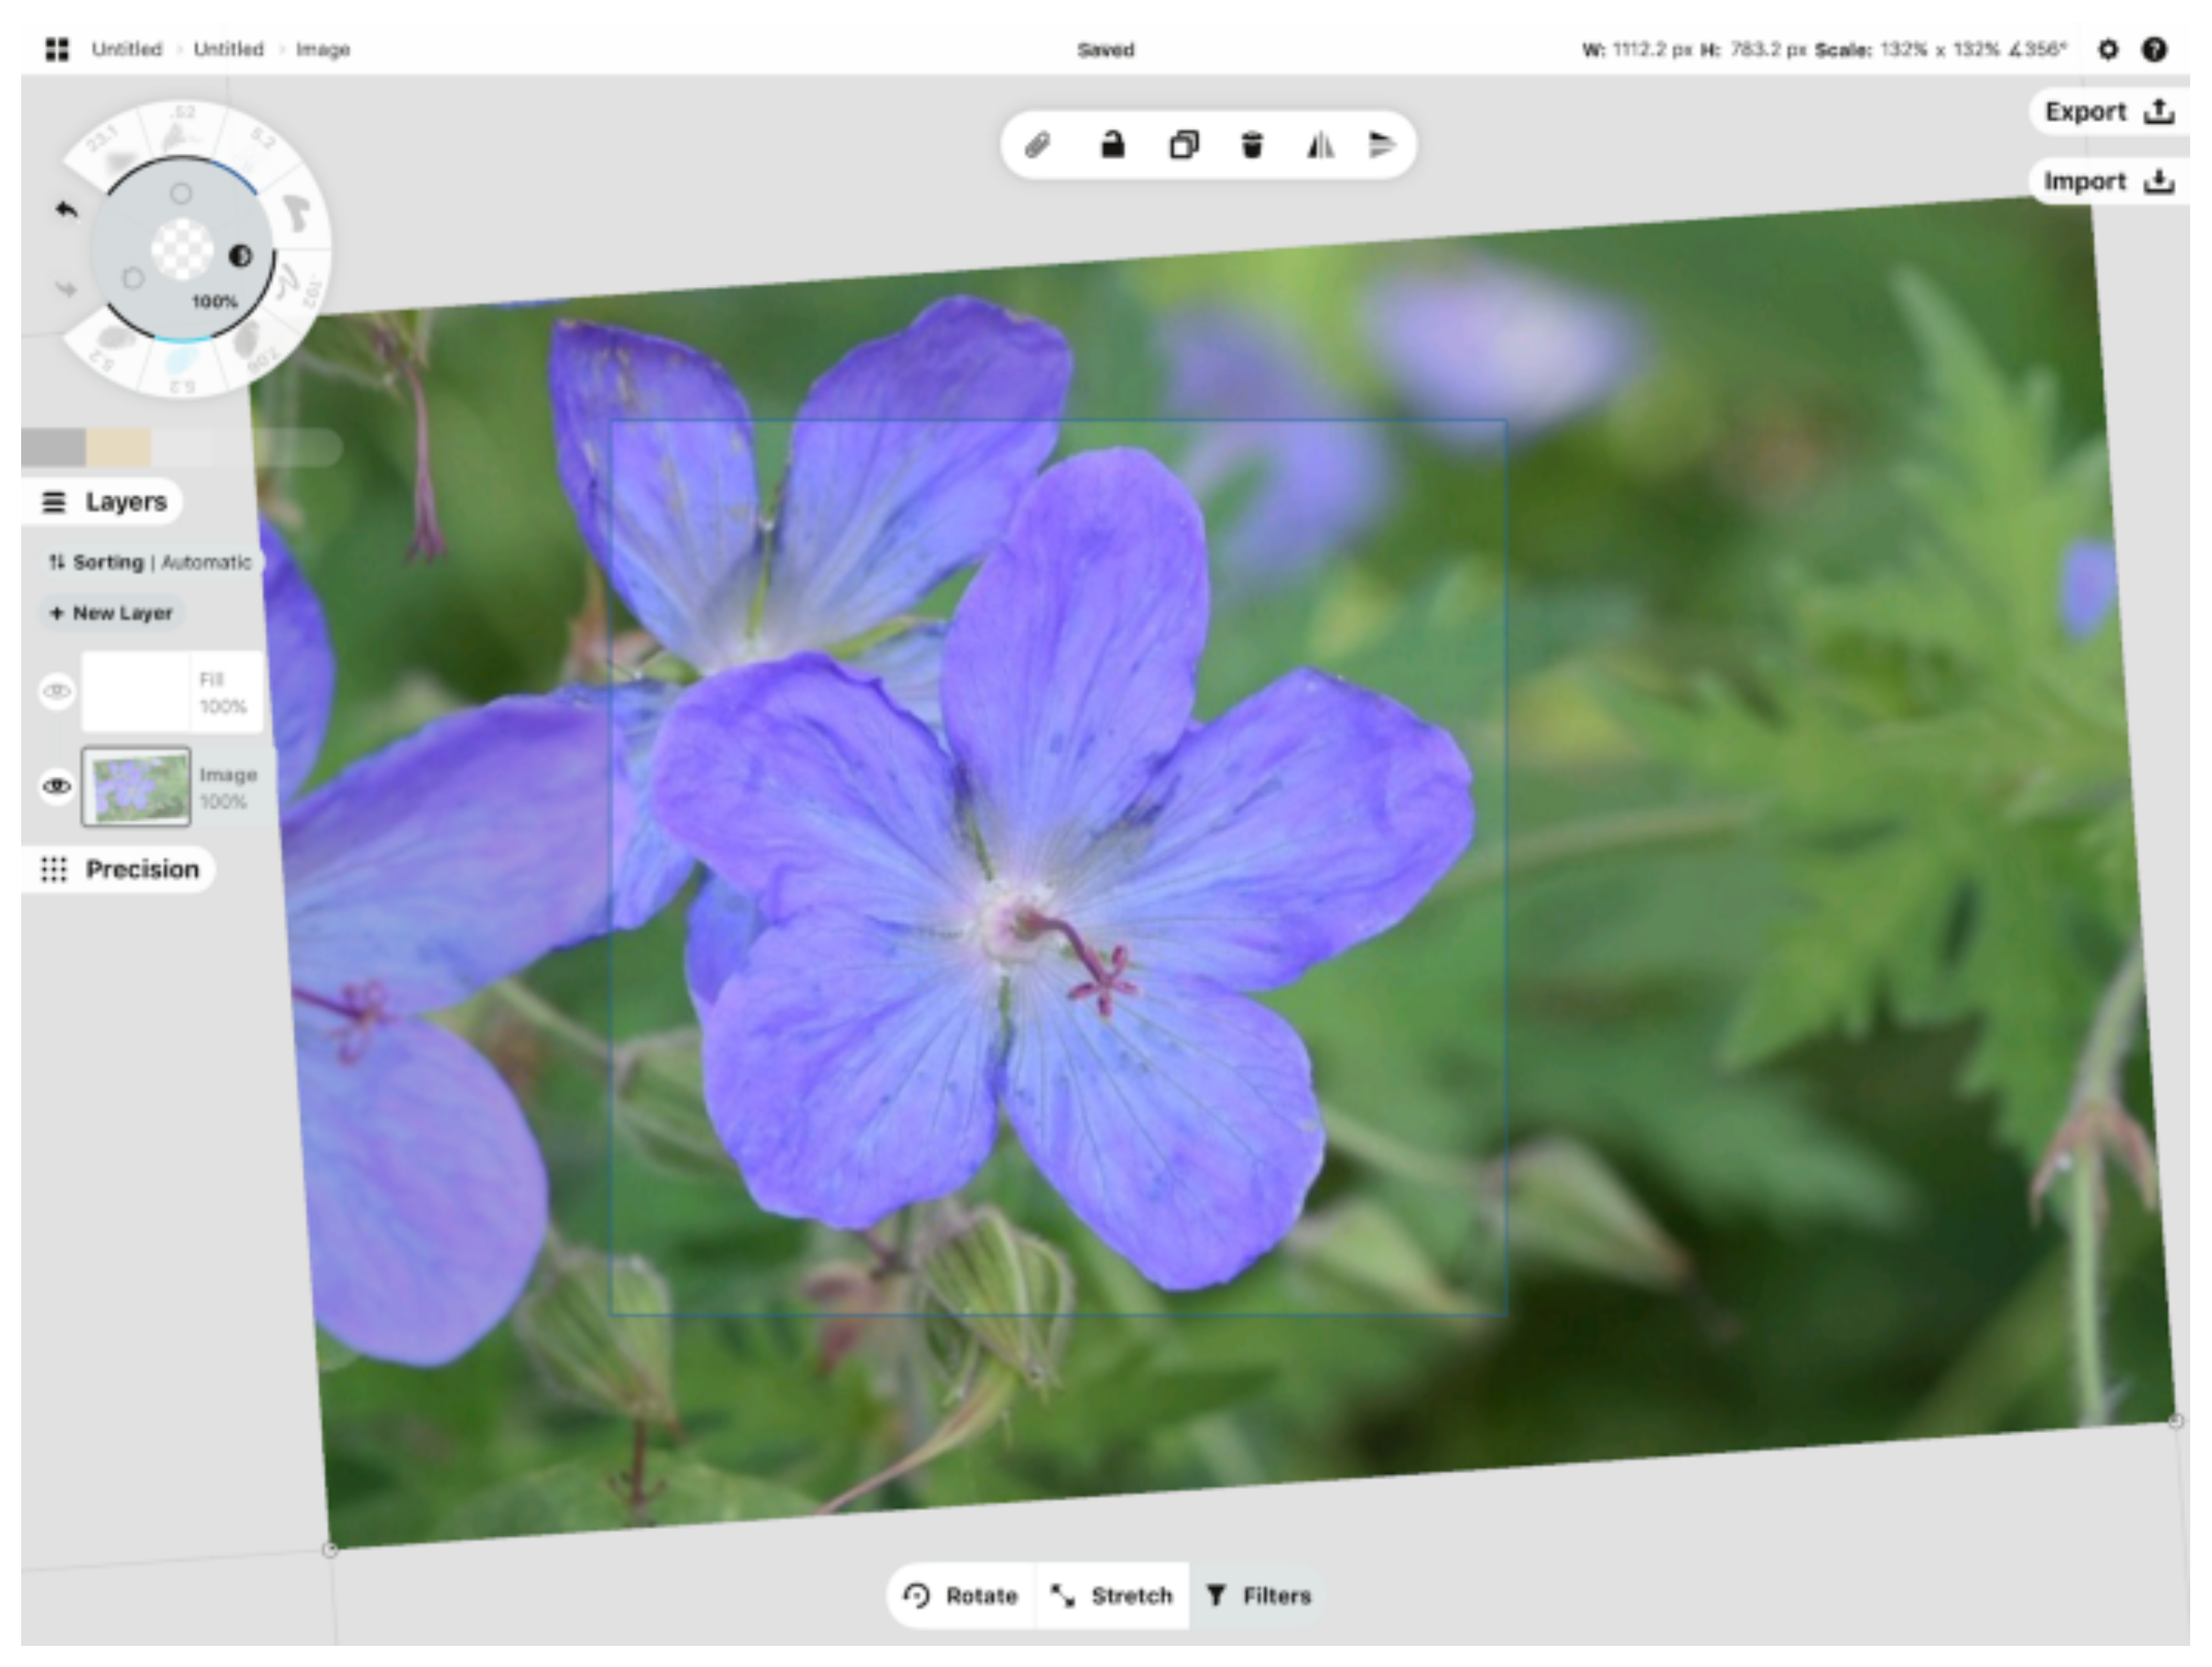
Center the subject of your photo in the artboard.
4. Use the Hard Mask to isolate your object.
Zoom in a bit on the photo to make work easier, and make sure the image layer is active (masks only work in the currently active layer). Trace around the edge of the flower with the Hard Mask.
It doesn’t have to be perfect, but get as close to the edges as you can. A bit of line smoothing applied to the mask helps keep it tidy.
Also, you only have to mask inside the artboard boundary. Don’t worry about the rest of the image.
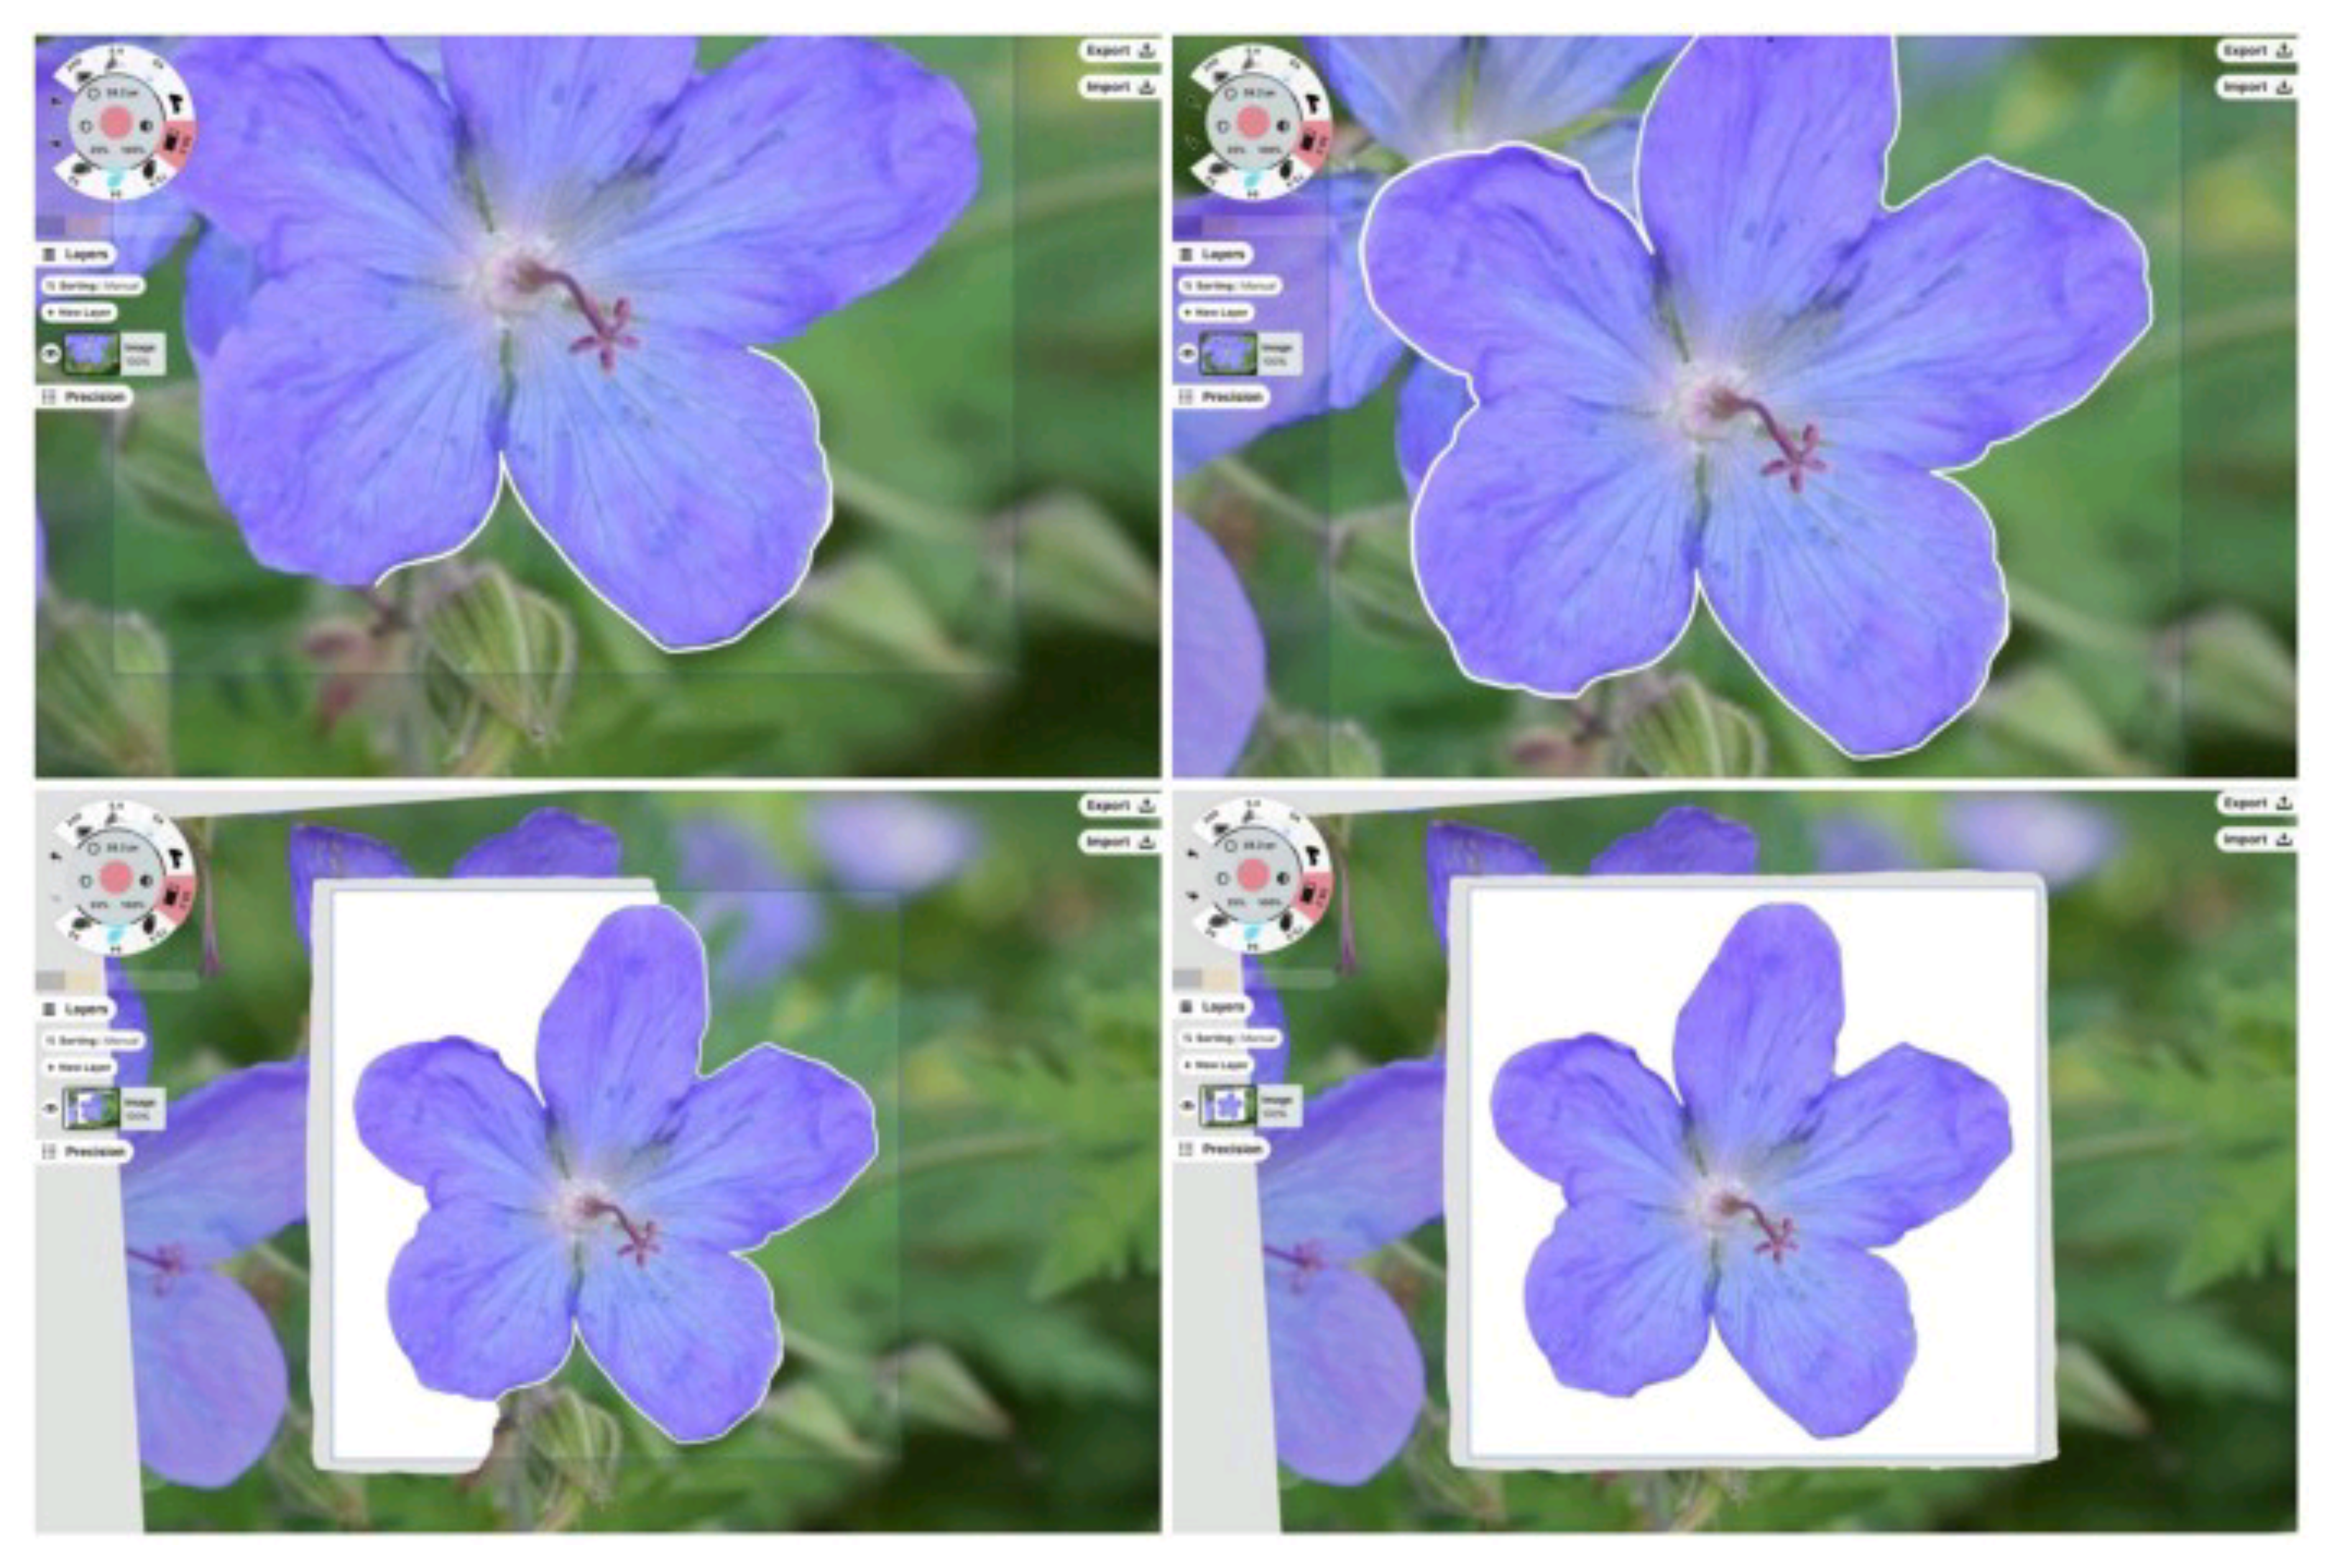
Masking the photo inside the artboard.
5. Polish the edges.
Select the Soft Mask and apply it to the edges of the flower. This softens up the edges. A lower opacity ~50% will help you blend with a little more control.
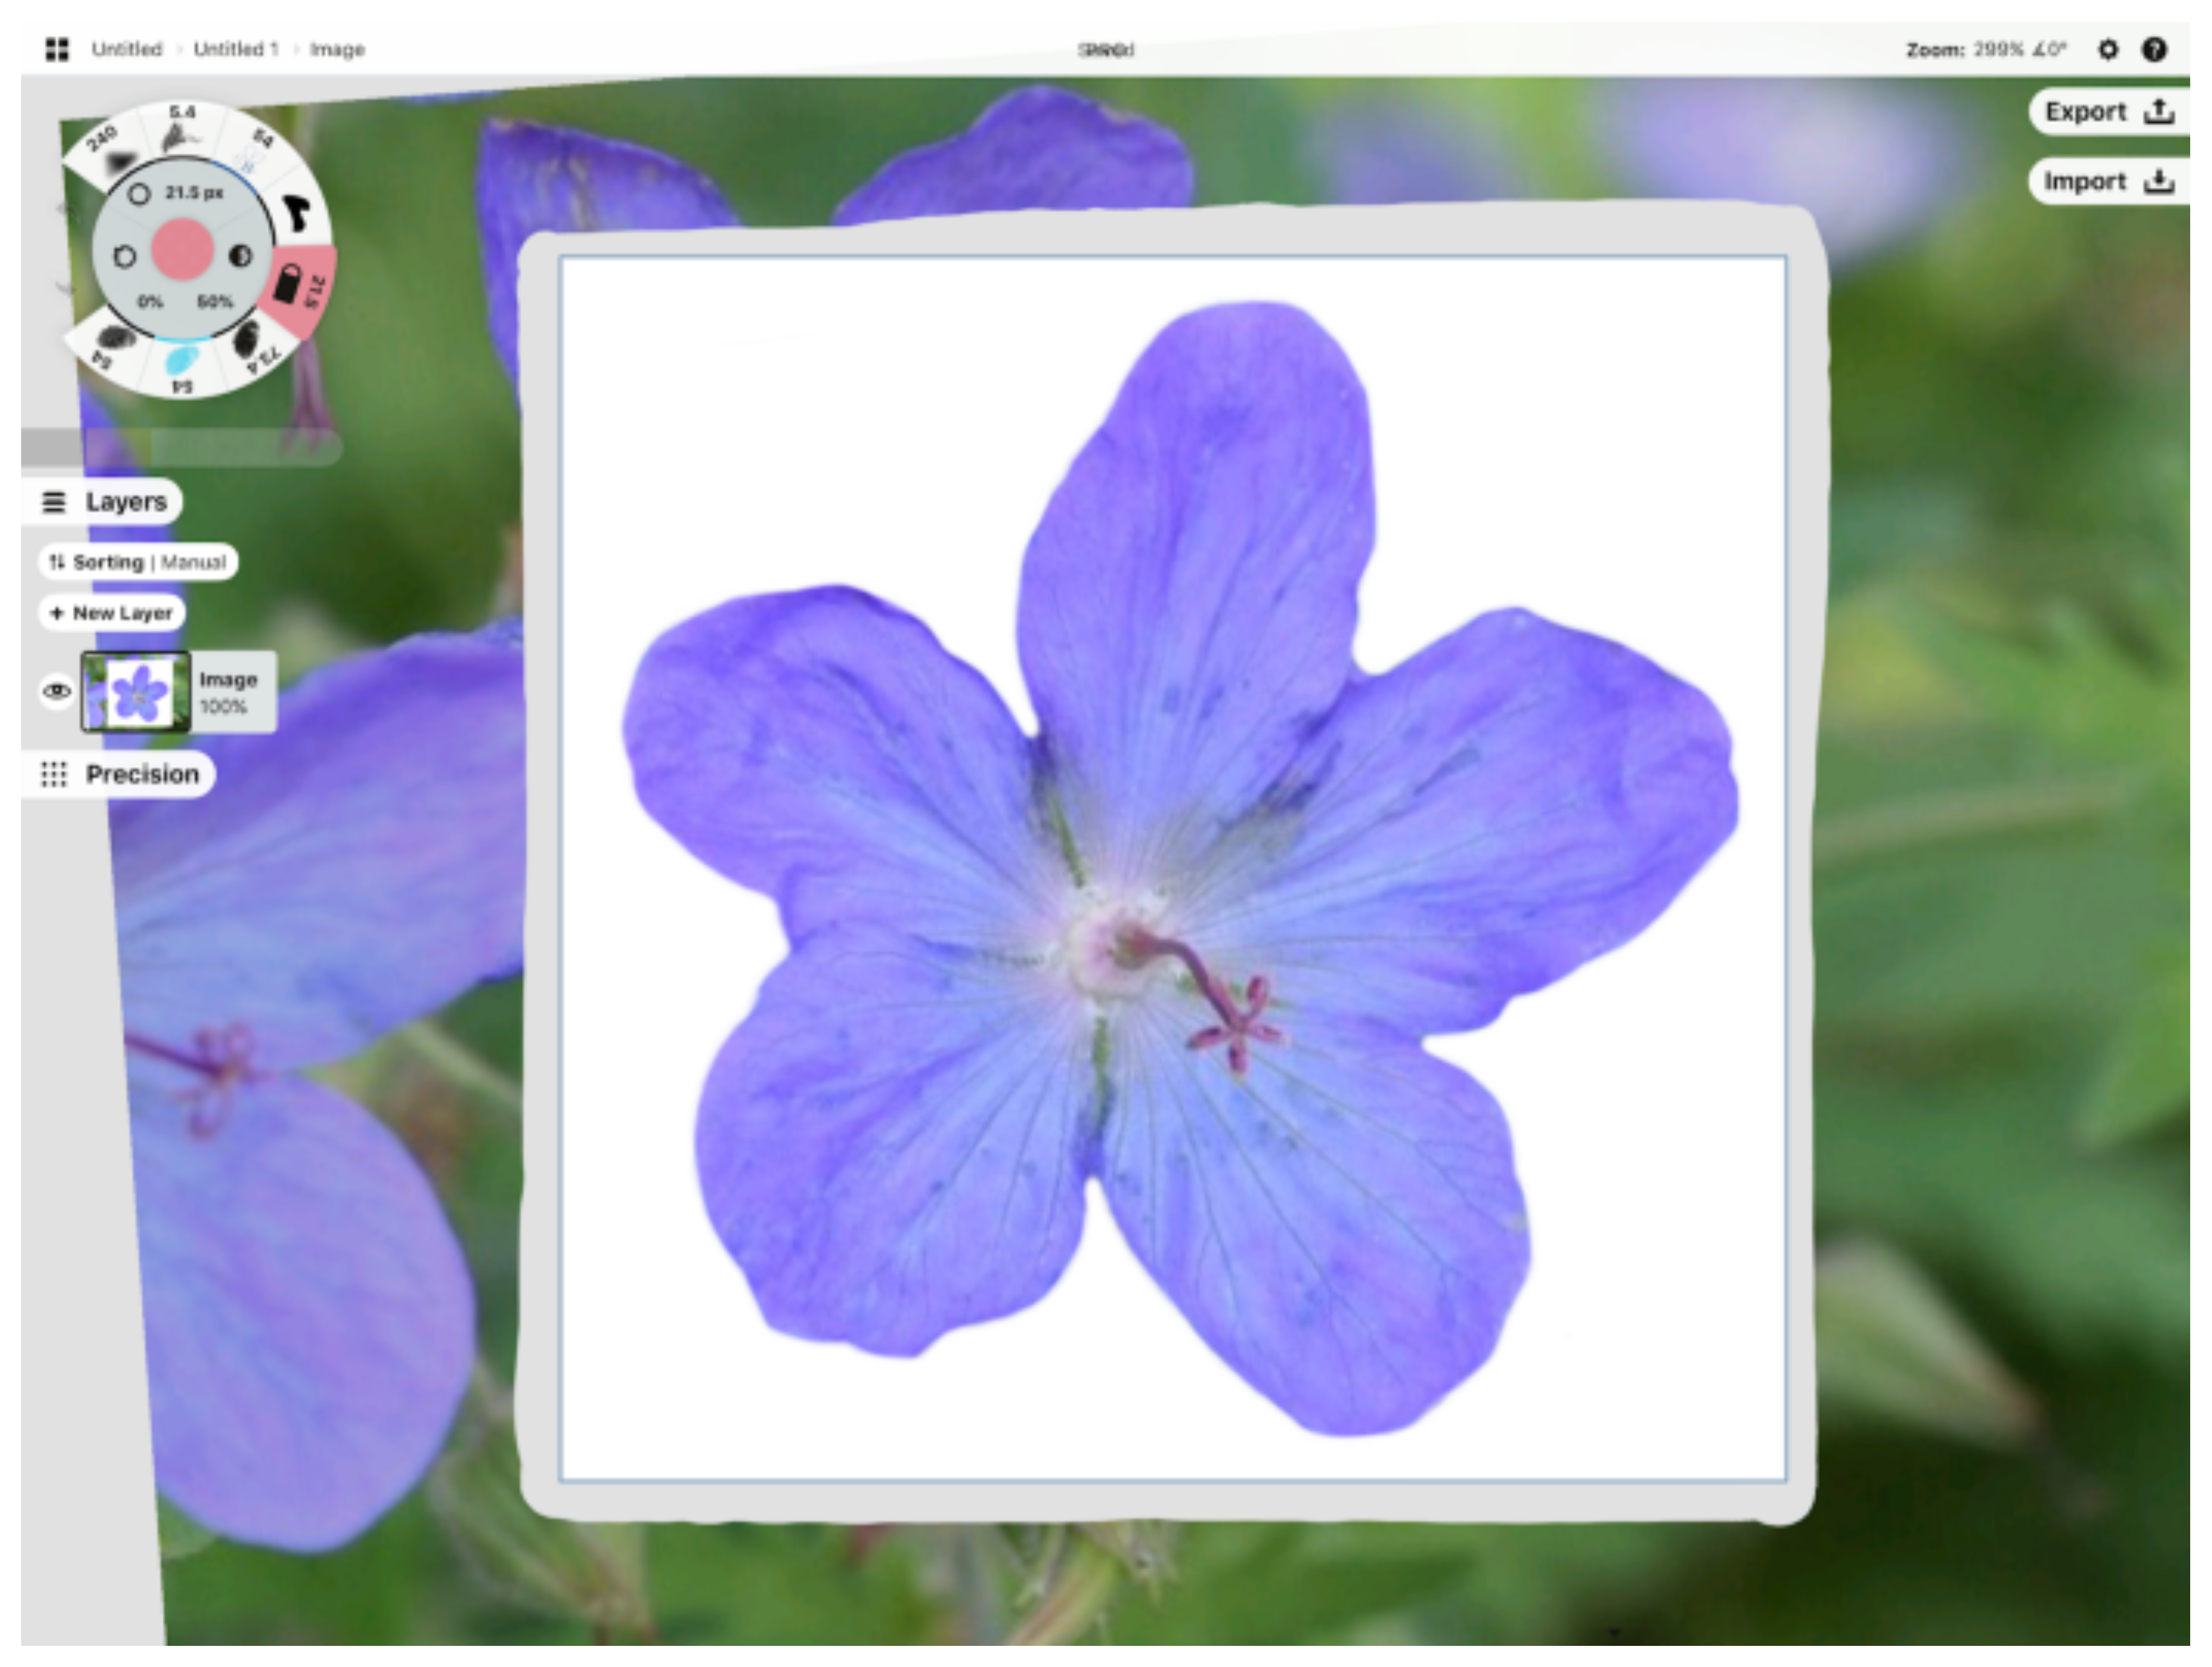
This image is looking great.
6. Export the artboard.
Tap Export and select PNG. Set the region to Custom (this is your artboard) and choose the original paper background. Save the image to your iPhoto library or Files.
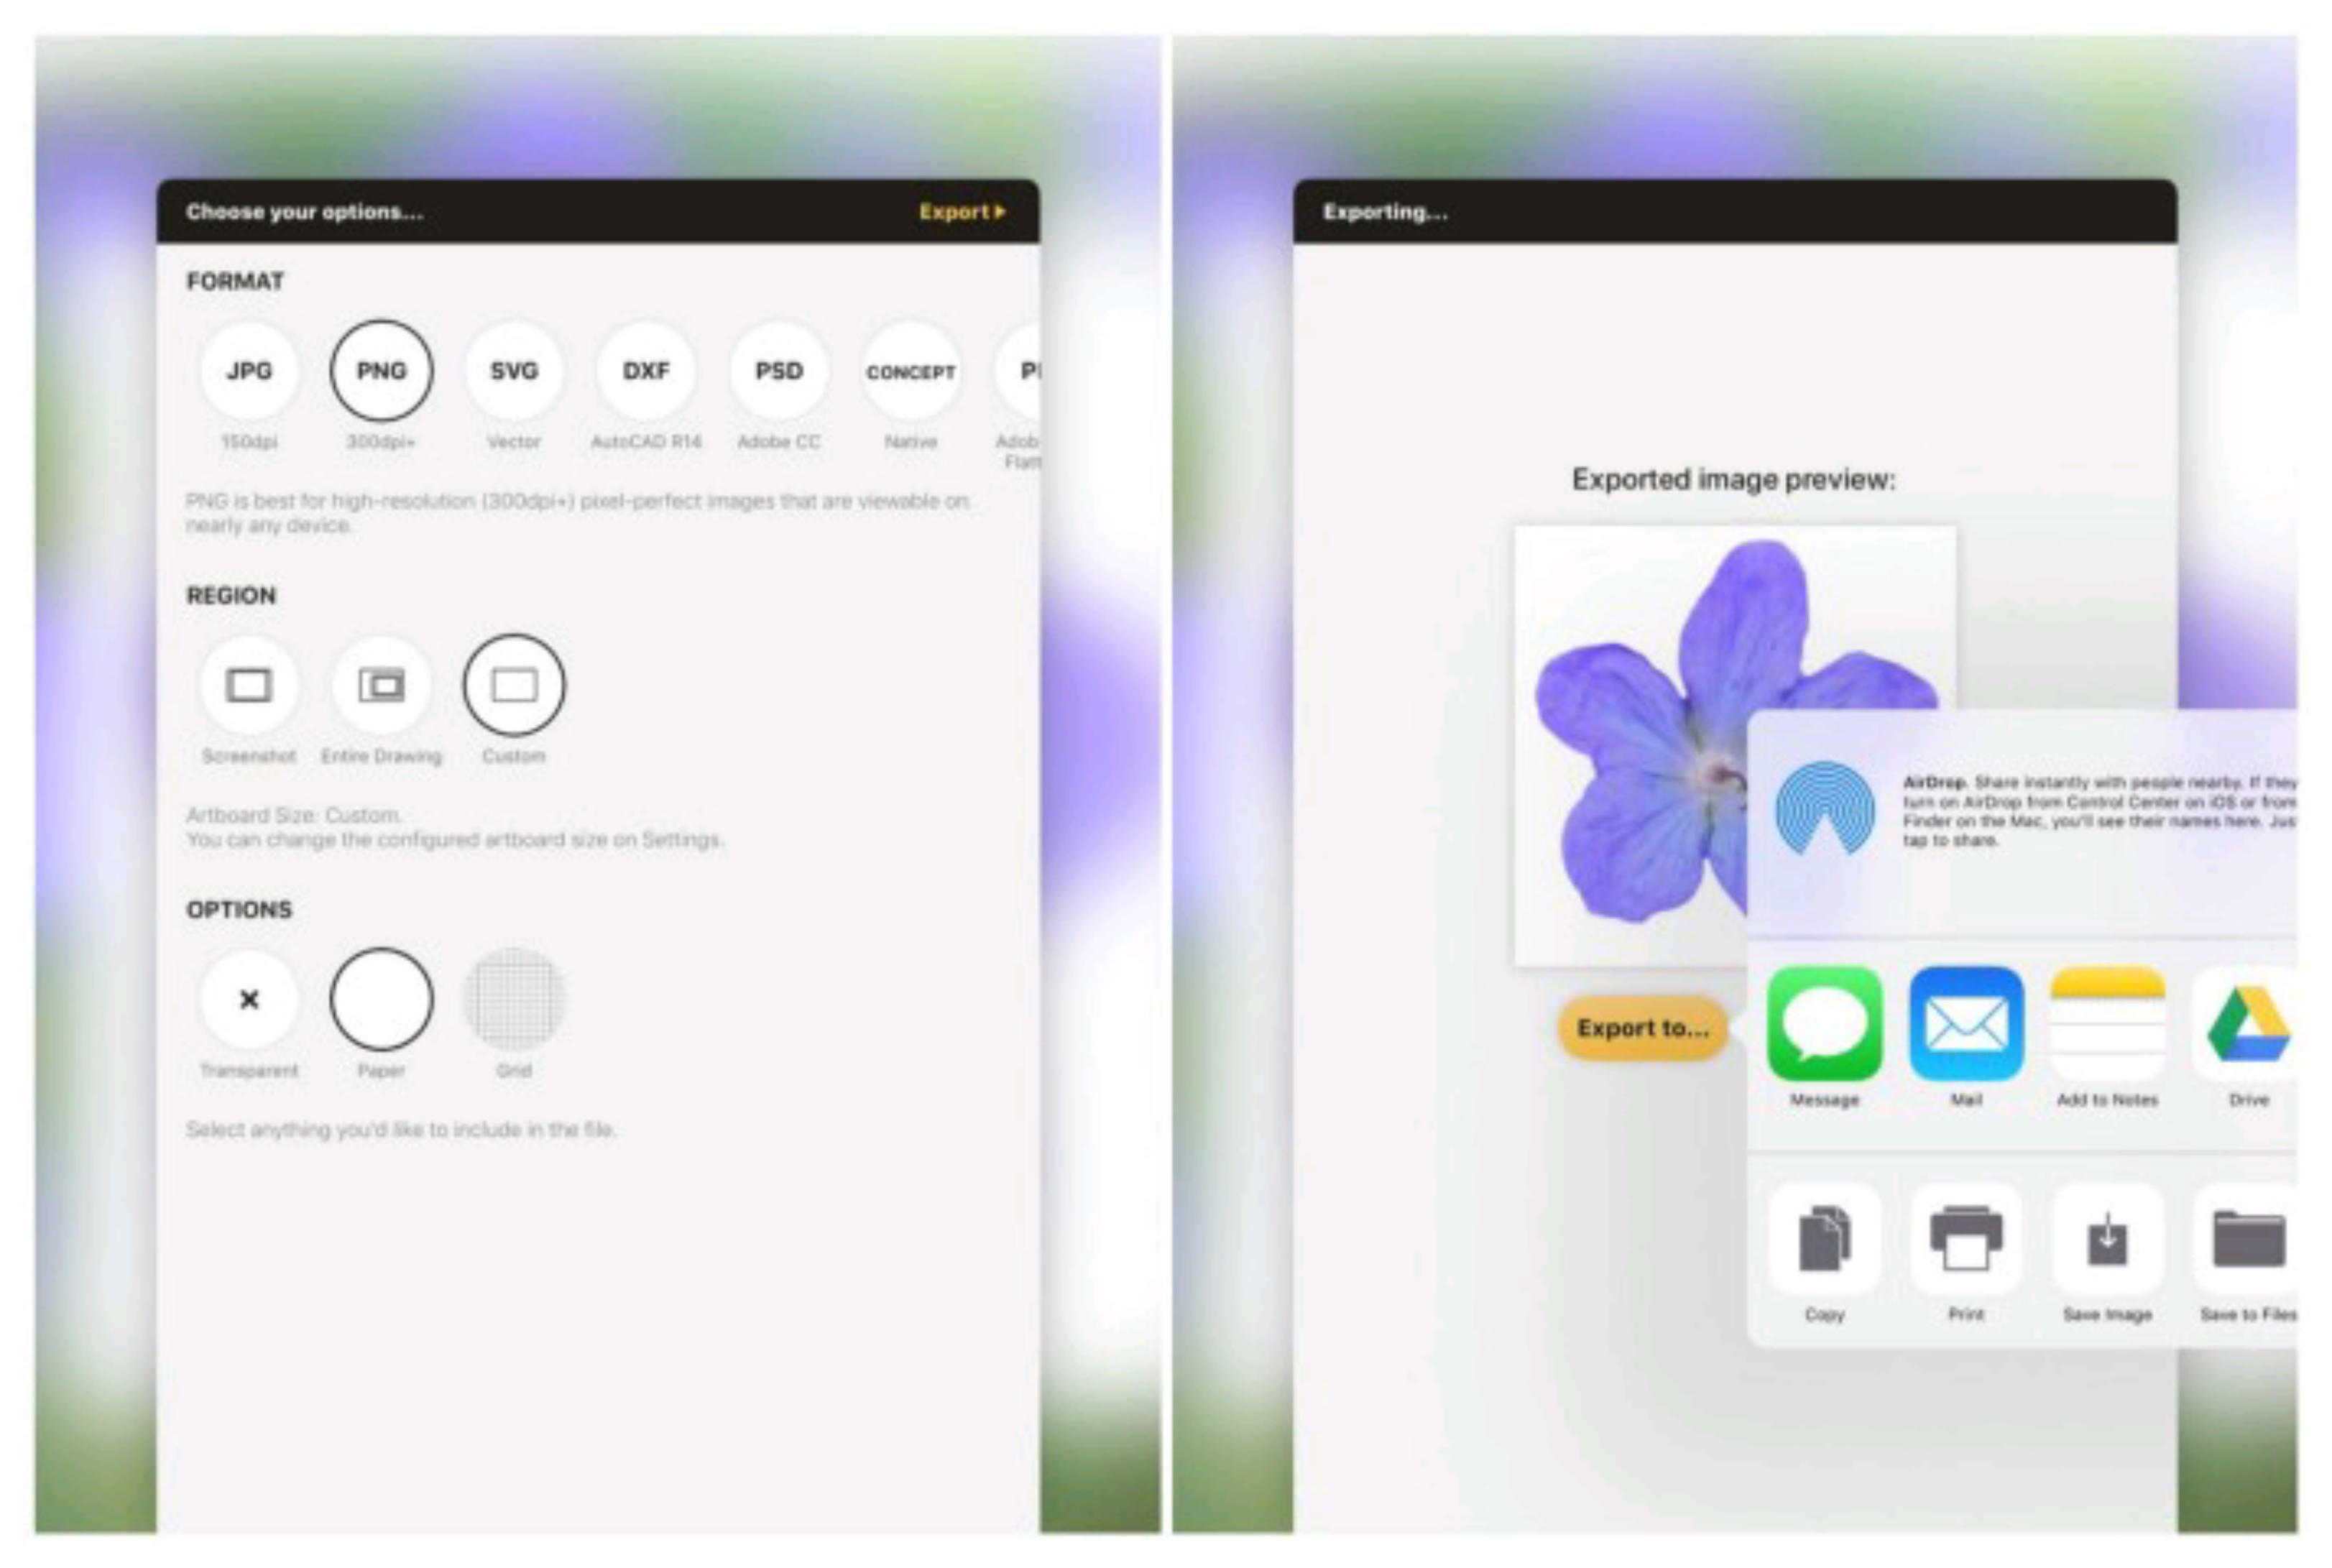
What your Export settings should look like.
You now have a pro-looking stamp for your new brush.
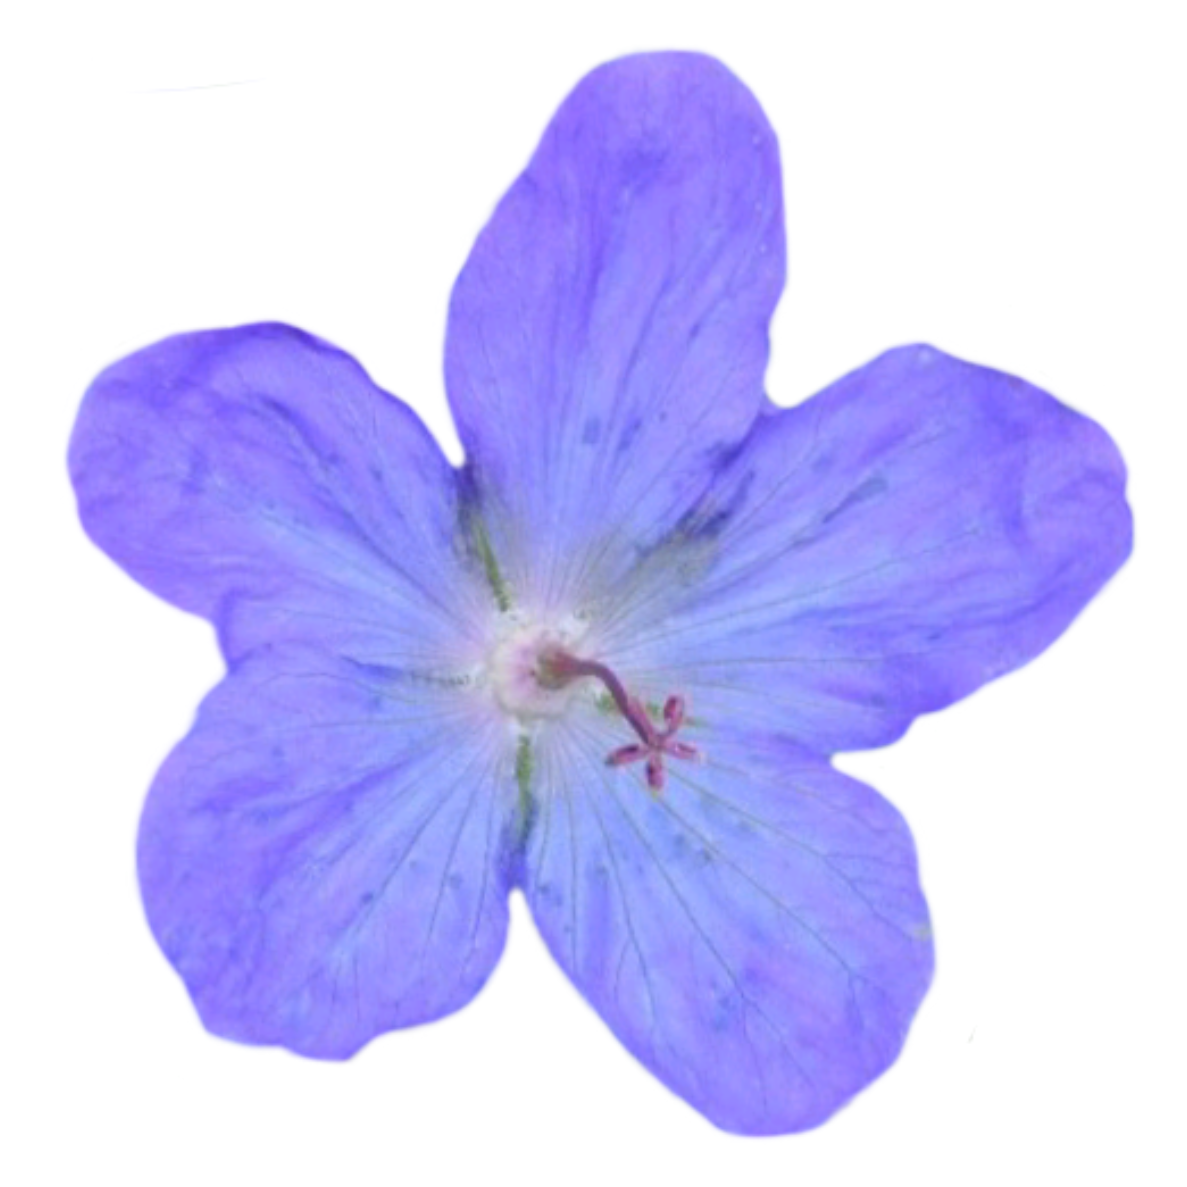
Feel free to download this photo and use it as a brush stamp.
Creating the Brush
1. Open the Brush Editor.
Now that your stamp is ready to go, tap your active brush on the tool wheel to enter the Brushes menu (or double-tap if it's an inactive brush). Scroll down to the My Brushes section.
Tap + New Pack to create a new brush library. Then tap + New inside the library to create a new brush.
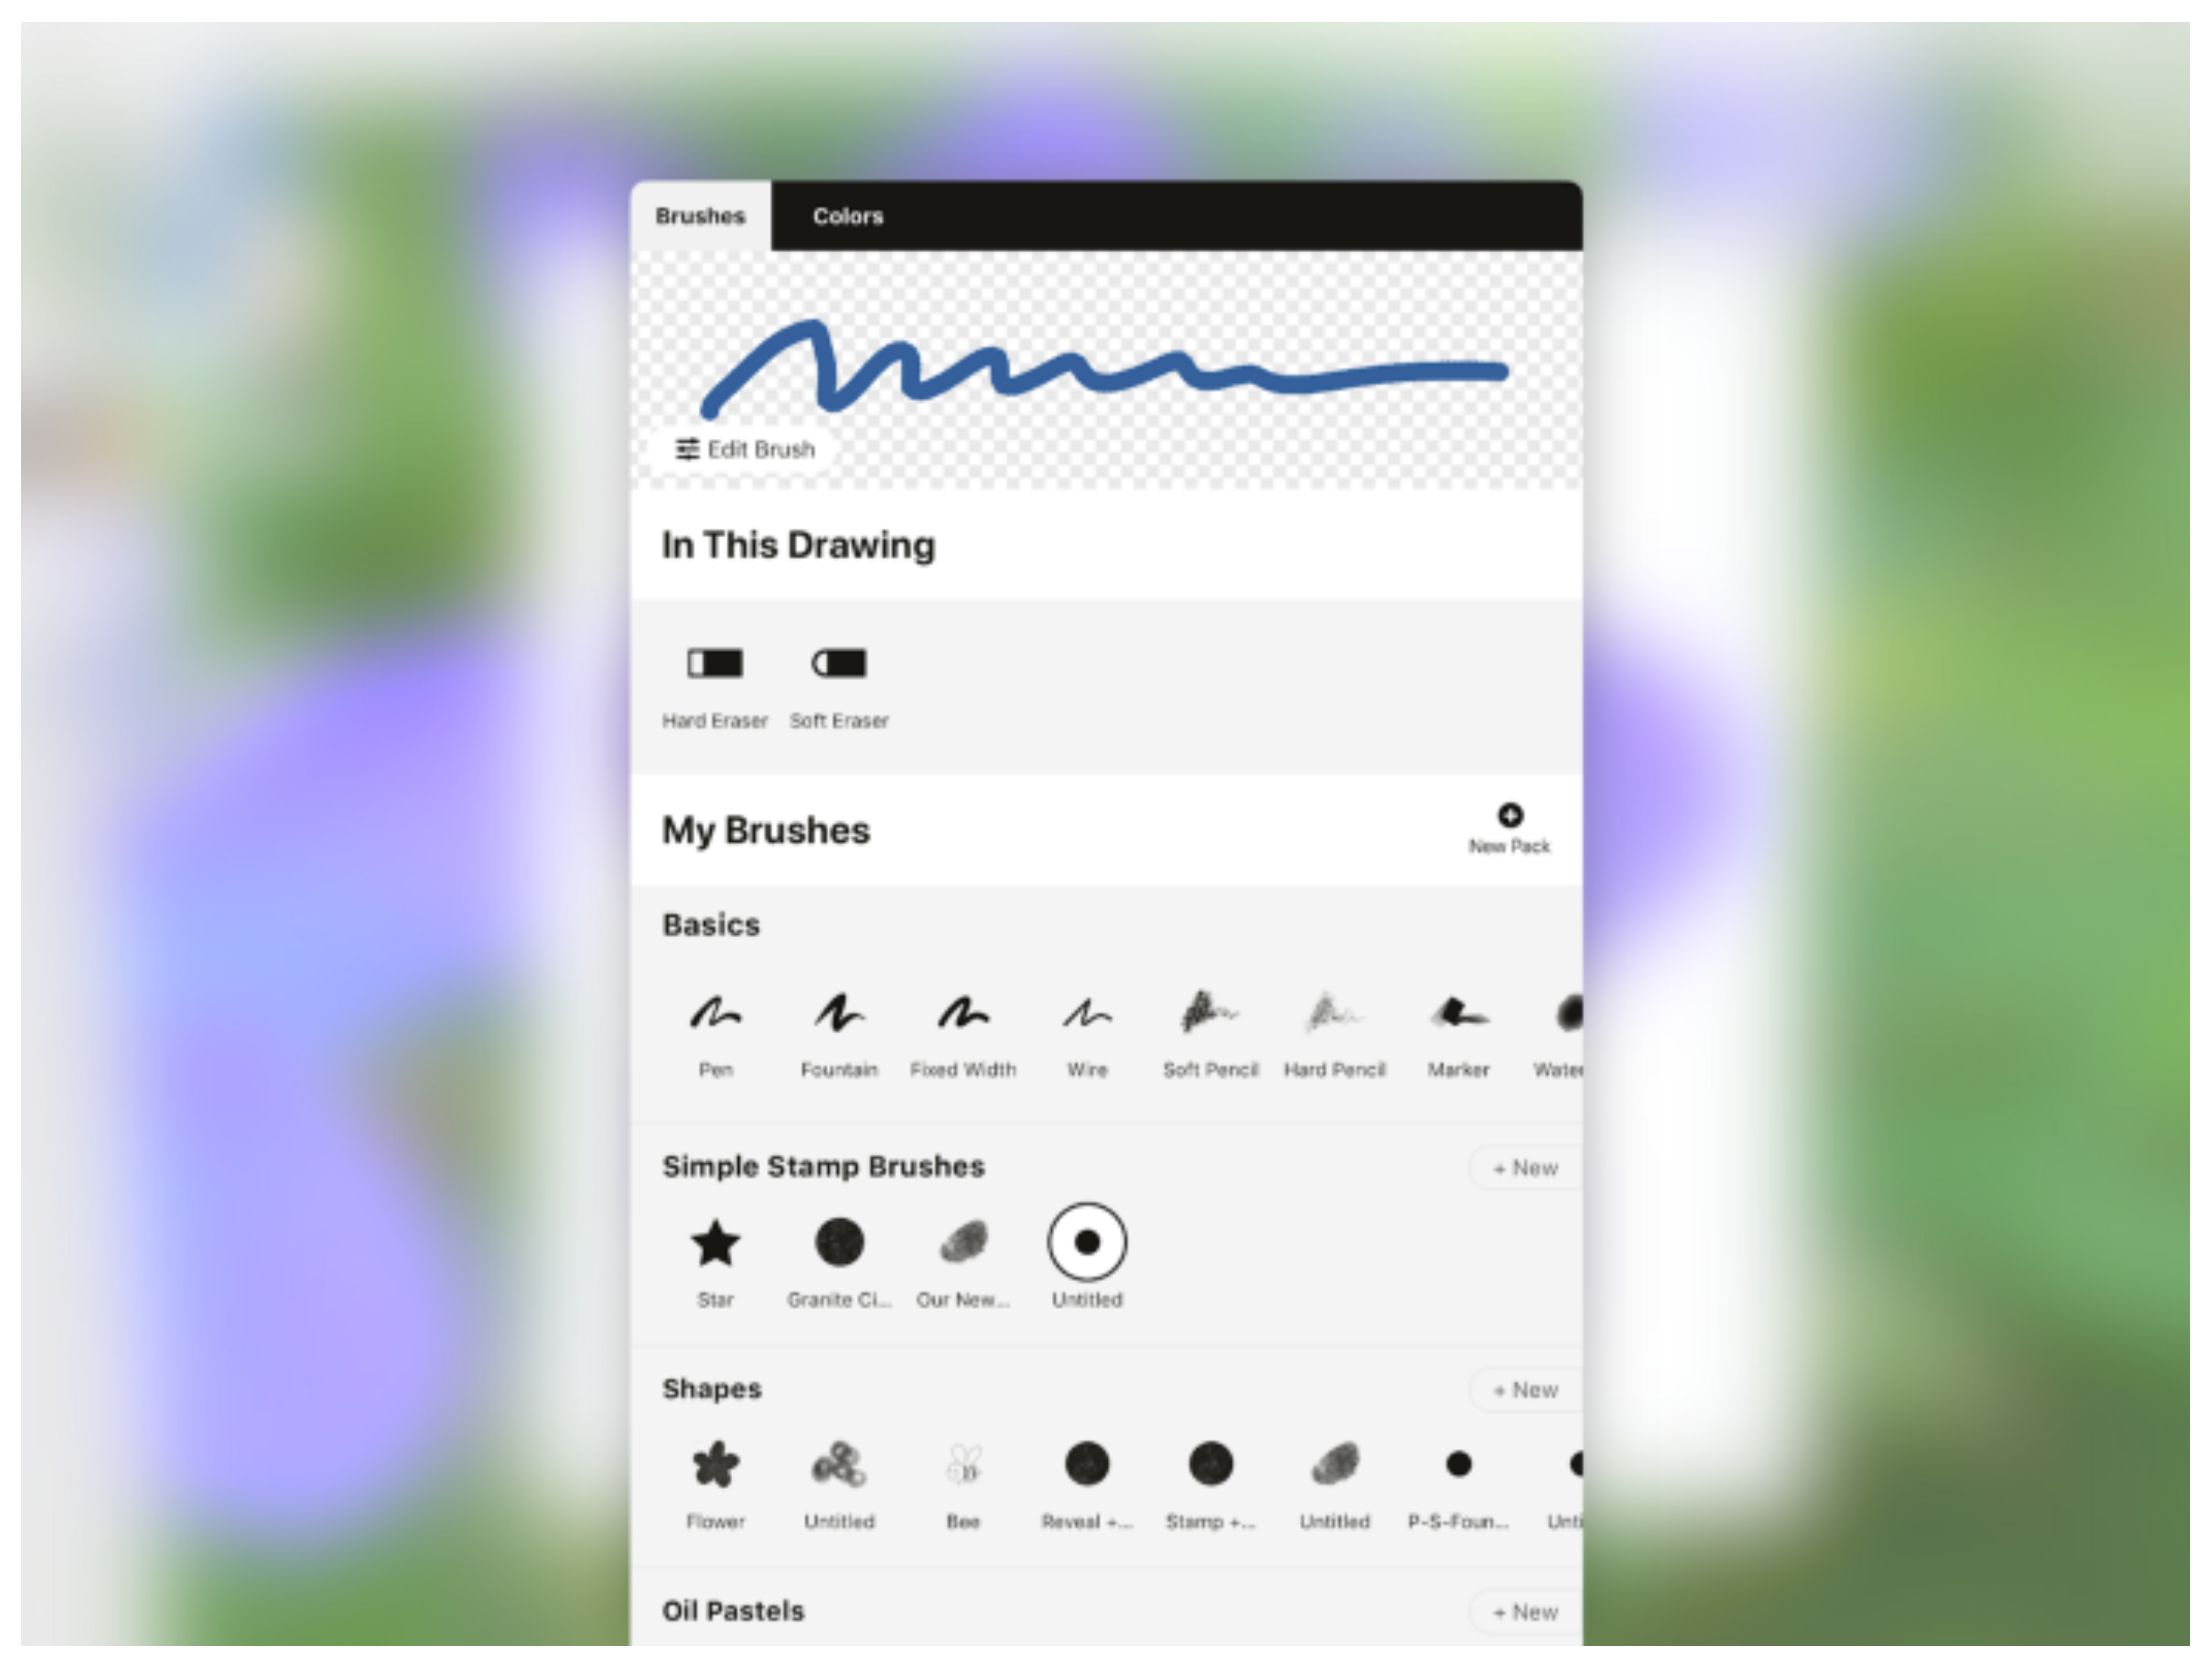
The Brushes menu.
2. Import your new photo aka stamp.
Tap the new brush to enter the brush editor (or you can tap Edit Brush in the viewer up top). Choose Stamp as your core brush type.
Then go down to Stamp Source and tap the + to import your image.
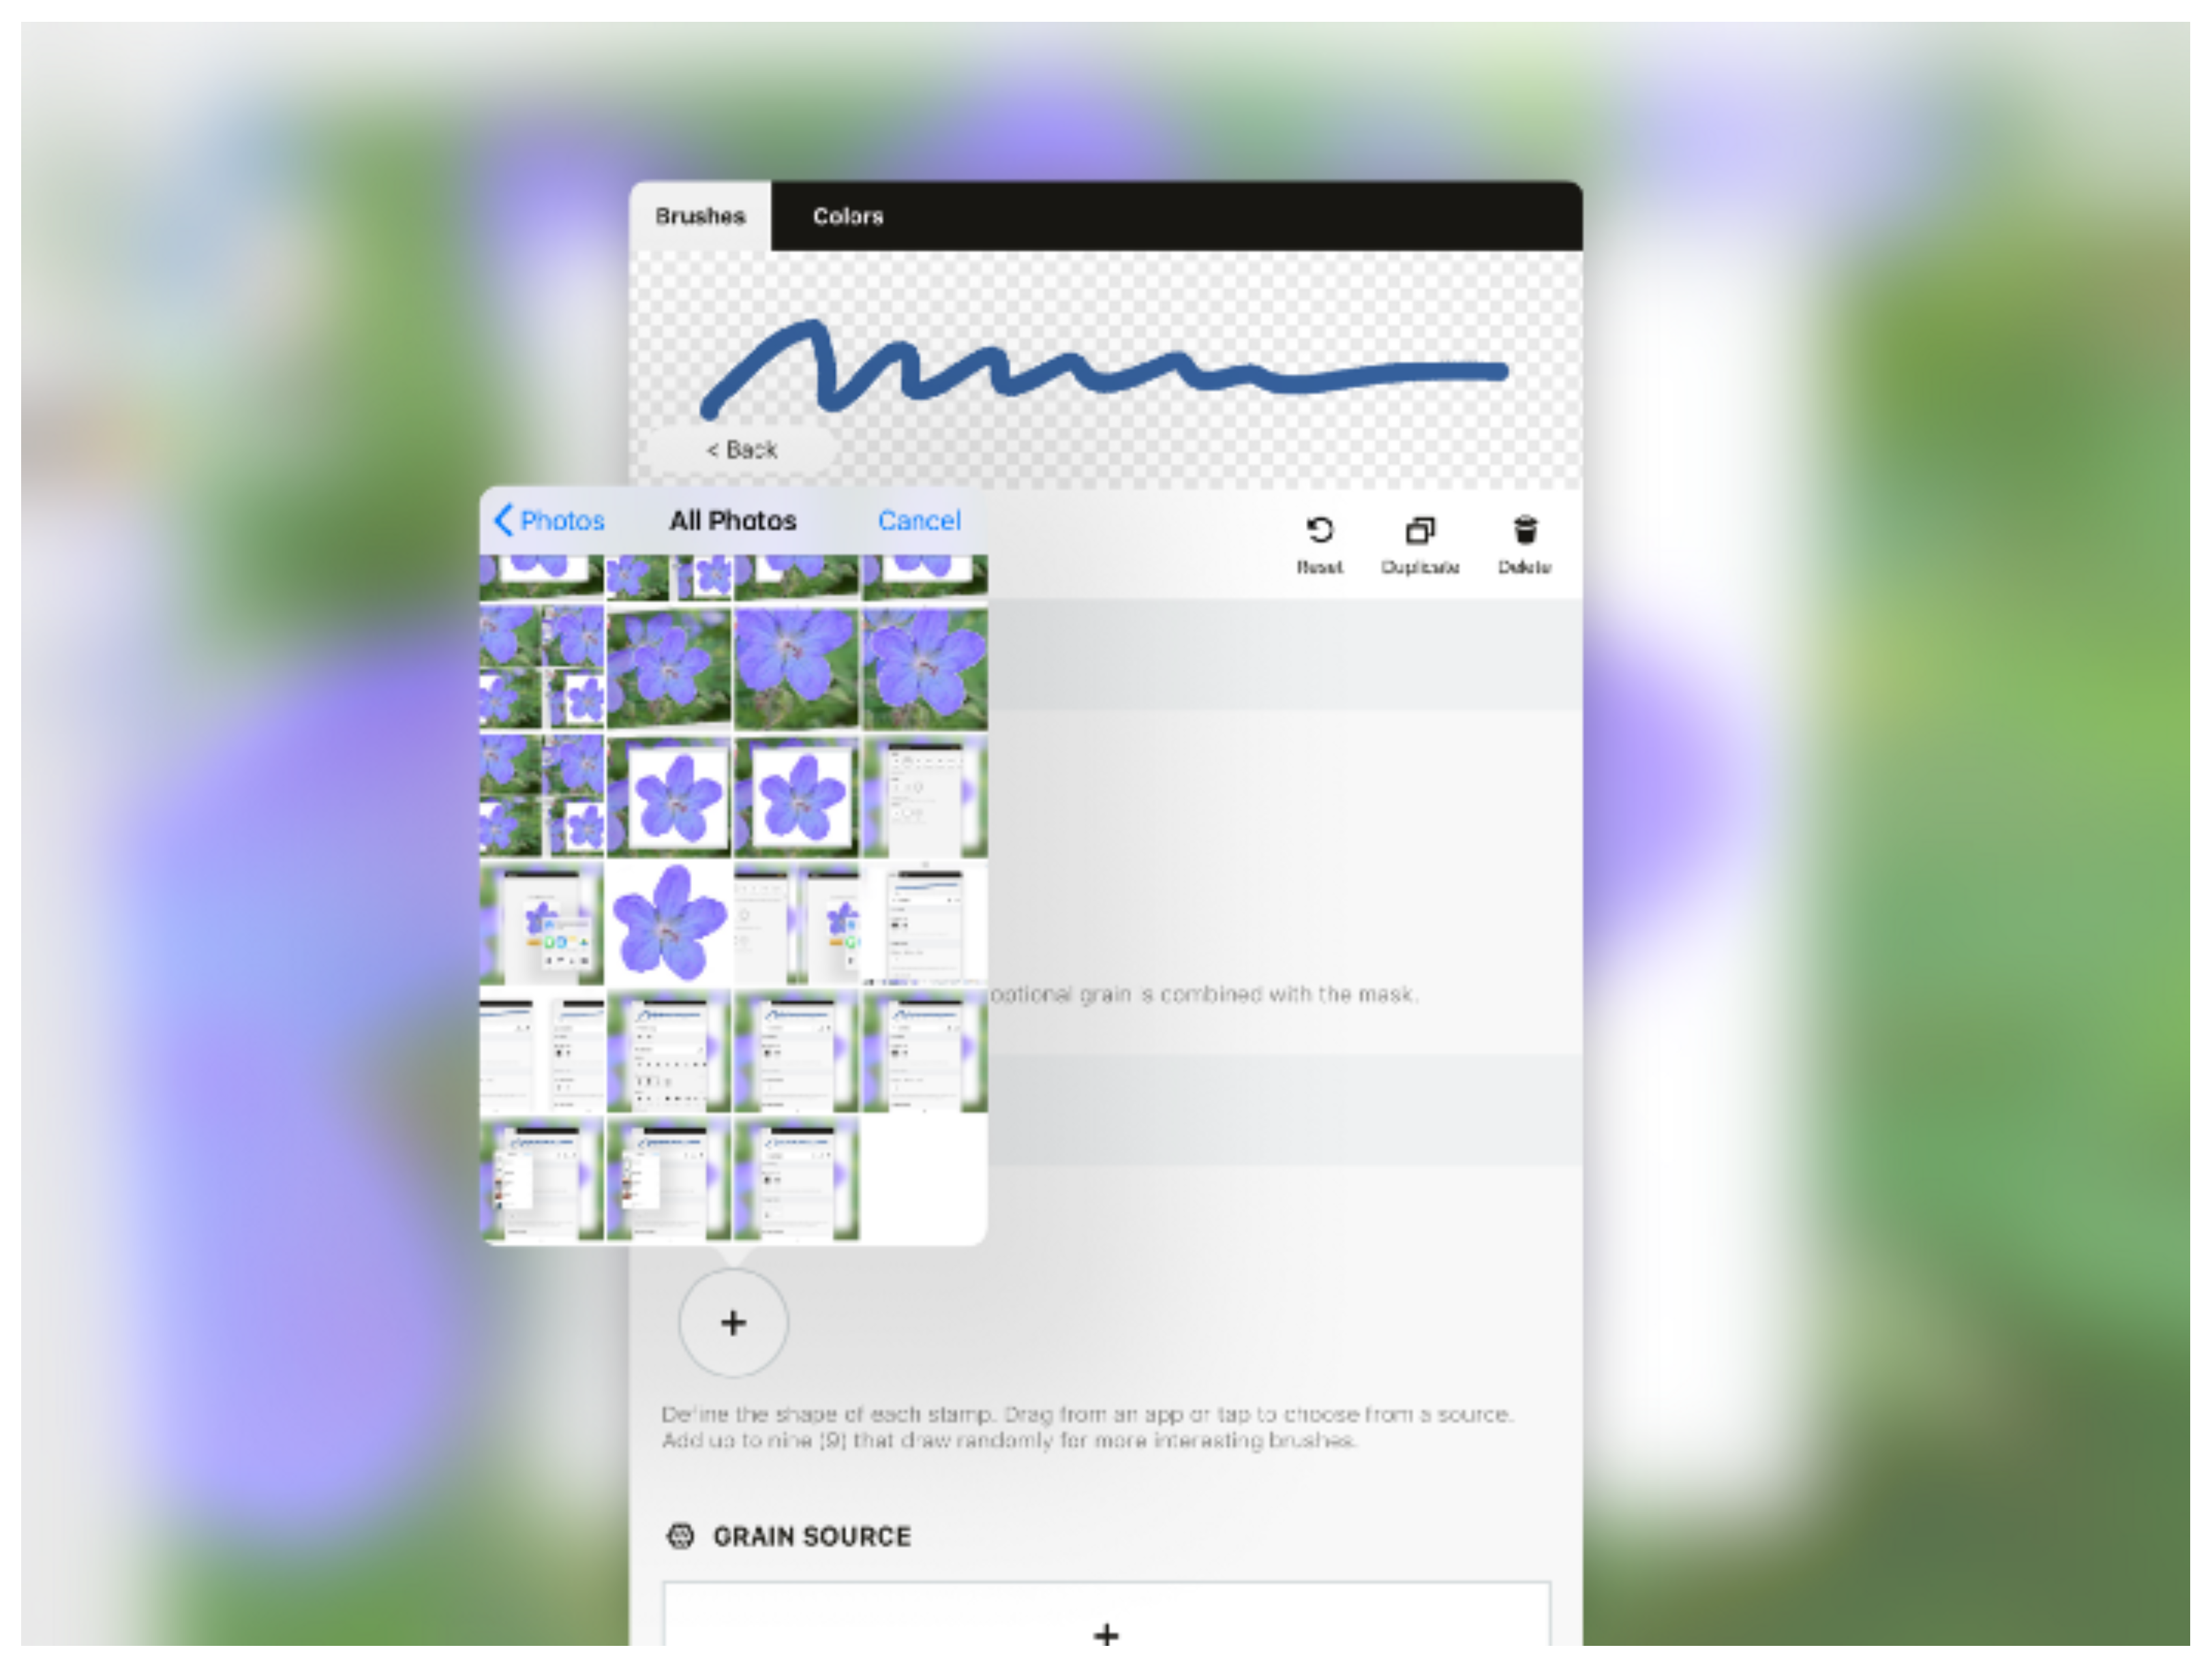
Import the flower image.
Did you see the stroke change up in the viewer with the import? With this stamp applied, the stroke now has petal-like edges.
Notice the image stamp has become grayscale in the Editor. This lets you apply any color to your brush.
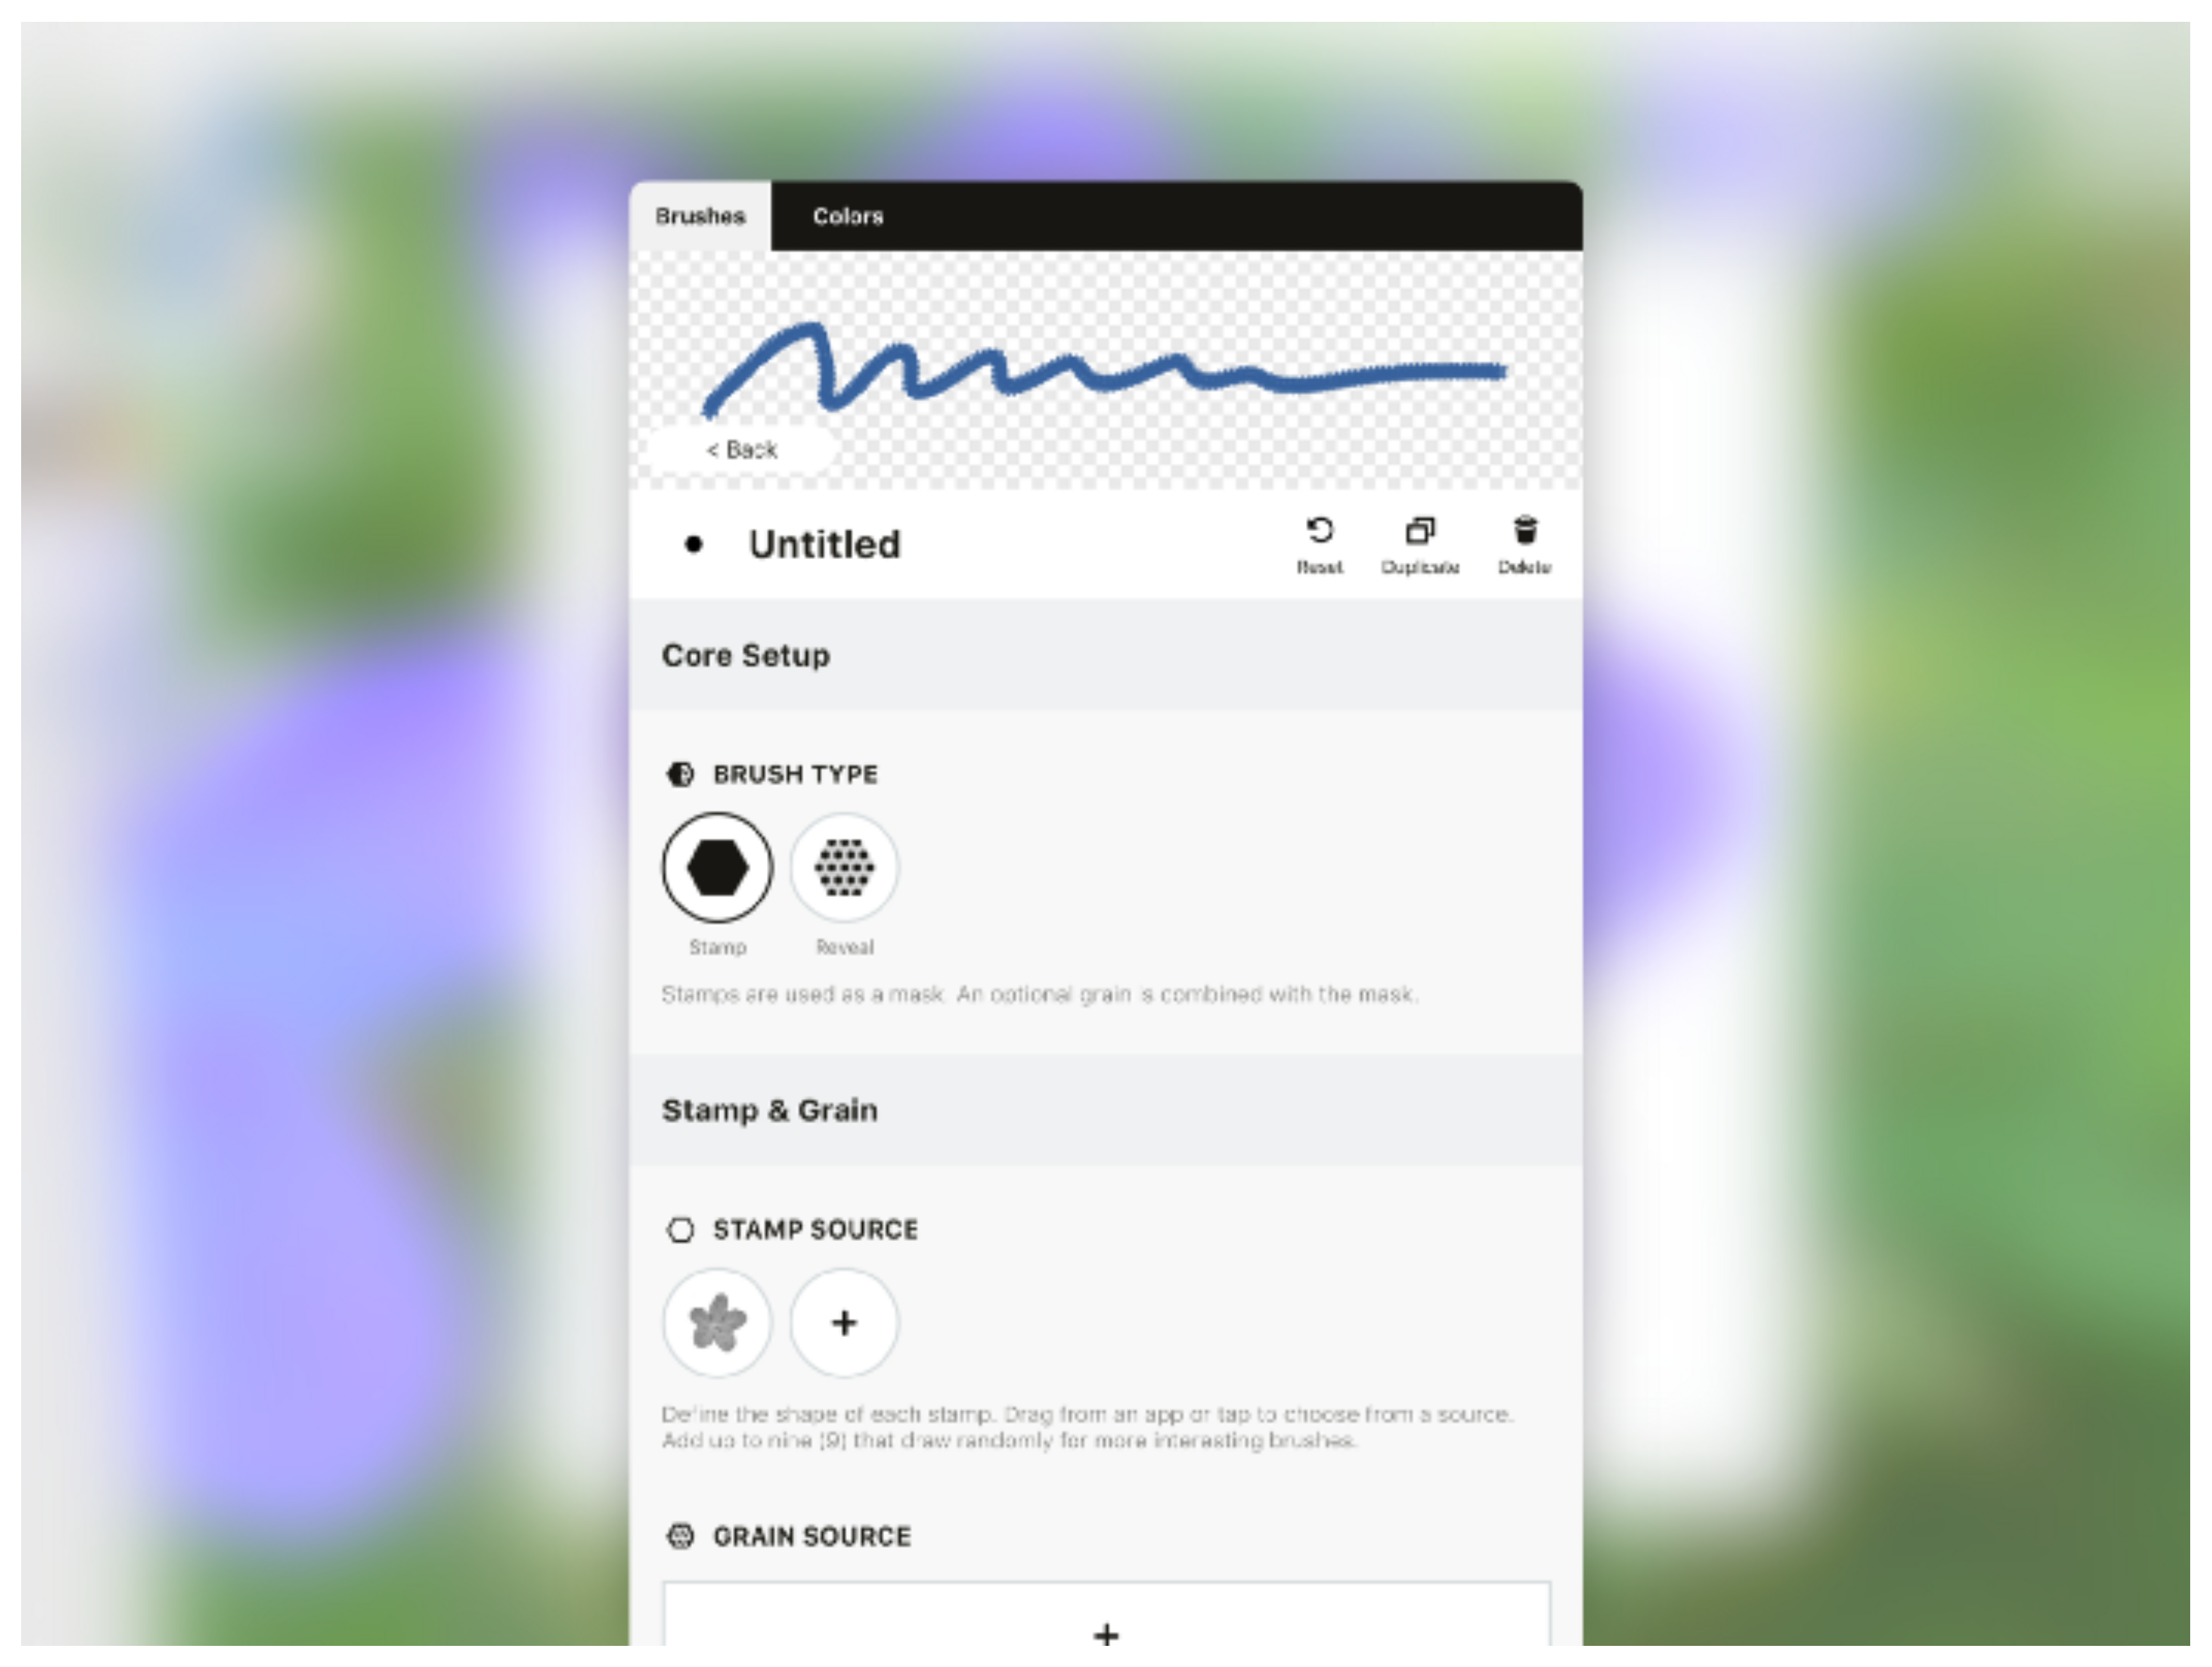
The default circular stamp is now replaced with the photo stamp.
This is technically a brush, but it’s also a really boring brush. Let’s space out the blossoms so you can actually see them, and give it a little dynamic personality.
3. Customize your brush.
First, draw a stroke in the viewer with the kind of flow you like to use when drawing.
Size. Head down to Size. Make the brush bigger so you get the full effect of the flowers. Here it is at 124 px.

Pressure. While you’re at it, add some pressure sensitivity to the brush by applying a smooth, upward slope to the size variance graph. Make sure the Pressure tab is active for the graph. Start at the left side of the graph and draw upward with your stylus.
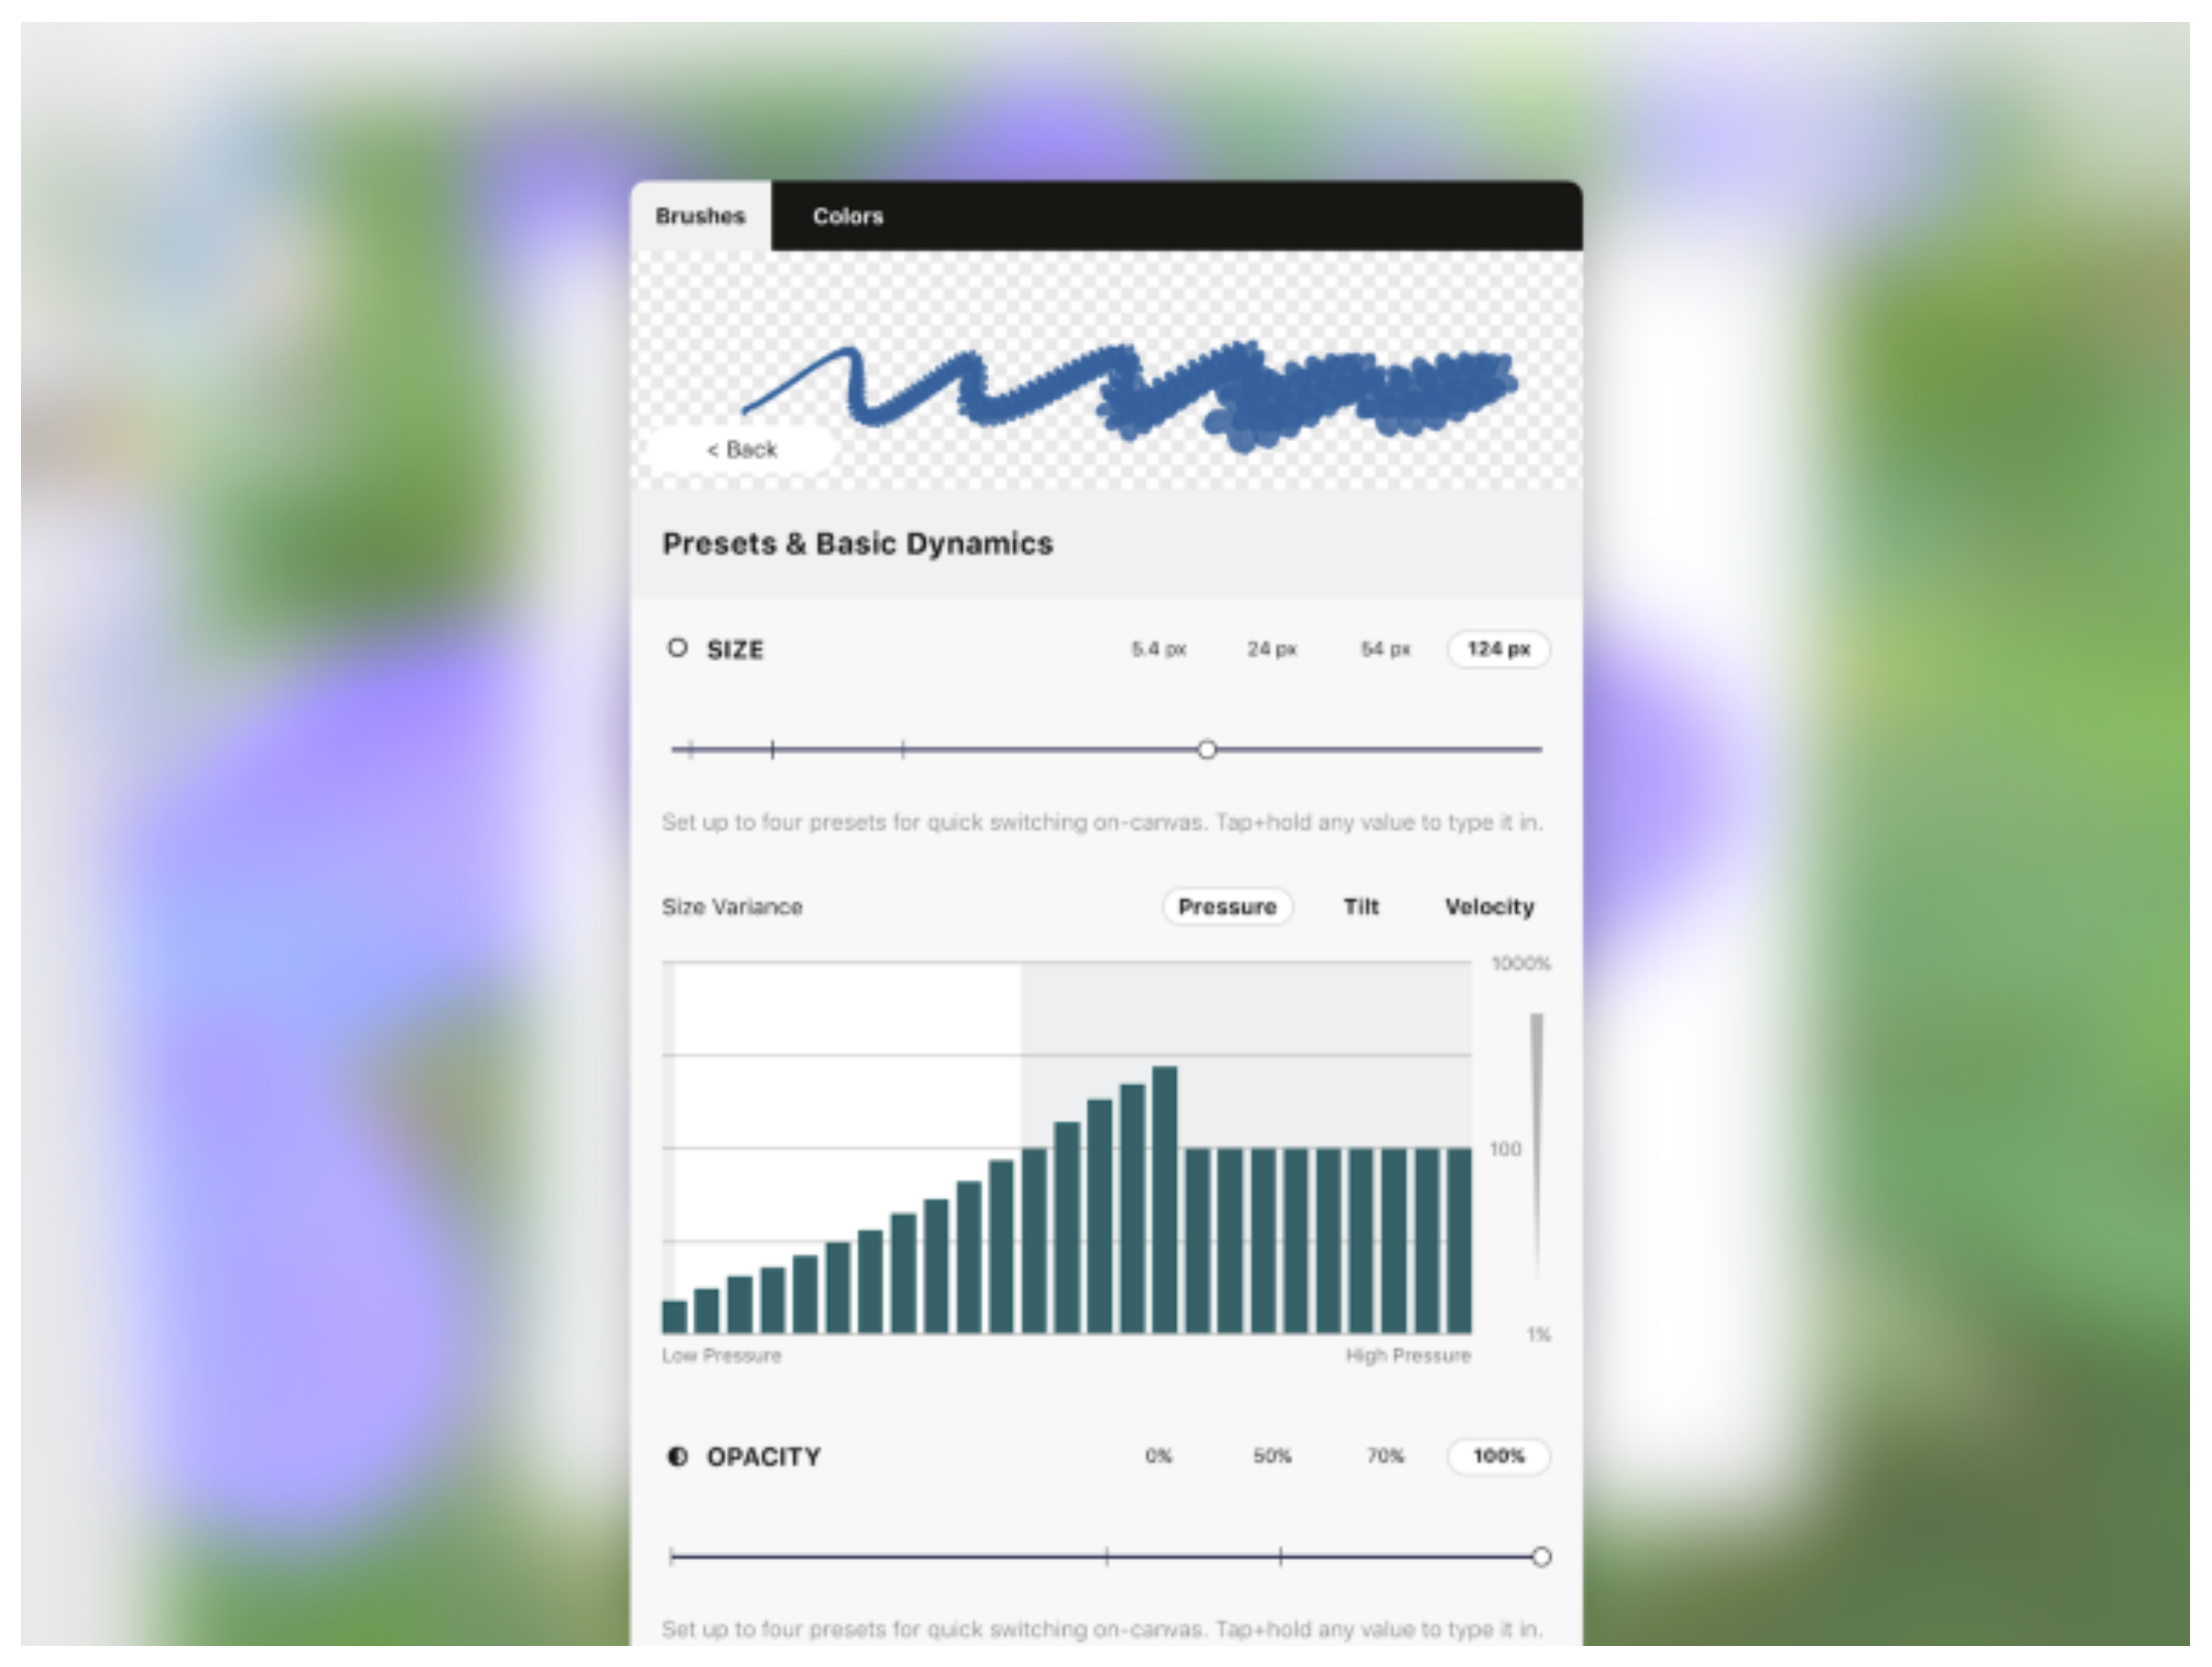
My pressure range is set to about half the graph, as you can see by the white area behind the bars. If yours is different, that’s absolutely fine, just draw the upward slope all the way across the white area.
Shape Spacing. Scroll down to Shape Controls and find Shape Spacing.
In the image below, you can see the two semi-circular handles on the slider are both at 30%. This means there is 30% spacing between stamps (out of 1000%), and as the handles are together, there is no randomness to their spacing — they are uniformly placed along the stroke.
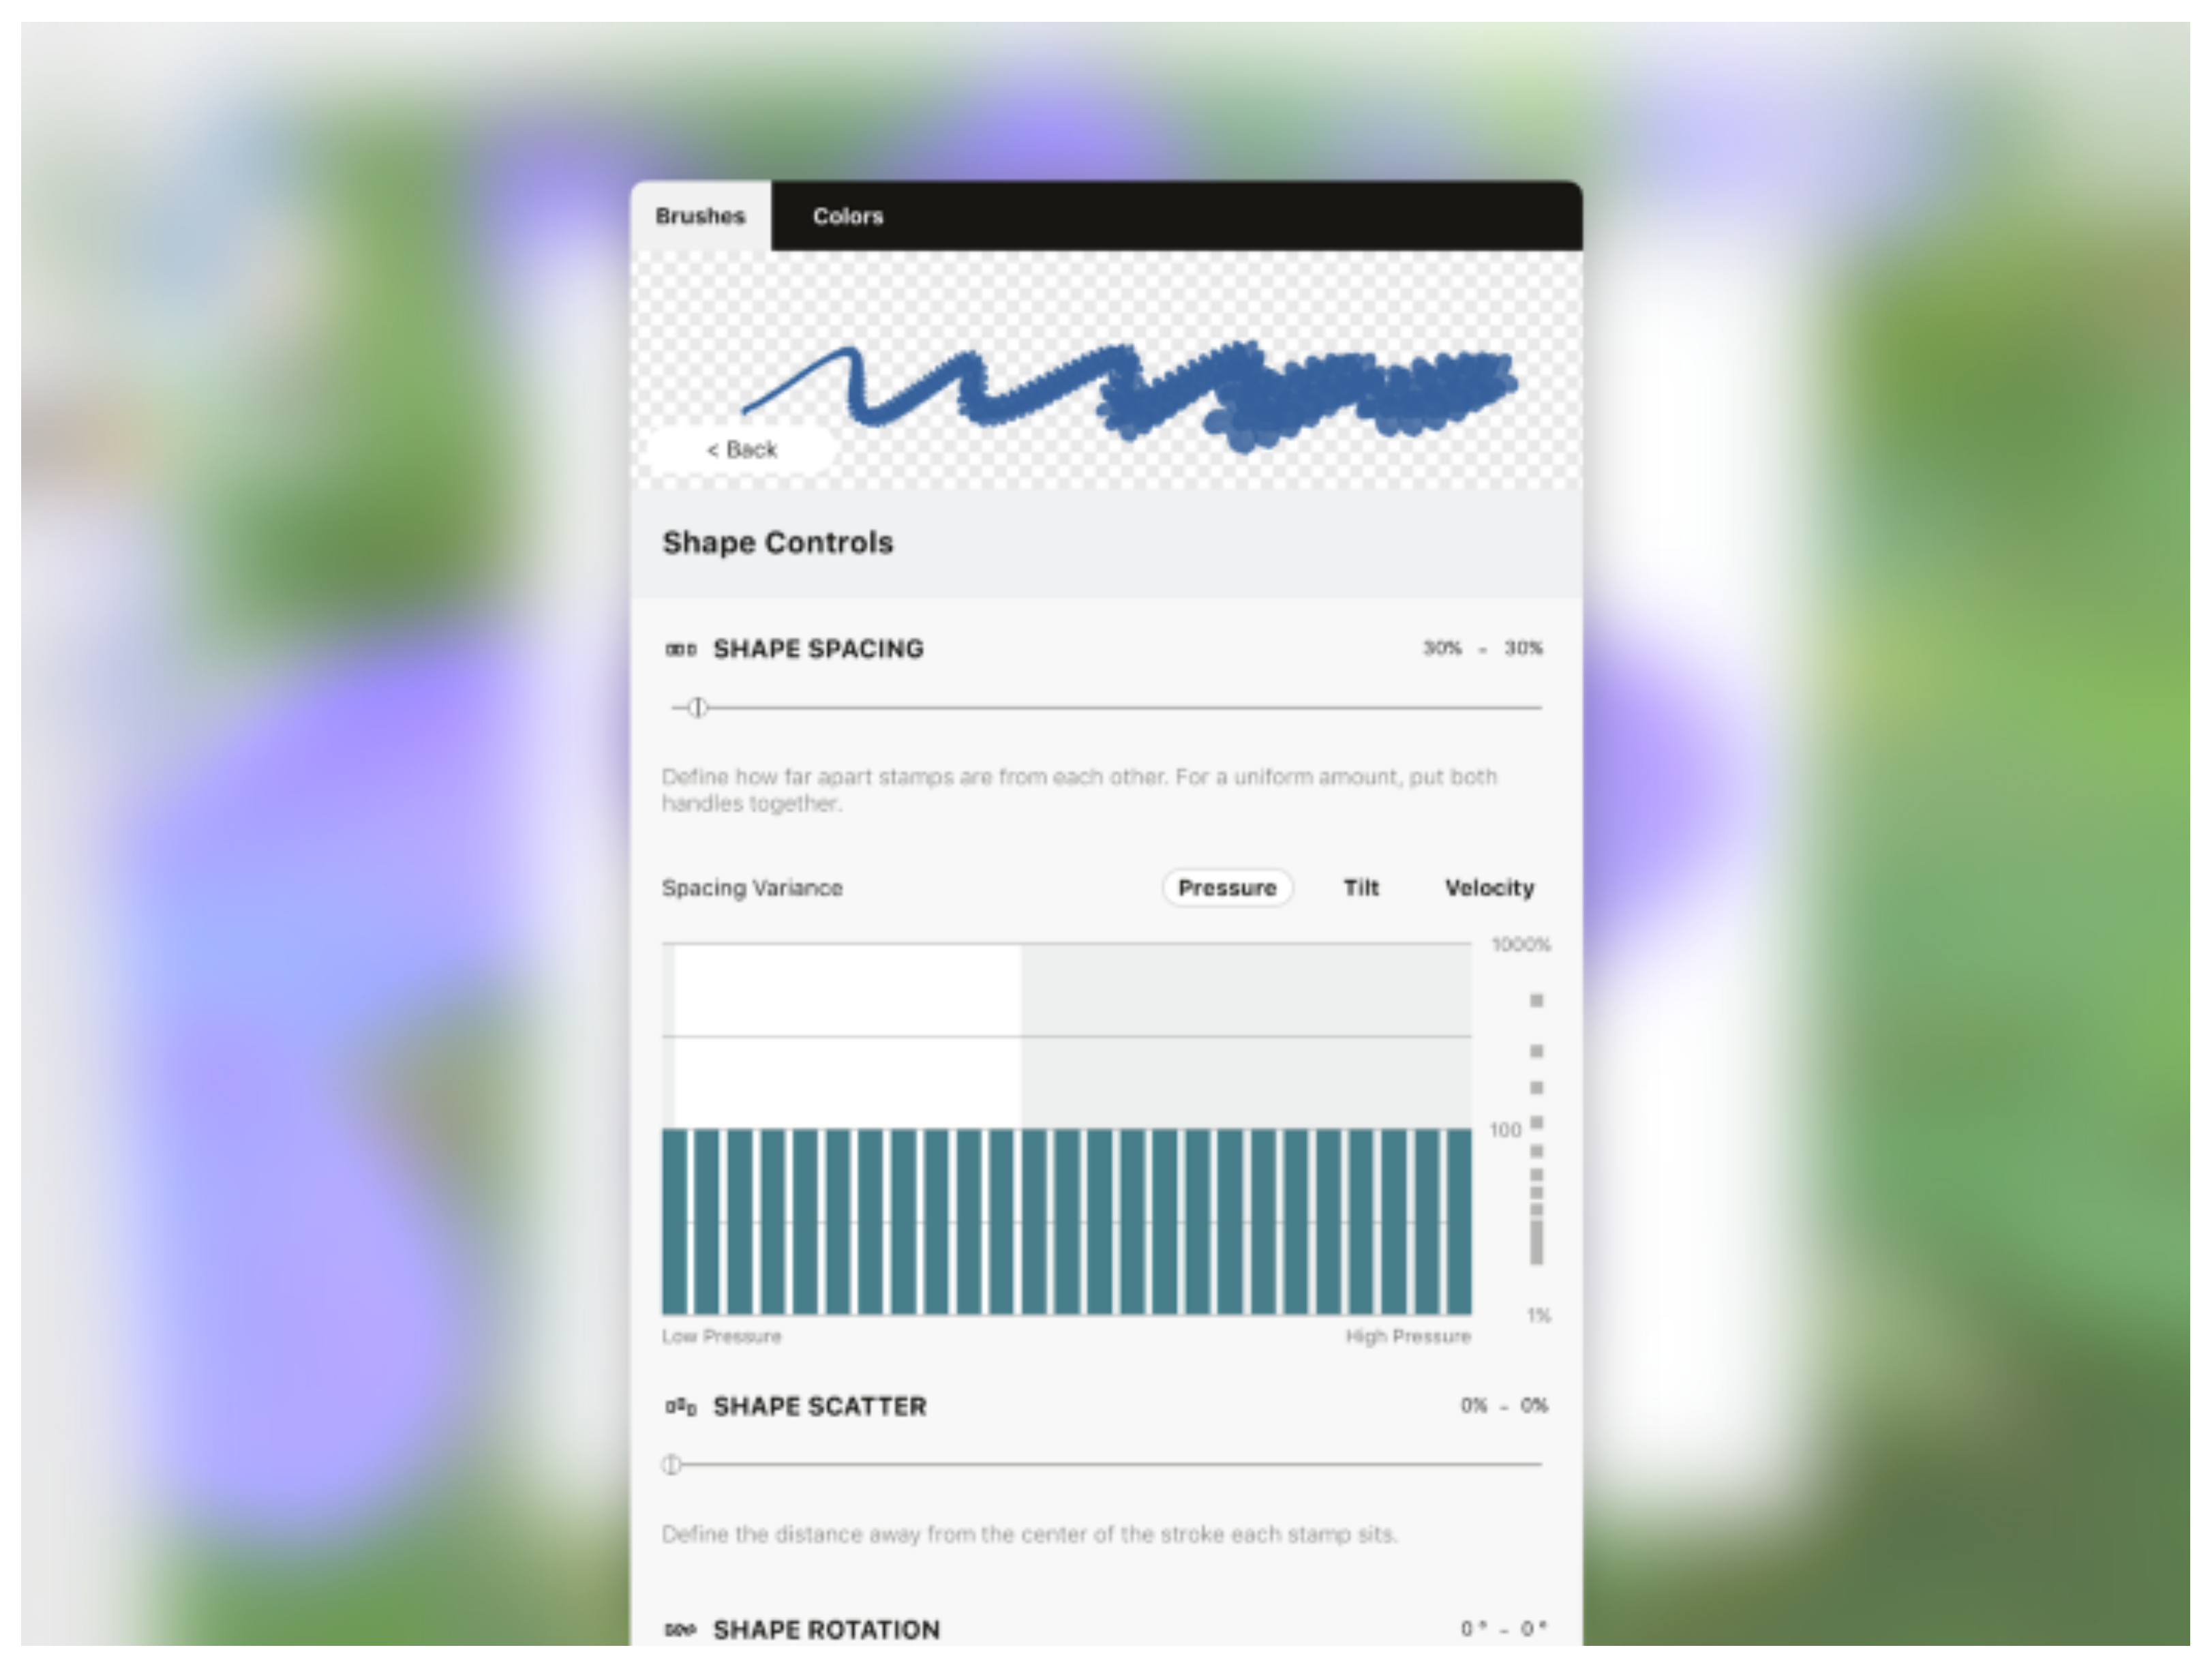
Working with stamp spacing.
Let’s give the stamps some randomness, like flowers in a meadow. Move the second handle until it’s at about 150%.
If the slider is tricky, you can tap+hold a value field and enter it in manually.
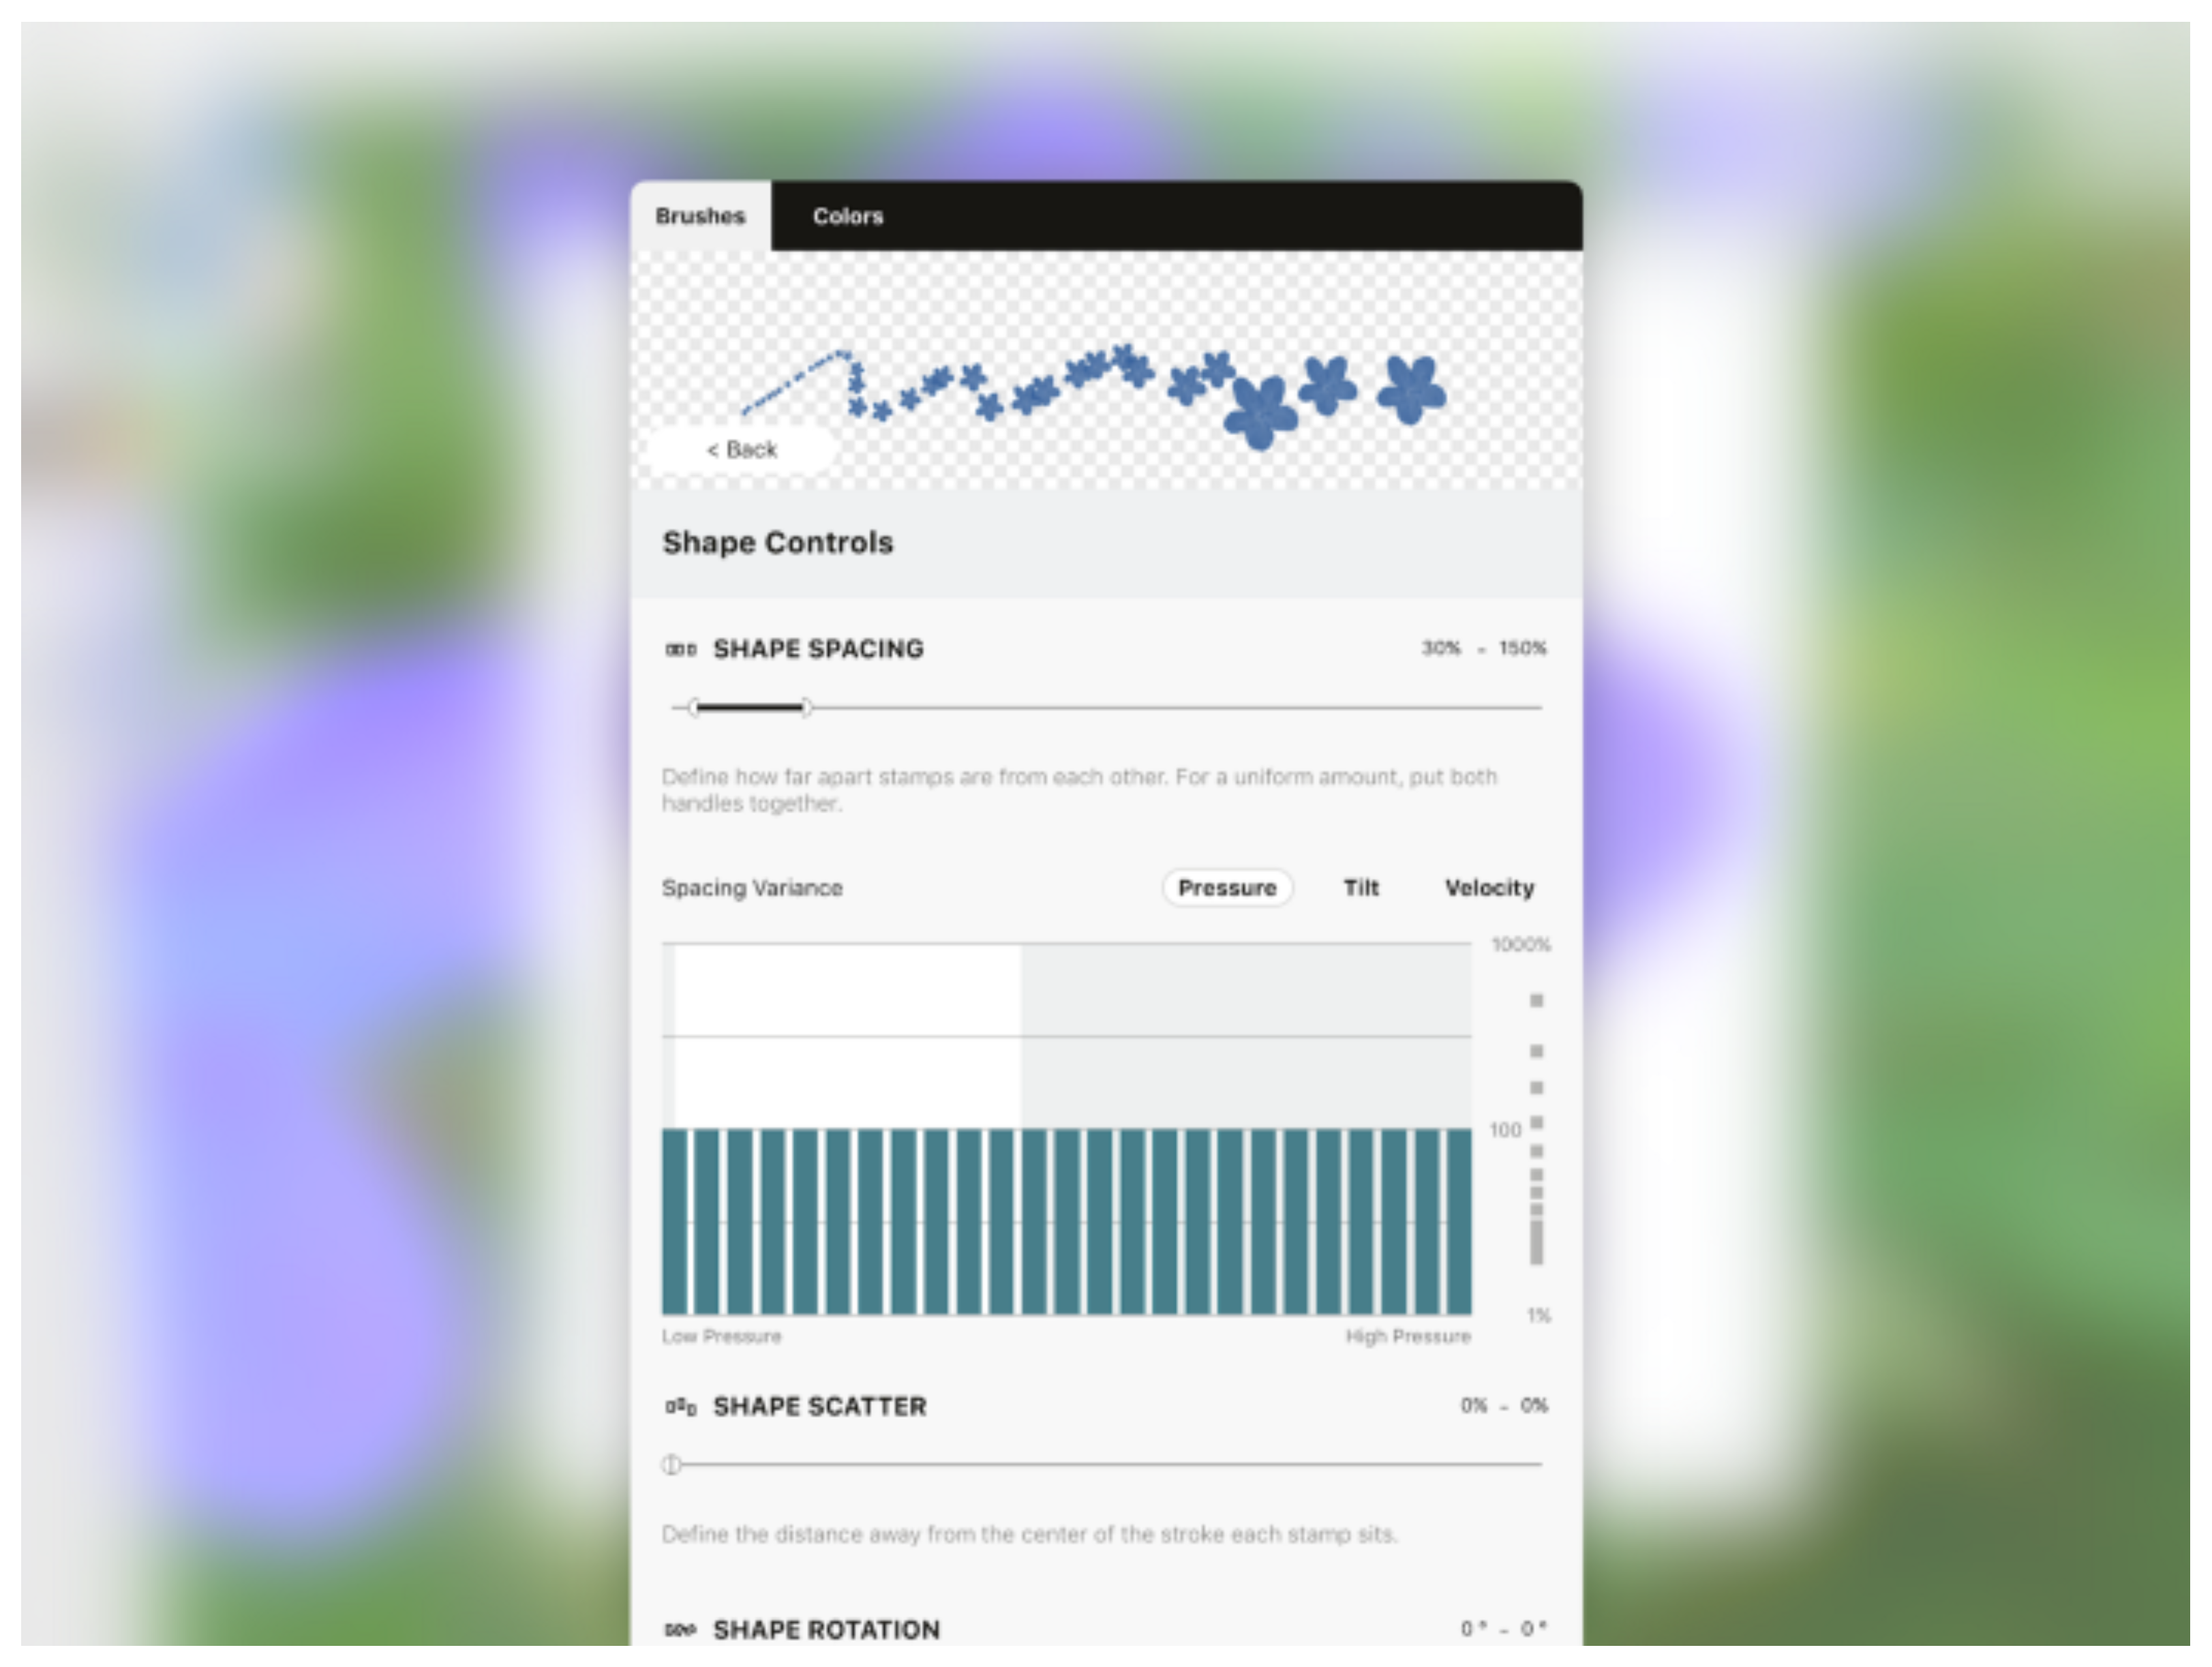
Some nice, randomized shape spacing.
For the sake of comparison, if you set both handles at 100% with no pressure variance on the brush size, it would create a very evenly spaced line of flowers — great for a border on an invitation, for example.
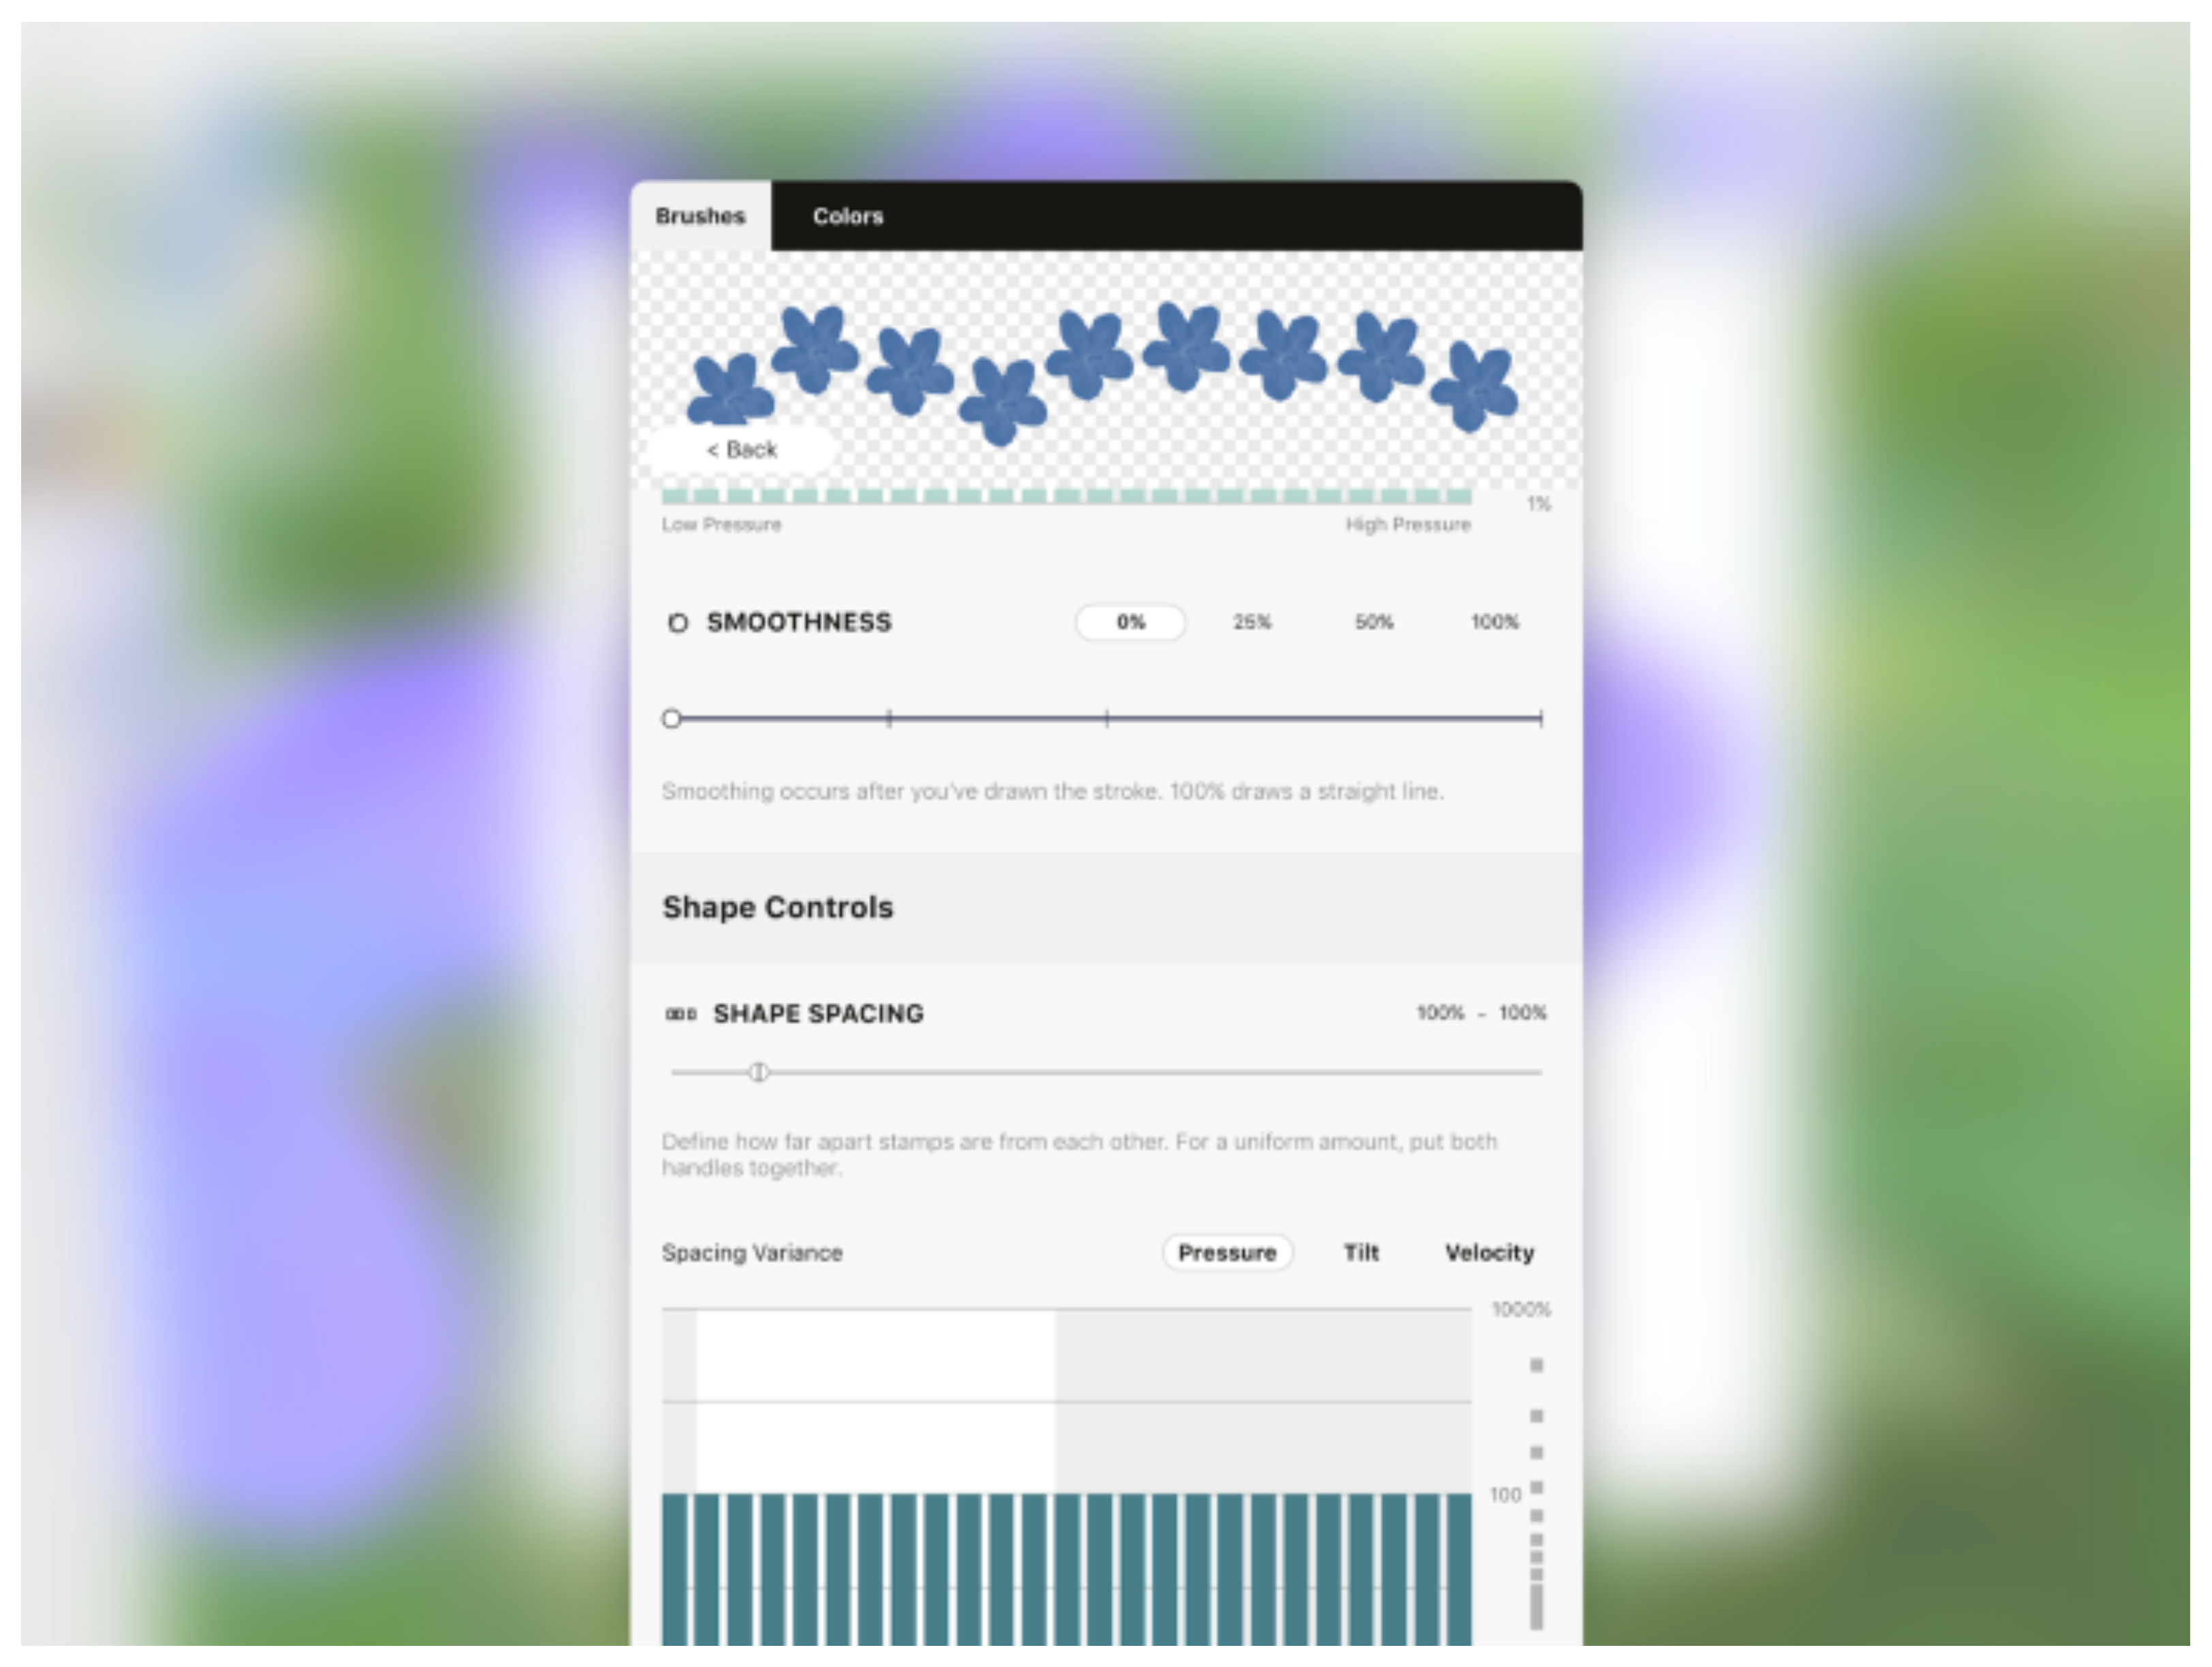
A uniformly sized + spaced brush.
But back to the meadow.
Shape Scatter. You can apply a range of random scatter to the stamp images along the stroke by separating the handles on the scatter slider.
Move the right handle up to 100% to give it a maximum range of scatter.
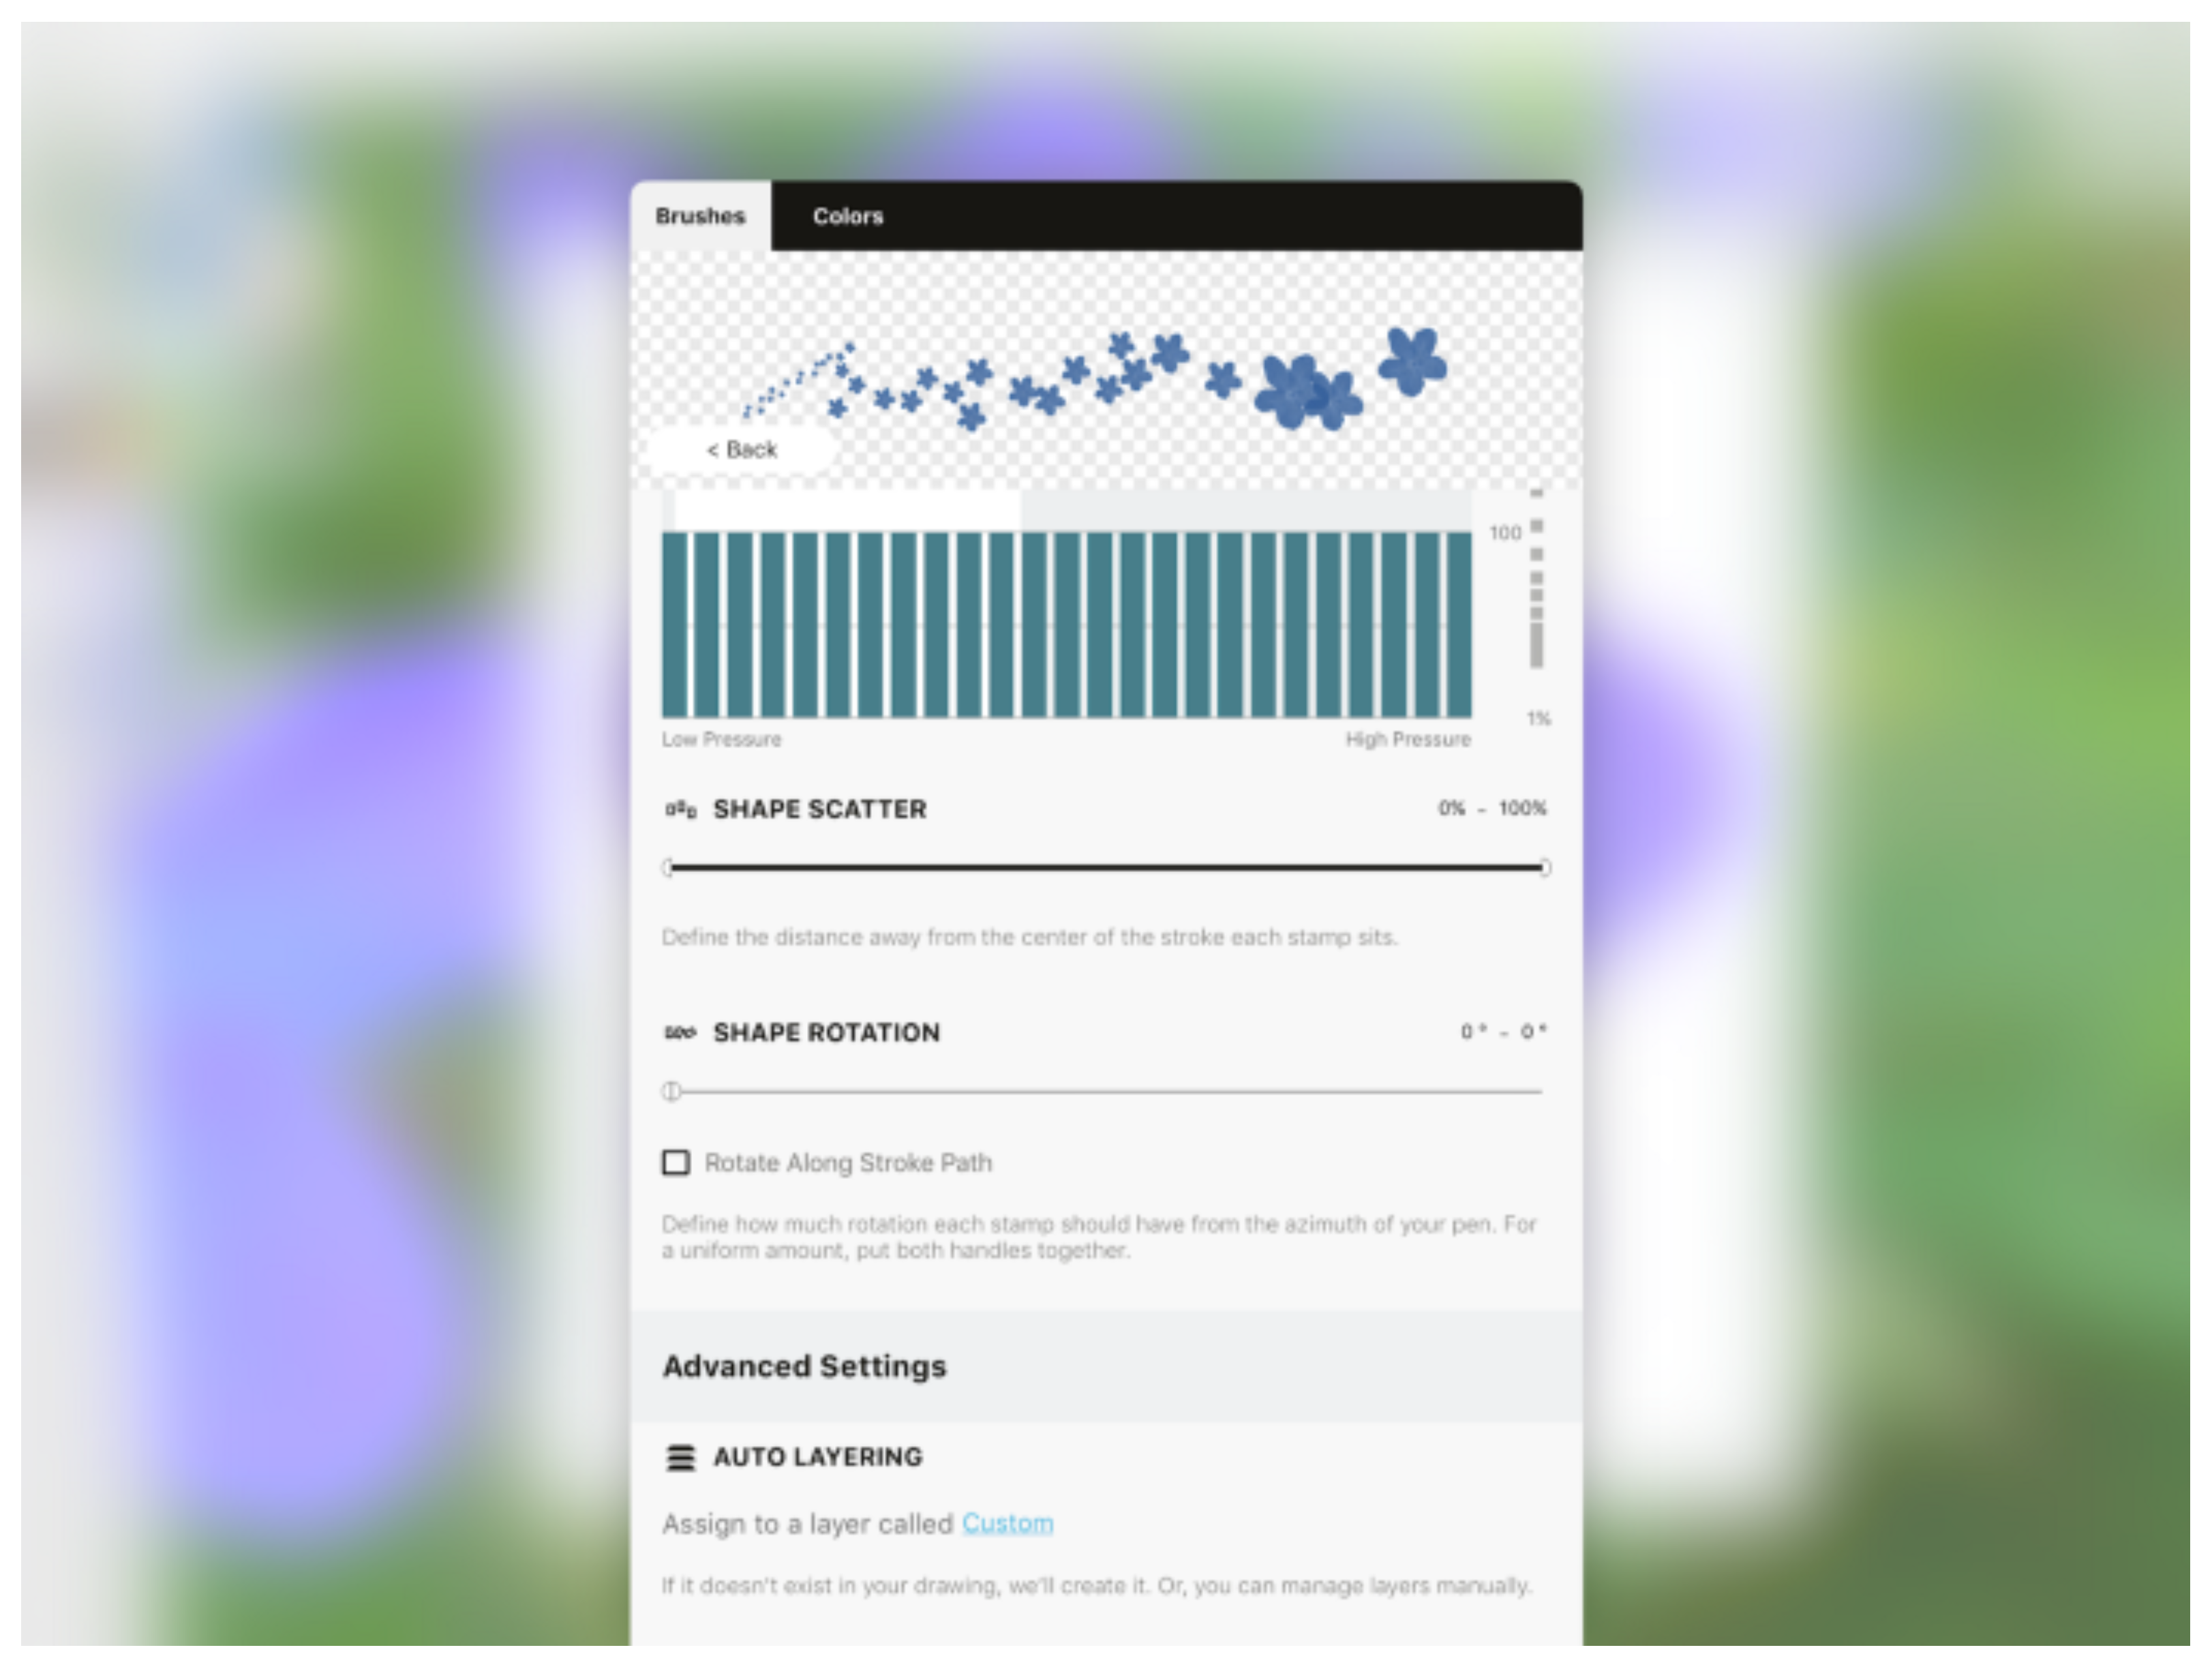
Looking a bit more like a meadow.
Shape Rotation. As not all blossoms are rotated to the same angle in nature, let’s give the stamps some randomly-generated rotation, too. Under Shape Rotation, move the handles apart to create a range of random rotation.
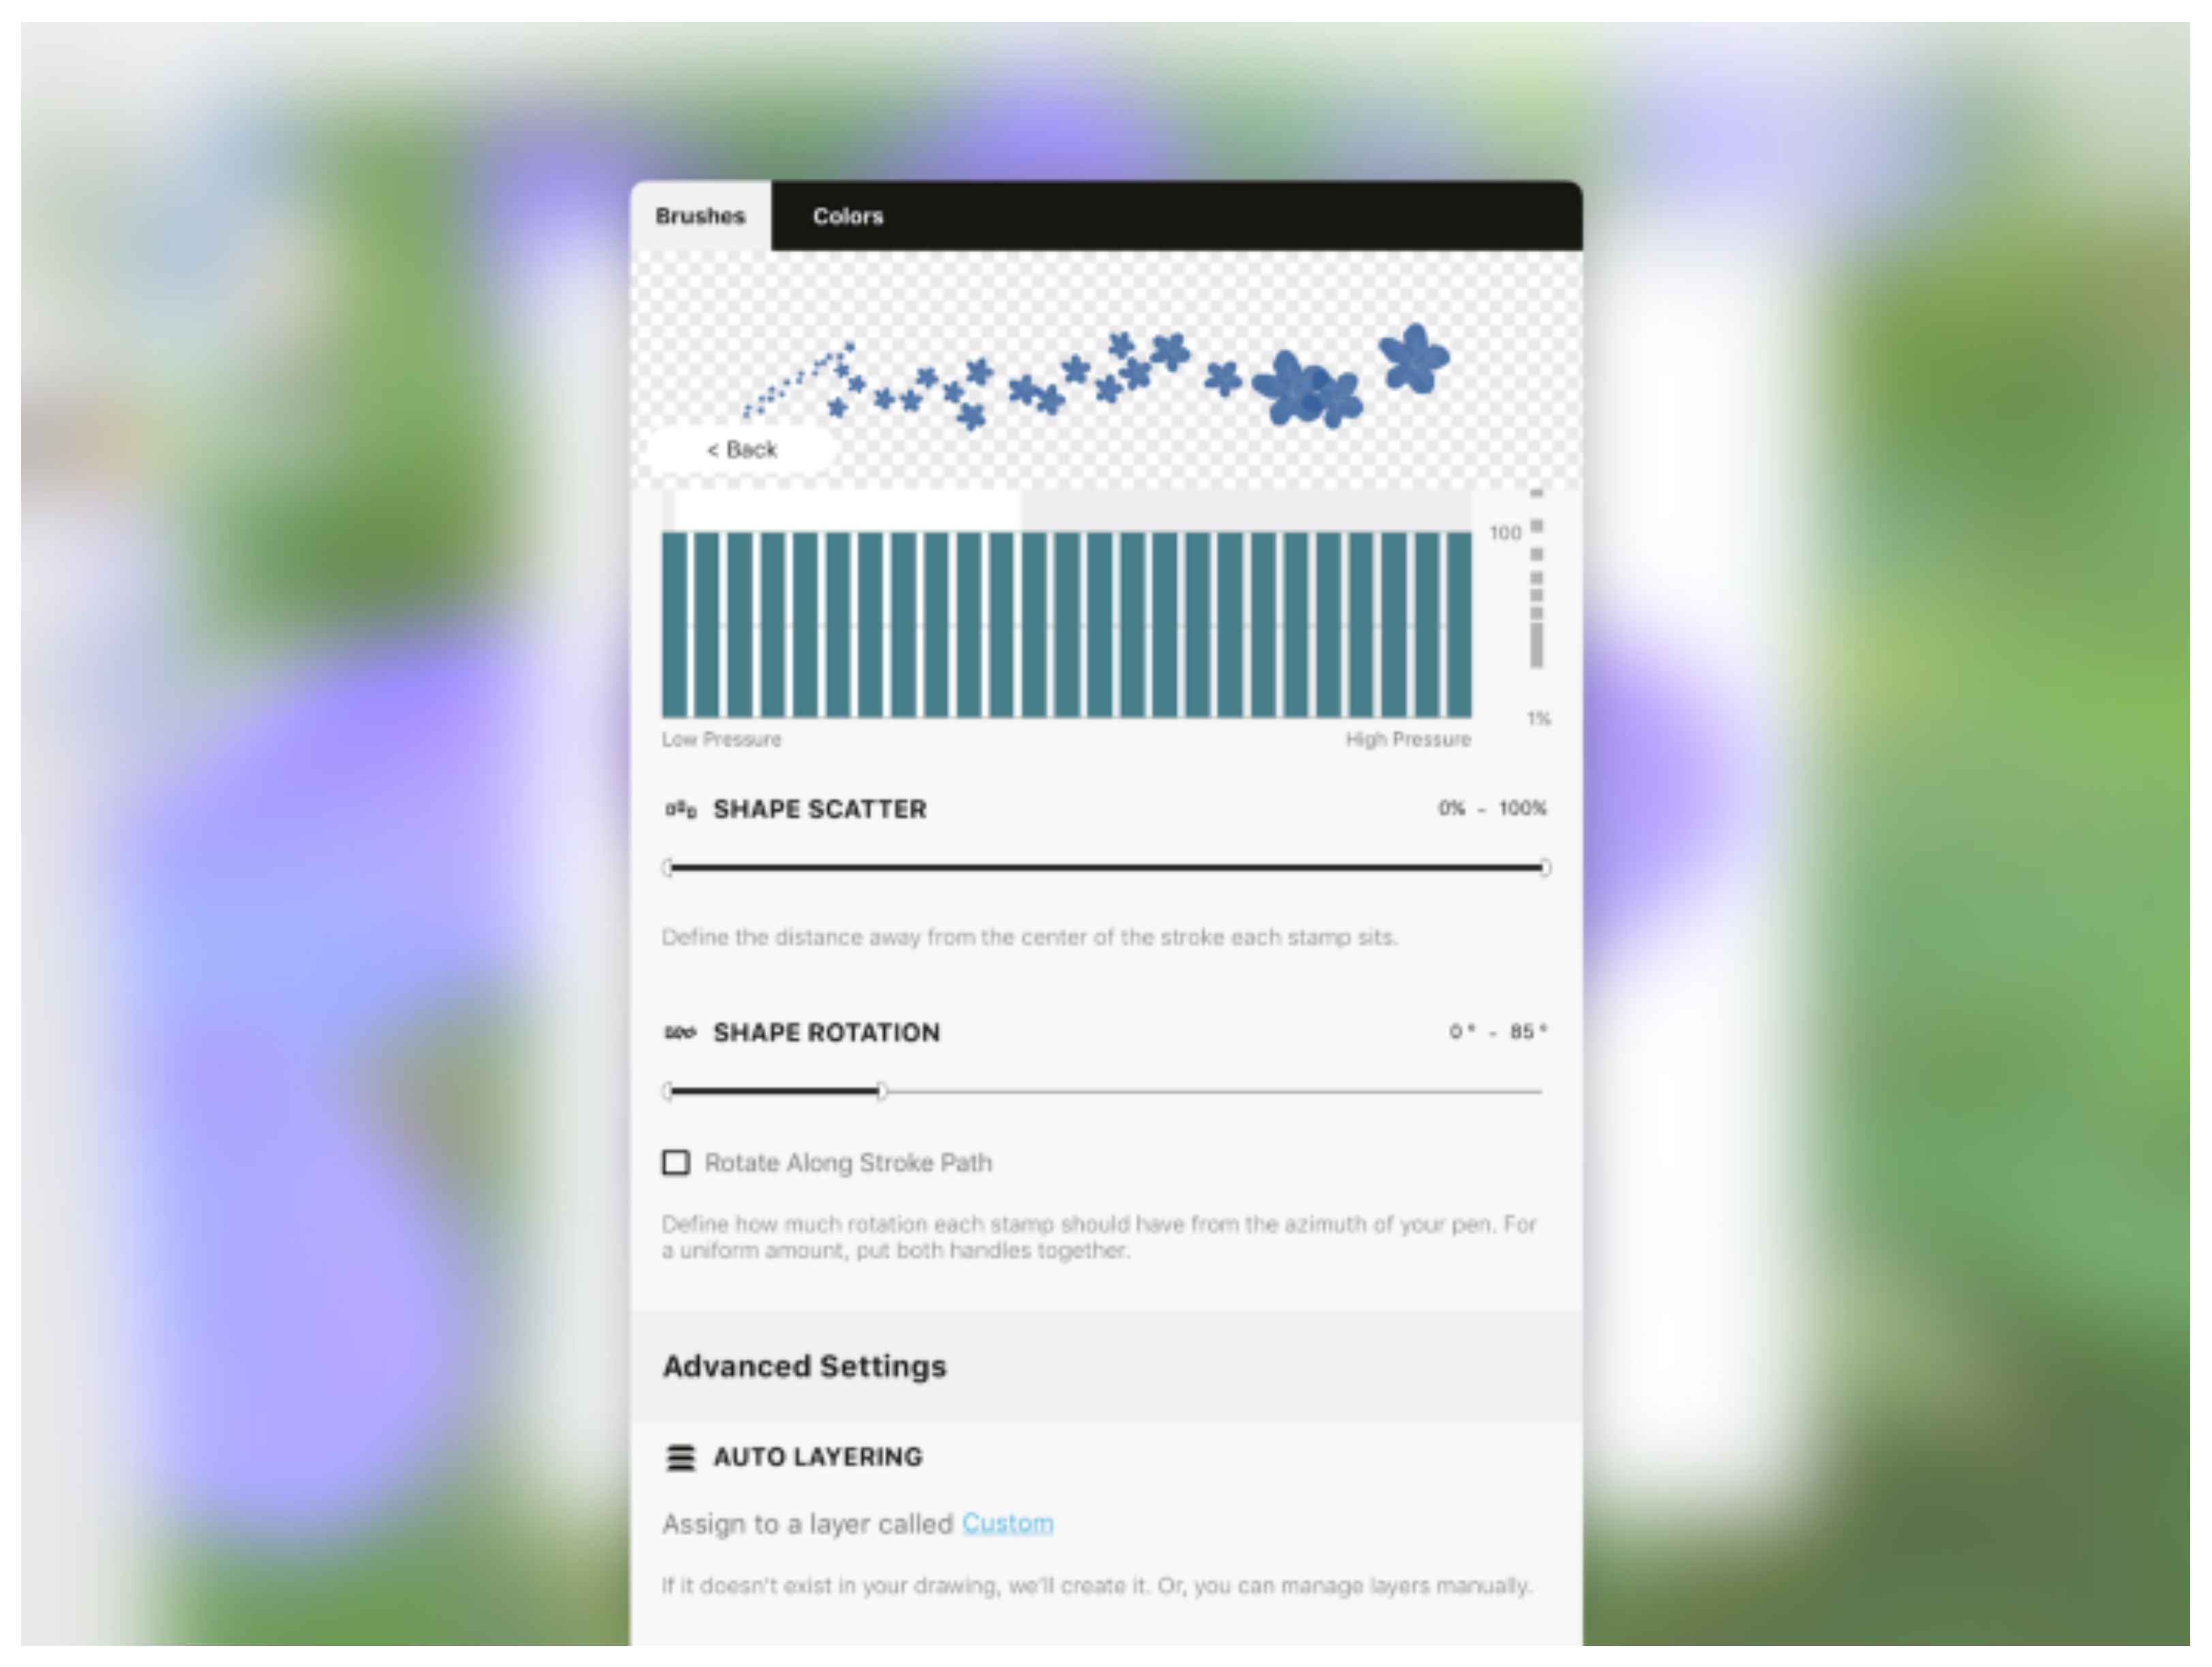
85% looks good to me.
4. Customize the layer name.
Finally, let’s give the brush its own layer name. Move down to Advanced Settings and tap the layer label. It reads Custom at the moment.
Choose a layer type from the pre-set choices or give your brush its own layer title: Flower.
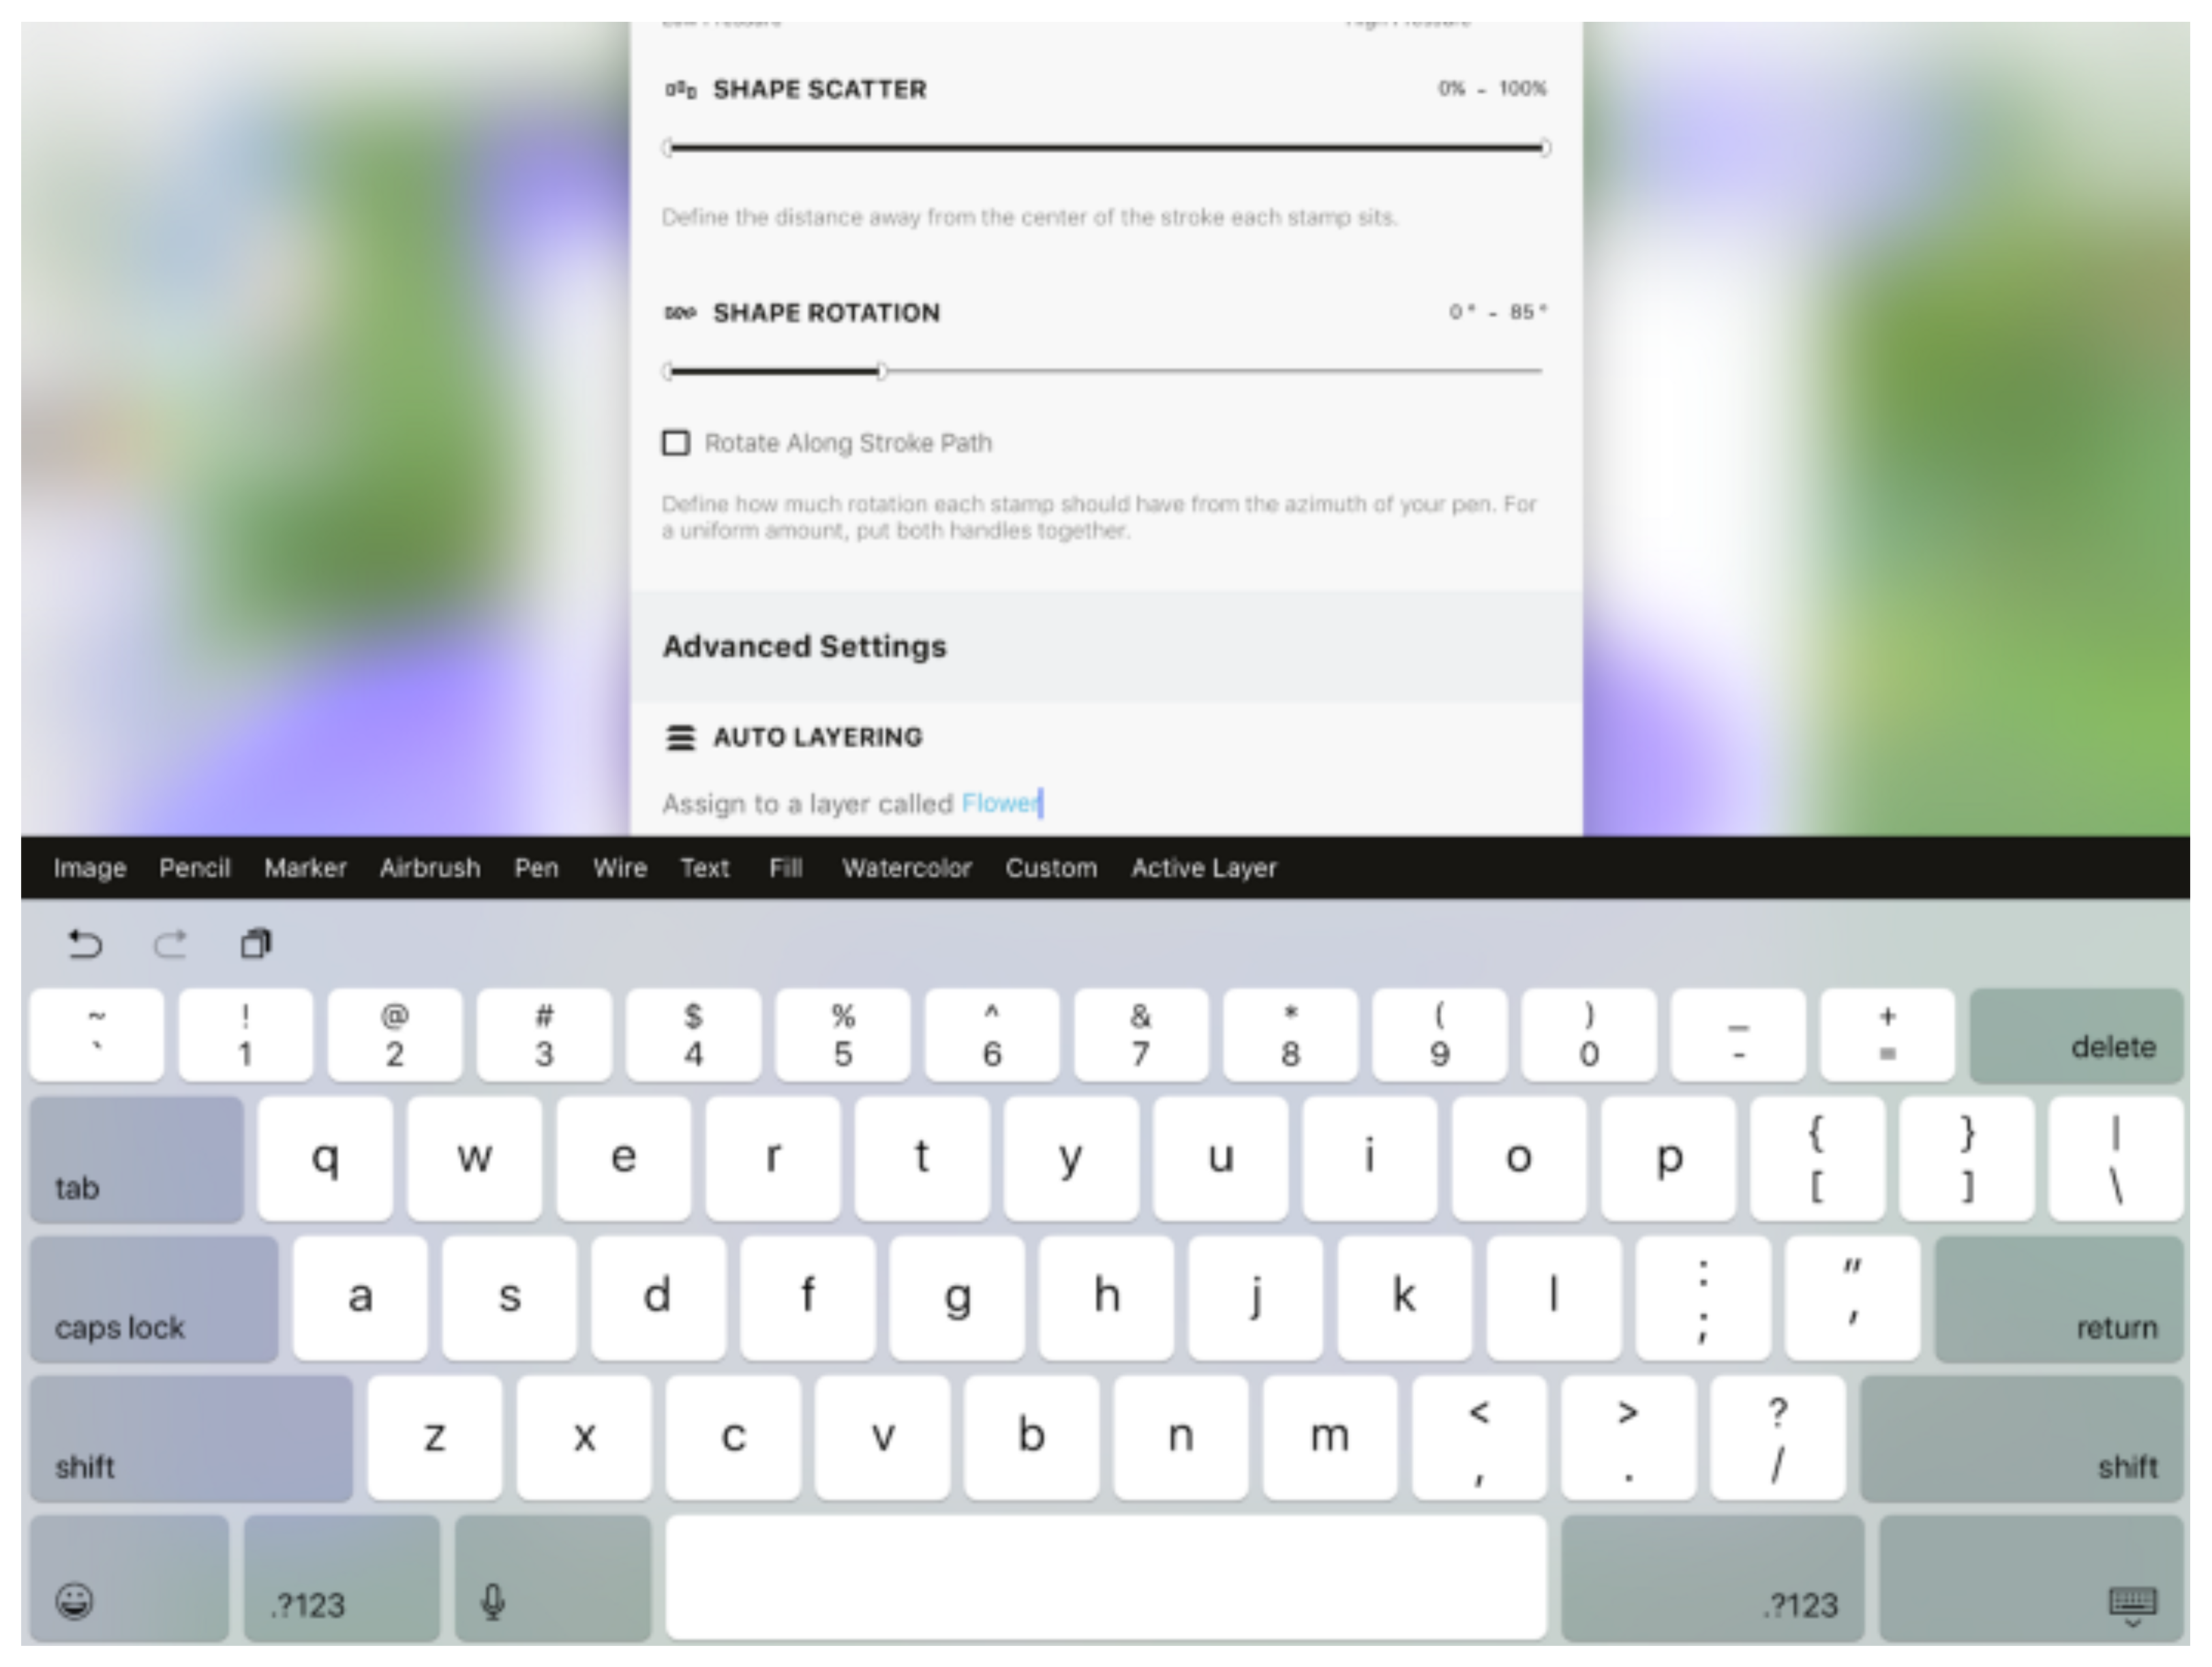
Naming your layers allows your to easily find your brush when using Automatic Layering, which sorts for you by tool type.
That’s all there is to this brush, well made! It’s ready to be used in an art piece, as a decorative border for a flyer, or as a quick scatter of flowers on a landscape design.
Creating the Art
Exit the Brush Editor and the Brushes menu, and head back to the canvas.
With your new brush, tap the stylus to the canvas for a single flower, or draw for a string of blossoms.
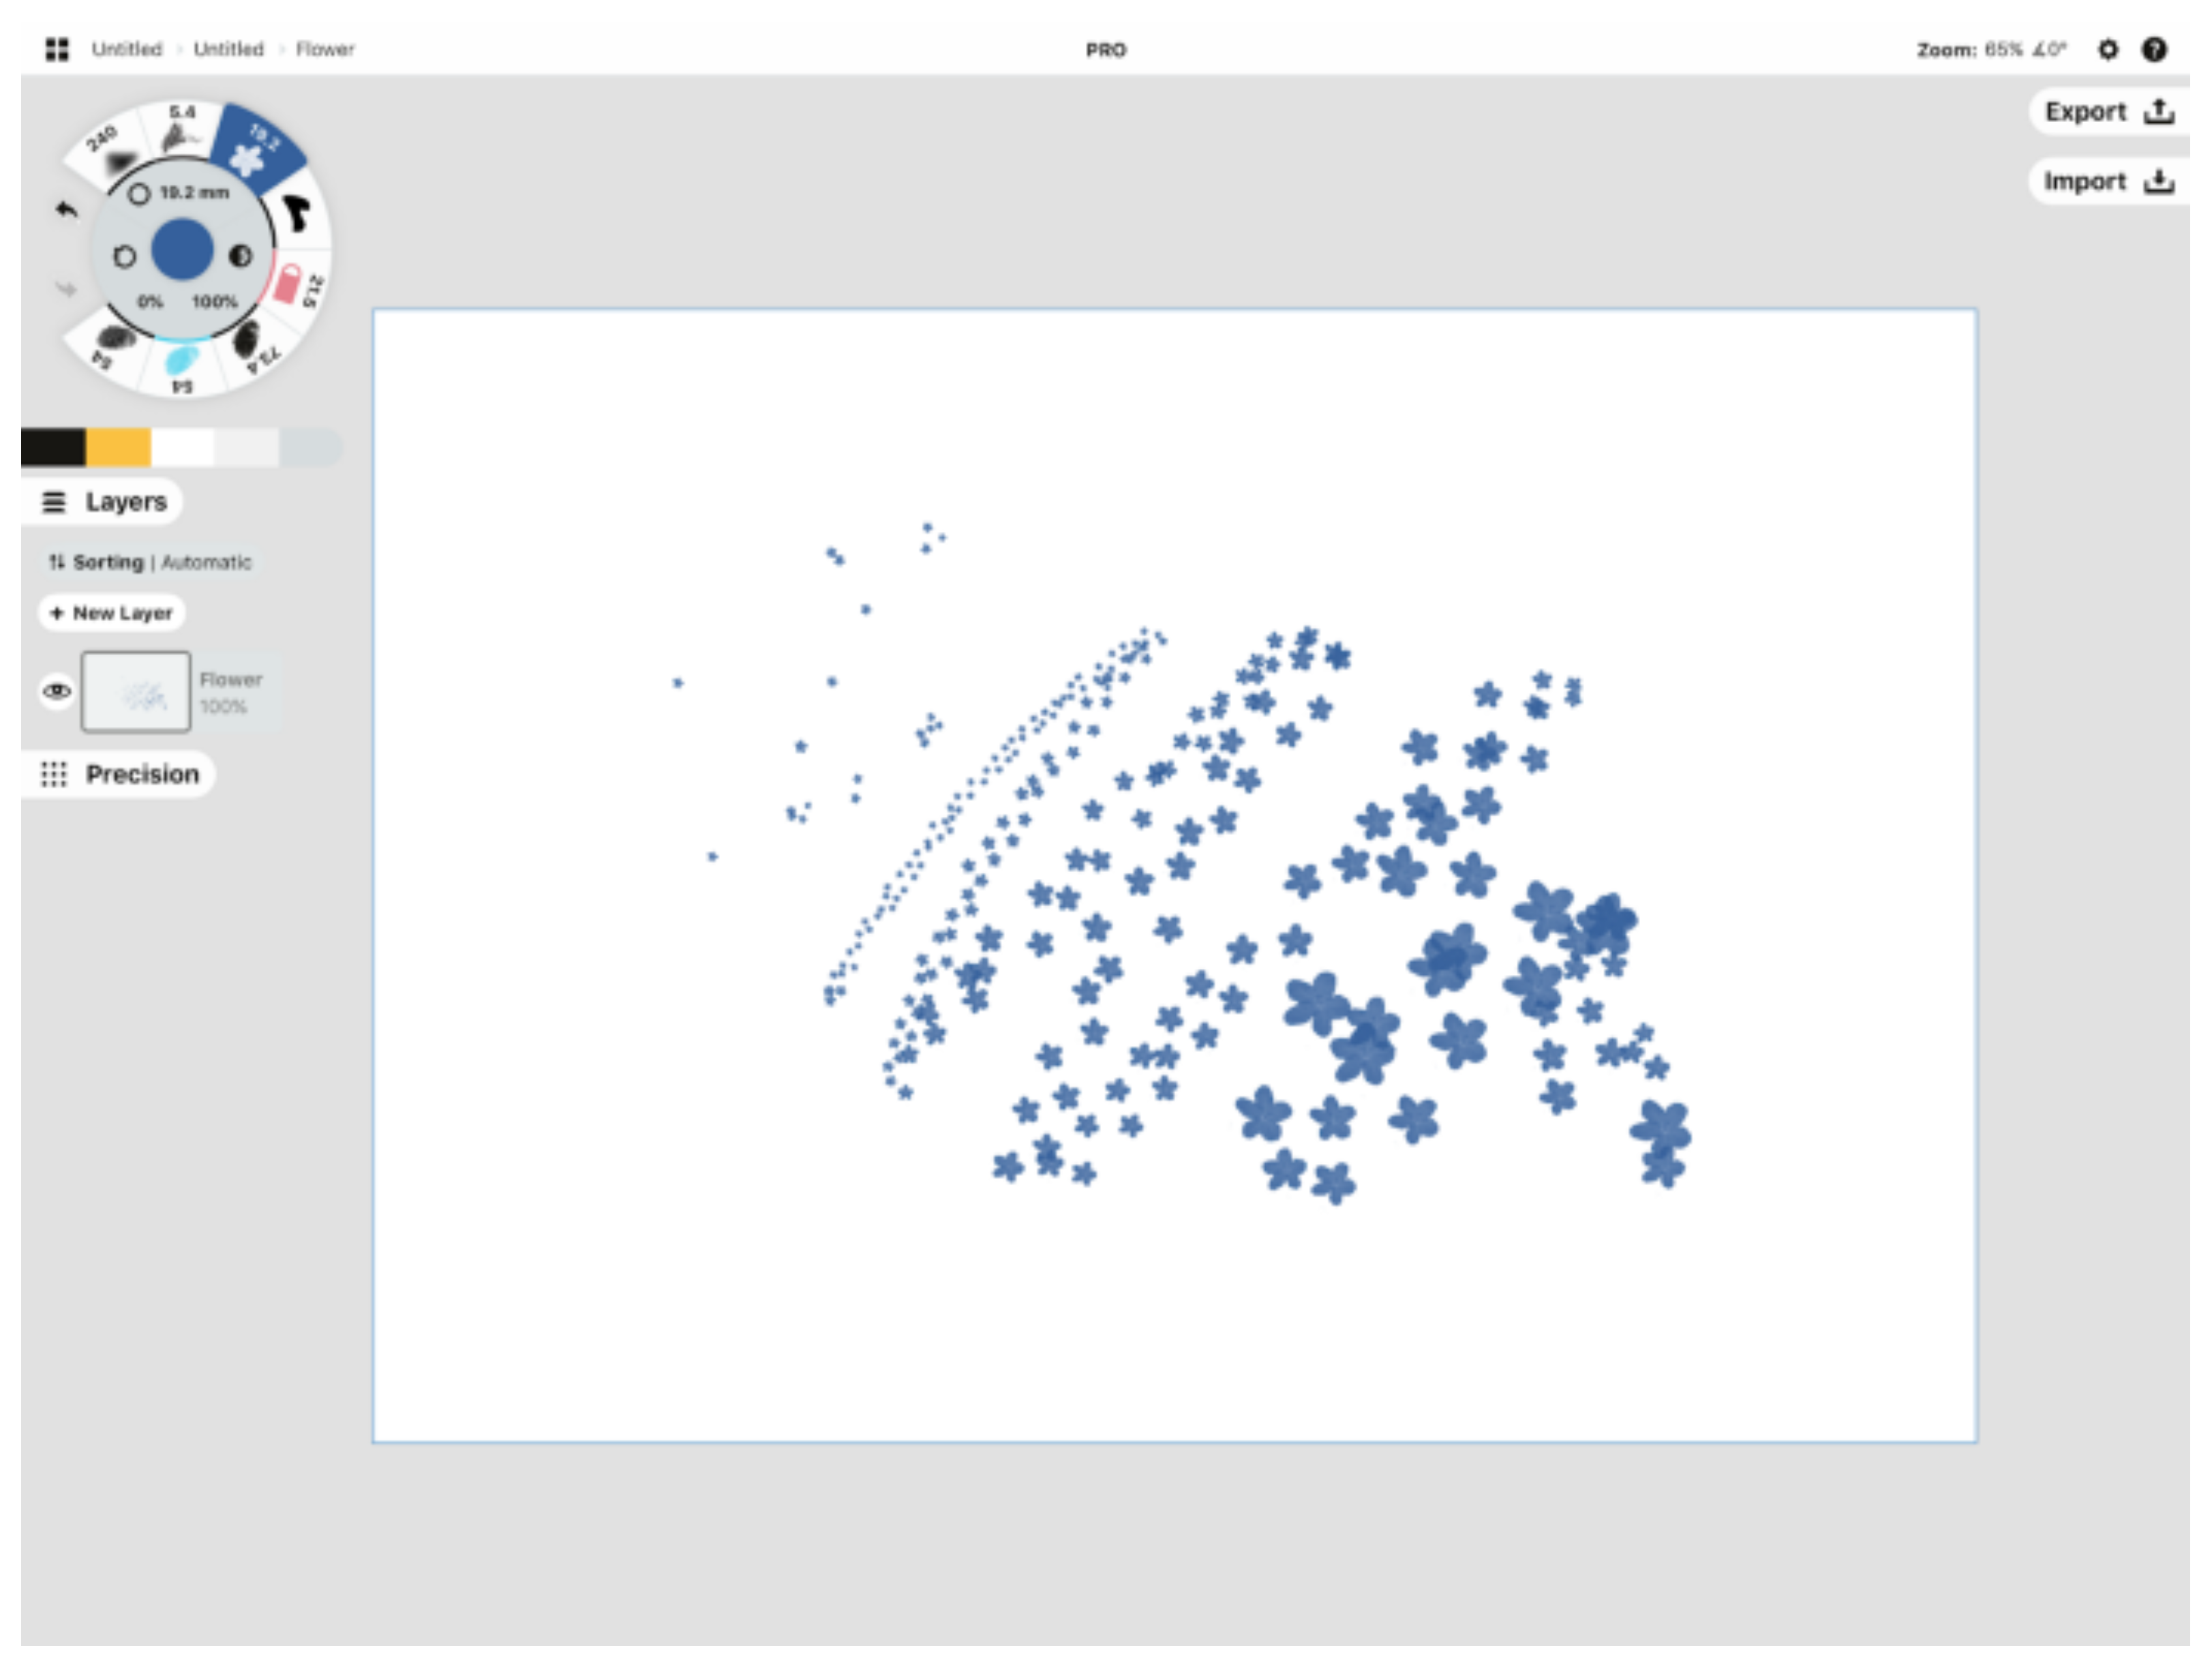
Individual taps for a single stamp, flow for a string.
You can change the brush’s color, size, opacity and smoothing at any time on canvas with the usual controls on the tool wheel.
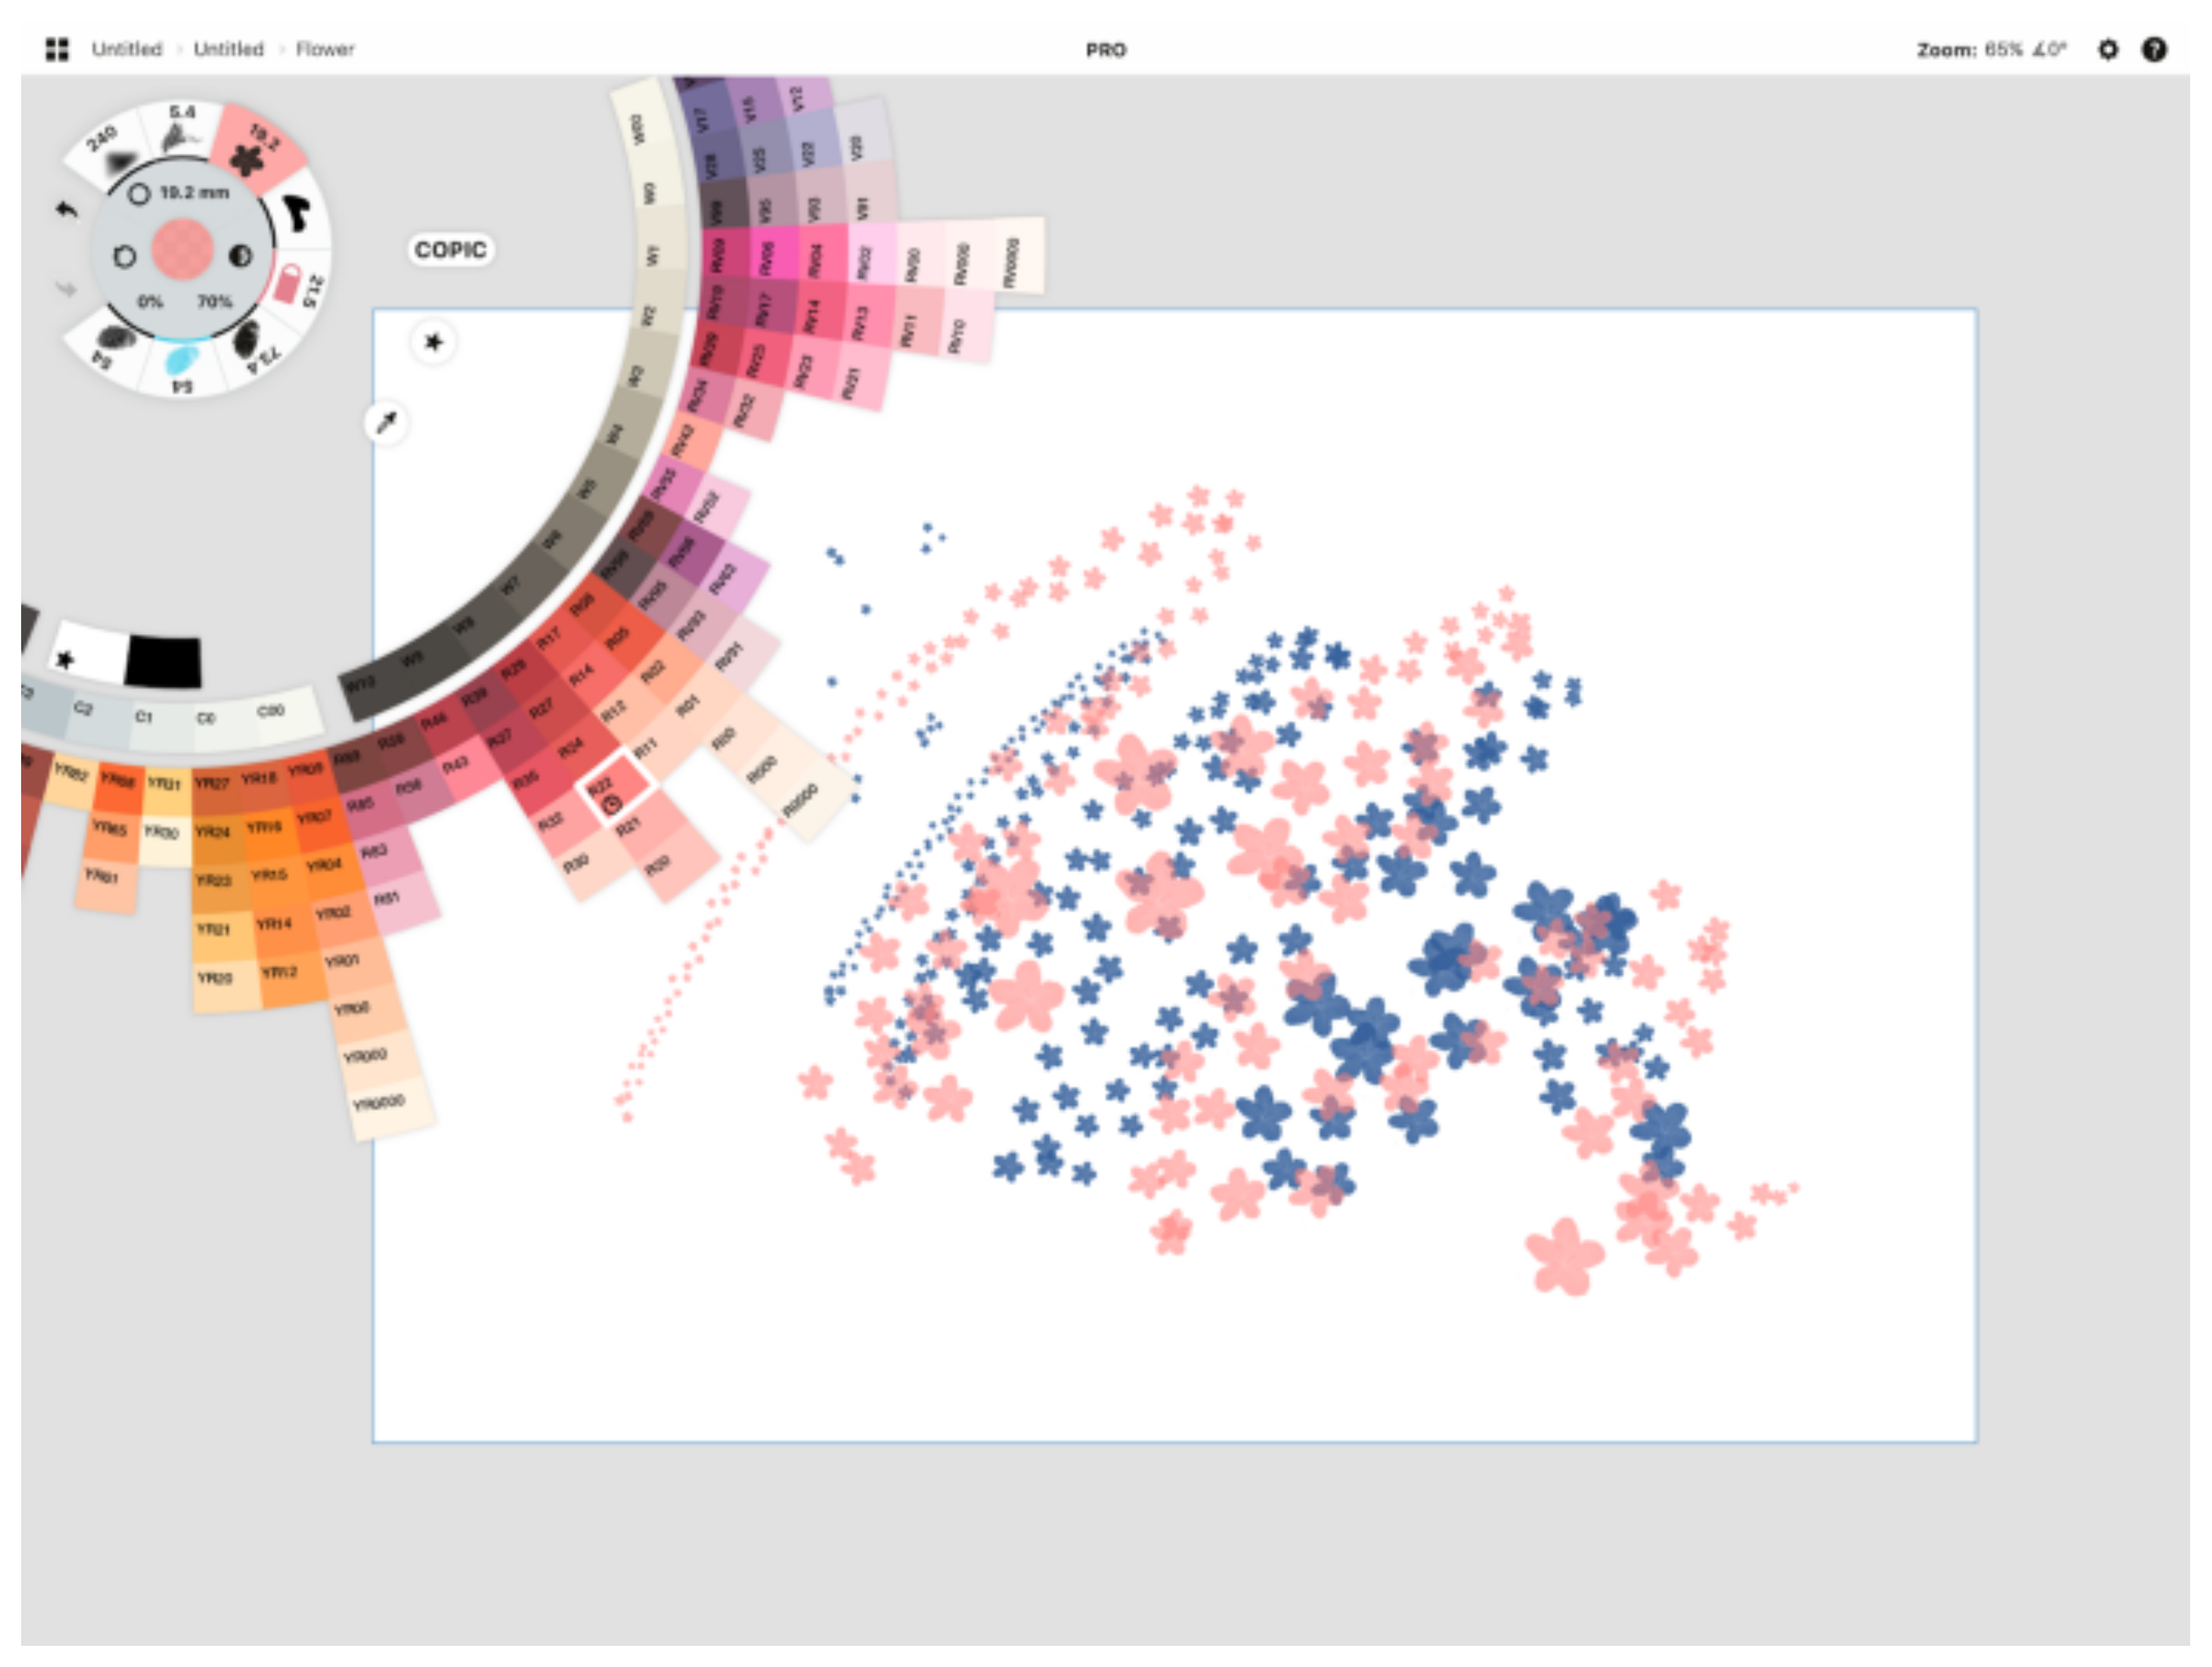
Choose a new color for your brush.
If you want to select and move the strokes about, you can do that, too.
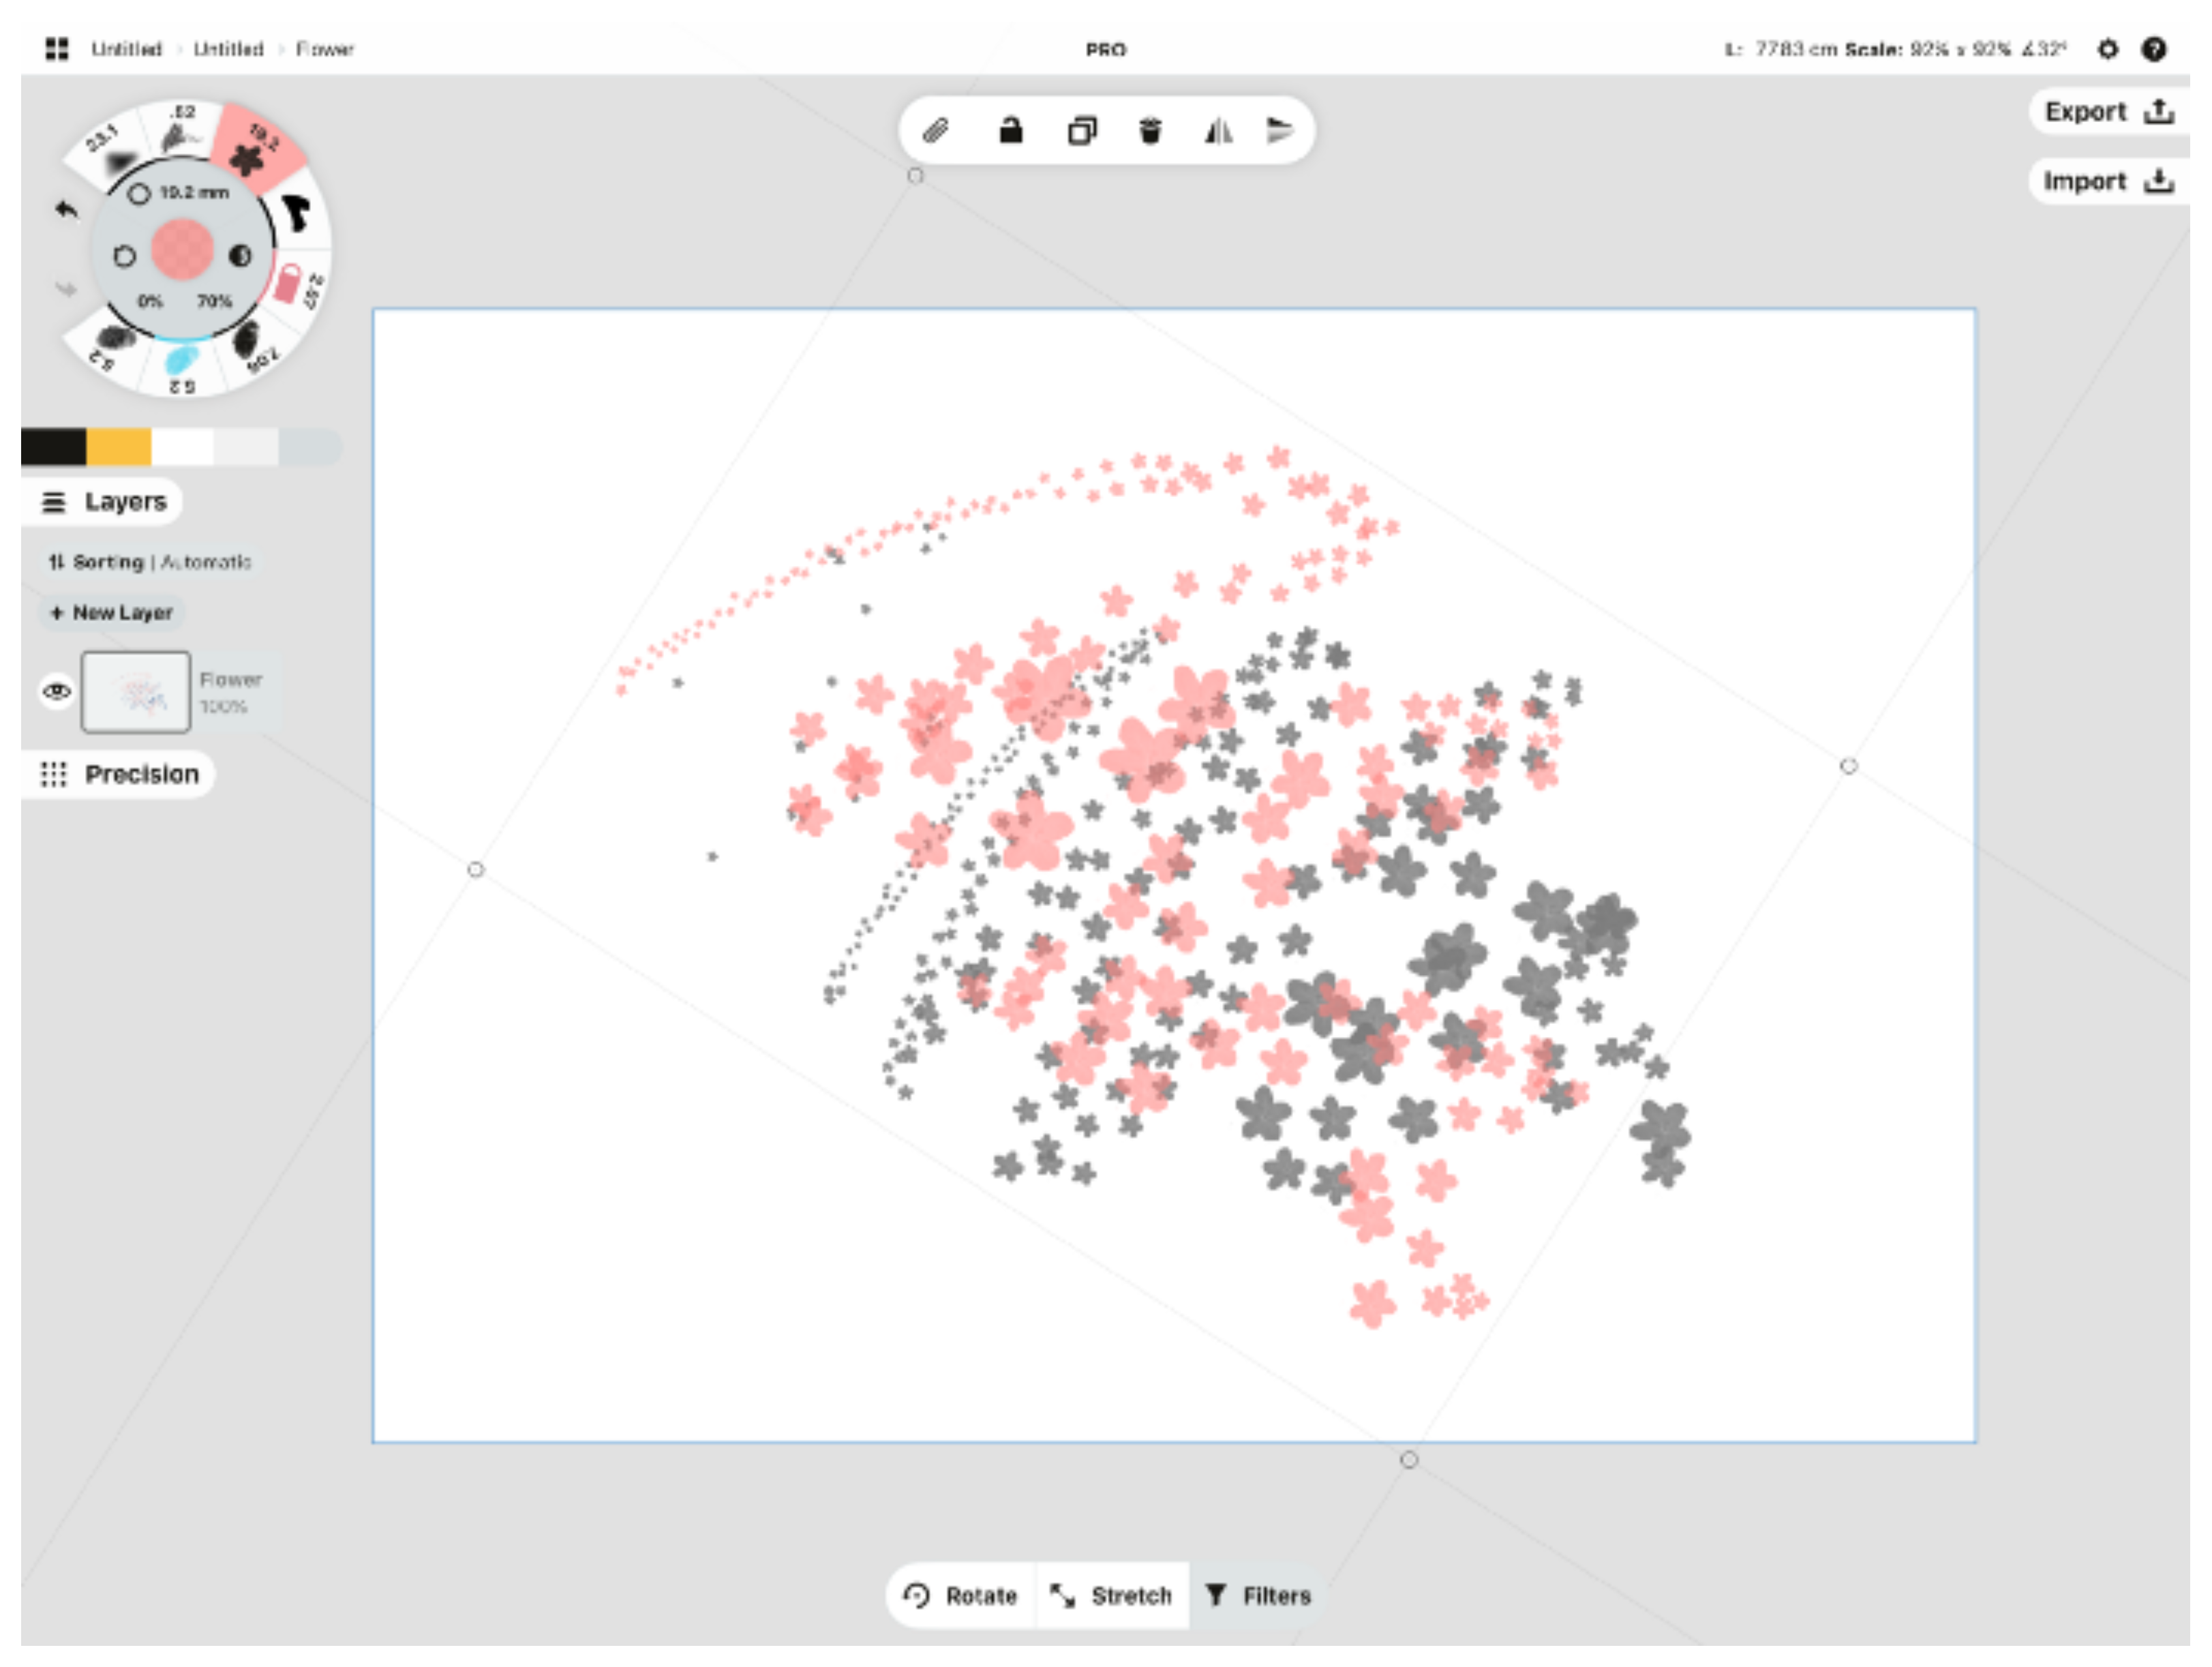
Select your stroke and adjust it to fit your artwork.
Enjoy your new photo-based brush!
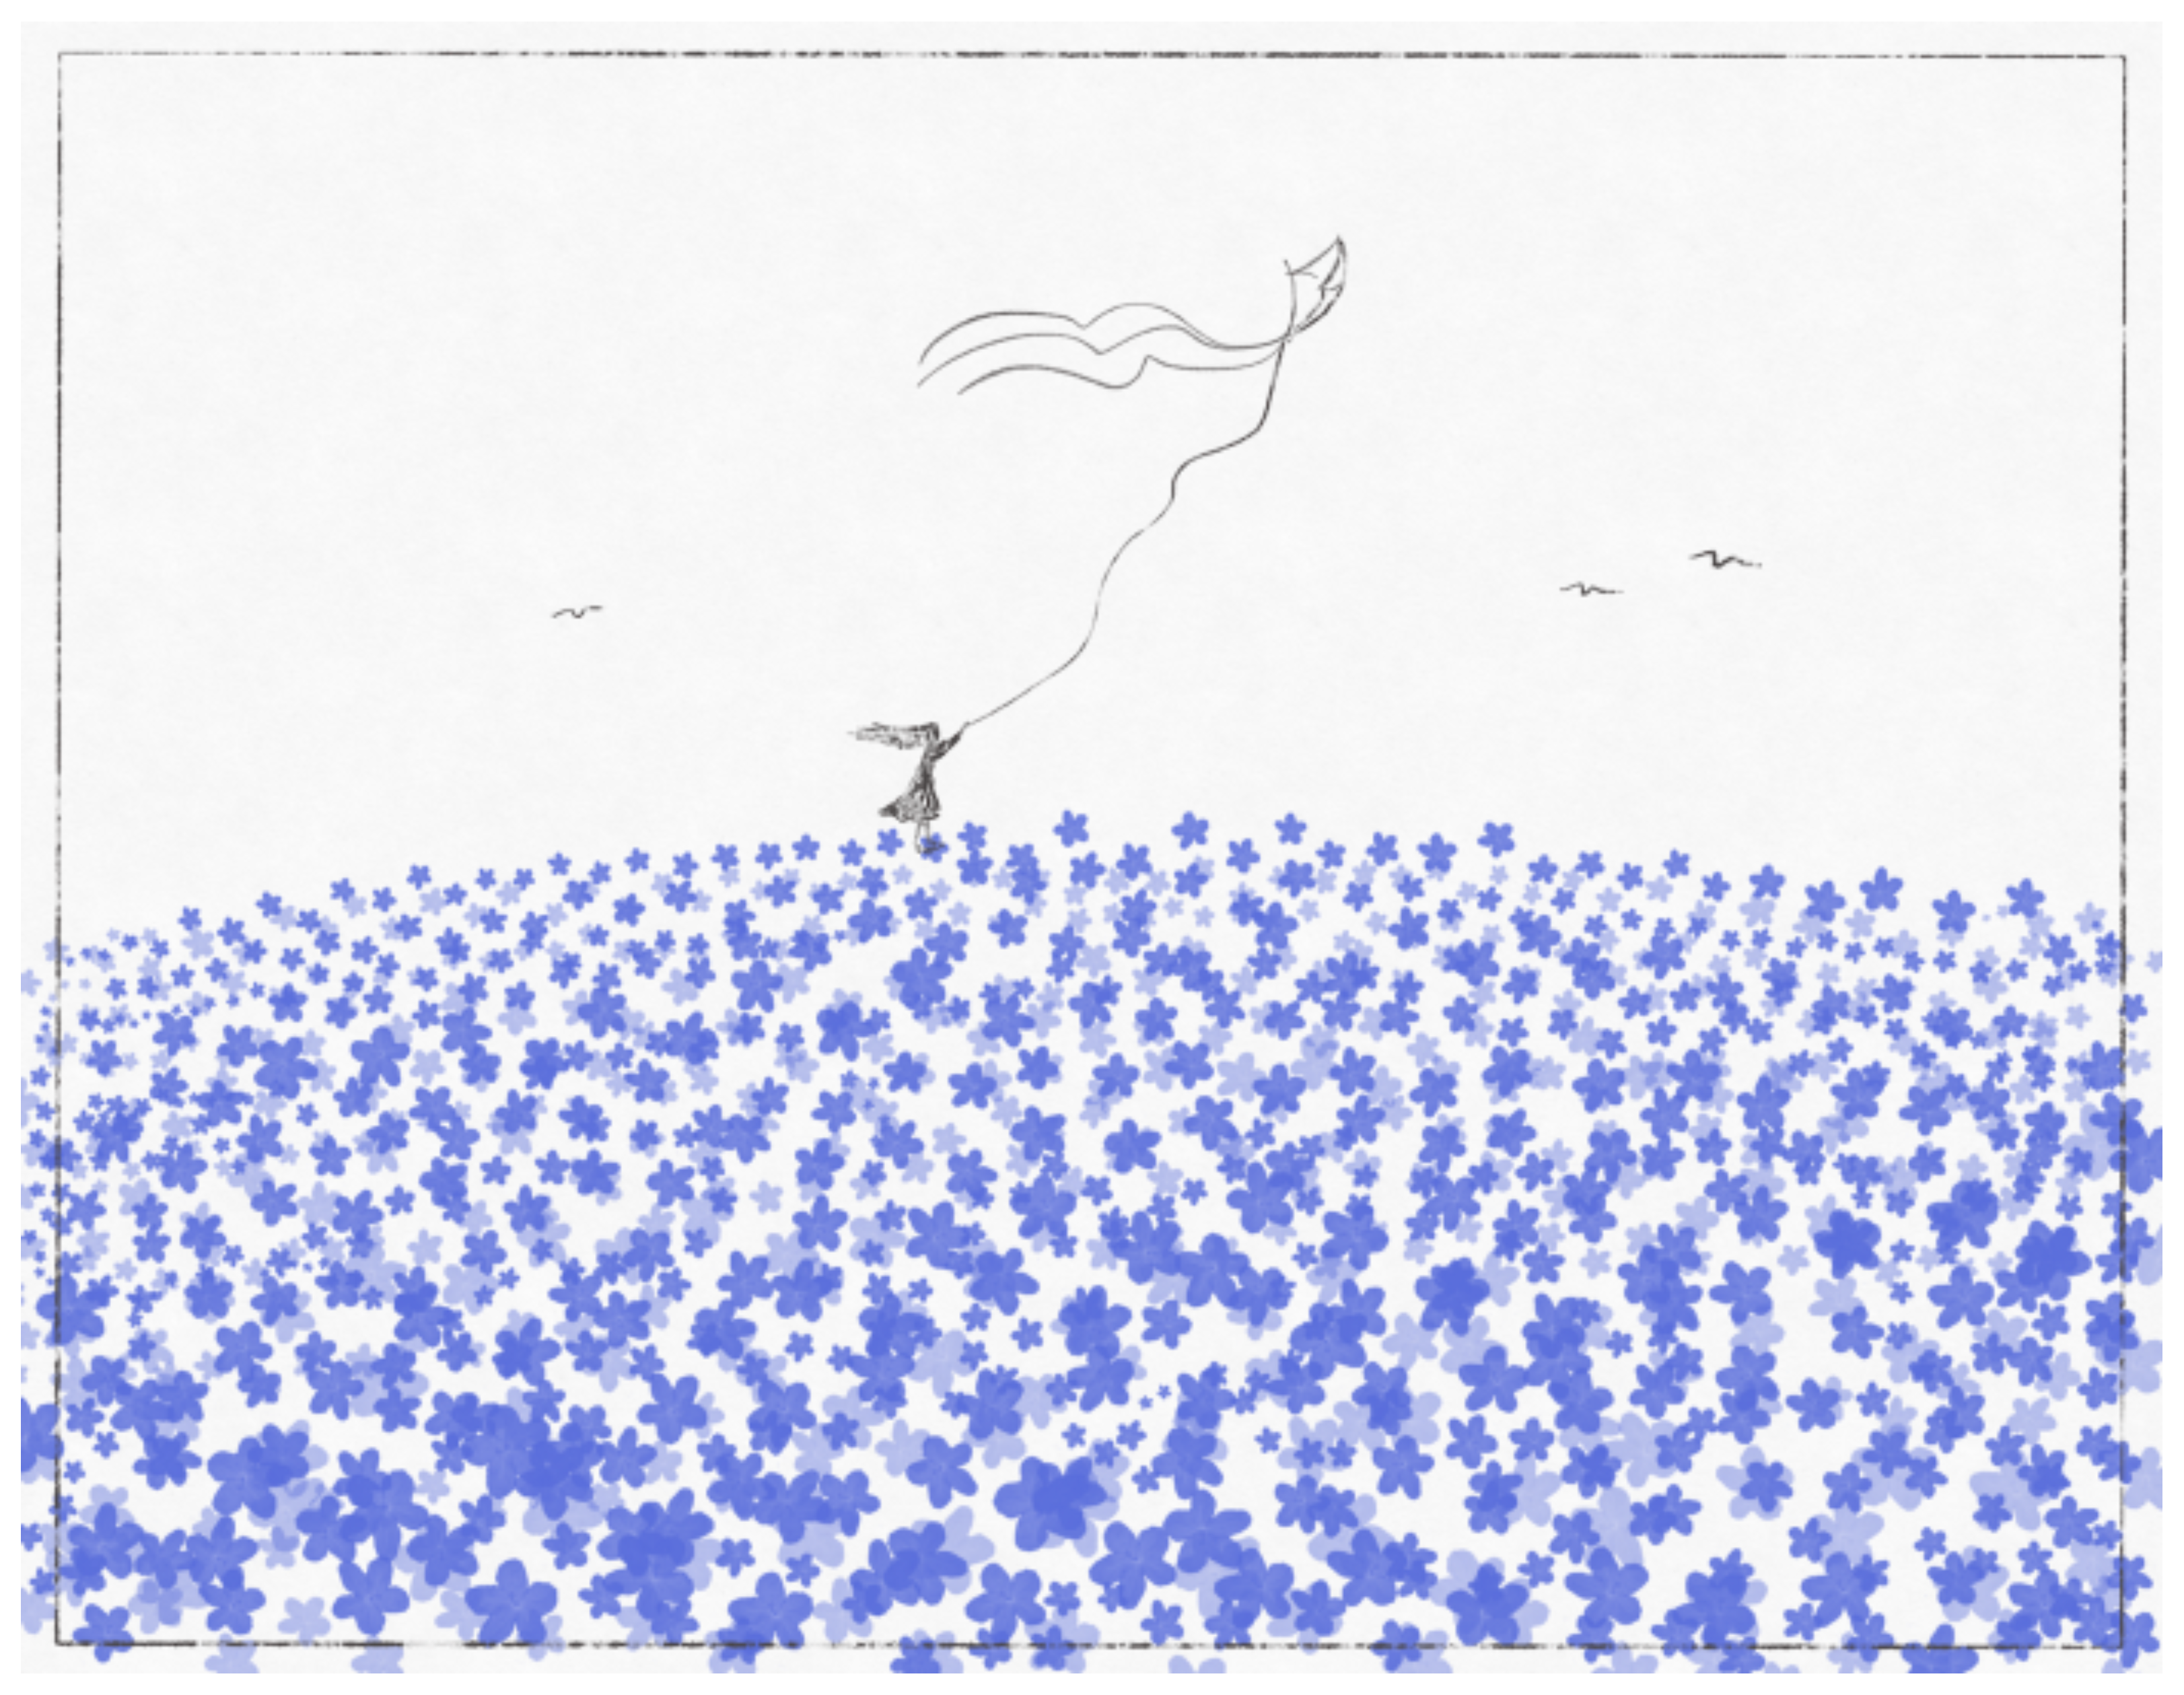
This uses just a couple strokes of the flower brush - one at 100% opacity and one at 50% opacity.
Do you have questions? Tap Help > Ask Us Anything in-app to chat, or email us at support@concepts.app. We’ll be happy to help.
By Erica Christensen
Recommended
How to Create a Custom Brush - Learn how to create a brush using Concepts' custom brush editor.
Creating an Acrylic-based Brush - This tutorial shows you how to combine six acrylic stamps and turn them into your own digital brush to paint with in Concepts.
The Custom Brush Checklist - A complete checklist for preparing your custom brushes for sale and sharing them with others.