Concepts is an infinite, flexible creative tool for all your good ideas. Available on iOS, Windows and Android.
5 Tips to Transcend the Eraser
Polish up your vector eraser skills and your drawings with these five handy tips.
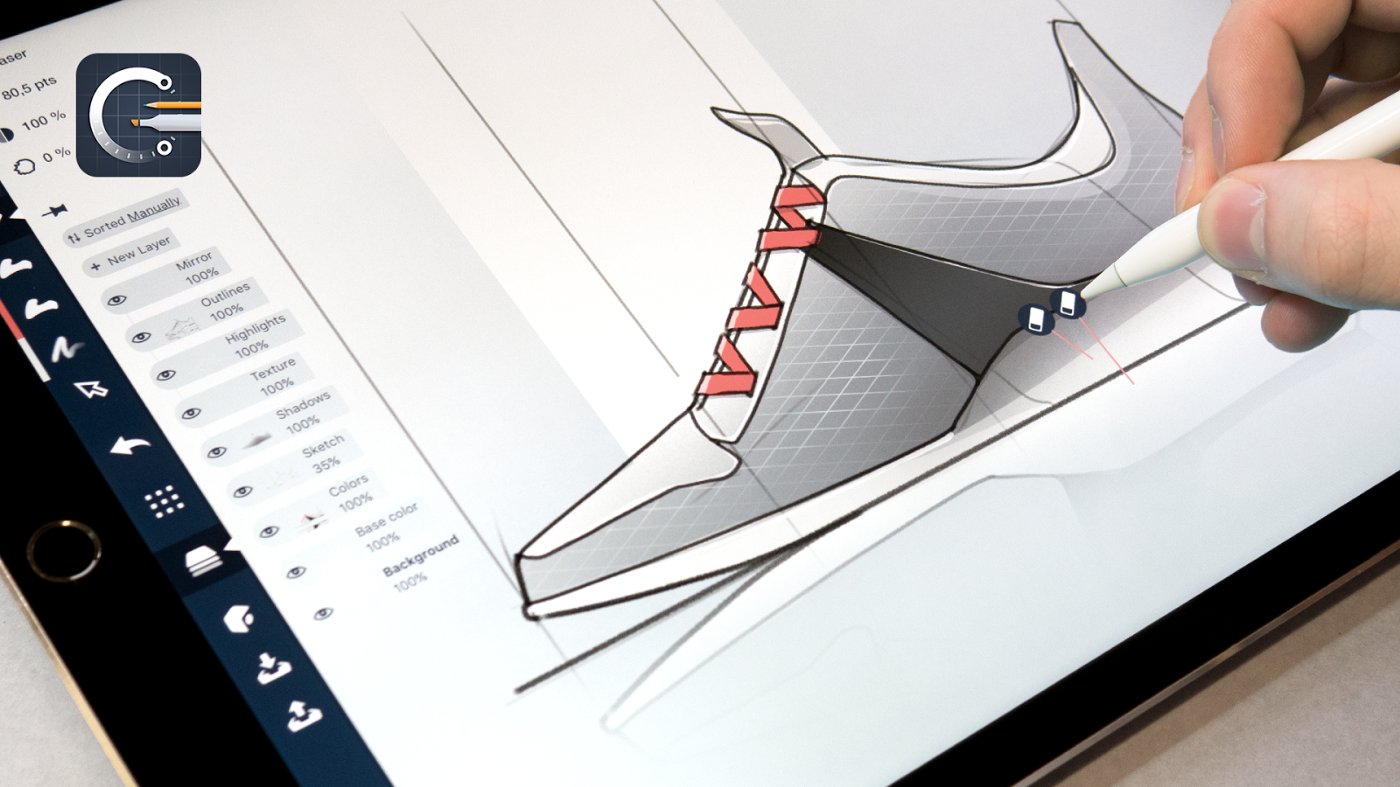
The eraser has always been a good friend — something you can rely on to clean up messes, correct errant strokes, and tidy up the smudge. It’s definitely great for these things, but what if you could take erasing a few steps further and turn it into a positive artistic tool?
Master the tricks of the Concepts vector eraser with these five tips shared by industrial designer Lasse Pekkala.
1. The Eraser is adjustable. Just like the other vector tools in Concepts, you can select your eraser stroke and move it around, adjust the width and smoothness, or tweak it using the control points. More flexible than your average piece of rubber.
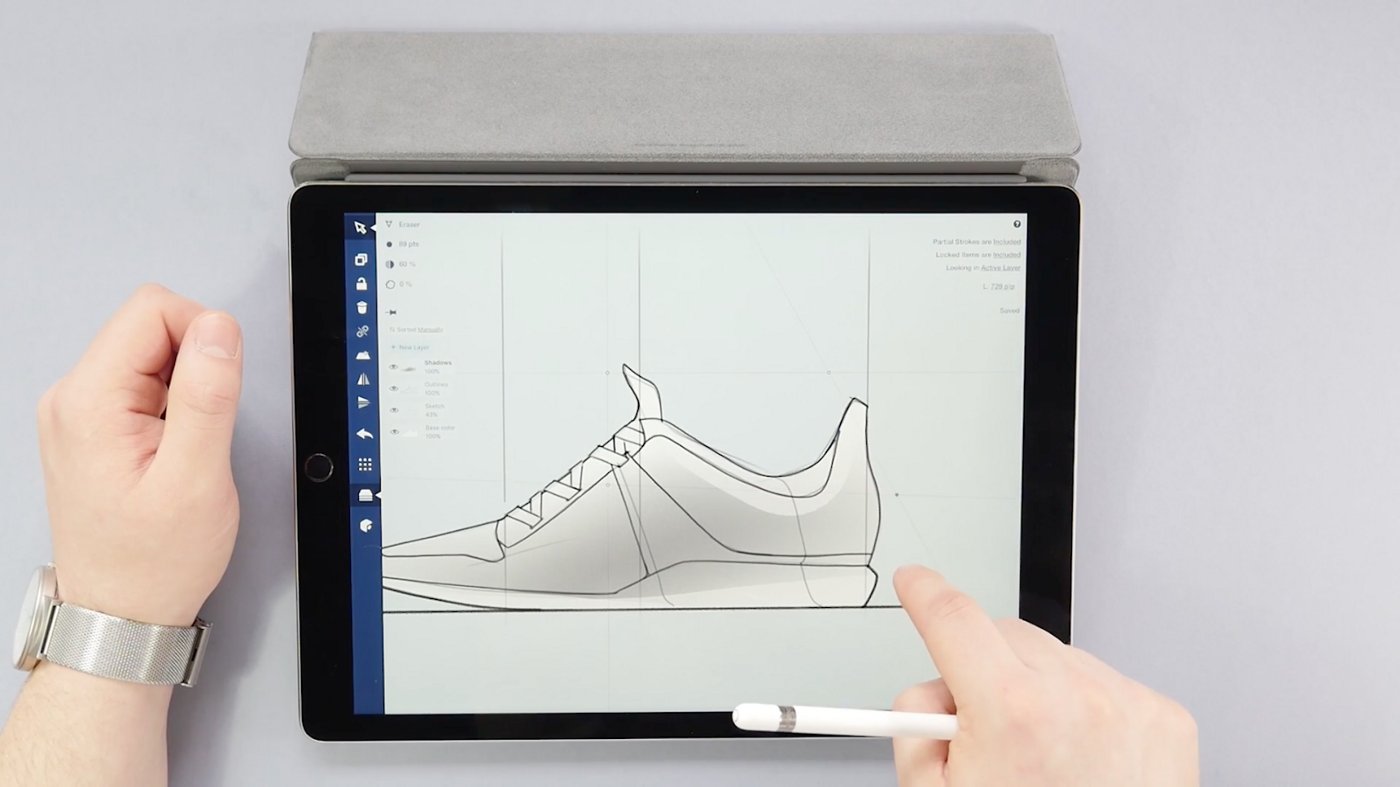
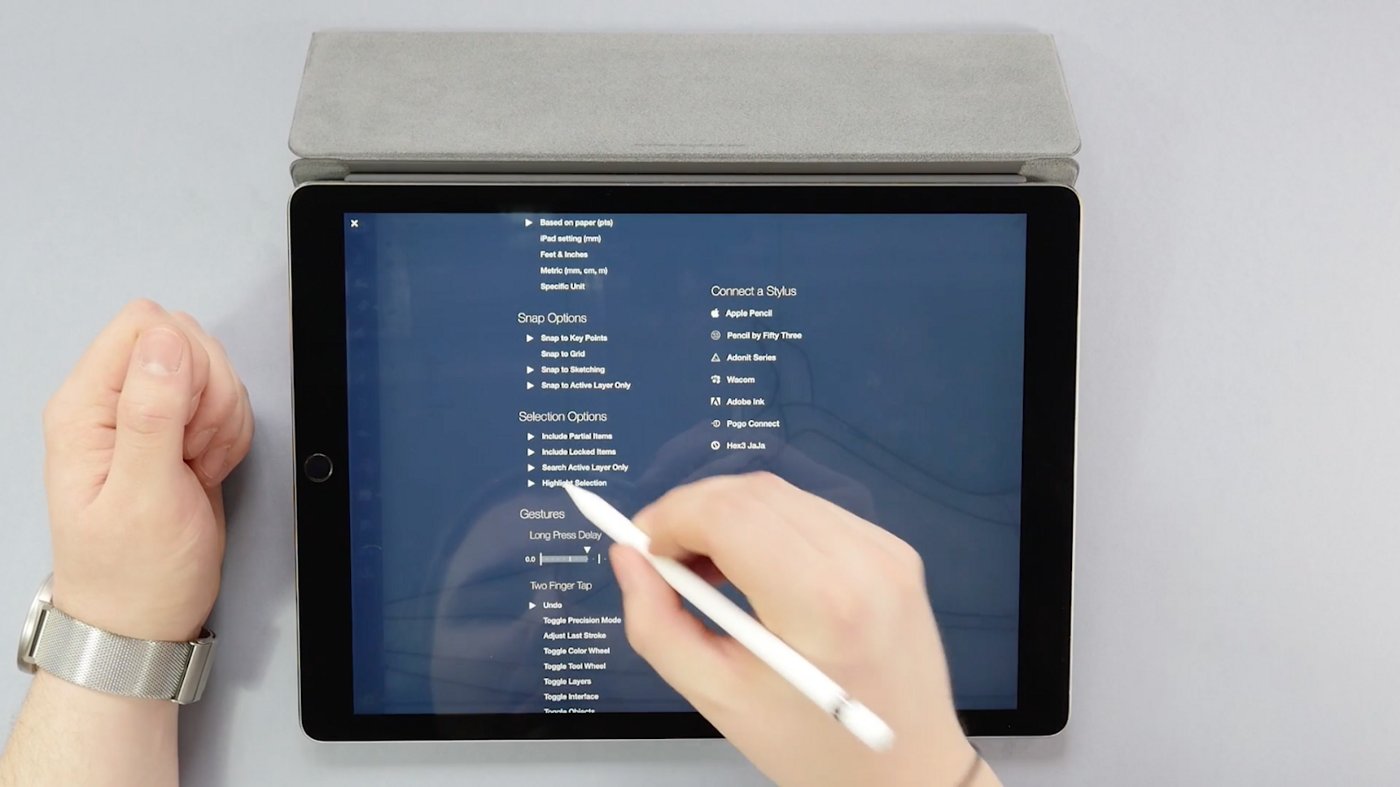
But how do you adjust an invisible mark? Make the eraser strokes more visible by going to the Settings menu and activating Highlight Selection. When you select the eraser, it will come out of hiding.
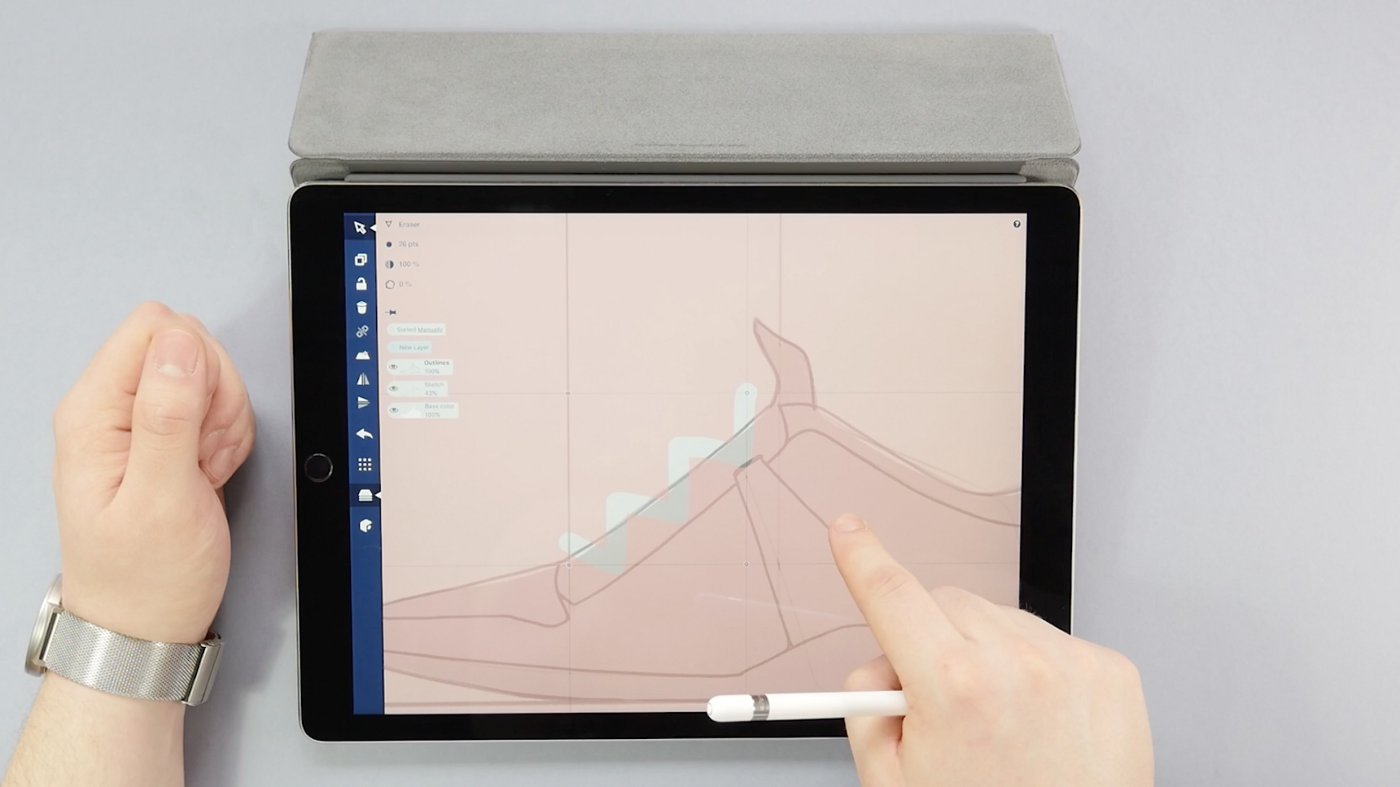
2. Duplicate your eraser strokes across layers. The Eraser works on the current active layer only. If the area you need to erase goes more than a layer deep, try this trick: select your eraser stroke, duplicate it, and drag the copy over to the new layer. Lift your finger and it’ll snap right into place.
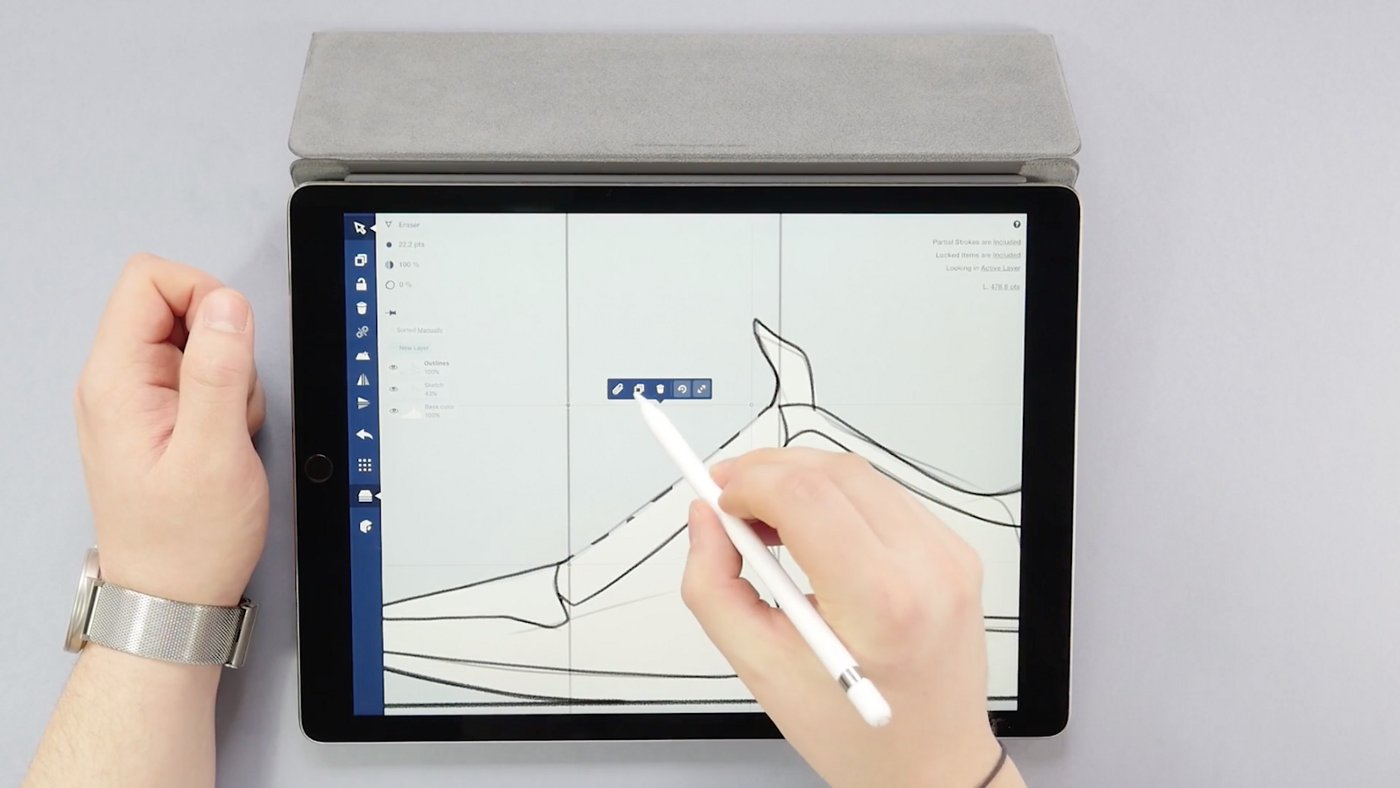
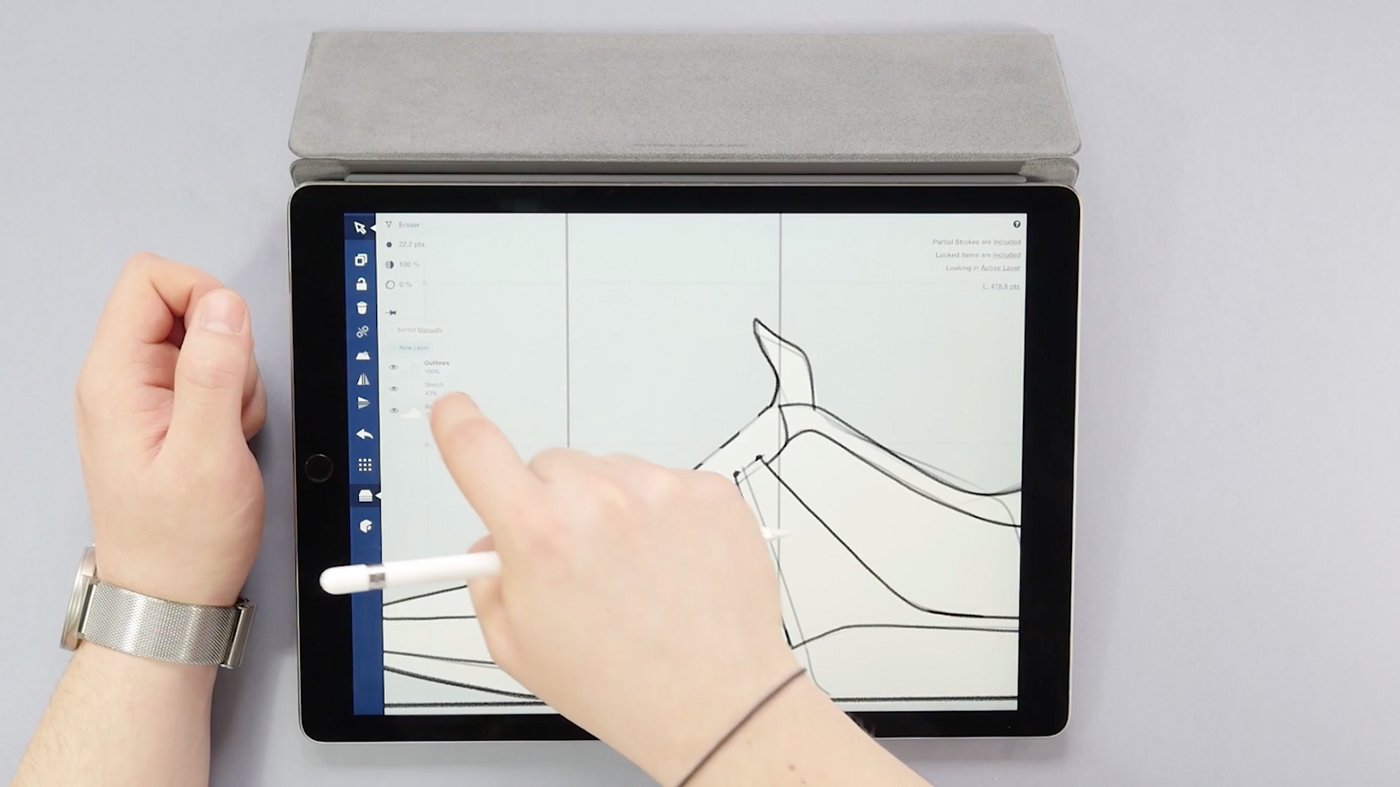
3. Be smarter than the “smart” eraser. The eraser is a “smart” tool — it keeps its size regardless of how deeply you zoom into your picture so you can erase the smallest bits.
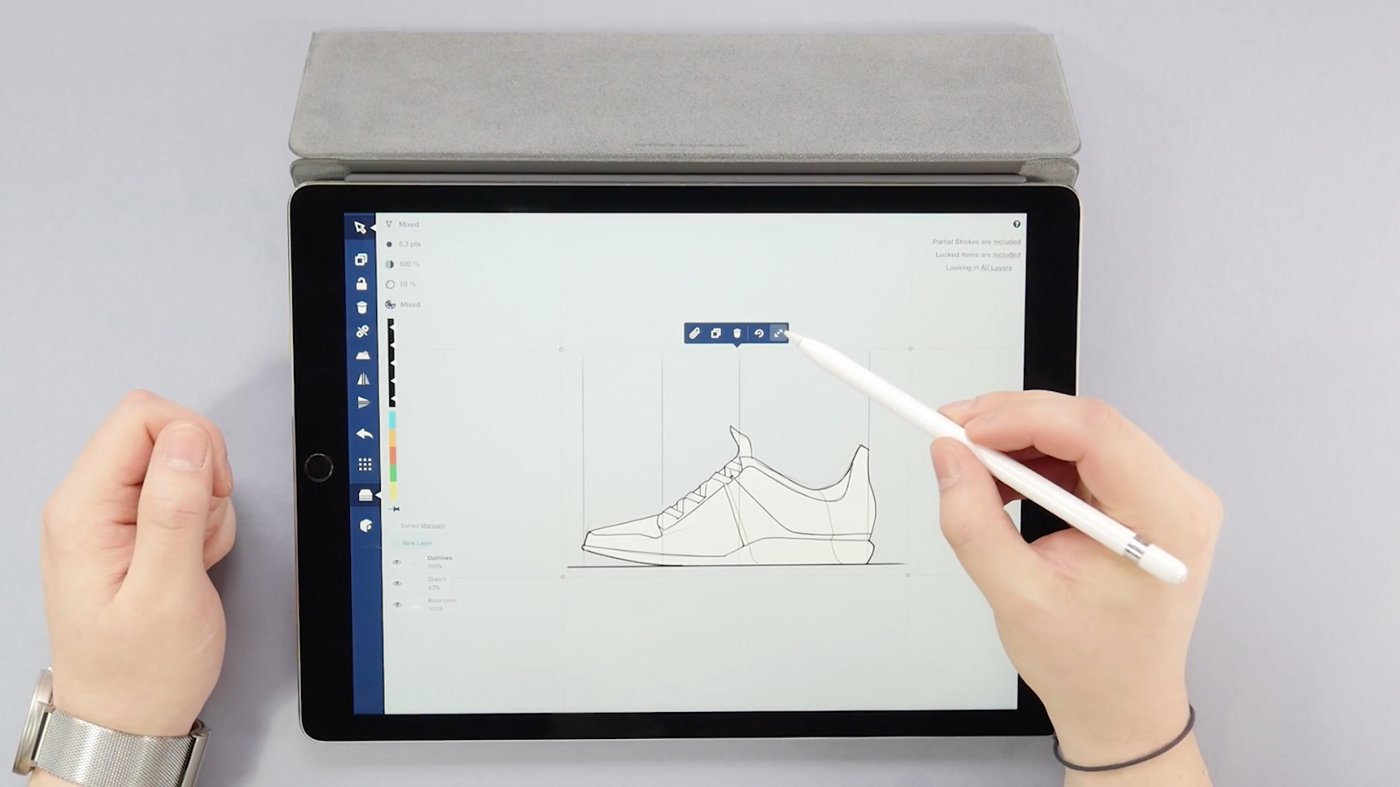
If you resize the drawing, though, the eraser will stay “smart” and no longer cover its job. To keep the eraser in proper proportion with your sketch, select everything and activate the Scale button (the opposing arrows with the dot in the middle) on your popup. The eraser will resize along with your drawing.
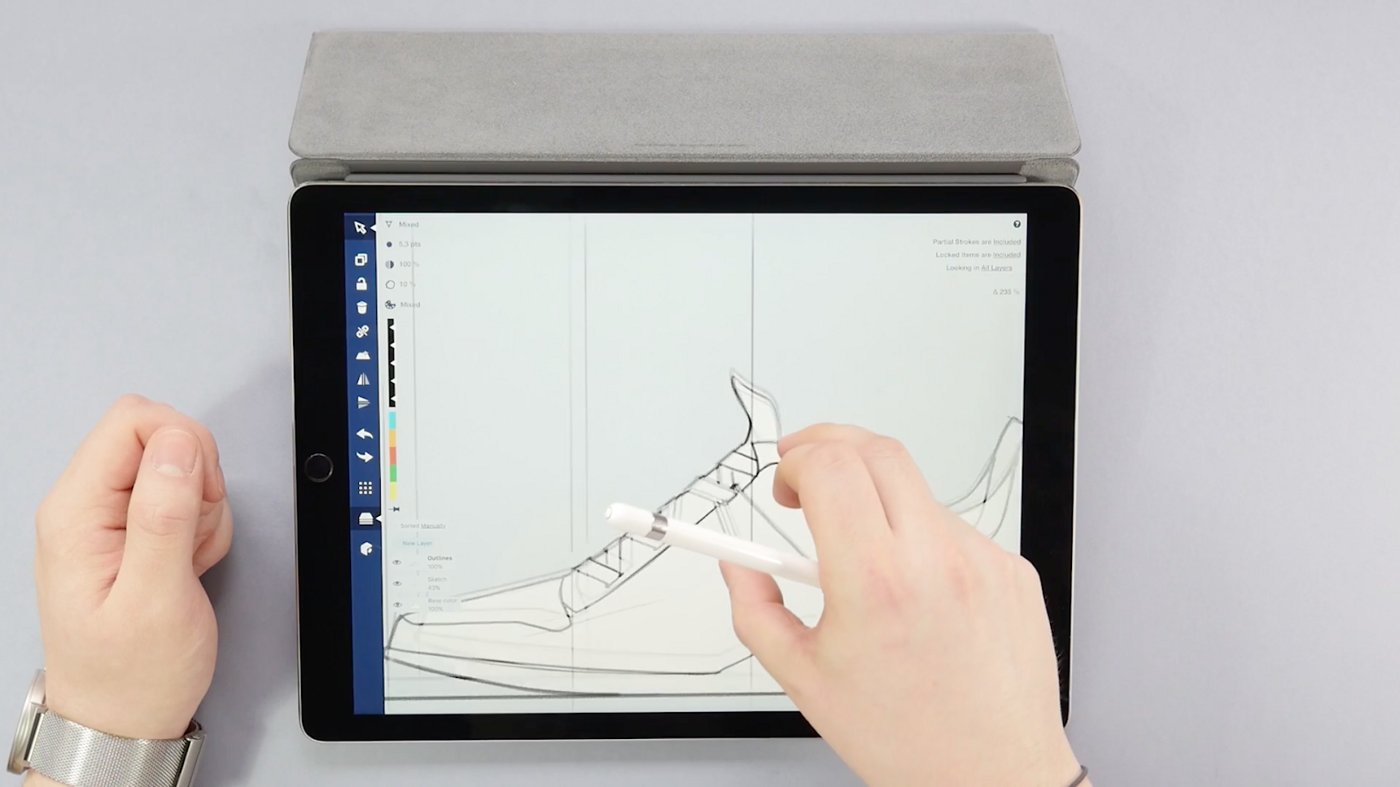
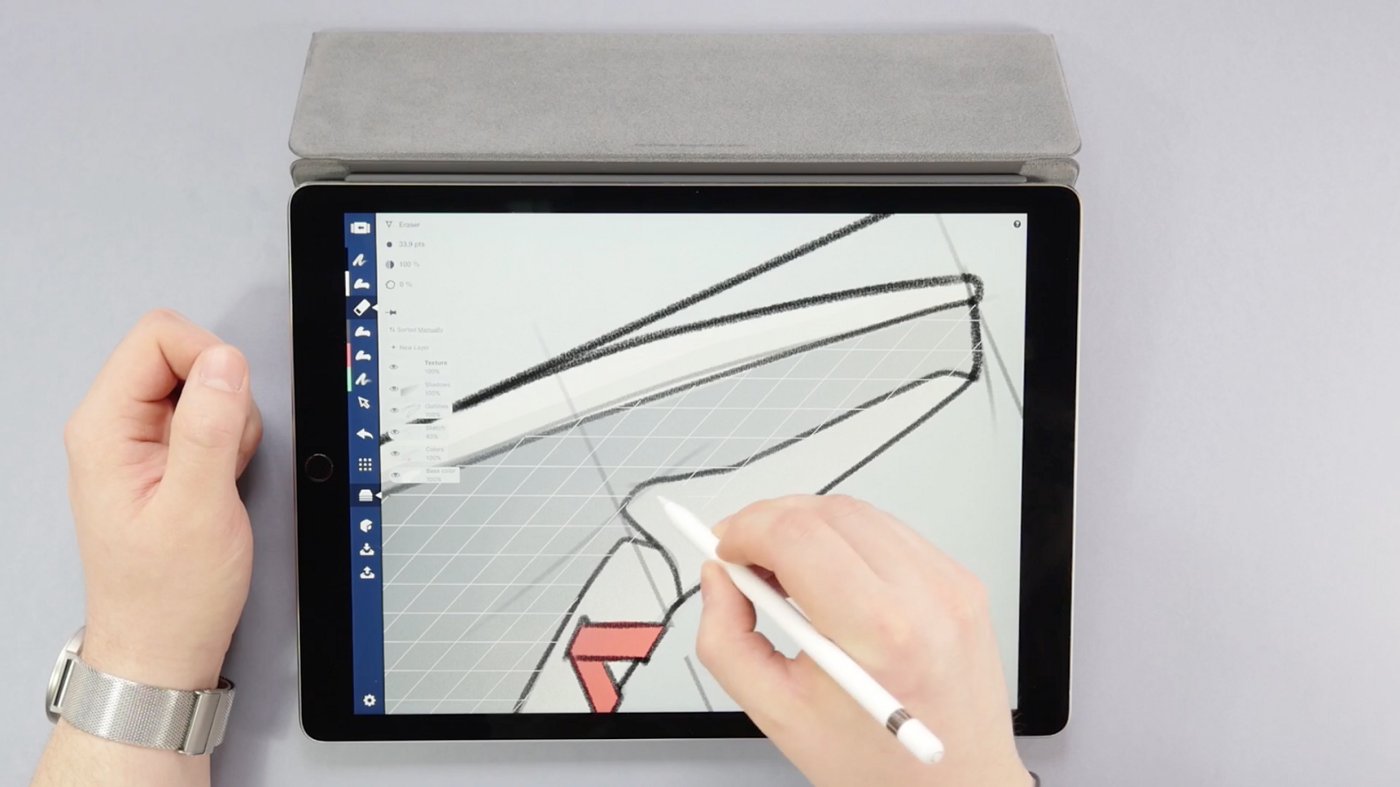
4. Use the Opacity slider with the eraser to create highlights.
The eraser doesn’t have to work at 100%. Set your eraser’s opacity to about 60% to create a highlight on your drawing. This de-emphasizes the other tools and creates a lovely edge of shine.

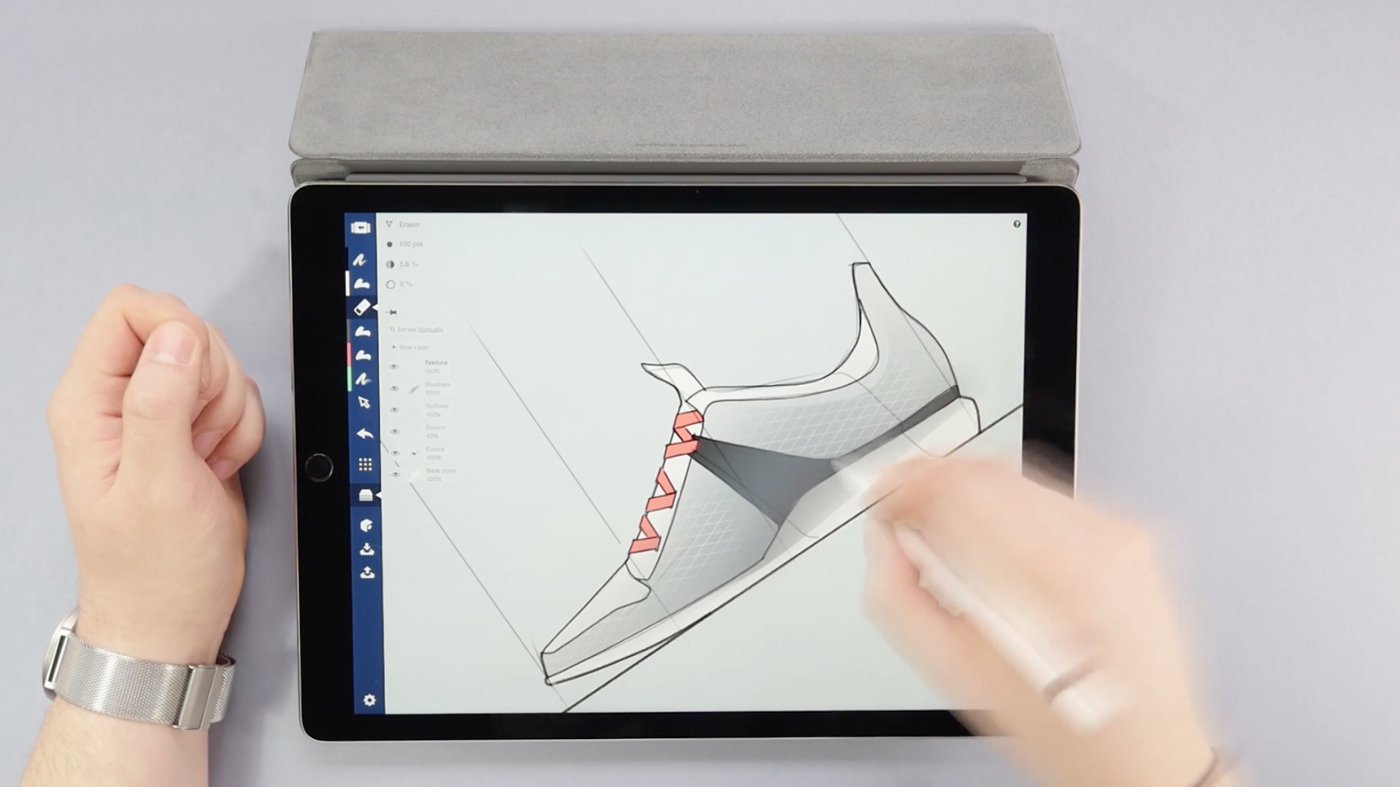
5. Use a lower opacity eraser with pressure sensitivity to create fading areas.
You can lighten up your gradients…
...or if you mirror your drawing...
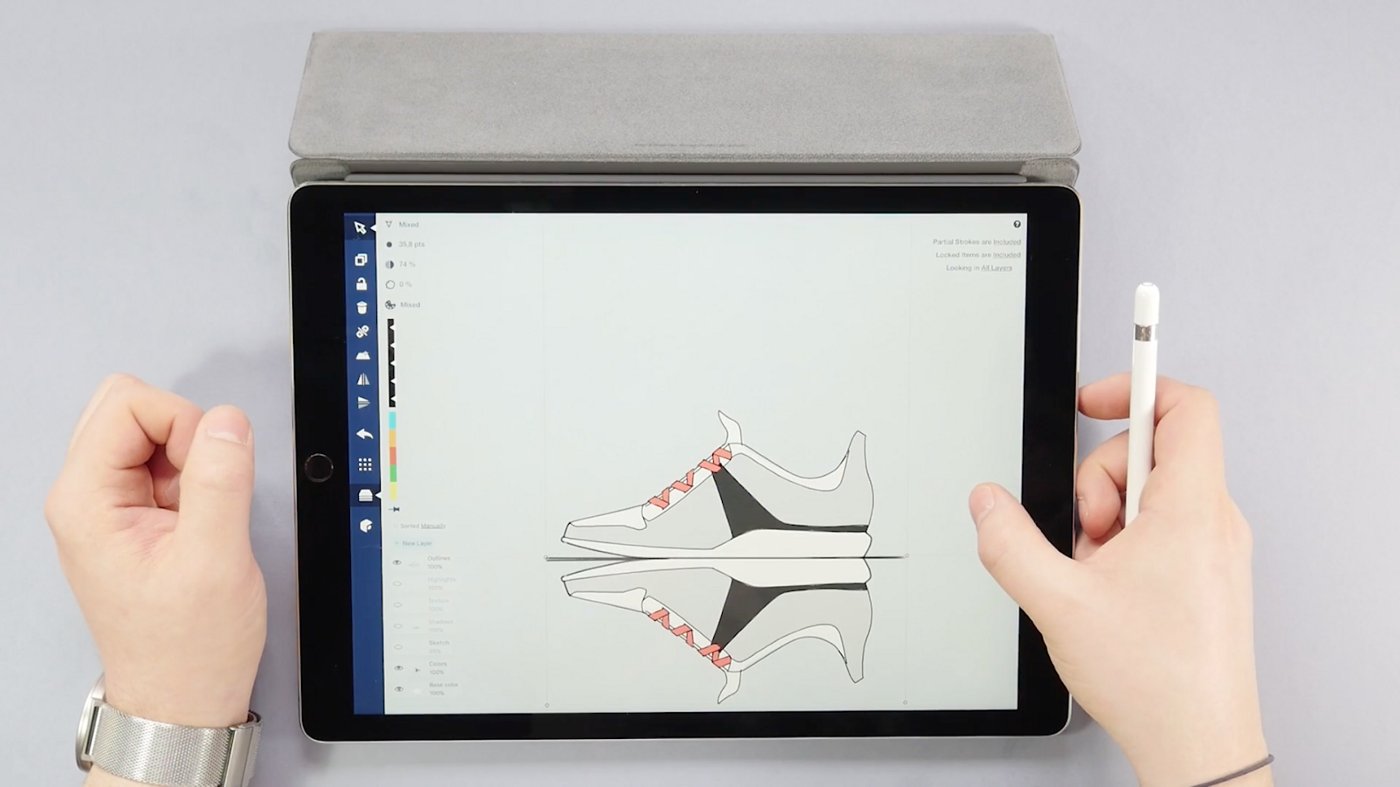
...you can fade the mirror until all that remains is a hint of reflection for a showcase look.

To see the eraser in action in Lasse’s creative hands, watch his full video tutorial.
If you have any questions, email us at support@concepts.app and we'll be happy to answer them.
Tips and illustrations by Lasse Pekkala
Adapted by Erica Christensen
Recommended
The Transparency of a Glass Sphere - Learn how to use layers and the soft eraser to draw a glass sphere in this tutorial from artist Mick Fisher.
10 Techniques to Up Your Sketching Skills - If you find yourself stuck with a bad case of art block, try these techniques to get your art going again.
How to Make an Easy Reflection - Learn to use Concepts' advanced transforms to create reflections in your drawings.
