Your Workspace
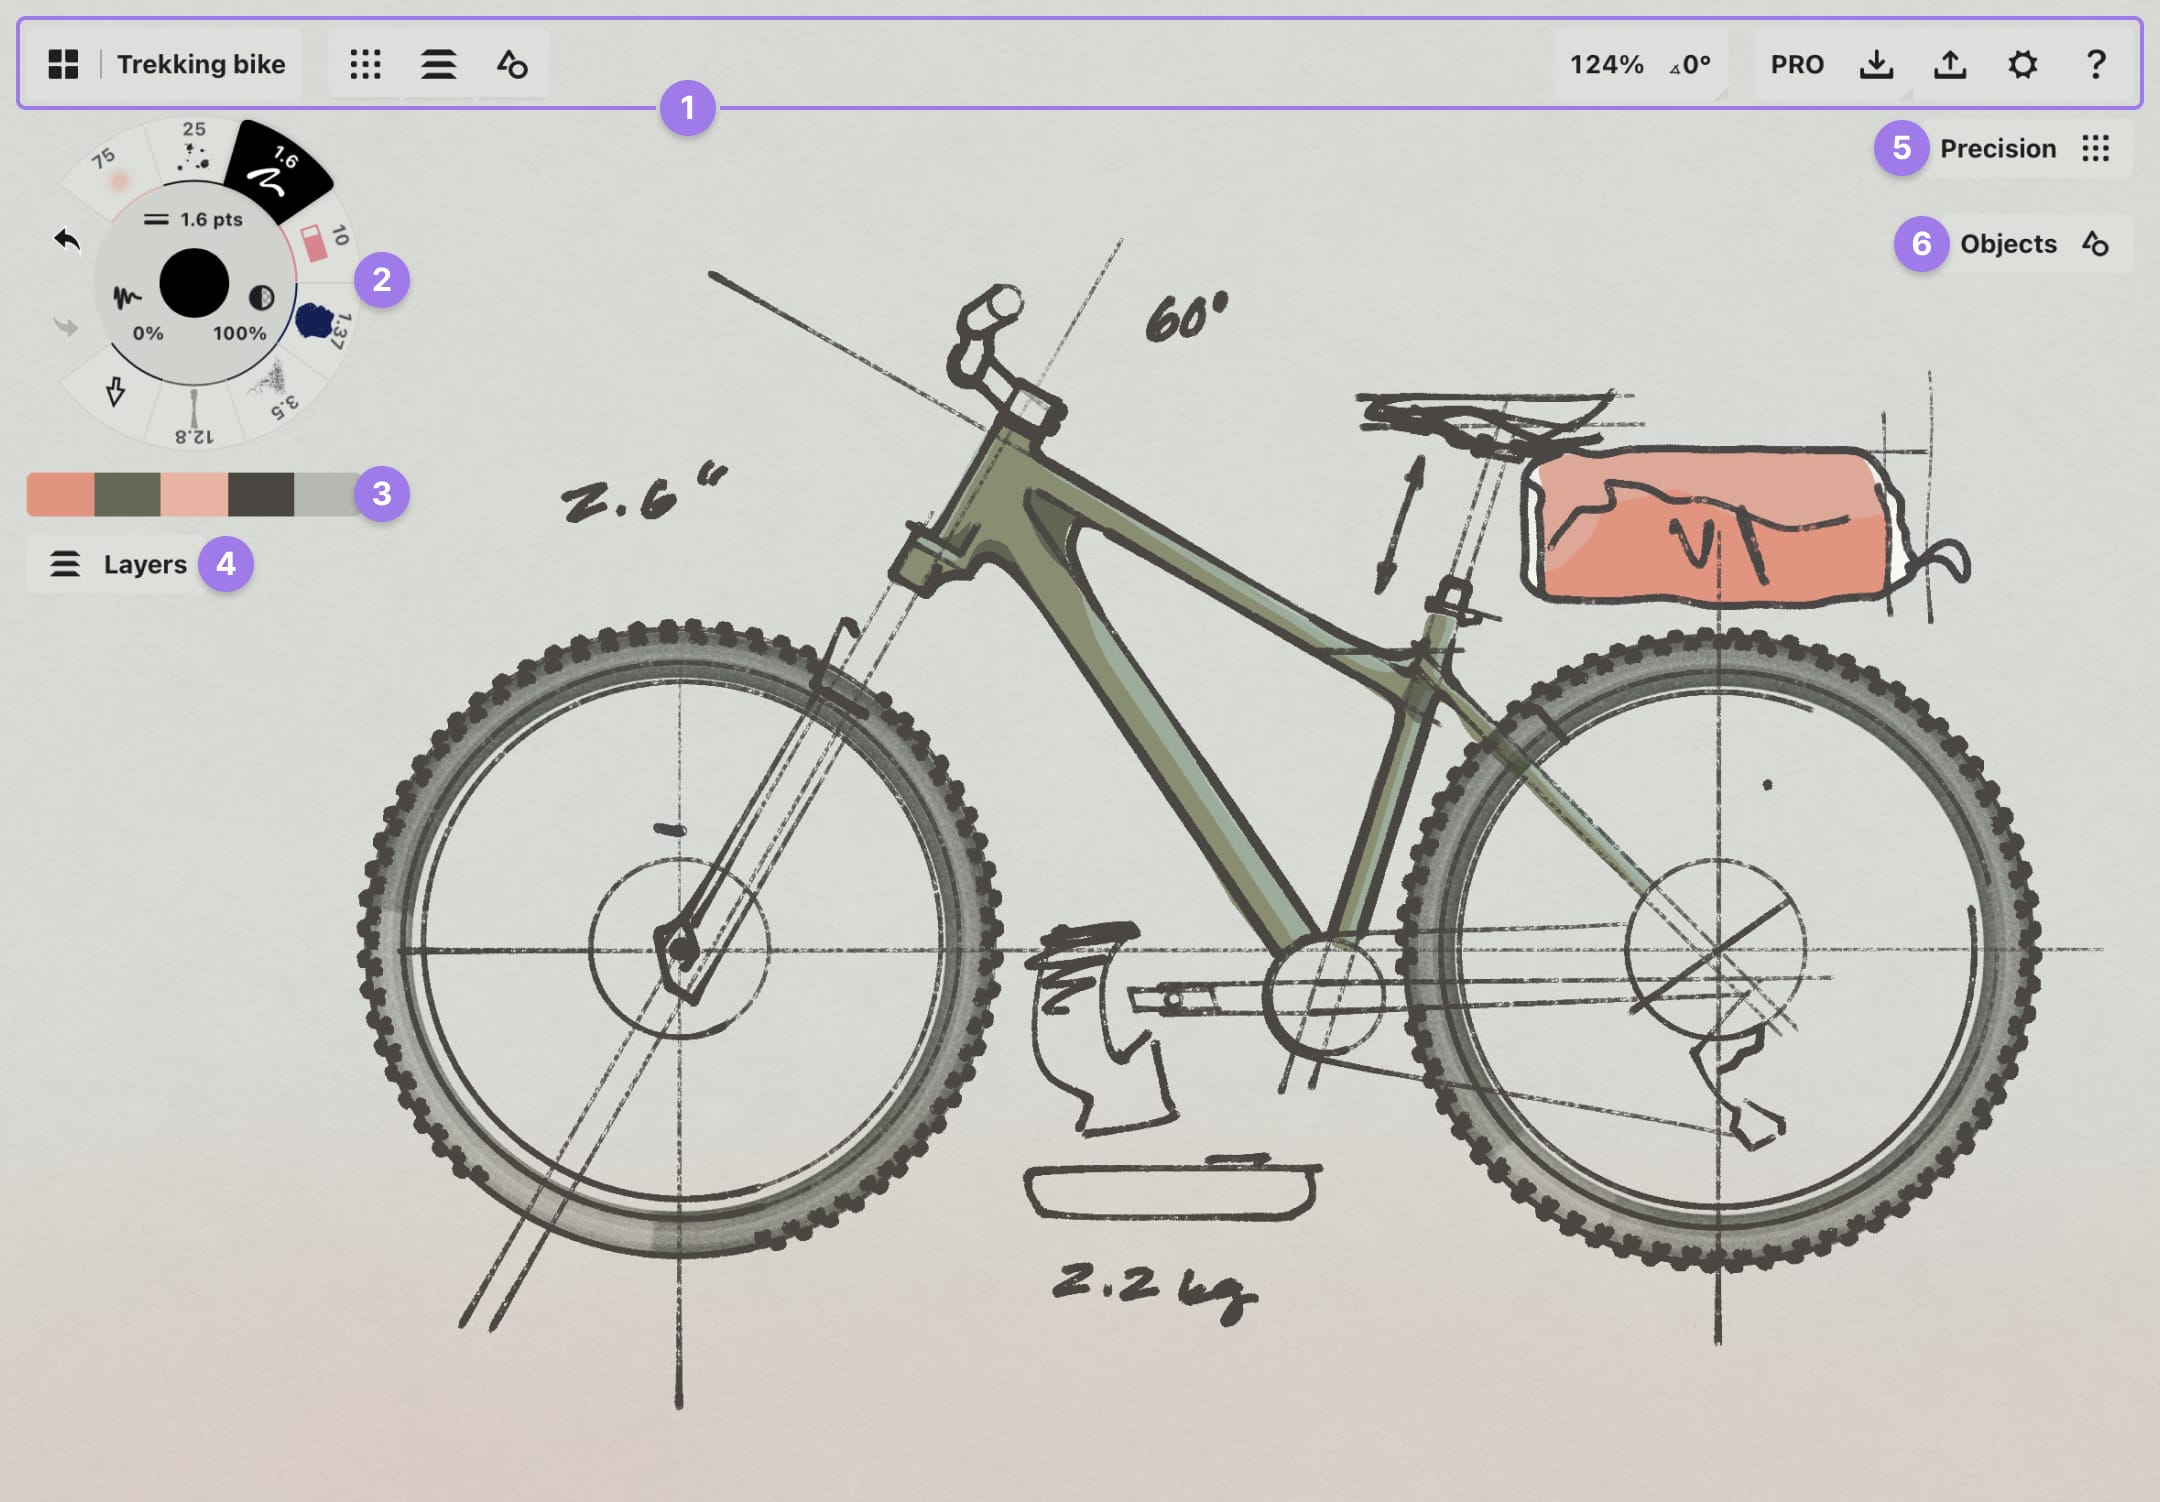
Freehand Interface. It's customizable, so your experience may vary.
- The Status Bar. From left to right: Gallery, Drawing Name, Menu Toggles (tap to add or remove menus from the canvas), Measurements (Zoom, Angle are shown), Pro Shop, Import, Export, Settings, Help.
- The Tool Wheel. Eight of your favorite tools, each configurable, plus undo and redo. You can drag+drop it on the side of the canvas to change it to a Tool Bar, if you prefer.
- Color Palette & Mixer. A configurable on-canvas palette. Swipe to scroll through your active palettes (set these up in the Colors Menu). Tap+hold to mix the palette colors into a gradient selection.
- Layers. A way of organizing your drawing elements, for example by tool, idea set, or artistic effect. Toggle between Automatic (tool-based) or Manual (custom) modes.
- Precision Tools. Find Grids, Snap, Measure, and Shape Guides in this menu to help you draw precisely.
- Objects. Tap to open your currently active Object Library. Tap More to find the Object Market and My Object libraries.
The Status Bar

Much like the Gallery, the Canvas has a persistent Status Bar that displays and controls information relative to your current state.
- The Gallery. Tap here to exit to the Gallery.
- Drawing Name. This displays your working drawing name.
- Menu Toggles These buttons toggle the menus active on canvas: Precision, Layers and Objects. Maximize your drawing space by hiding menus you don’t currently need. The line at the bottom of the button indicates when a menu is open on canvas.
- Canvas Status and Measurements. The contents of this area depend on the status of your canvas. By default, this area shows the current canvas zoom and rotation; if there’s an active selection, its measurements will appear here. Tap on the values to open a measurement popup with more controls, or tap+hold on the values to inline edit them.
- Pro Shop. Tap here to open the Store. The button represents the status of your purchases: PRO when you have purchased either a Subscription or the Essentials, and Go PRO when you haven’t made purchases. You can also Restore Purchases here.
- Import. Tap this button to access Import options.
- Export. Tap this button to open the Export menu.
- Settings. The Workspace tab offers drawing specific settings like Background Type, Artboard Size, Units and Scale. Tap the Gestures tab to configure your gesture preferences. Tap the Stylus tab to configure your stylus options.
- Help. Access our in-app support via Ask Us Anything, and find links to our latest stories, video tutorials, FAQ and more.
The Infinite Canvas
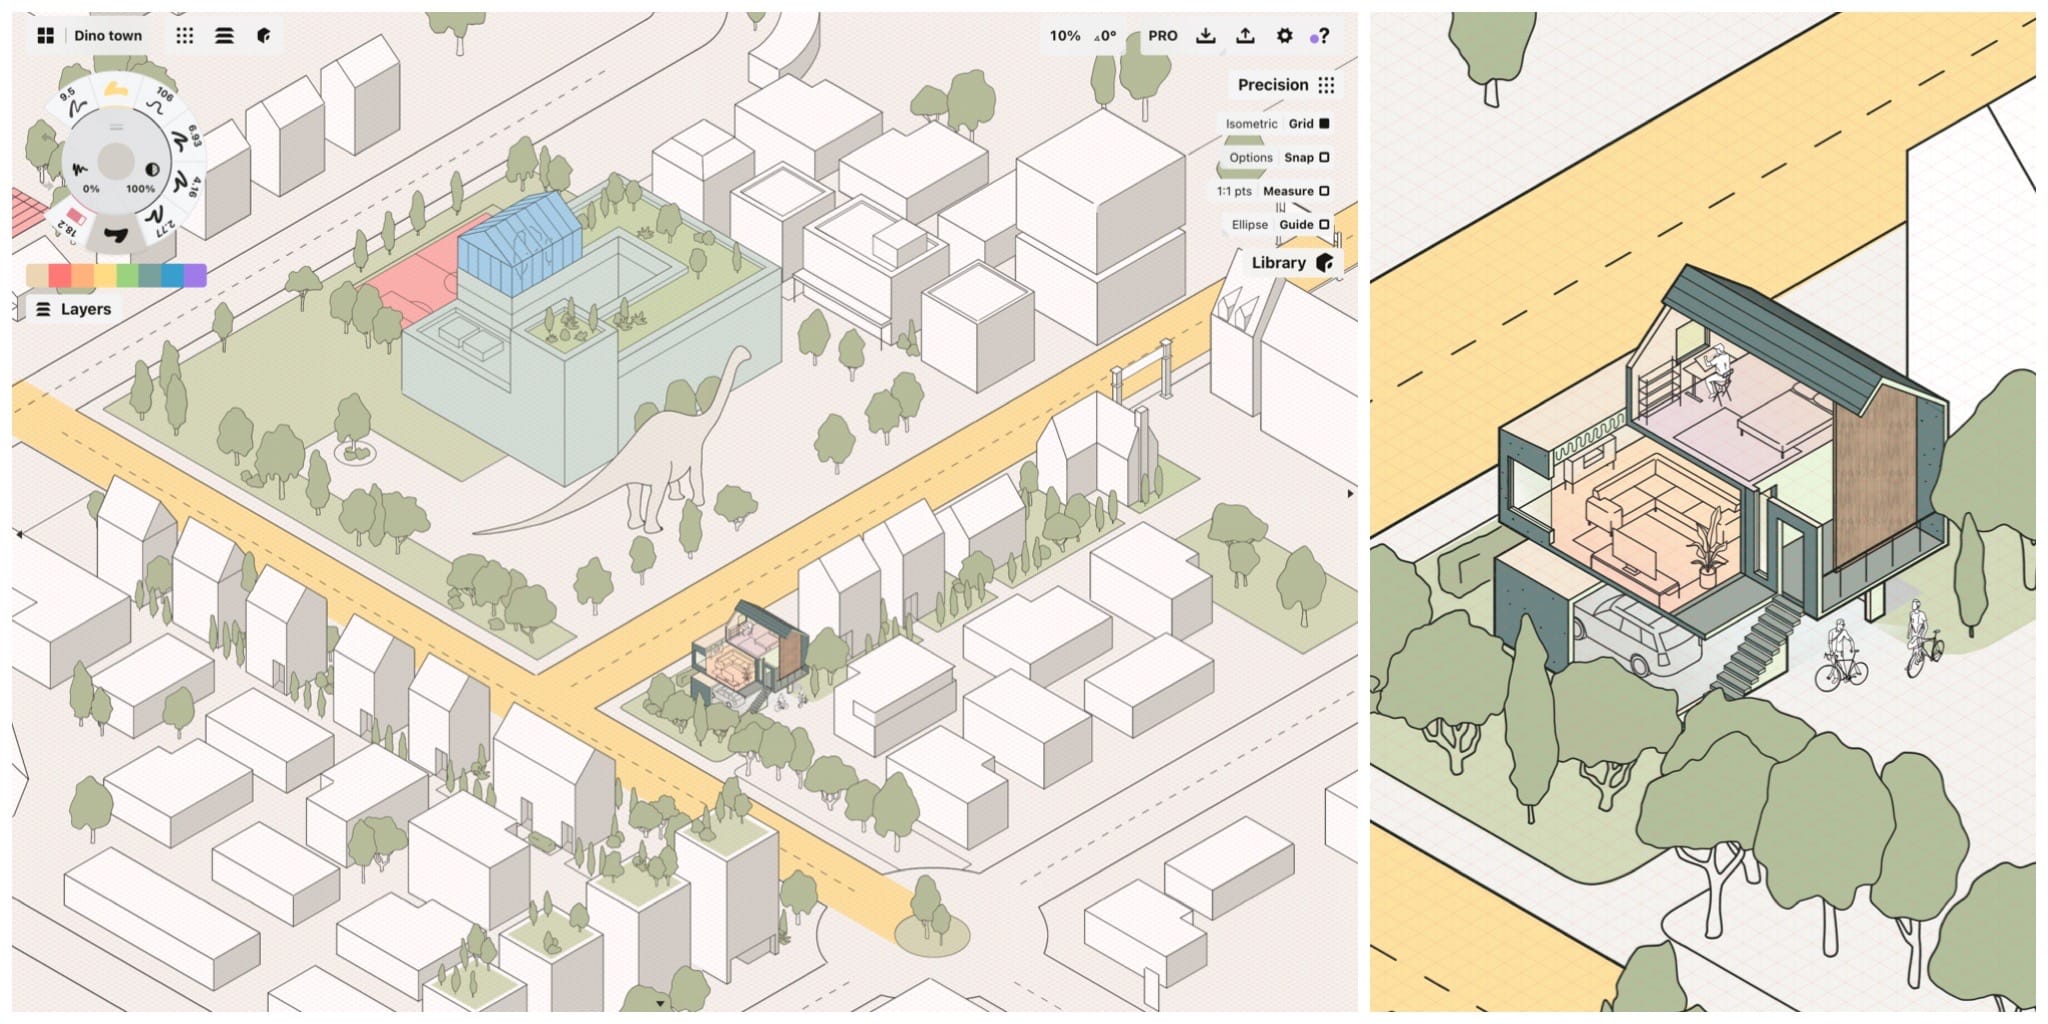
Work on the bigger picture or zoom in to focus on the details. With the infinite canvas, there are no boundaries (unless you set them yourself with one of our movable artboards).
Concepts is equipped with an infinite canvas, which is our way of saying you can extend your paper in any direction you need it, as far as you need it to go. Pan around using two fingers normally, or one finger while using the Pan tool. If you’re using an Apple Pencil, you can set your Finger Action to pan around as well, which makes navigating while drawing more convenient.
To zoom in and out, or to rotate the canvas, use a two finger pinch / spread gesture. Lines stay sharp no matter how far you go - one of the many benefits of a vector-based platform. You'll notice there are "zoom steps" at common increments which help you find standard sizes and rotations by feel. For a more precise level, tap the zoom/rotation values in the Status Bar to bring up an editor (or tap+hold to edit them inline).
If you move far away from your drawing, you'll see some pointers appear on the outside edges of the screen. Tap one to navigate to the closest off-screen stroke.
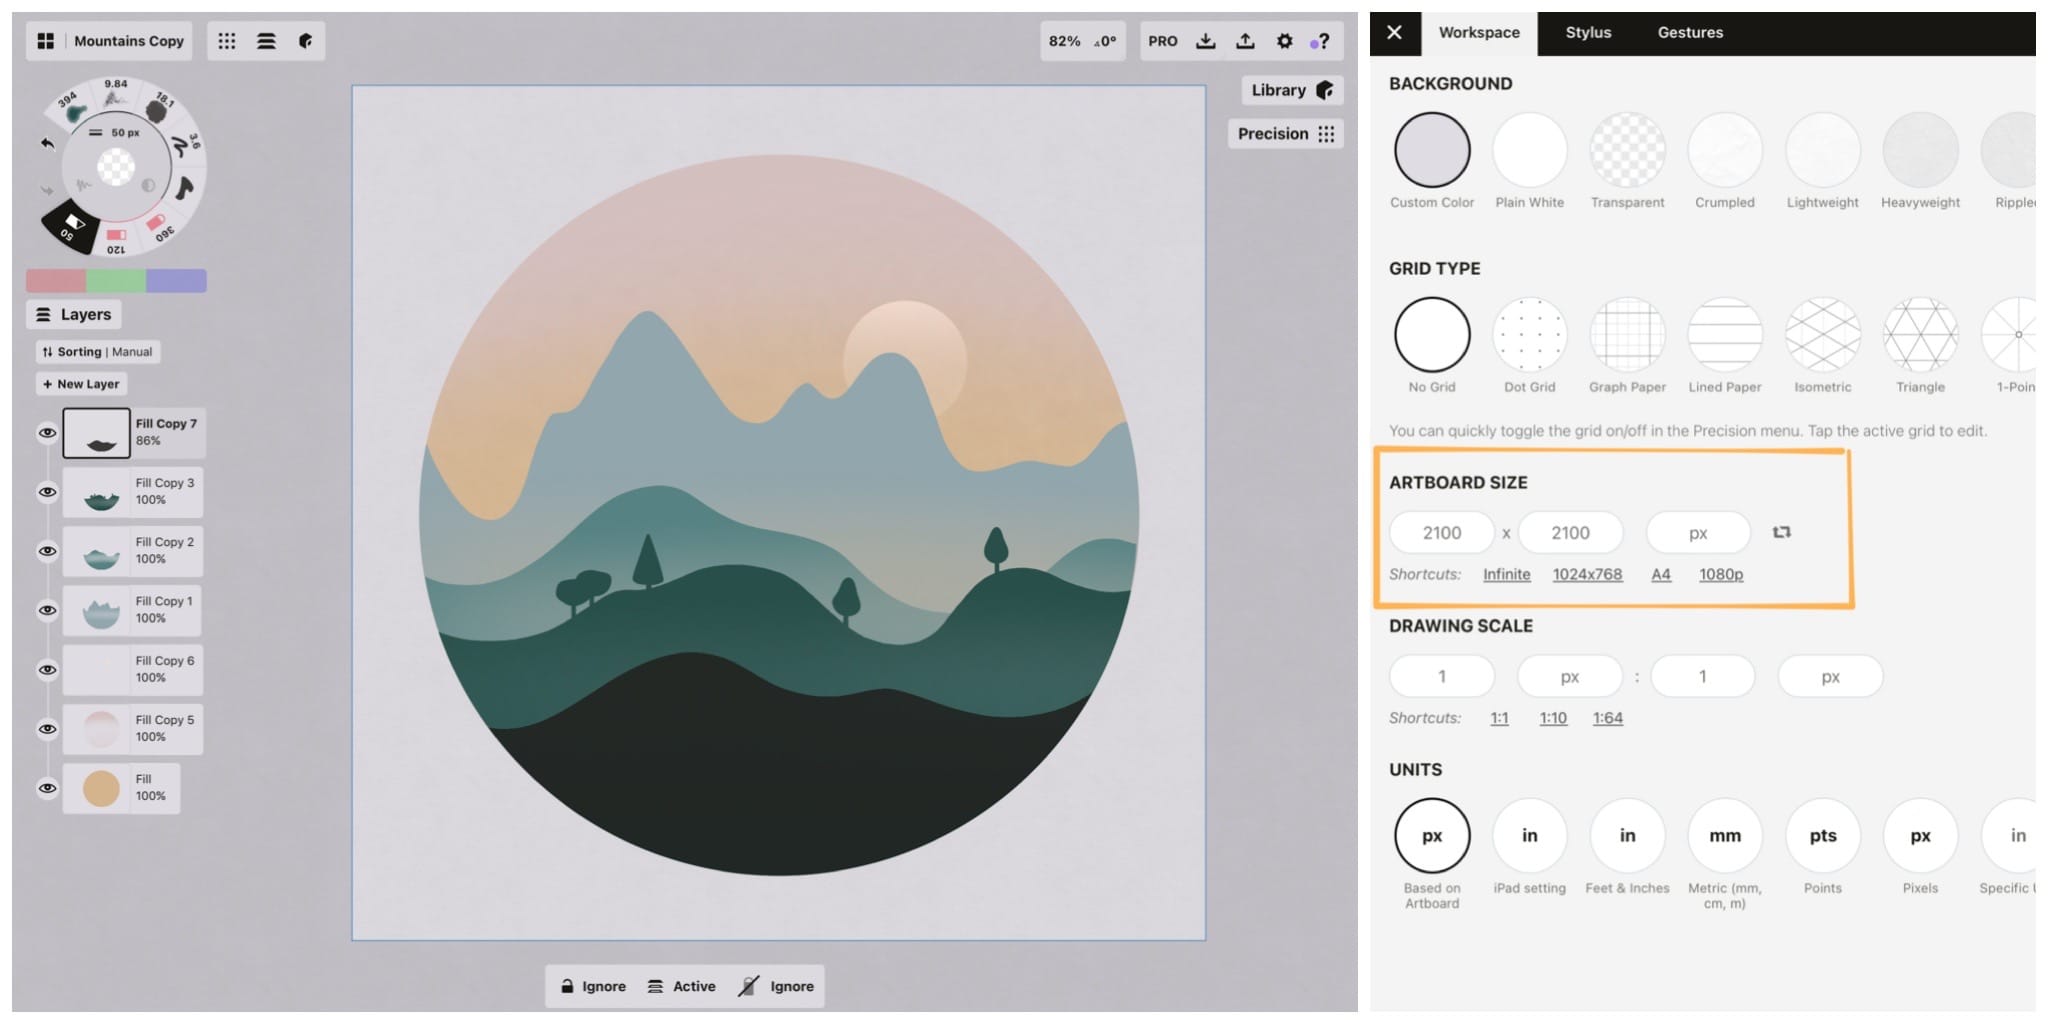
If you need to work with a defined canvas size, you can add a scaled boundary or artboard to your infinite canvas. Go to Settings → Artboard, define your custom size or choose from the popular choices. You can edit or move your artboard on the canvas at any time.
Tap+hold a corner of the artboard to move it about. This comes in handy for framing parts of your drawings (they can get big on an infinite canvas), cropping images to exact sizes, and getting a reference for how big / small your drawing is based on real-world scale. When you Export, you can choose to capture the image according to the artboard’s sizing.
To learn helpful techniques on applying artboards, importing and exporting work, and getting the most out of your infinite canvas, enjoy our tutorial Working with Your Infinite Canvas.
The Tool Wheel | Bar
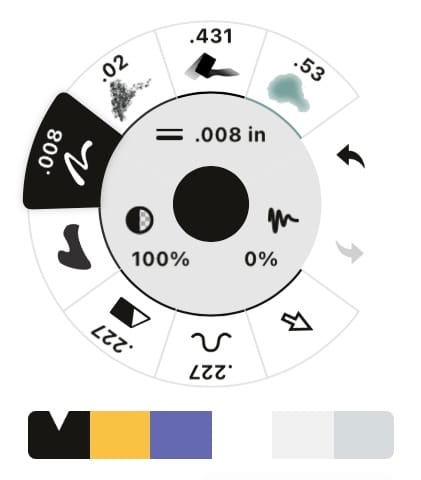
The focal point of the Concepts interface is the Tool Wheel. This is where you access your favorite tools, configure them, and choose your colors.
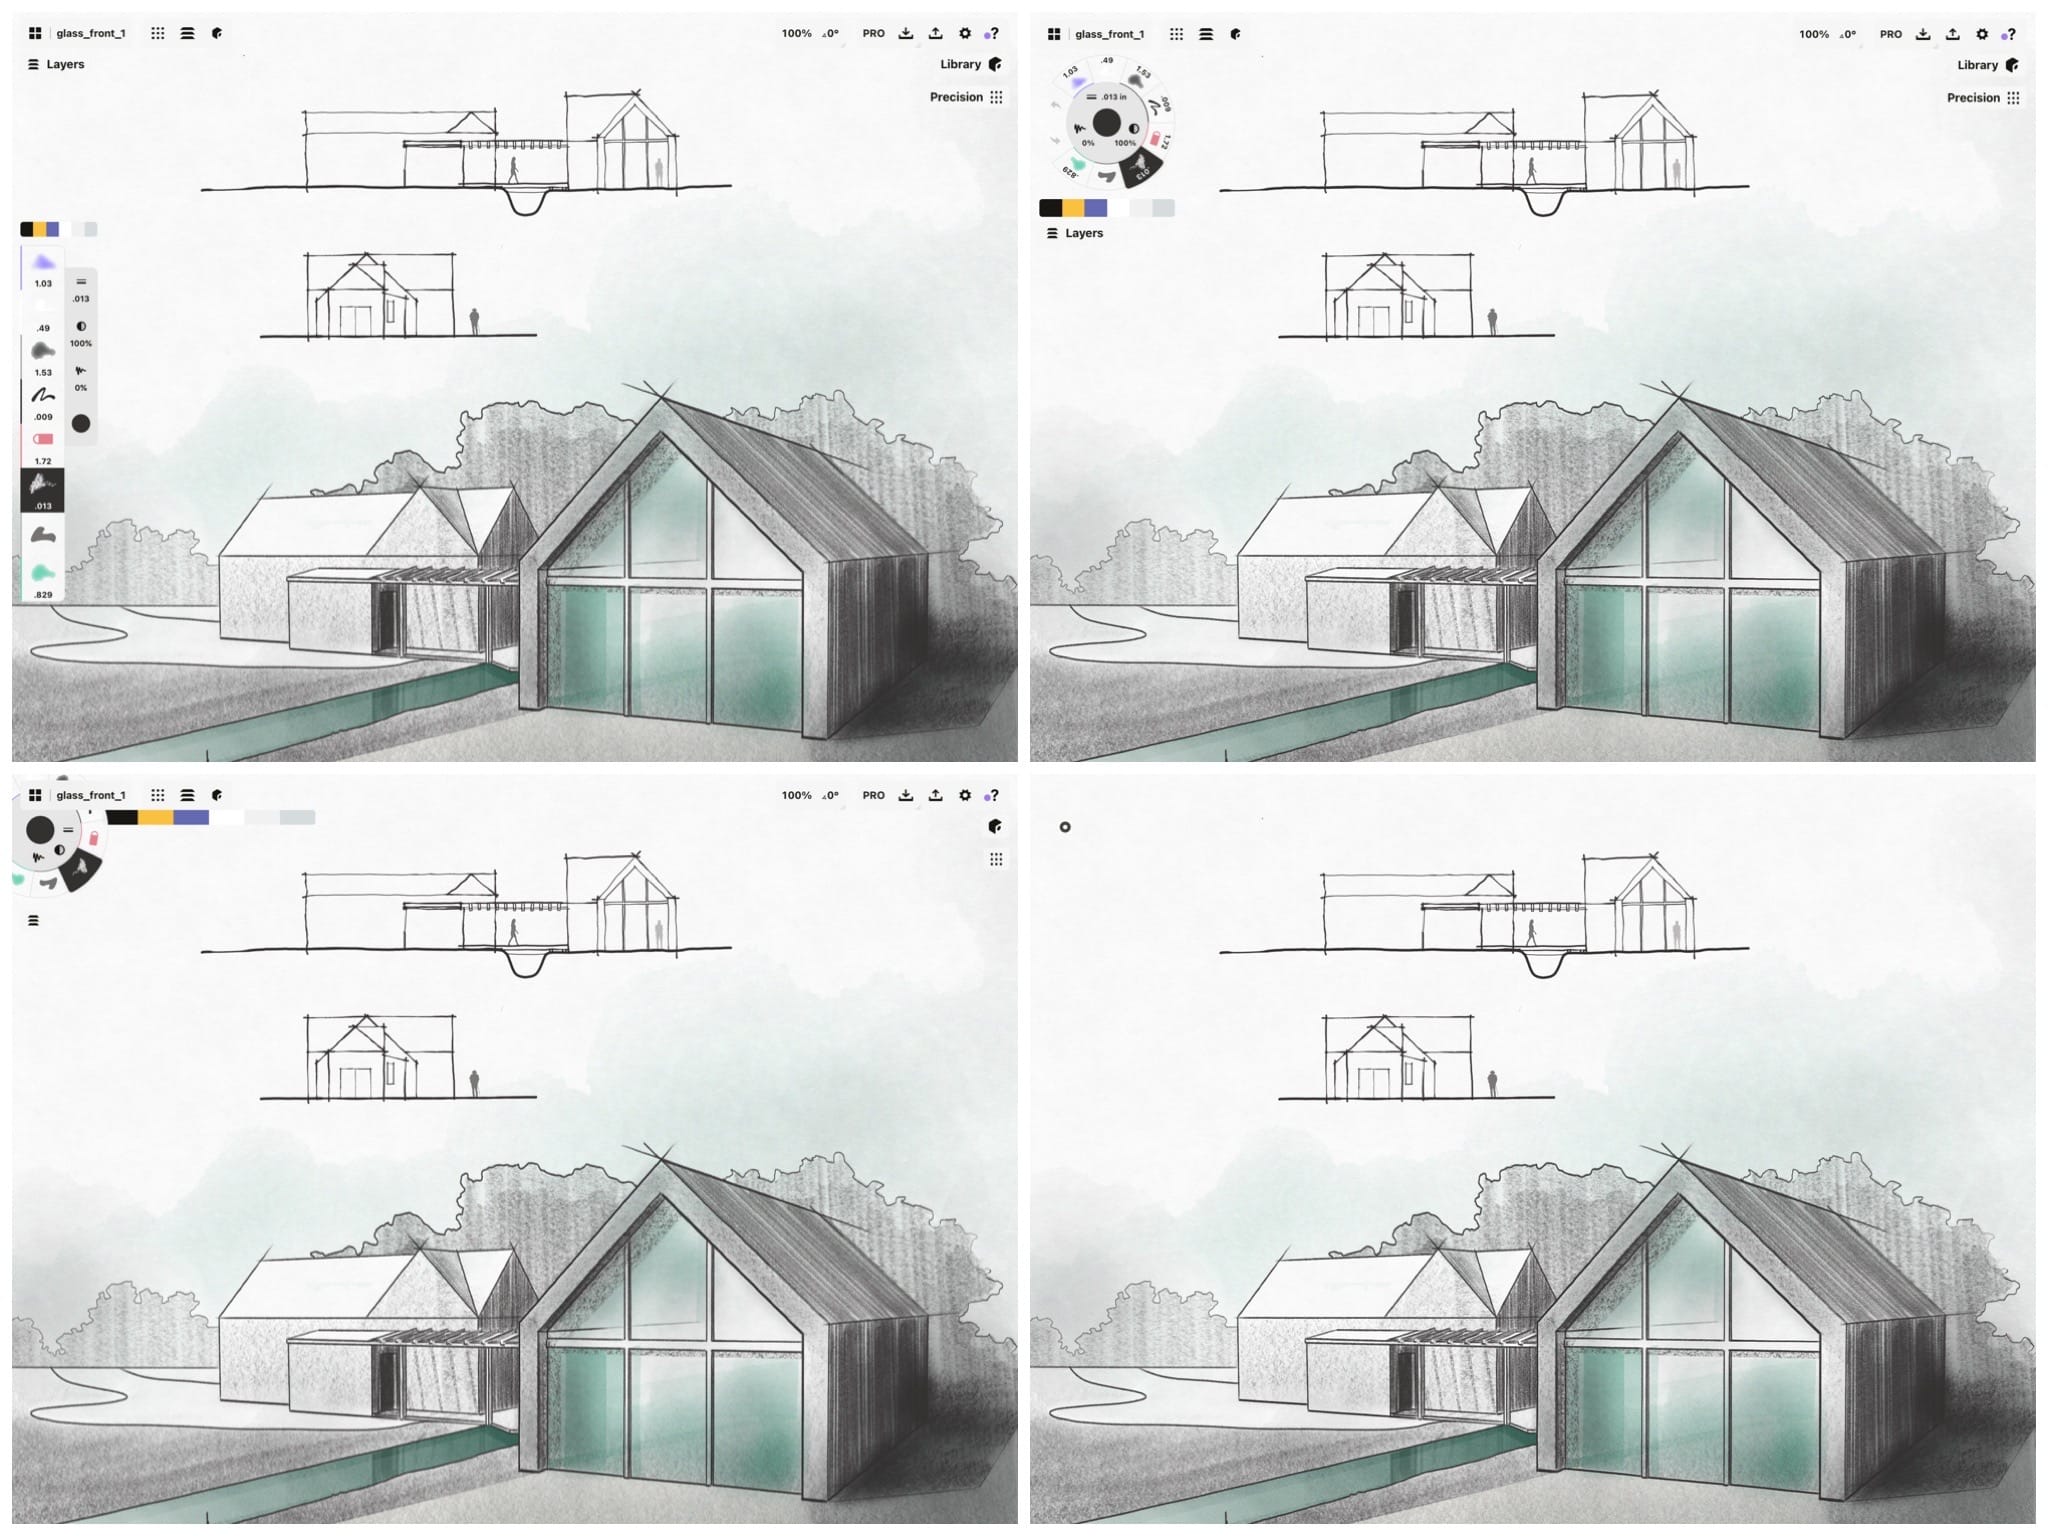
If you drag the tool wheel to the right or left edge of the screen, it will become a Tool Bar. The same abilities are available with the tool bar as with the tool wheel, with customizations and color options available along the inside edge when in normal view (swipe inward on a menu if they've hidden away).
The outer ring of the tool wheel contains your tools - eight completely customizable tools of your choice, plus undo and redo buttons. Tap a tool to activate it and draw with it. Tap again to bring up a Brushes menu, where you can choose among the different brushes and set your tool's presets.

The middle ring contains shortcuts to your brush size, opacity, and smoothness. Tap one to bring up a slider and find your tool’s presets. Select a preset by tapping on it, then drag your finger along the slider to set its value, or tap+hold the preset value to manually enter a new value. Tap again to dismiss the menu.
If you want to adjust the size, opacity or smoothness values quickly in flow, just tap+hold+slide on any of the shortcut buttons to adjust immediately. The slider will open as you slide it and close as soon as you lift your finger from the screen.
The innermost circle inside the tool wheel displays your current color and its opacity. Tap the circle to bring up the color wheels and find the color picker. Tap+hold the circle to bring up your Colors menu, which is where you can customize your color palettes and color mixer.
Some people prefer their buttons larger or smaller to fit their fingers. You can scale the tool wheel by pinching or expanding your fingers on it, and find the size that is most comfortable for you.
Undo / Redo
Mistakes can be wonderful, but sometimes they're not. In case you need to take a step back and change something, you can always use the undo and redo buttons. The buttons are on the outer ring of the tool wheel or beneath the tool bar. But you may use them less than you think, since every line in the app is a vector, and every vector is movable and editable.
You can configure gesture shortcuts for undo and redo in Settings under Gestures. Our most popular setting is a two-finger tap to undo, to the point we’ve heard our designers wail about not having a two-finger undo on a normal piece of paper.
You can also configure shortcuts for undo and redo on any of the supported active styli that have physical buttons. Again, check out Settings to configure them.
The biggest reason you might not use undo so much is that you'll decide to edit your line work instead. Because we're vector-based, you can Select and adjust the offending line, Nudge it, Slice it, or delete it entirely whenever you want. This is a flexible way to alter your sketch without being limited to a brute force undo that loses all of your latest work. We think you'll prefer it.
The Color Mixer
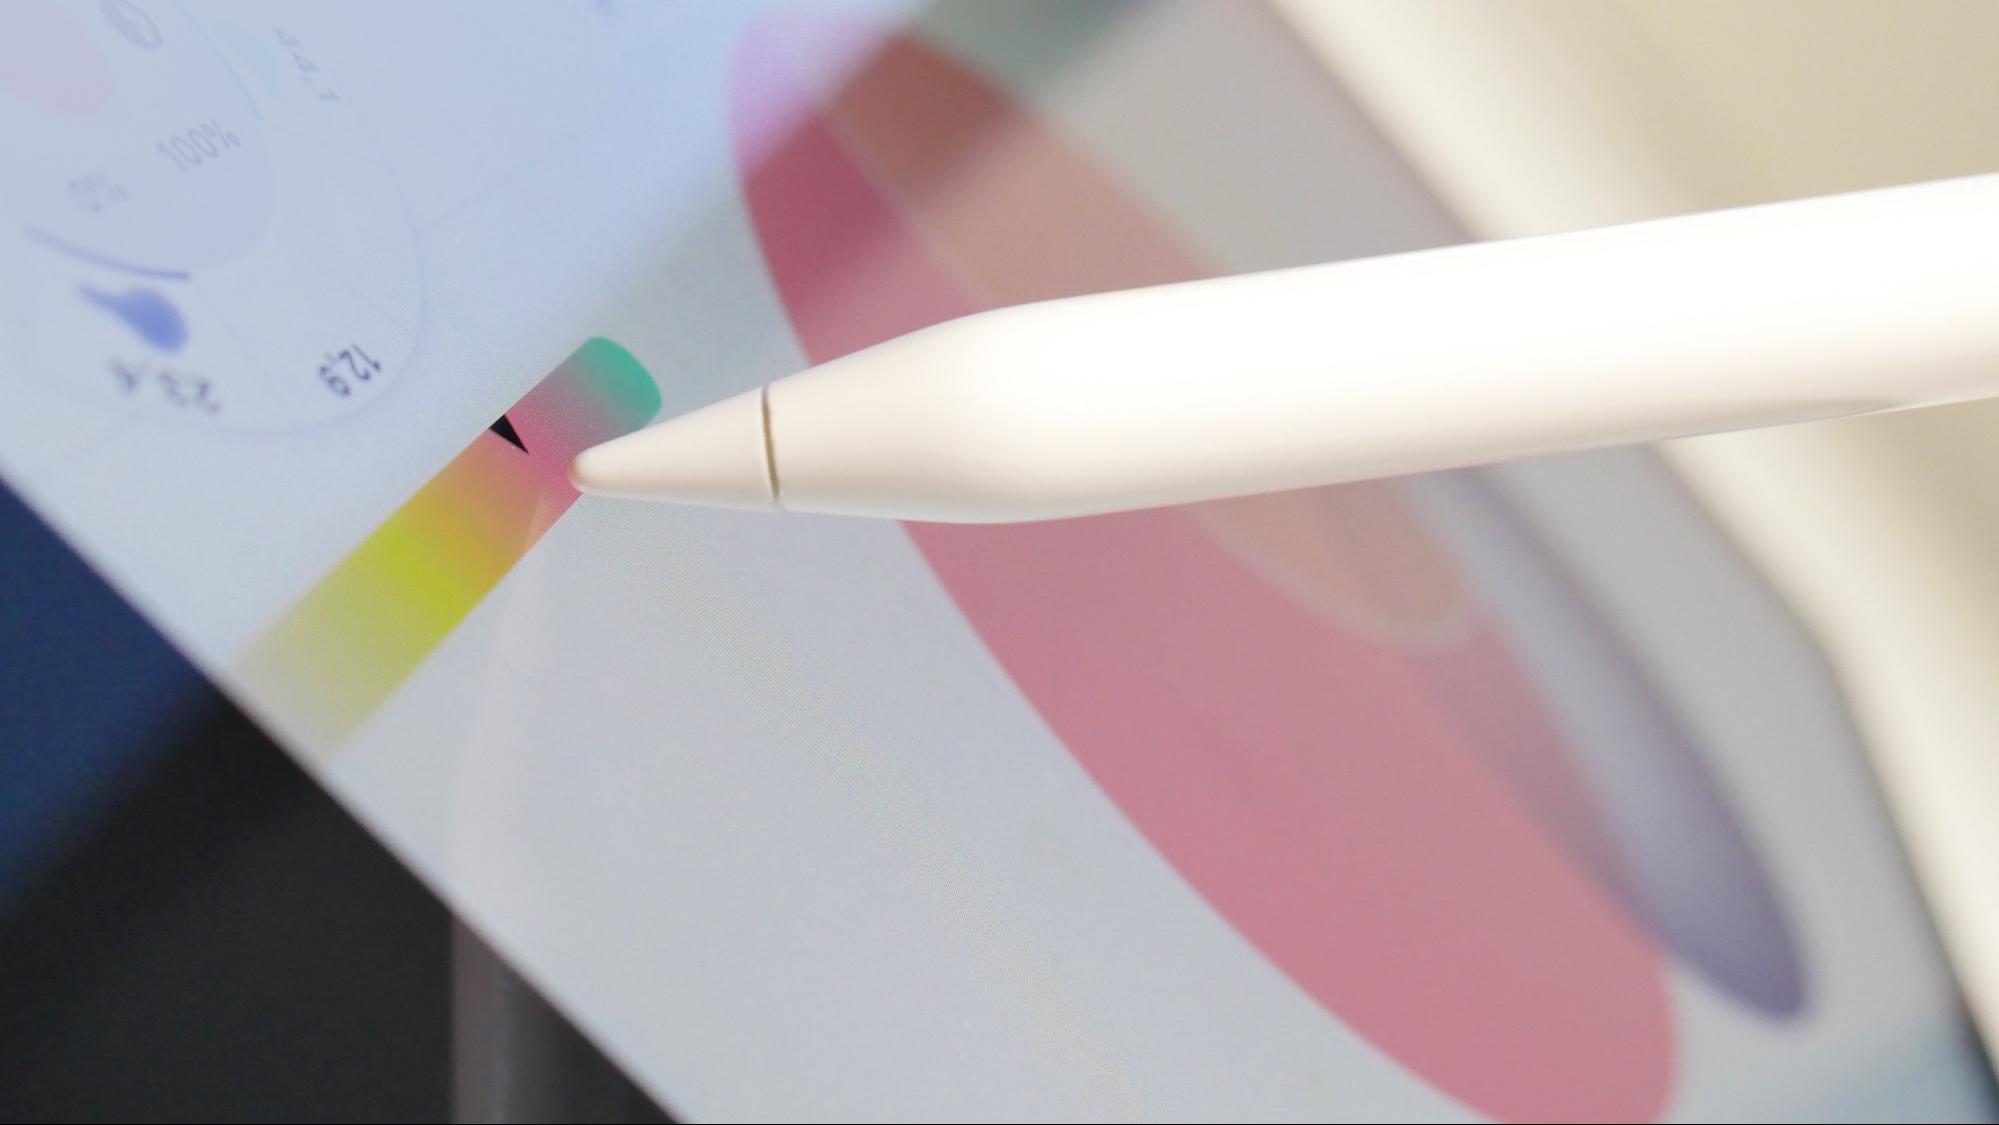
Below the tool wheel is an interactive color palette aka the Color Mixer. This mixer is scrollable left and right, and can be customized from your Colors menu. Any palette you activate in the Colors menu will appear on screen in this mixer, in the order you tapped them in.
As a mixer, it also has the ability to blend your chosen colors into a gradient, allowing you to choose complementary shades inside your palette. Tap+hold on the mixer to activate this feature, then slide your finger or stylus to the left or right, and let go to select your preferred color.
You can add this complementary shade to your palette from the Colors menu. Learn more about using, mixing and customizing your on-canvas color palettes in the Colors section.
Eingabestift verwenden
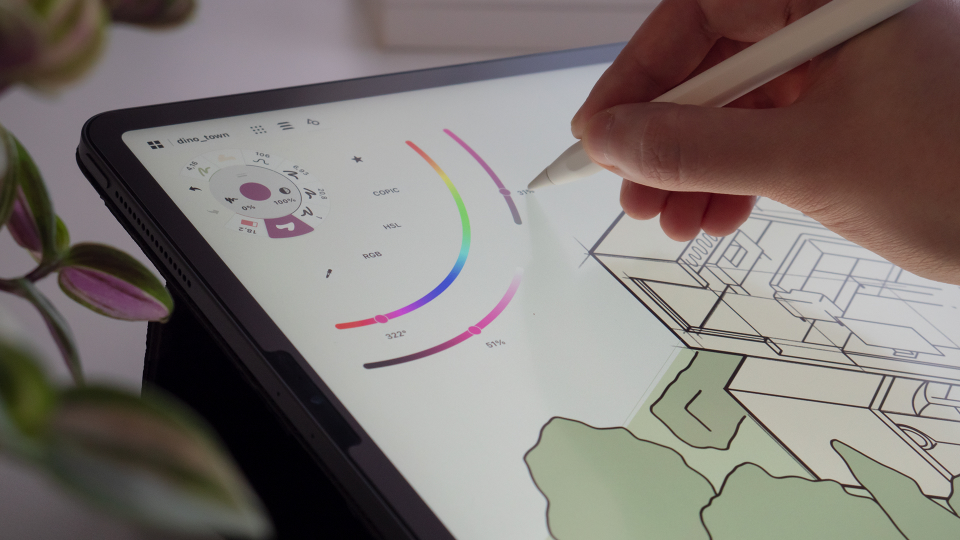
Concepts is at its best with a stylus. Of course, you can use any standard capacitive stylus - these don’t need to be connected in any special way beyond touching them to the screen to draw.
We also support the most popular Bluetooth styli, which bring greater control over line weight through surface pressure and in some cases, configurable shortcut buttons. We support Palm Rejection, writing angle adjustments, and pressure curve trimming. Here are the models we support, and Amazon partner links to them:
- Apple Pencil (on supported iPads). This stylus has by far the best experience, as latency is very low and you get native hardware support and tilt/pressure response on supported tools. You also get the ability to separate Finger actions from Pencil actions, allowing you to draw with the Pencil and perform a separate action with your finger.
- These extra actions include: Do nothing (for extra robust palm rejection), Use active tool (the default), Nudge, Pan Canvas (to move around with a single finger vs. the standard two-finger zoom/pan), Select (a quick way to make selections), and Configured tool (8) (the final tool beneath the redo button on the tool wheel, i.e. whichever tool you’ve selected for slot 8).
- Adonit Jot Touch, Script, Pixel and Note+. These are good for all iPads and any iPhone model. The Script doesn’t support pressure sensitivity.
- All Wacom Styli. Long an industry standard, Wacom hardware is reliable and well-supported.
The shortcut buttons on some styli can be configured once the pen has been connected. Buttons can be configured to: No Action, Undo, Redo, Select Last Item, Show Layers, Show Color Wheel, Tool Setup, Show Objects.
Note when using Palm Rejection: Make sure you turn off “Multitouch Gestures" in the device’s Settings app (under General). If you don’t disable it, it will cause conflicts and the screen will jerk around a bit.
Left Handed Support
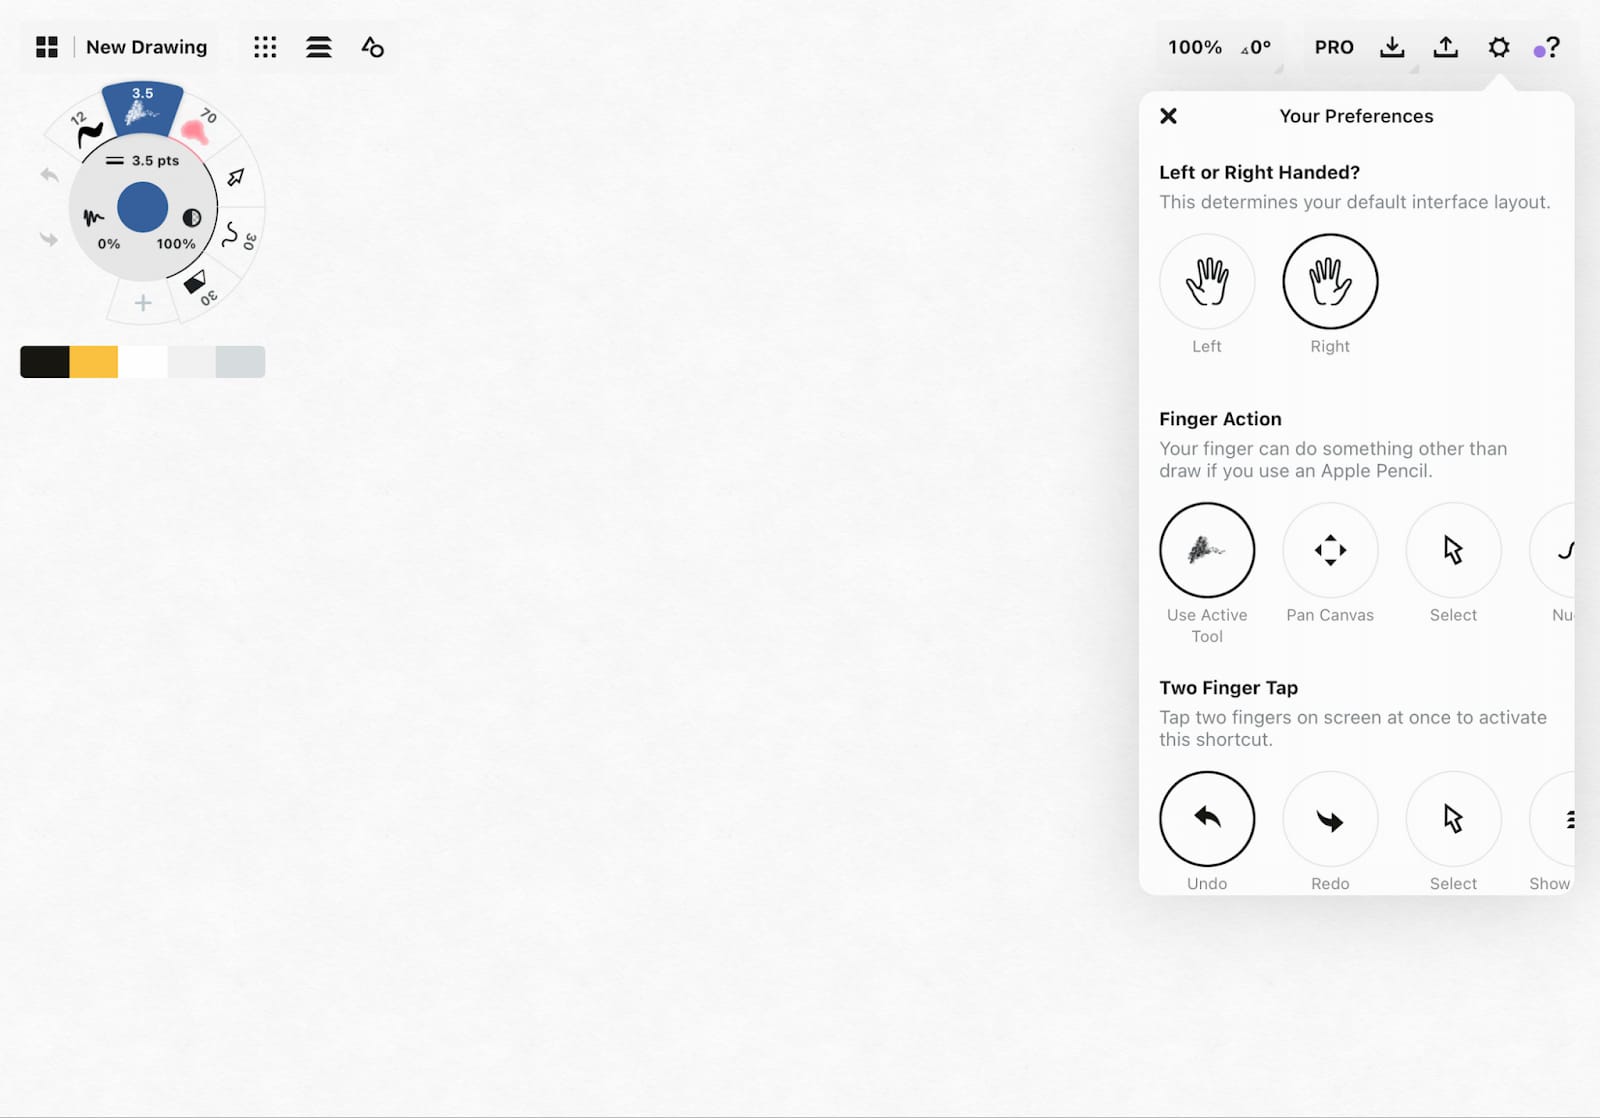
Concepts works great for lefties and righties. While the app gives you some default options the first time you launch, they’re really just suggestions - try moving the tool wheel to the opposite side of the screen and watch the menus switch orientation. Move your menus where they won’t be in the way.
For a step-by-step walkthrough on setting up your workspace comfortably for you, read Setting Up Your Menus, Brushes and Presets.
