Architectural Design Series
Rendering a Floor Plan in Concepts
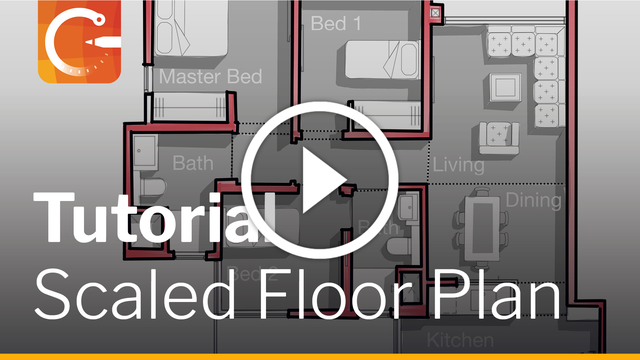
Learn how to scale and render a floor plan in Concepts with Architect Osama Elfar.
Watch the video on YouTube. Read below for additional insights by Osama Elfar along with tutorial details, tips and brush settings from the video.
Interview
1. What is your creative process like for creating your initial floor plans for a client?
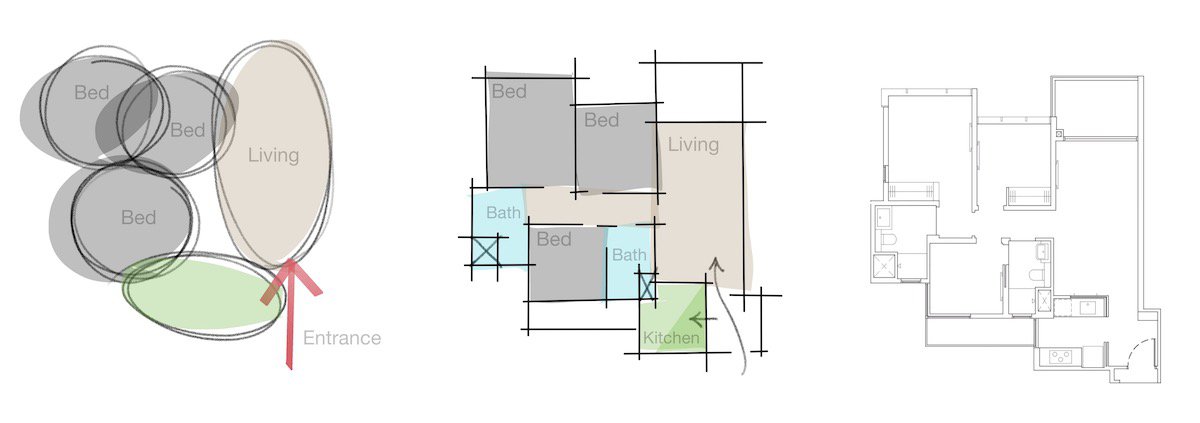
Once I have a specification from our client meeting or receive the project brief, I will translate the client's requirements into drawings. I begin working on the plan by using a bubble diagram for spaces. This allows me to study the connection between them. Then I'll draw with single lines to test if the required dimensions will work, and add more details to the floor plan. Once the client and I are ready for more detailed drawings, I'll move on to using AutoCAD to finalize the plan.
2. How does your coloring / rendering process sell your architectural solution to the client?
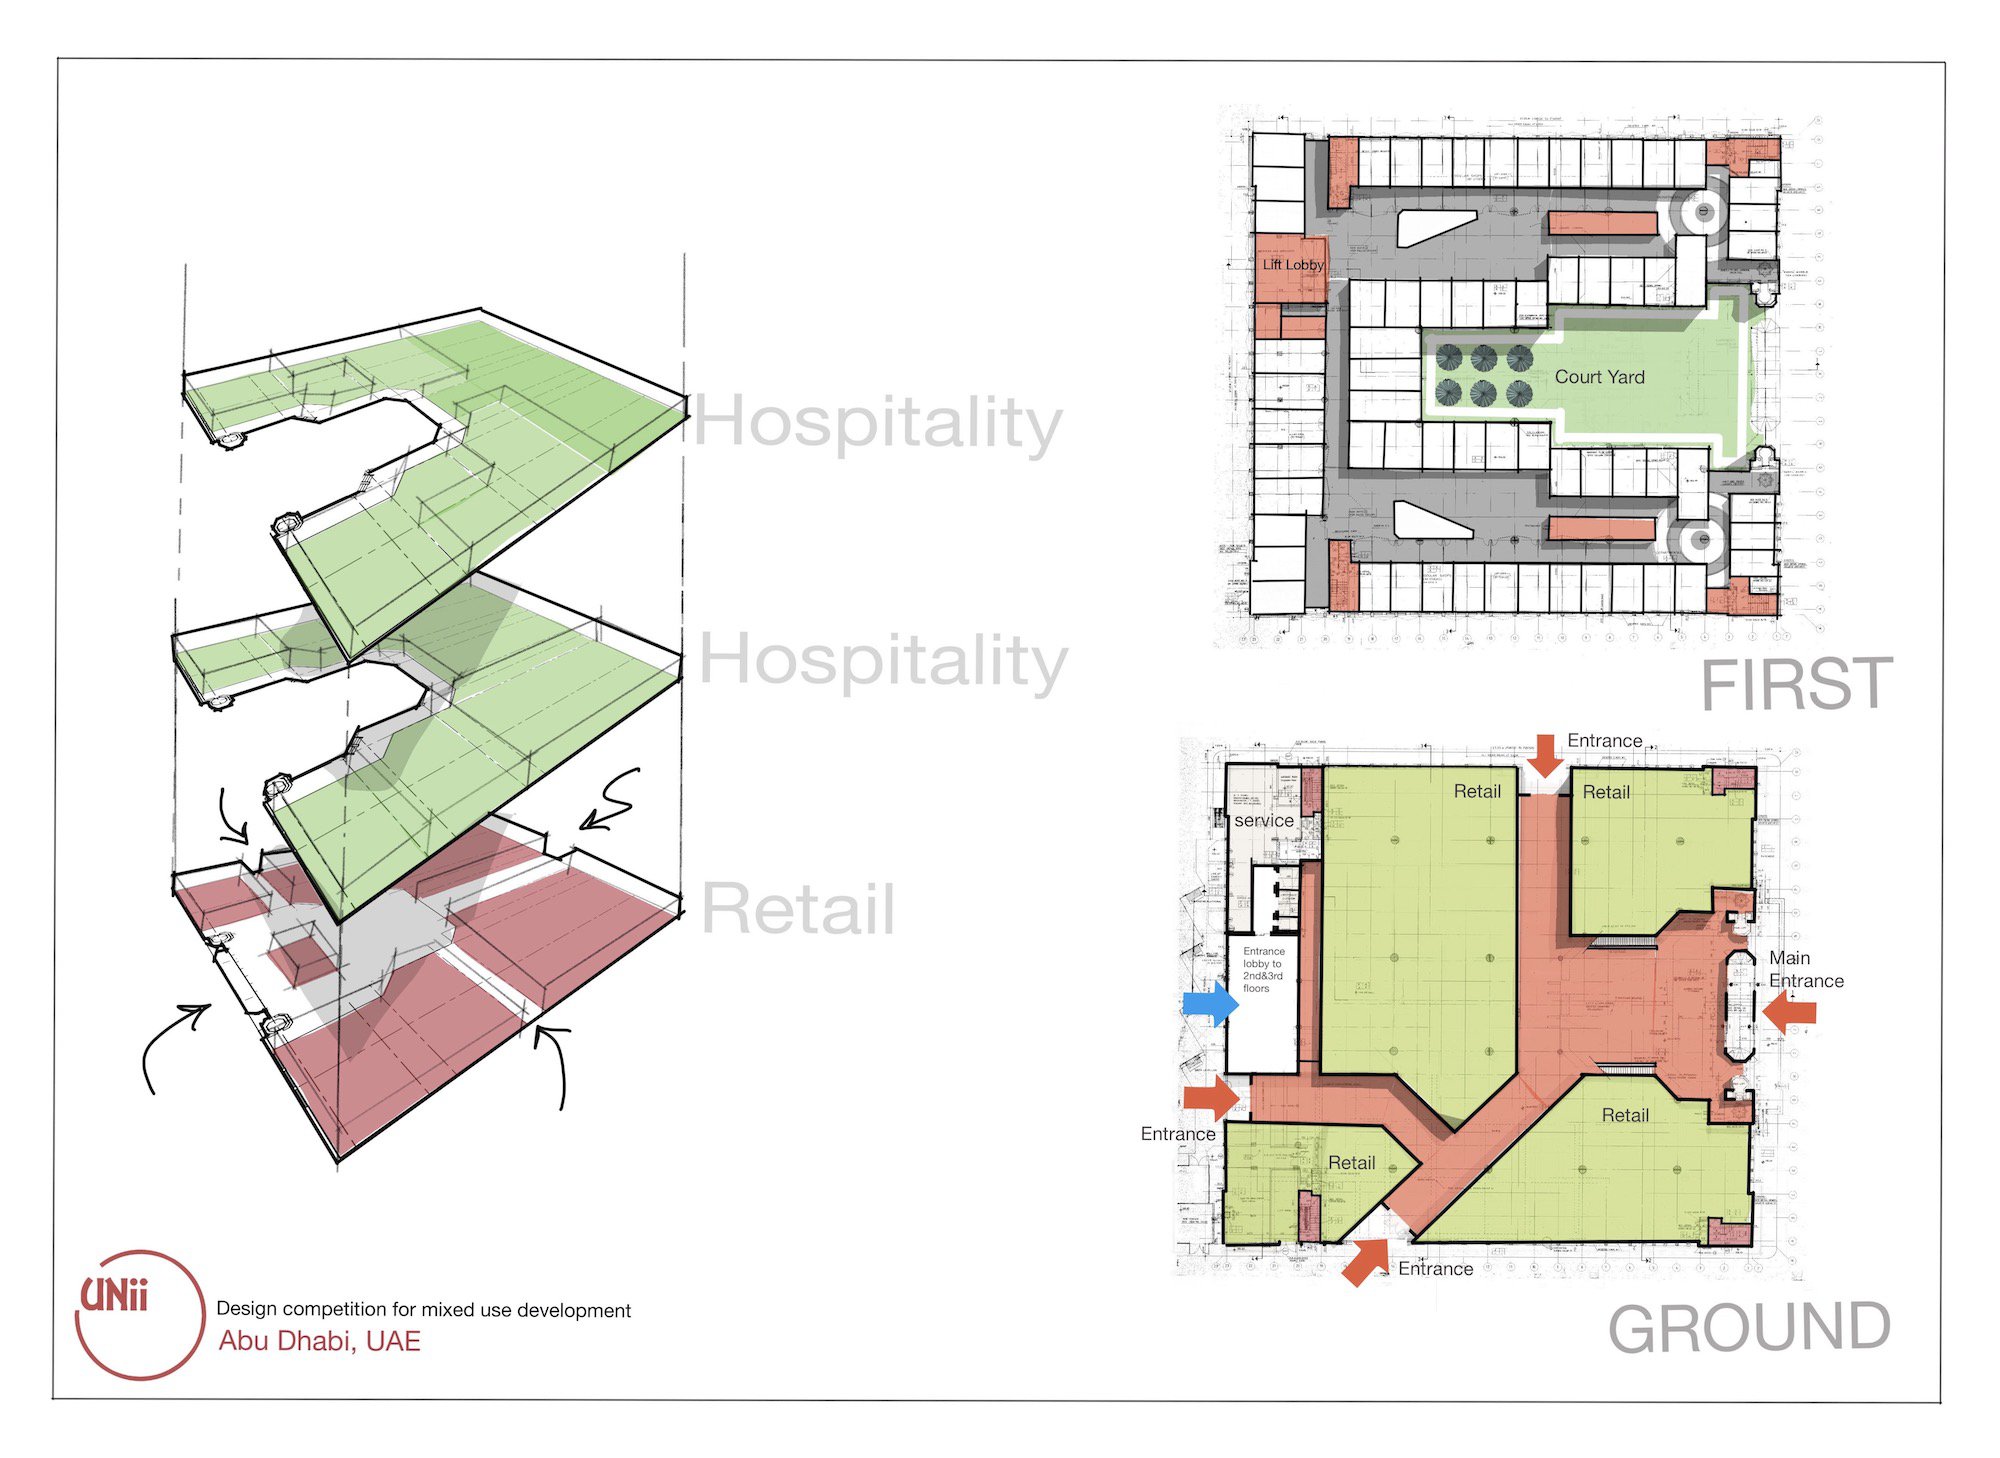
Coloring the floor plan is an important step. It helps the client who usually doesn’t have an architectural background to understand the project. They can imagine the spaces and dimensions and see how the furniture will fit.
The hard part in this step is when the client asks for modifications. As an architect, you head back to the office to modify the drawings, knowing the client expects to receive the same quality drawing as the first submission. The best way is to find a quick method to color in the floor plan. This helps the client understand that his project is given full attention.
3. How do you export and use the finished floor plan?
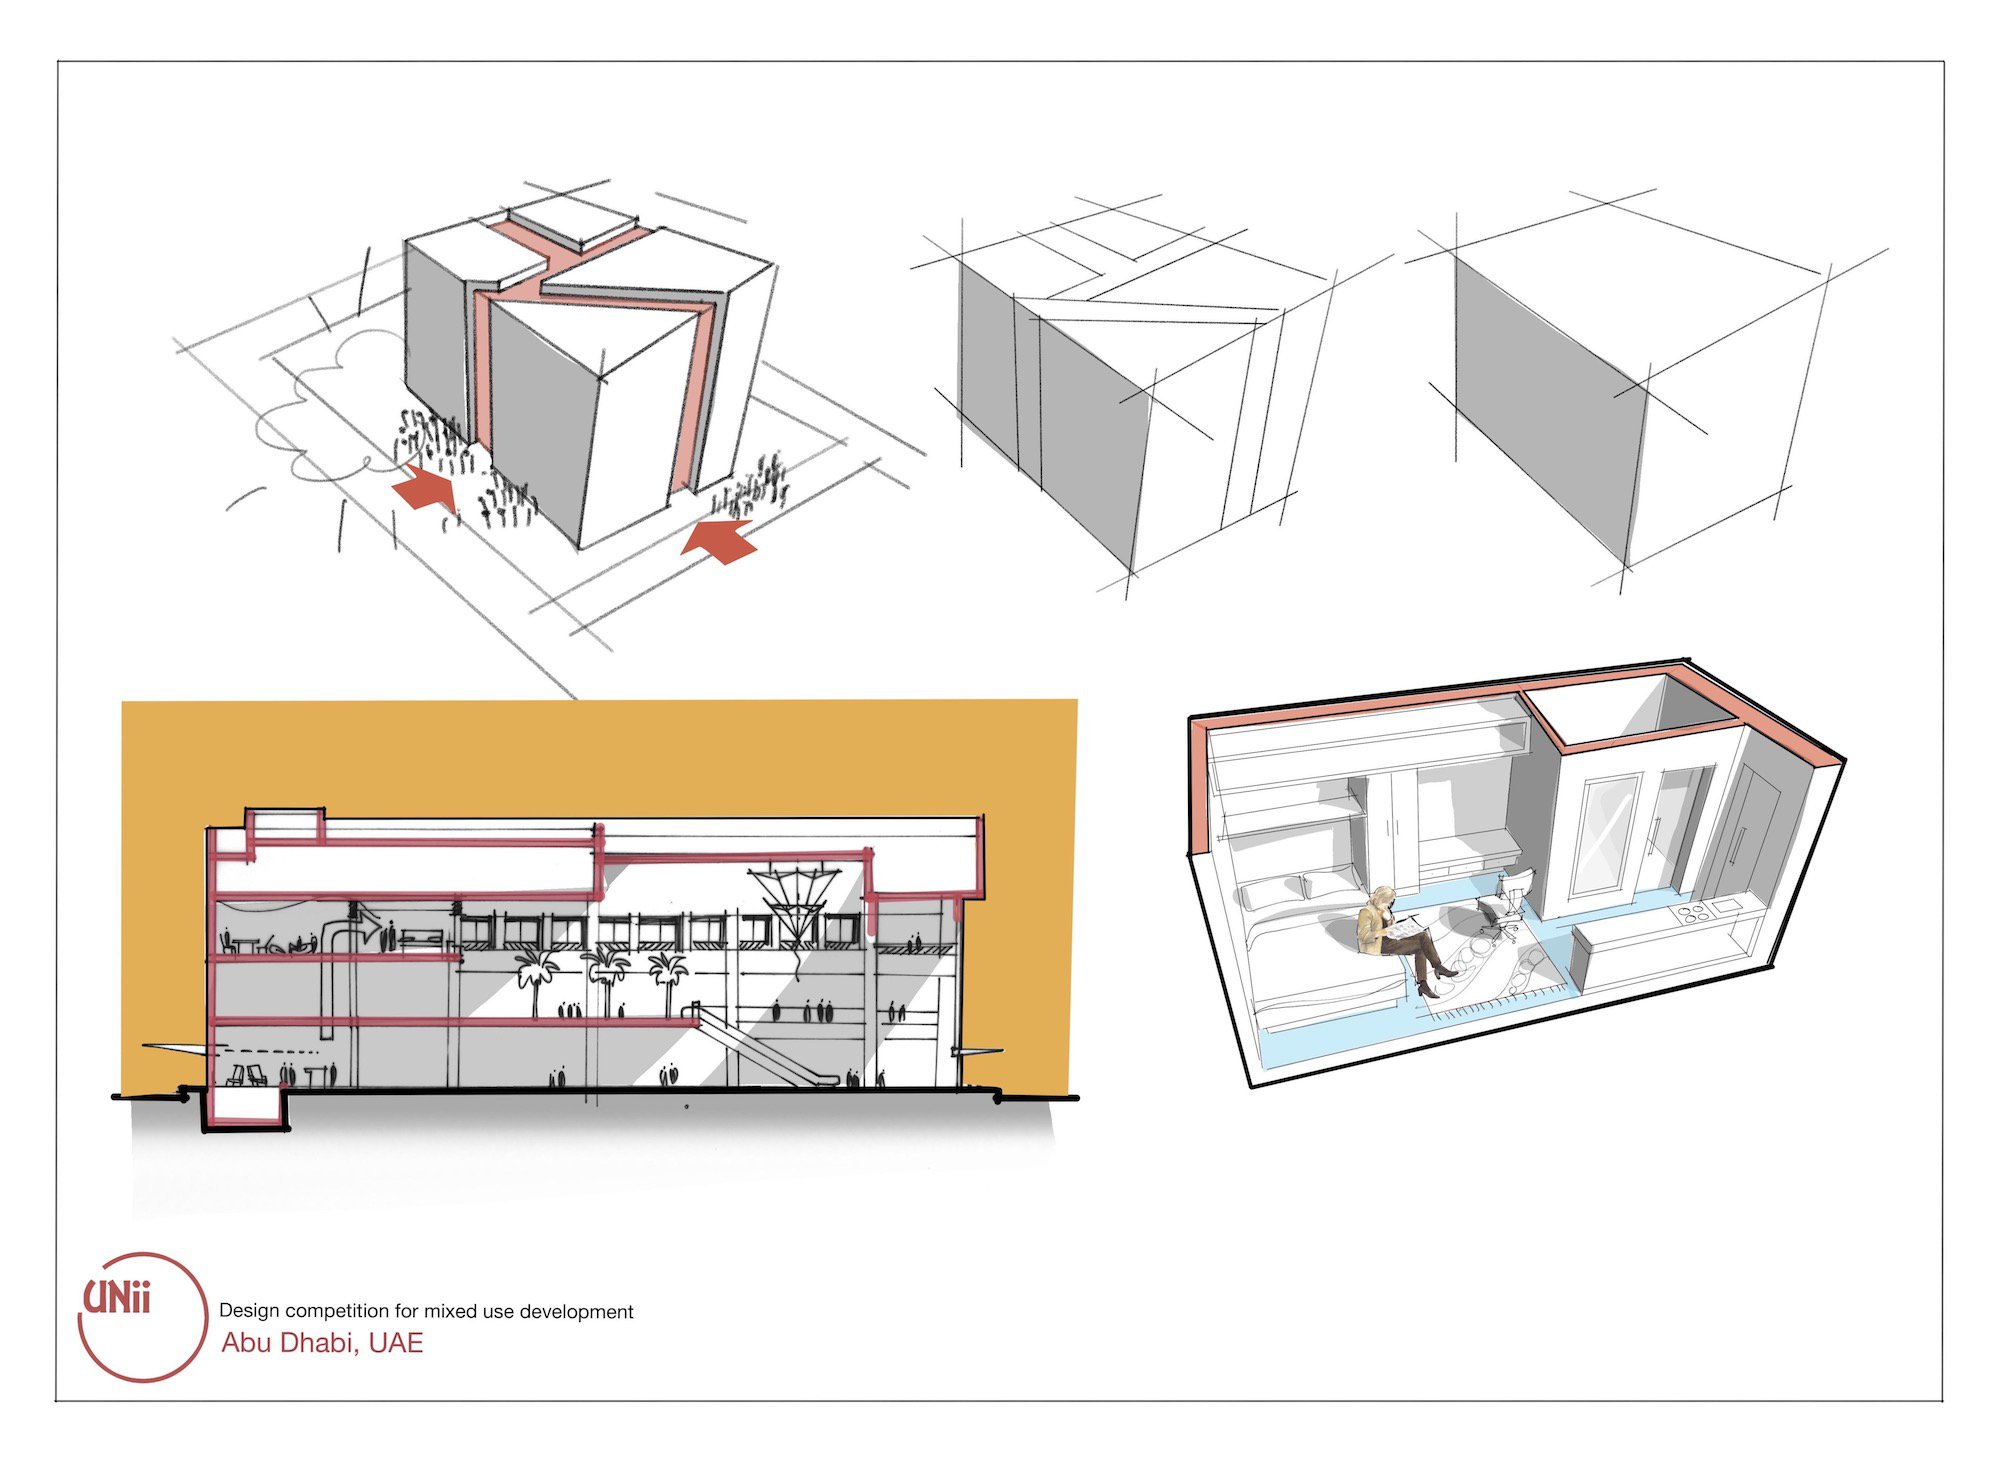
Usually I export PDF files, which is a flexible format to send by email, print hard copy or present on screen.
I have a tip here which saves some time. When I start a project, the first thing I do is create the project sheet. This is a drawing template displaying the company logo and project name. I use it for each of my Concepts drawings, so that I am ready at any time to share the progress in a presentable way.
Video Details
If you're interested in learning how to draw a floor plan from scratch or from a previously detailed plan, please take a look at our illustrated tutorial How to Create a Floor Plan.
Setting Up Your Floor Plan
1. Before you import your plan, make sure your units are set. Head to Settings > Units and set it to the metrics of your plan. In Osama's case, this is inches.
2. Import a floor plan as a PDF or as an image.
3. Open the Precision menu and activate the Line Guide. Use two fingers to move the guide to a wall or section you already know the measurement of.
4. Head to Settings > Drawing Scale and enter in a known measurement off your plan into the second field.
5. Tap out of the menu. From here, you can use the Line Guide to measure any feature in the plan with your real world scale.
Rendering Your Floor Plan
Note: Keep your layers set to Automatic Mode. This will help you to keep your drawing organized, and allows you to easily edit colors, pen sizes and so forth later on.
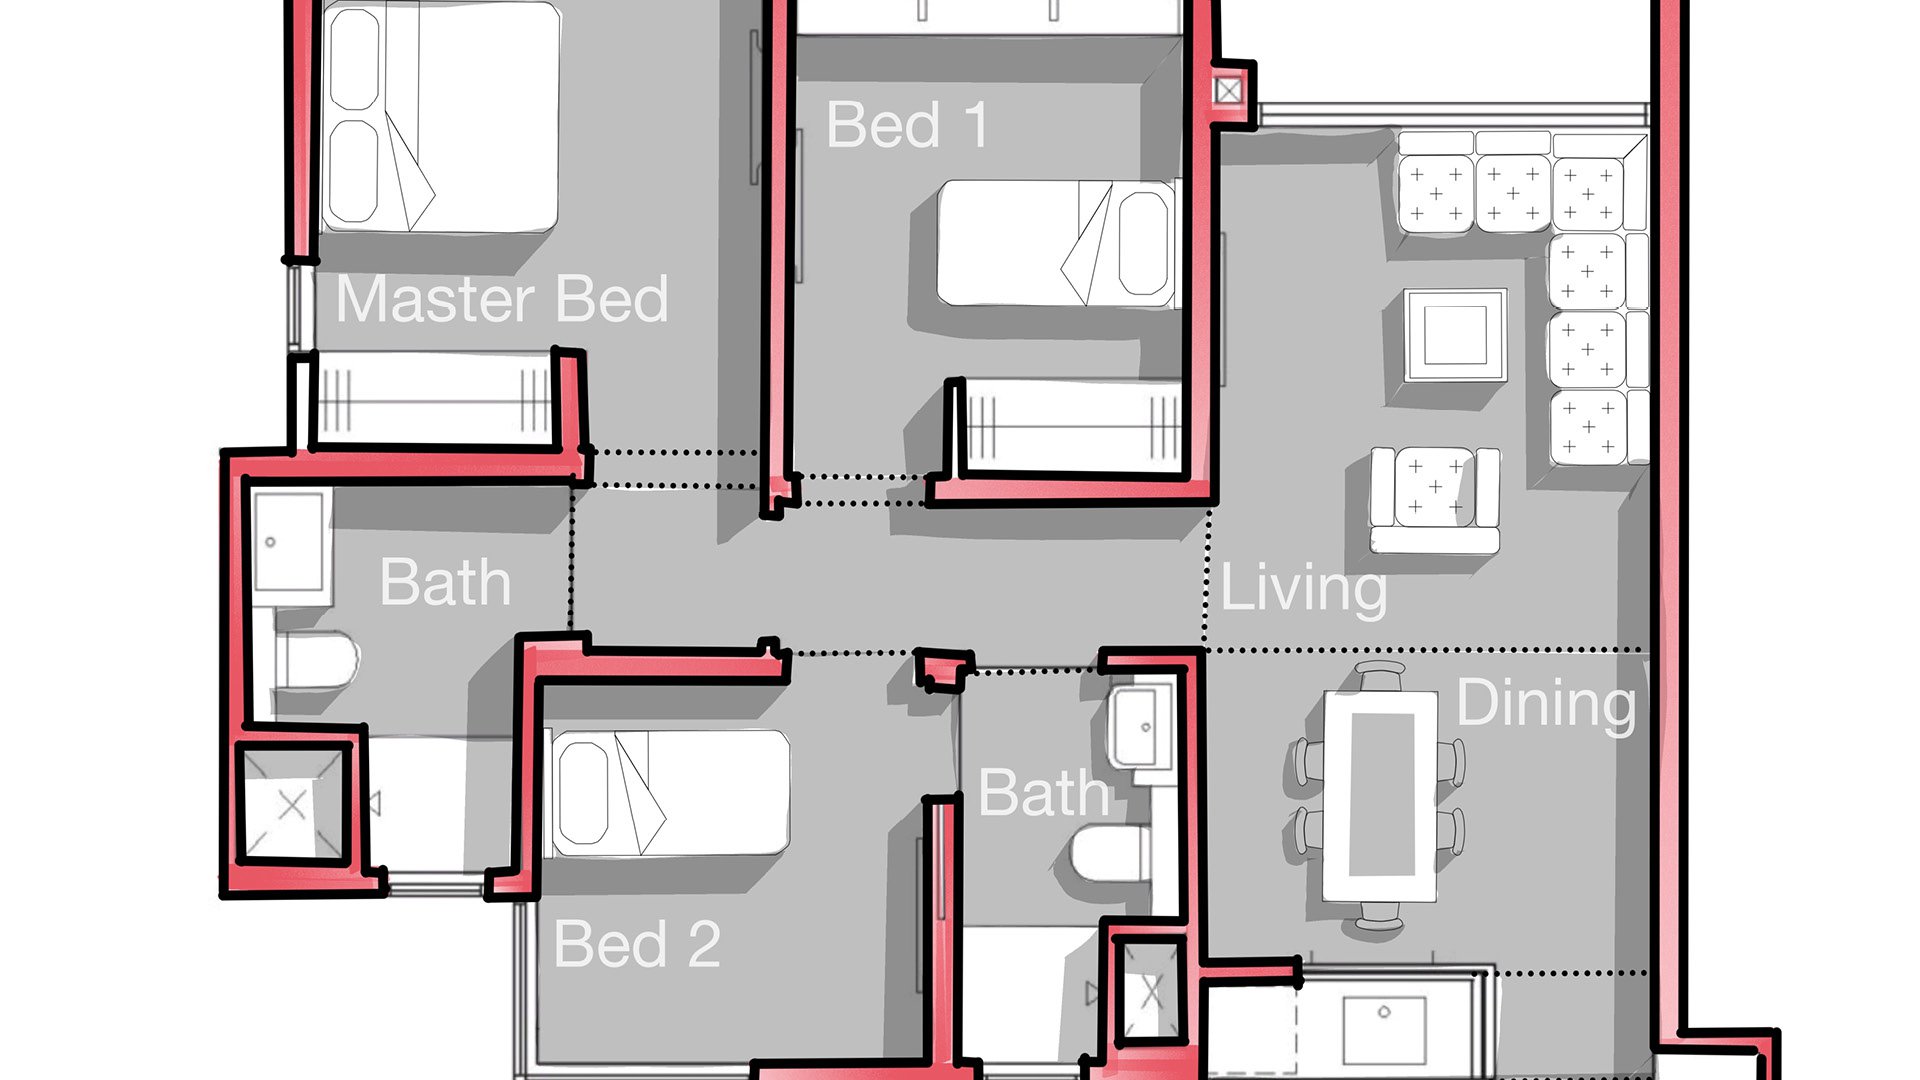
1. Once you have your floor plan imported, select a marker, set it to 100% smoothing, and fill the walls. Varying the marker pressure will give a nice dynamic to the floor plan.
2. Next, outline the walls. Use the Pen tool with 100% smoothing. At any time, you can select your pen strokes (or select the entire layer via the Selection arrow in the Layer menu) and change the thickness of your Pen.
3. From here, you can design your space. This gives the client a visual of how their space might look like once built. Use objects from the Object Market or objects you've designed yourself and drag them into the plan. (Read our illustrated tutorial on Objects and Make Your Own Objects.)
Using the Clipboard: If you've drawn objects in another drawing and want to drag them into the plan, enter the drawing, select your object (it helps if it's grouped), and tap the paperclip either in the Selection menu or in the Import library. Enter your new drawing (fastest from the breadcrumbs menu in the status bar), then tap+hold on an empty section of canvas to bring up the Paste function or access it from the Import library, and paste the object.
Make Your Own Objects: If you have multiple objects, use Make Your Own Objects to create your own objects library and drag them straight into the plan.
4. If you know the measurement of your furniture item, you can size it to exact dimensions. Activate Measure in the Precision menu, tap+hold on a measurement tag and enter in your dimension.
5. Select and duplicate items like sectionals for quick placement. Feel free to move objects around the canvas and try out positions, design options and room flow.
6. Use the Filled Stroke tool to fill in the flooring. Fill in the entire room. You can set the Filled Stroke tool to ~20% smoothing for straighter edges. It doesn't have to be perfect, you can go back later and use the Nudge tool on smaller or larger settings to gently push the fill into place.
7. Use the Hard Mask to block out internal spaces like tables, rugs etc. Then apply new fills with different brushes for additional texture or color.
8. Create depth in your drawing by adding drop shadows, using the Filled Stroke tool. Pay attention to where you start as the final edge is perfectly straight, which can help with lining up edges.
9. Use the Text tool to add labels to your floor plan.
10. Double-tap on a layer thumb for Focus Mode. Focus Mode helps you to isolate a single layer so you can edit strokes. Tap+hold to lasso select, or select the entire layer via the Selection arrow in the layer's menu, and change the thickness or color of your brush to add final polish.
Brush Settings
1:21 - Filling the Walls: Marker, 8.08 in, 100% Line Smoothing
2.35 - Inking the Walls: Pen, 1.77 in, 100% Line Smoothing
6:20 - Flooring: Fill Tool, Black, 25% Opacity
8:05 - Polishing the Fill: Nudge Tool
8:20 - Furniture: Hard Mask, 33.2 in
8:48 - Drop Shadows: Fill Tool, Black, 25% Opacity
10:18 - Labels: Text Tool

Architect Osama Ahmad Elfar graduated from Alexandria University in 1992. He is a Partner at UNii Engineering Consultancy with offices in UAE, Qatar and Egypt. He has won several recognized design competitions. His work spans across many different building areas including high rise, mixed use, residential, commercial and hospitality. He has projects located in several countries including UAE, Qatar, Egypt, KSA, USA, Switzerland, Belgium, Oman, Libya and Japan. He also does design training, teaches courses and speaks at events.
Follow Osama on YouTube, Instagram and Facebook. Find more of his work at www.uniidesign.com and www.osamaelfar.com.
Content created by Osama Elfar
Video editing by Lasse Pekkala
Text by Erica Christensen
Recommended
How to Create a Floor Plan - Everything you want to know about creating a floor plan in Concepts.
Scale and Measurement in Concepts - Learn how to apply accurate scale and measurements to your drawings and plans.
How to Clean Up a PDF or Image on Your iPad - 5 tricks to help you clean up your PDF or image on your iPad.
