Urban Sketching with Concepts
Learn how to capture unforgettable memories by digitally sketching on location.
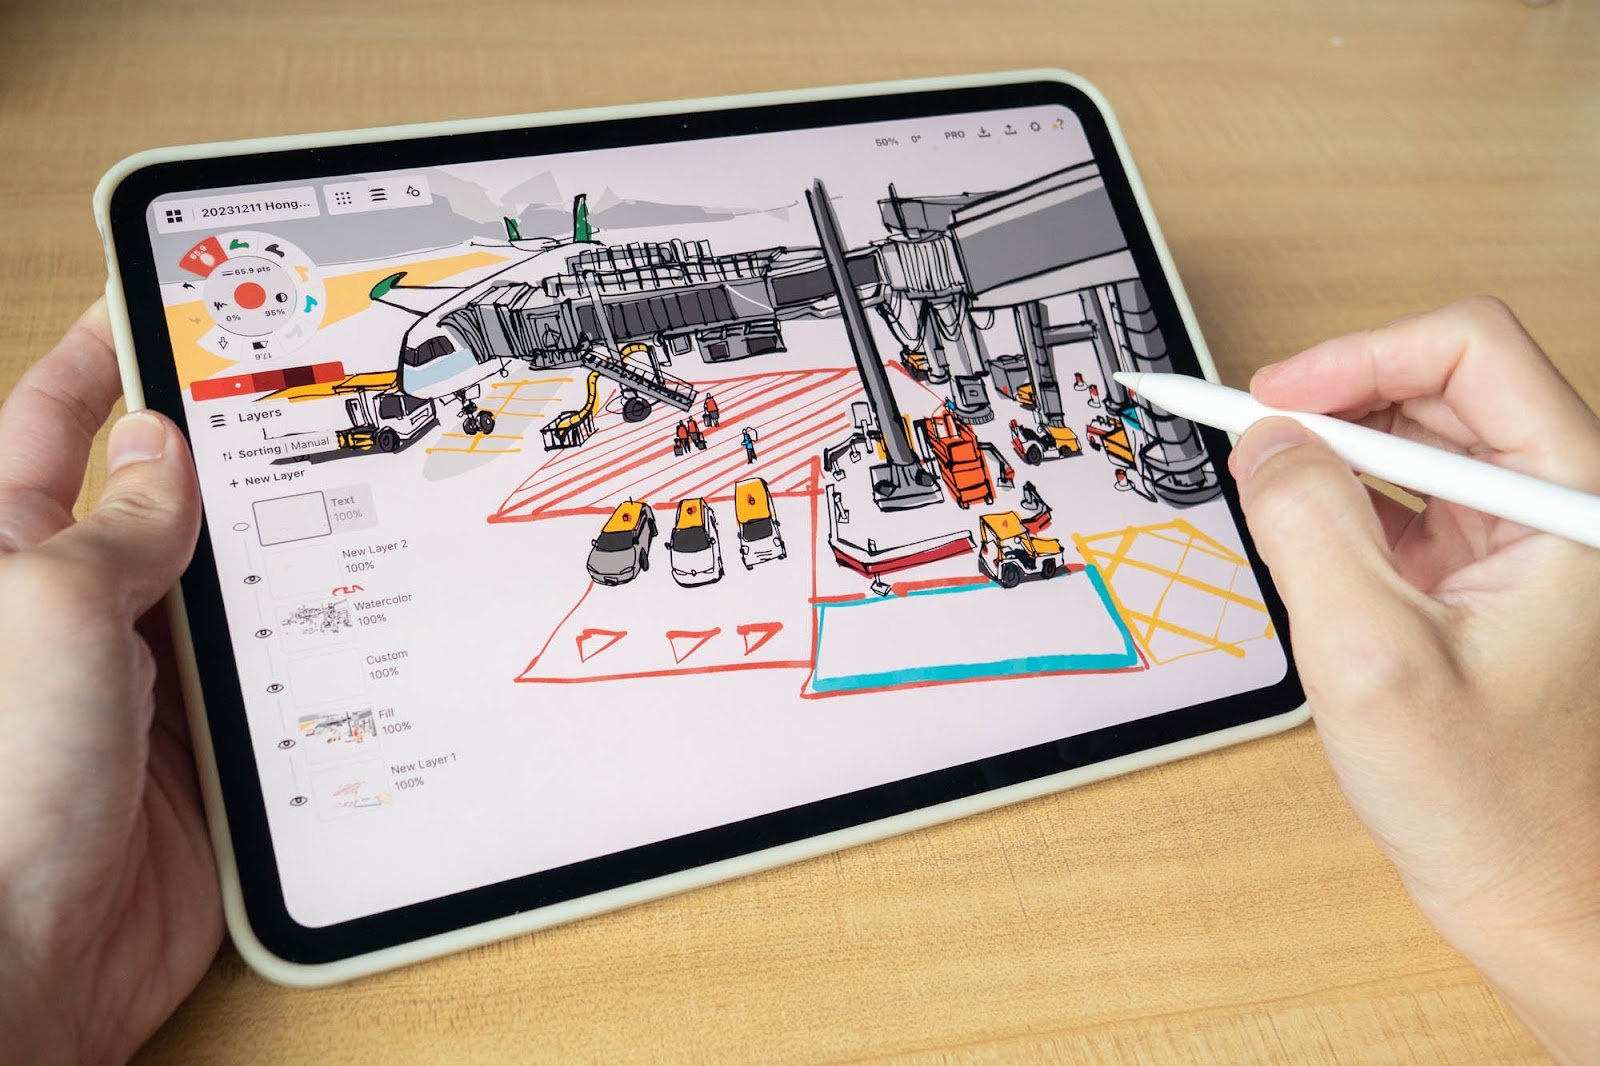
My name is Teoh Yi Chie (aka Parka) and I’m an infographics journalist, blogger, and avid urban sketcher based in Singapore.
I learned about urban sketching in 2009 and have been sketching on location ever since. While I prefer sketching with traditional media, I also draw digitally on my tablet, and my favorite app to use is, of course, Concepts.

What is urban sketching?
Urban sketching is an activity where people sketch on location to capture what they see. This style of sketching can be used for journaling, reporting or as a way to relax and do something creative.
The Urban Sketchers movement began on Flickr in 2007 by journalist Gabriel Campanario. Today, it’s a huge global community with sketchers from all over the world. The monthly sketchwalks in Singapore usually have 40 to 50 people attending.
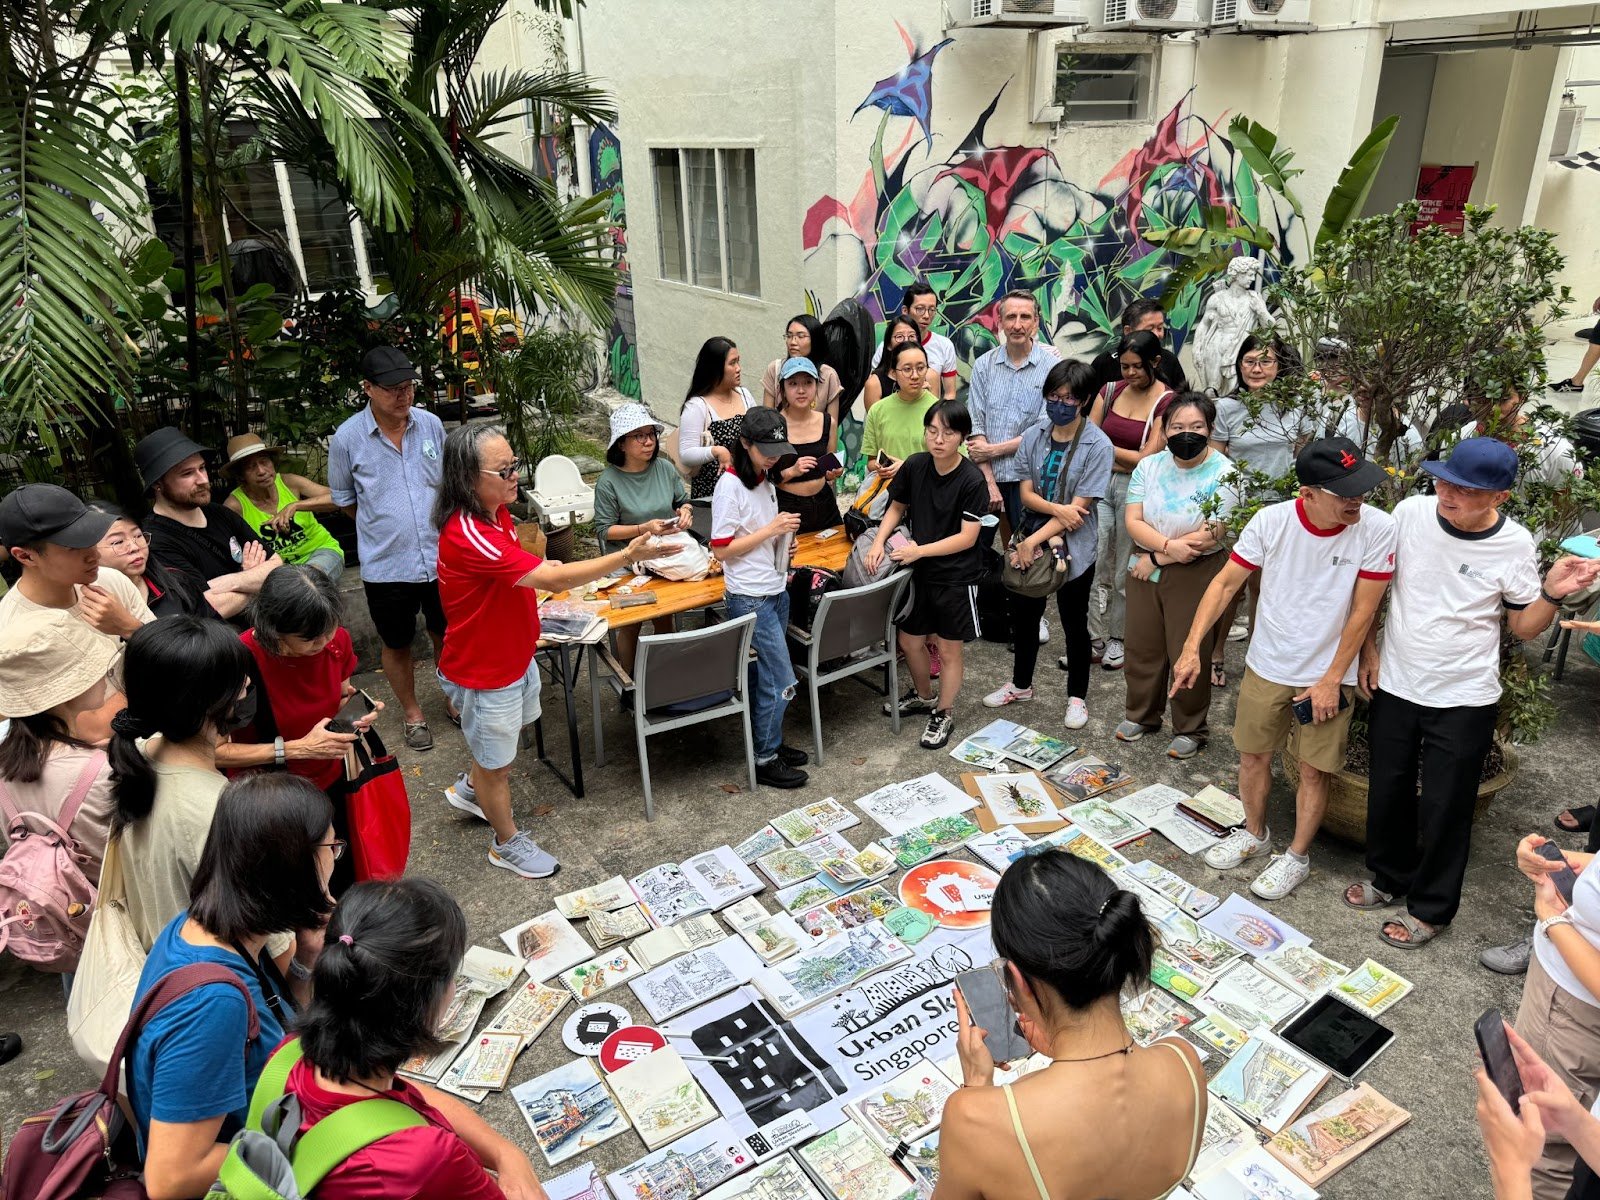
To start urban sketching, it’s as easy as grabbing your favorite drawing tool, finding a location that captures your interest, and beginning to sketch. If you feel intimidated when sketching alone, you can join the local urban sketchers chapter in your city or country.
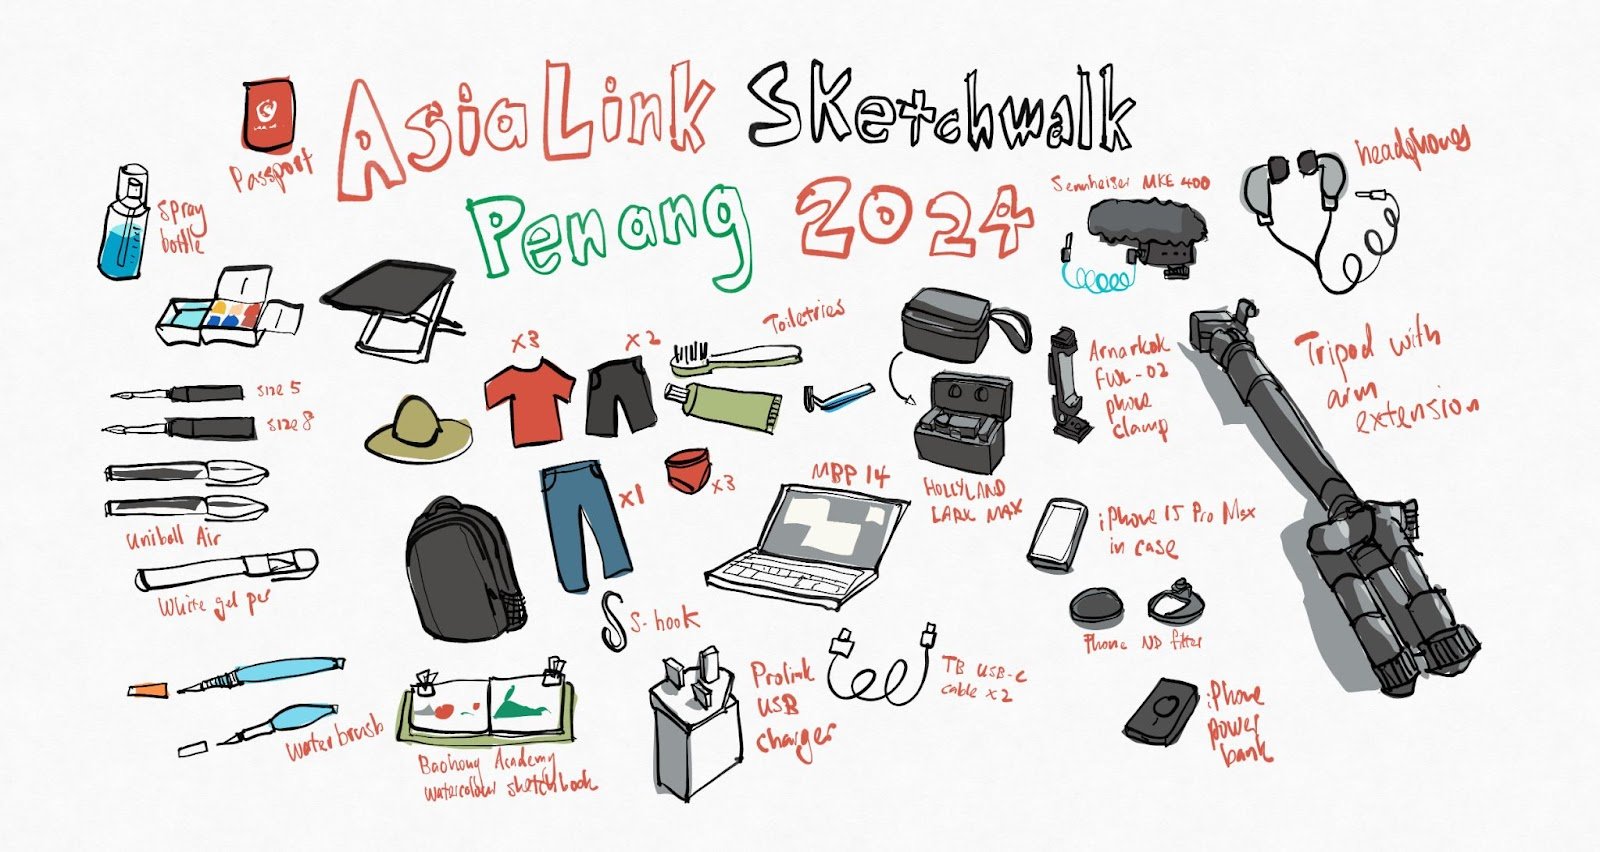
Advantages of working with Concepts over other drawing apps
Below are some advantages or features that separate Concepts from other digital drawing apps:
- The simplicity of the app means you can focus on sketching instead of overthinking which tools to use.
- The infinite canvas does not limit how many details you can draw.
- Vector-style art is beautiful and I’m surprised at how good some of the textured vector brushes look.
- Getting colors to work harmoniously together is easy with the Copic color wheel.
- File sizes are so small, you’ll never have to worry about storage.
Two tips I use all the time to speed up my workflow
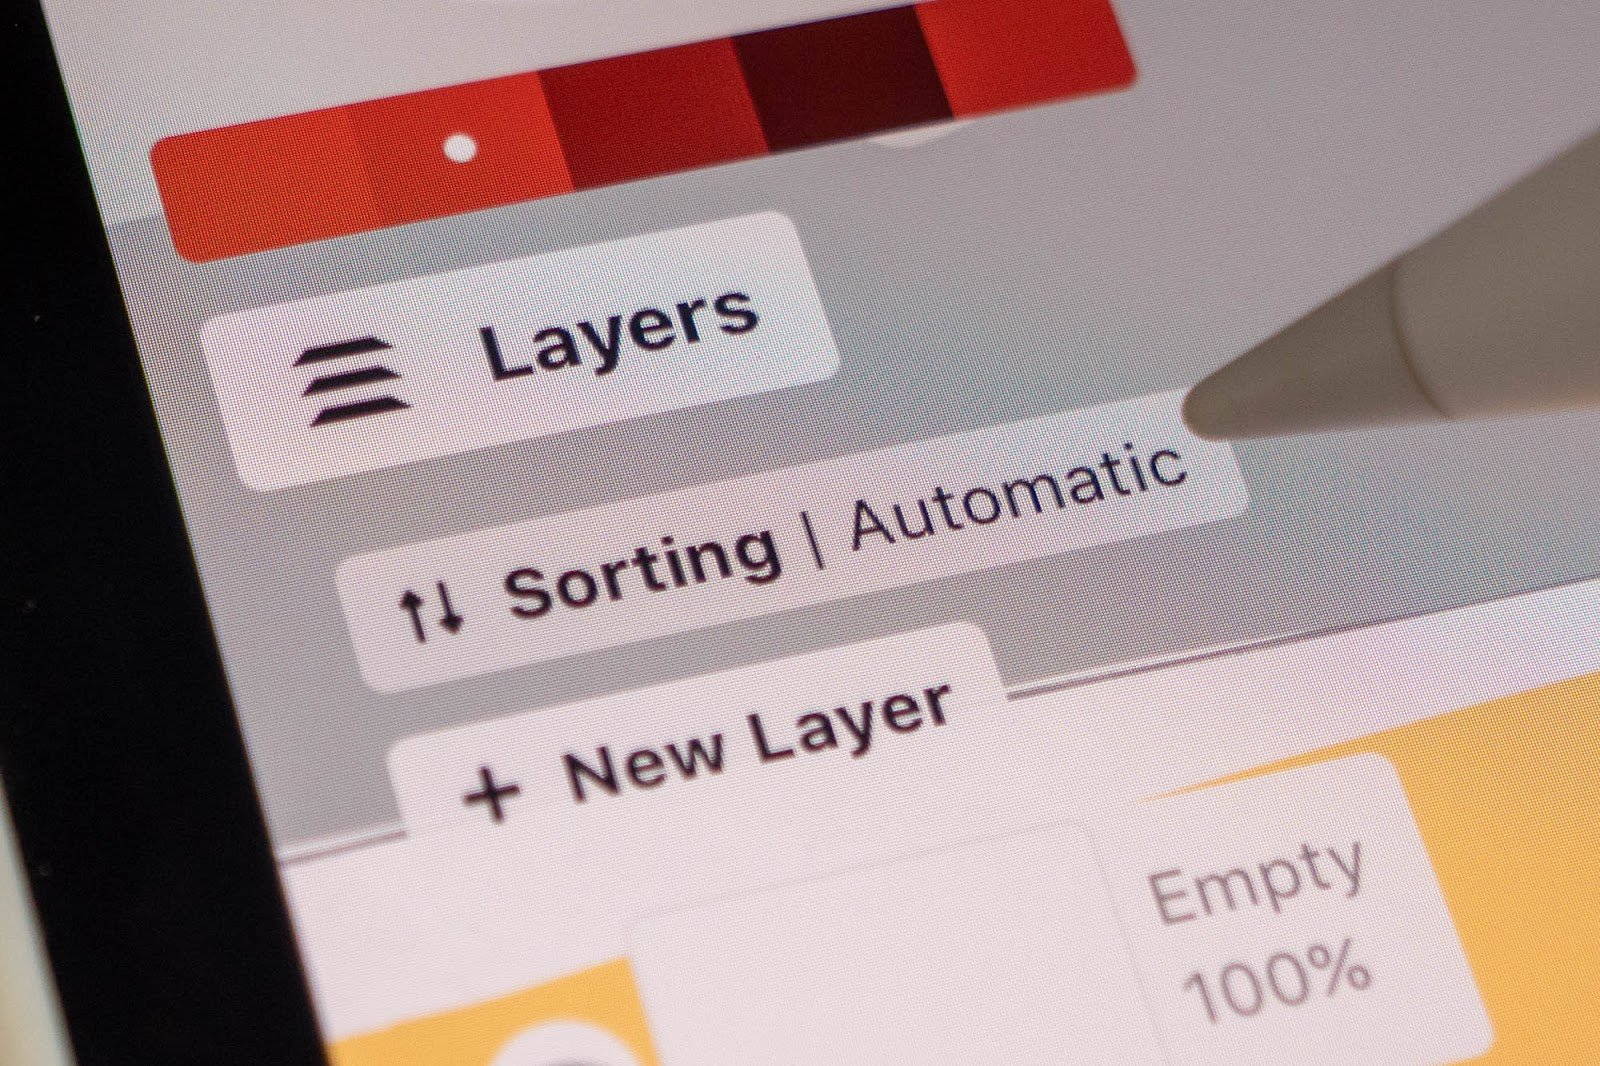
1. Set your layer sorting from Manual to Automatic
The first and most helpful setting is to set layer sorting to automatic, not manual. This can help you work much faster.
Automatic layer sorting will allow you to work on a layer, based on the selected tool. Let’s say you use a Pen to draw and the Fill Tool to color. You may start with the Pen, but the moment you select the Fill Tool, you’ll automatically switch to the fill layer for coloring. This lets you separate the line art from the colors.
This means I can draw (line art), color, draw and color repeatedly without having to switch layers manually.
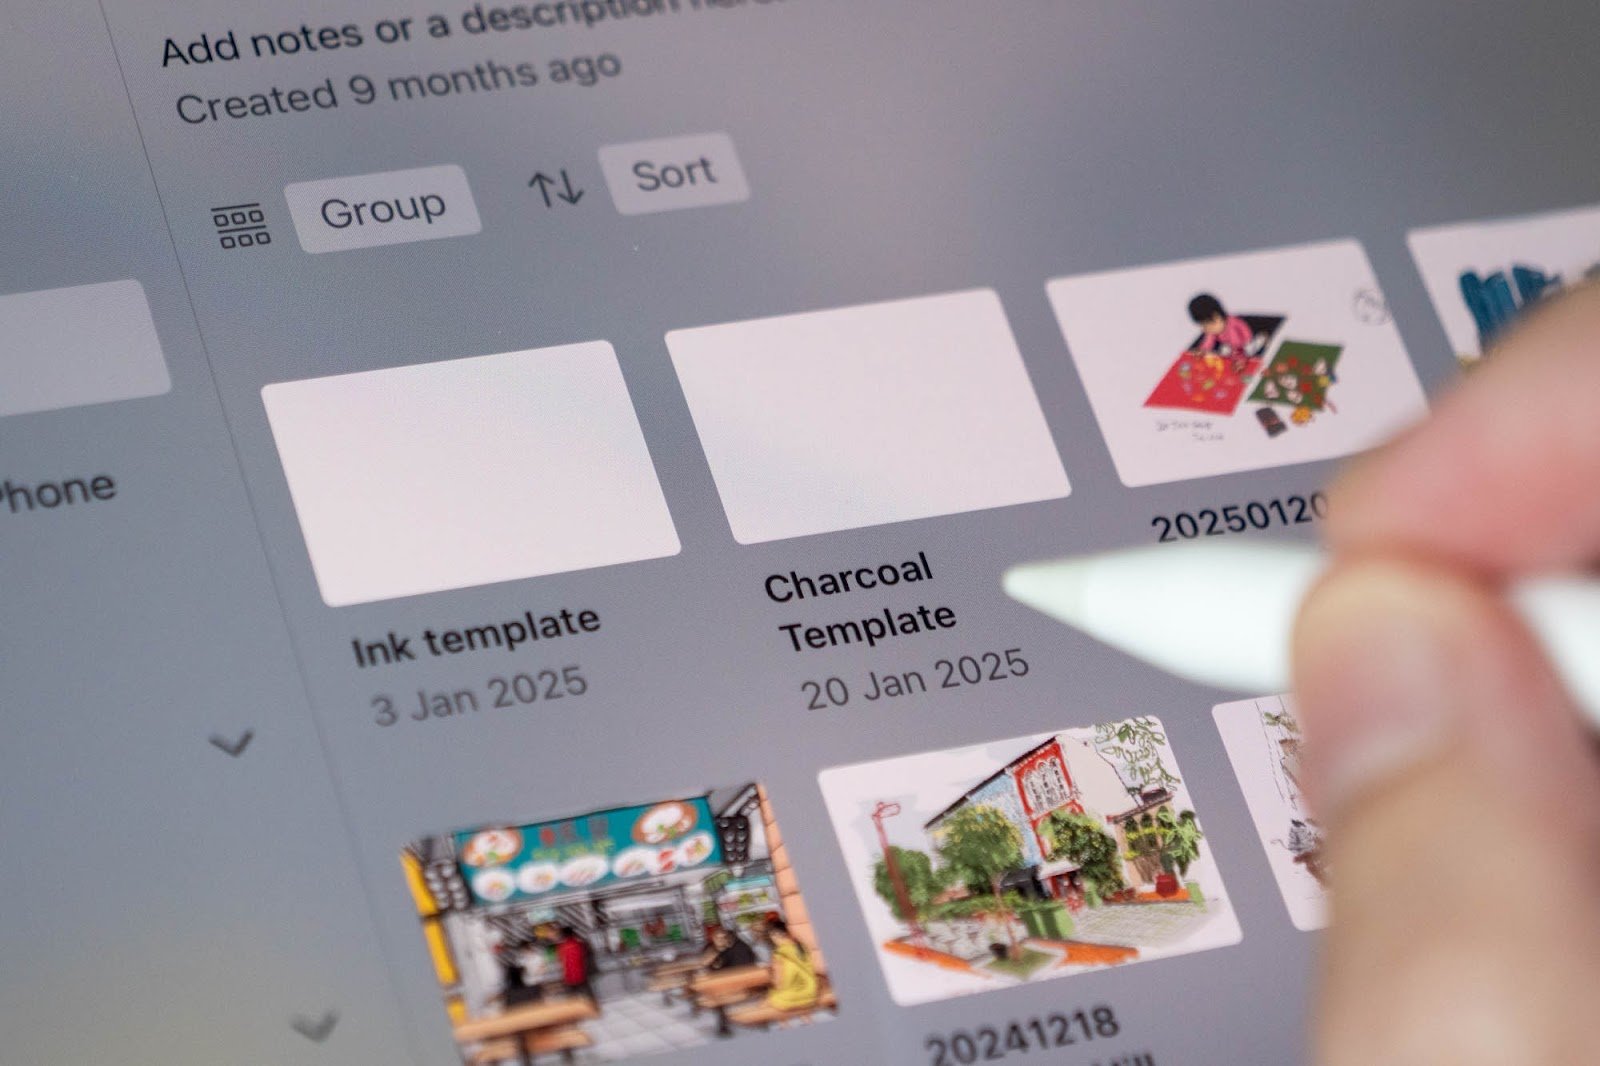
2. Create a template to easily access your favorite tools, brushes, settings, and colors.
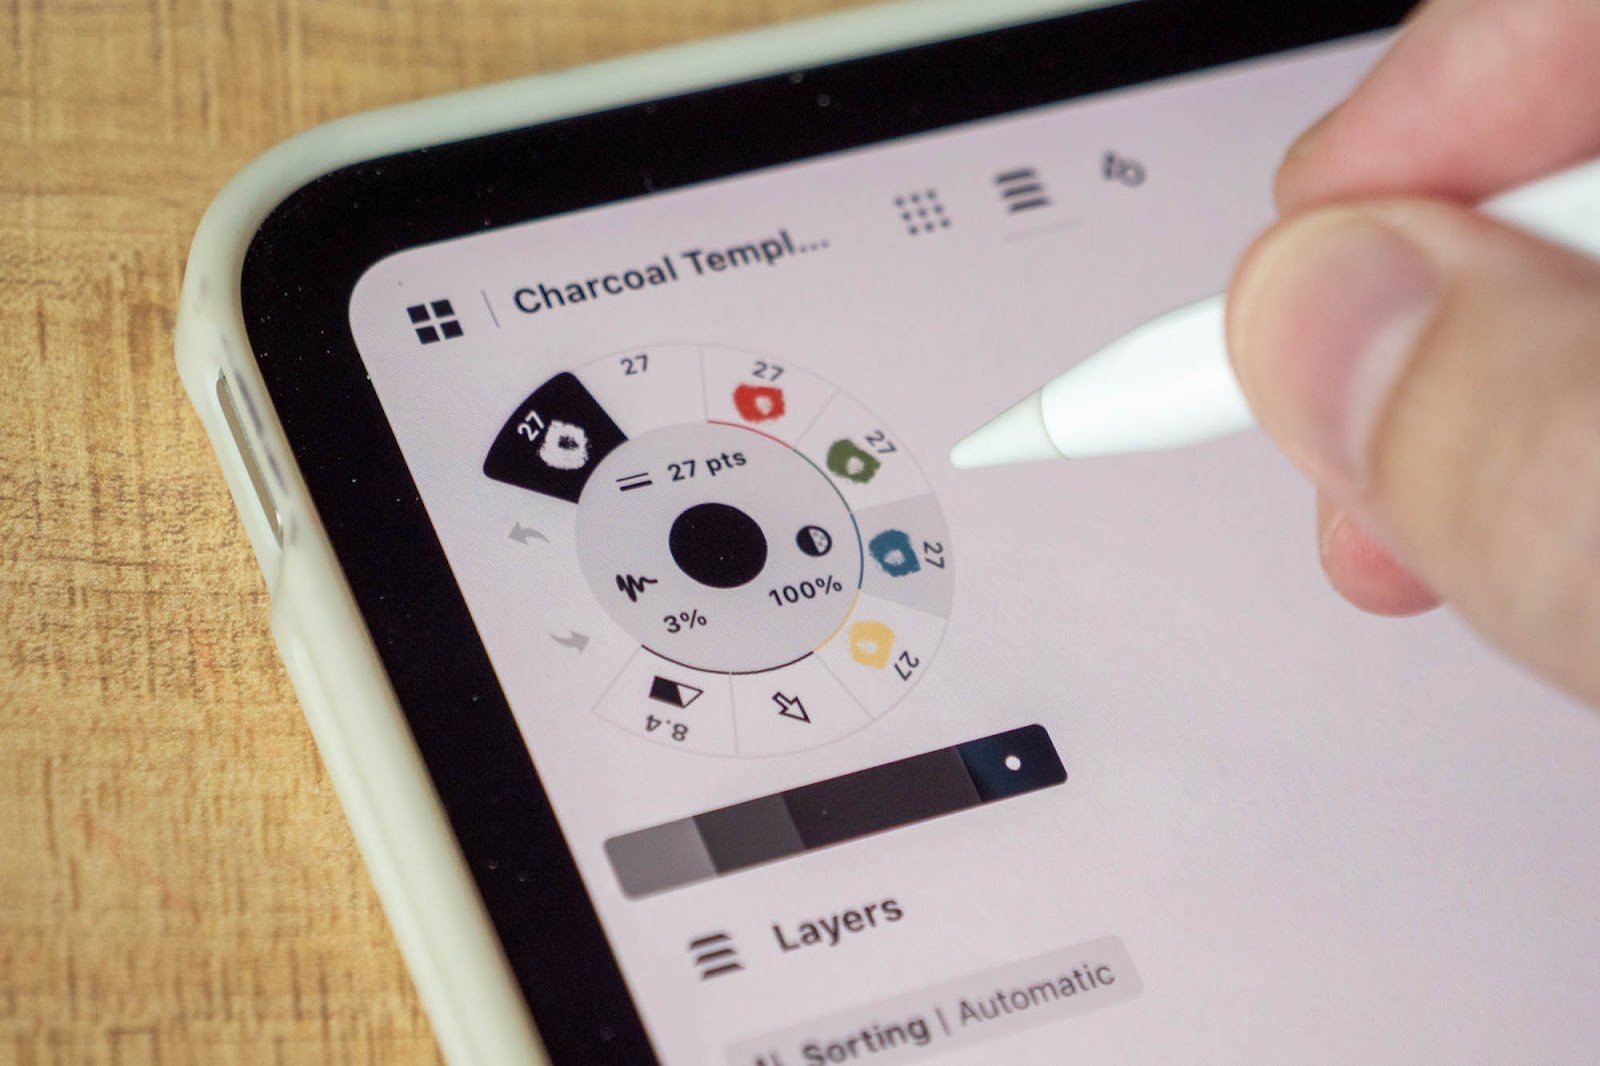
Here’s a tip to create a template file with your favorite tools. I have two template files, one for ink and fill brushes, and another for textured brushes.
To create a template, create a blank canvas and use the tool wheel to select your eight favorite tools and colors. You may also create several empty layers in advance, and for me, it would usually be layers with the following names:
- Empty - To protect the artwork from stray strokes
- Top - Used to add opaque details
- Line art brush name - Name of the brush you use for line art
- Draft - For drafting or composition lines
- Color brush name - Name of the brush you use for coloring
- Bottom - Could be used to color the sky or ground
After you have selected your tools and created the empty layers, exit to the Gallery and rename your template.
The next time you create a new canvas, duplicate your template instead of pressing the New Drawing button and you’ll get a new canvas with all your preset tools.
My urban sketching workflow with Concepts
Let’s look at the step-by-step process of creating the following sketch.
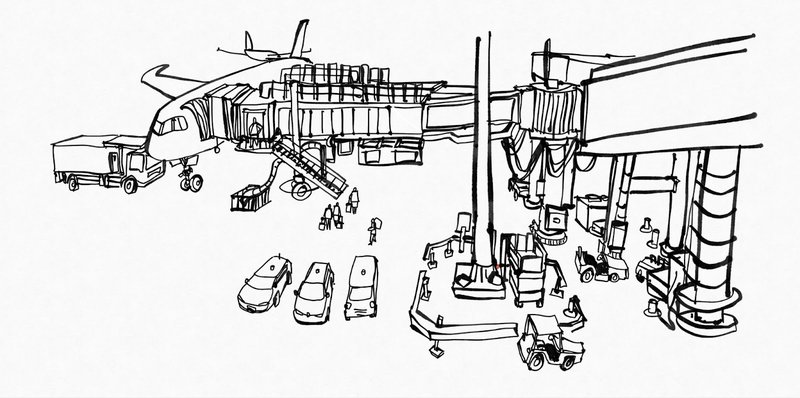
This was sketched at the Hong Kong International Airport while waiting for my flight back to Singapore. I was in Hong Kong to celebrate the 10th anniversary of Urban Sketchers Hong Kong with my friends. I can still remember the event vividly while I’m writing this because I was there to sketch and document the event.
I only had one hour to sketch before I had to board the plane.
With this time constraint, it’s better to sketch digitally than use watercolor since I can easily pack up and go.
If I have more time or the scene is too complicated, I may create drafting lines first. Since my time was limited, I went straight into line art. The brush I’ve used here is the Watercolor B4 from the Waterful brush set, available for purchase in the Concepts Brush Library.

After adding the line art, I added the colors beneath using the Fill Tool. There is unfortunately no bucket tool with Concepts, so all the colors you see above are filled shapes drawn with the Fill Tool.
I’m not very particular about coloring within the lines and don’t mind if my colors spill out of the lines. You can of course color within the lines – it takes a little more patience.
At this stage, the sketch is almost complete because you can already tell what the scene is at a glance.

The next step involves adding details such as the colored lines on the ground. The scene now looks more lively with the additional details and colors.
The colored lines are on a layer below the fill color layer, which allows me to draw the lines behind the parked vehicles.

One limitation of Concepts is the lack of blending modes, e.g. multiply, overlay, etc. Because of that, I had to create another layer between the fill color and black line art just to draw the yellow lines below the plane wheels and above the plane shadow.
Hopefully, the developers can add blending modes and also the ability to join shapes together in the future. This will be extremely useful for creating shadows that multiply over the colors beneath.
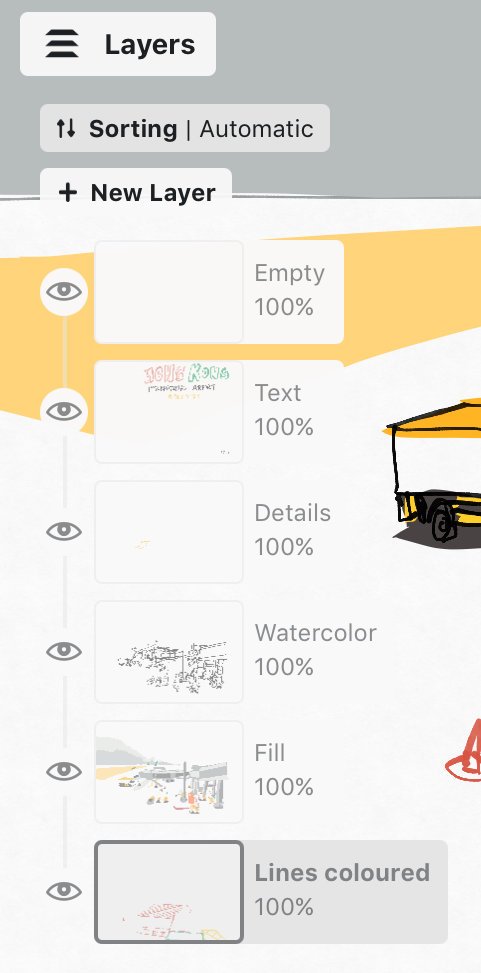
Shown above are the layers I’ve used for this sketch.
And this is the completed sketch. Always remember to write down the name of the place and date so that you can refer to the information in the future.

Backup your drawings
Be sure to backup your work so that you don’t lose the precious sketches you’ve spent so much time creating.
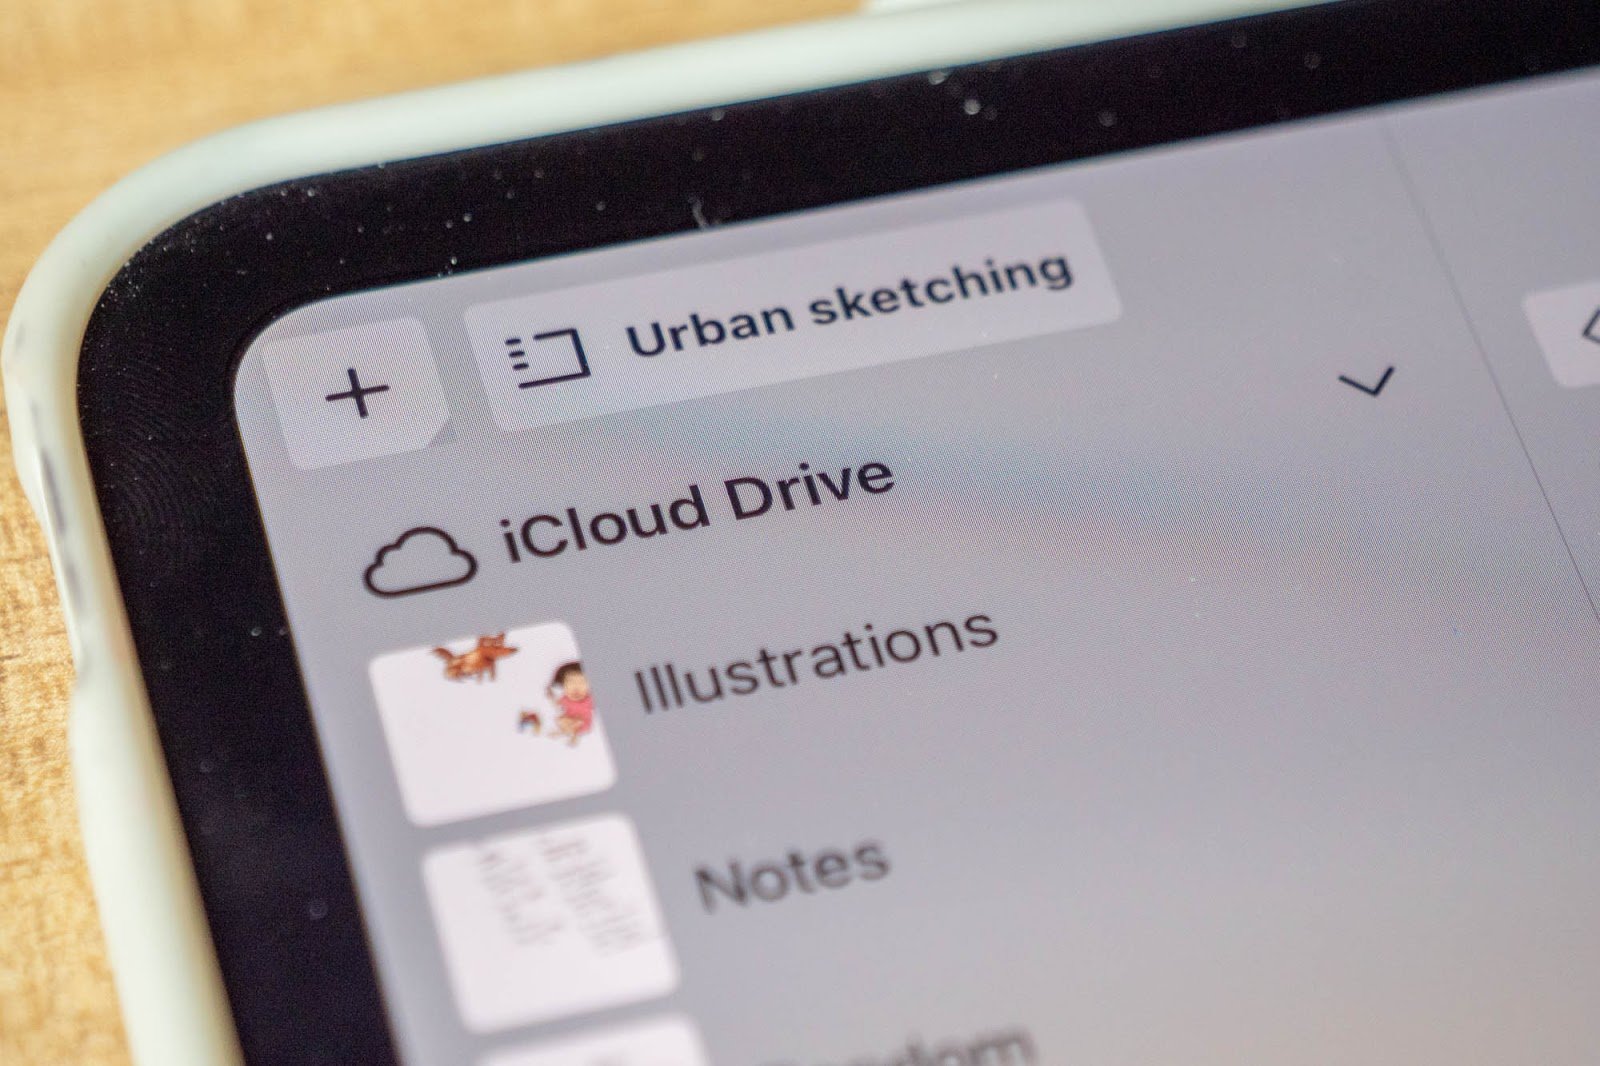
If you use an iPad, enable iCloud Drive from iPadOS settings, and on the gallery page drag all your files from “On This iPad” to “iCloud Drive”. This will create one backup in iCloud Drive, and you can also access all your Concepts files from other Apple devices. Learn more about this here.
If you use Windows, you can use Microsoft OneDrive which will backup your whole computer including the Concepts files (found in Documents > Concepts folder).
If you use Android, I recommend you use file syncing options recommended by the Concepts developers. There is a Google Drive backup option provided within Concepts but there’s no file syncing and *the backup doesn’t work consistently based on my years of experience with Concepts.
*In our 2025.2.5 release, we made improvements to the reliability of the backup feature. If you have any feedback for us regarding this, we are open to hearing about your suggestions and experiences for further improvements.
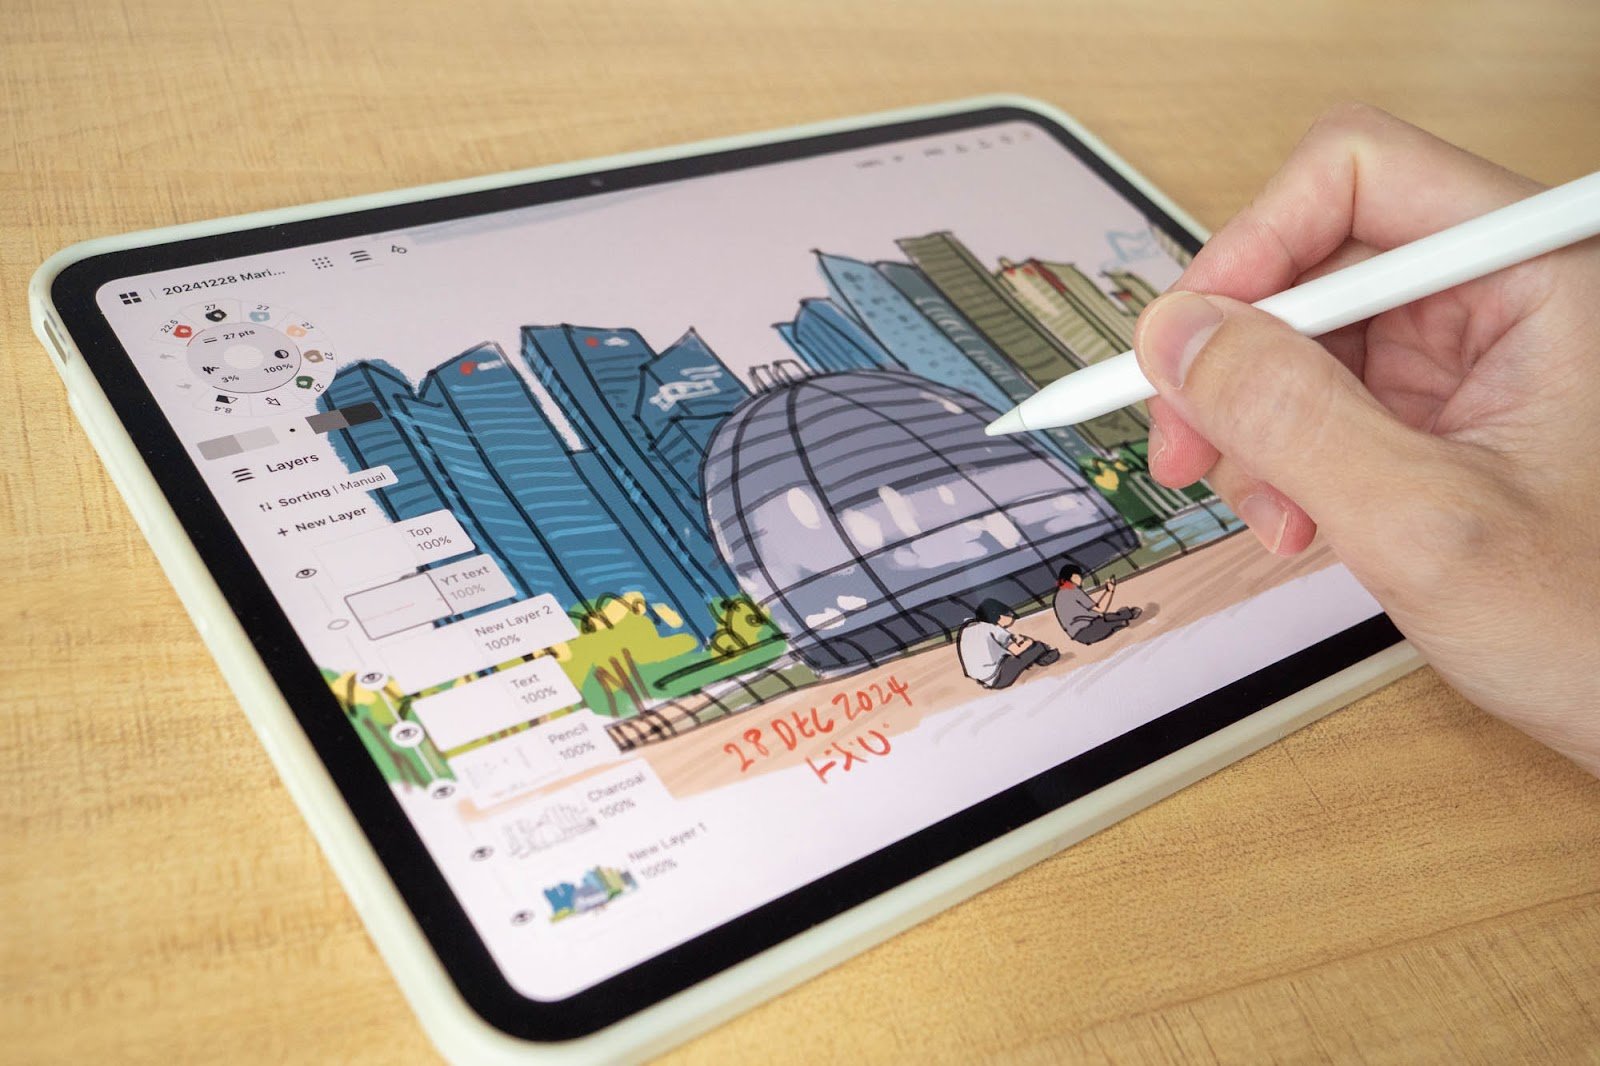
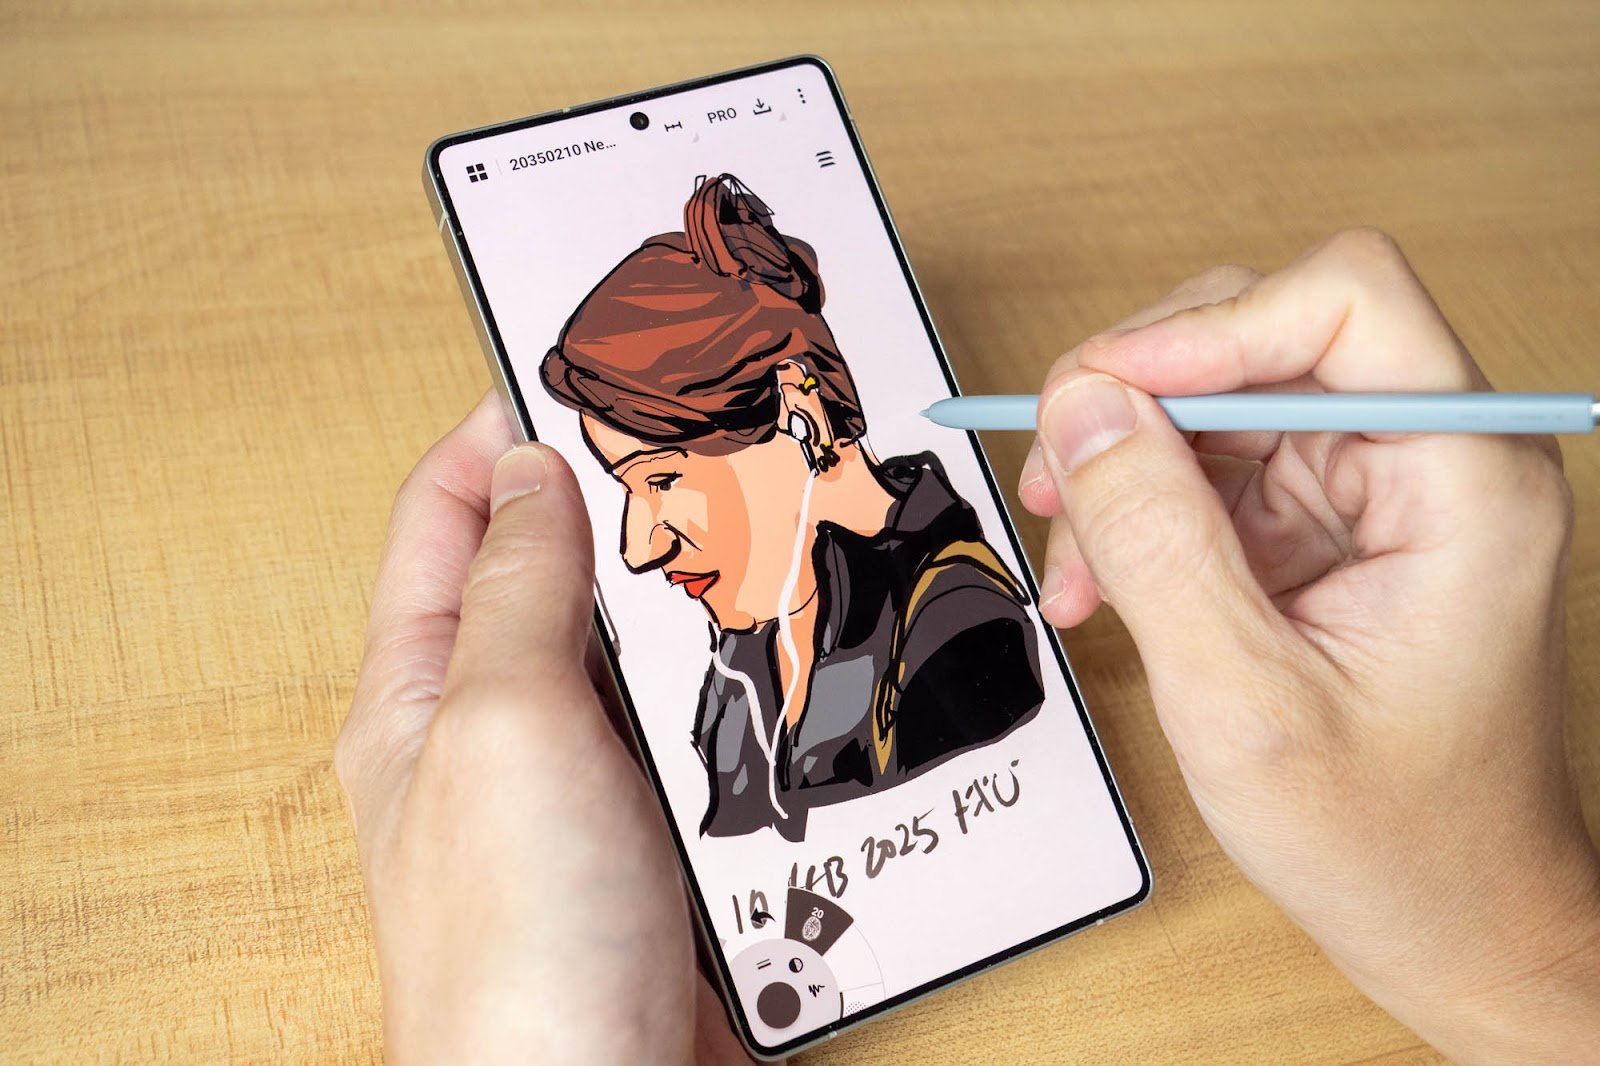
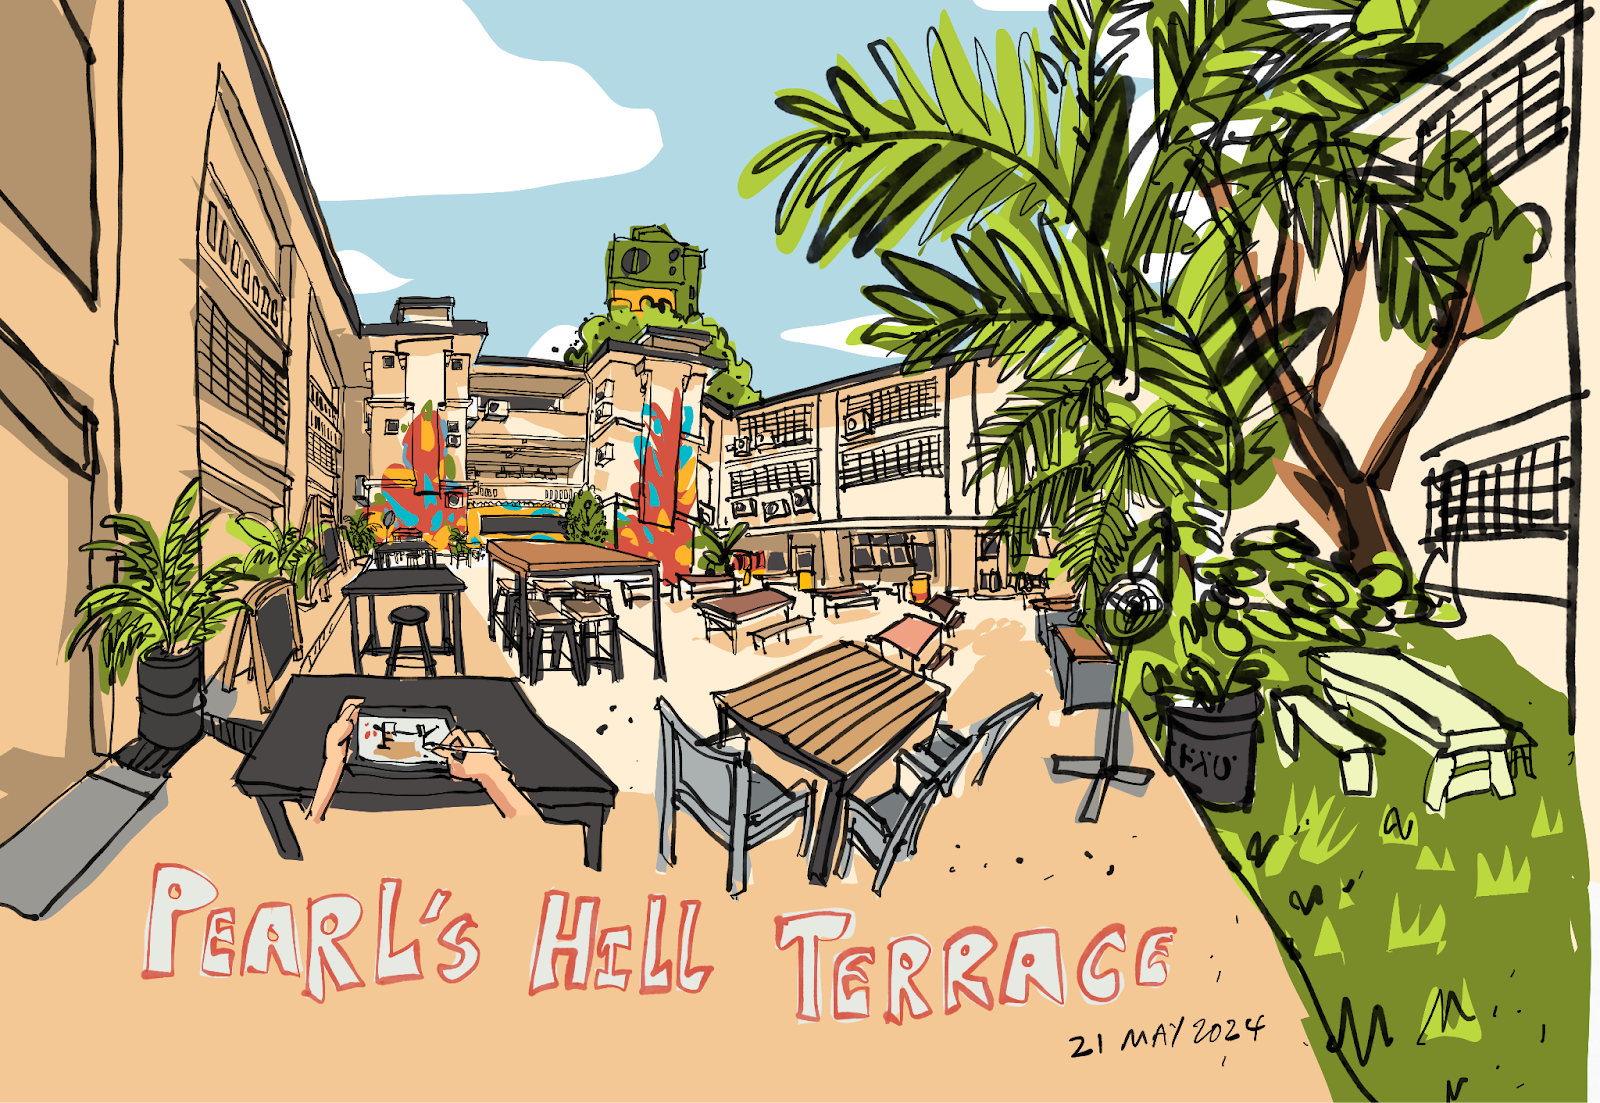
Below are some sketches from recent years:


Written by: Teoh Yi Chie, infographic journalist, urban sketcher, and blogger
