Concepts is an infinite, flexible creative tool for all your good ideas. Available on iOS, Windows and Android.
How to Edit Your Grid
Learn how to set up and customize your grids in Concepts.
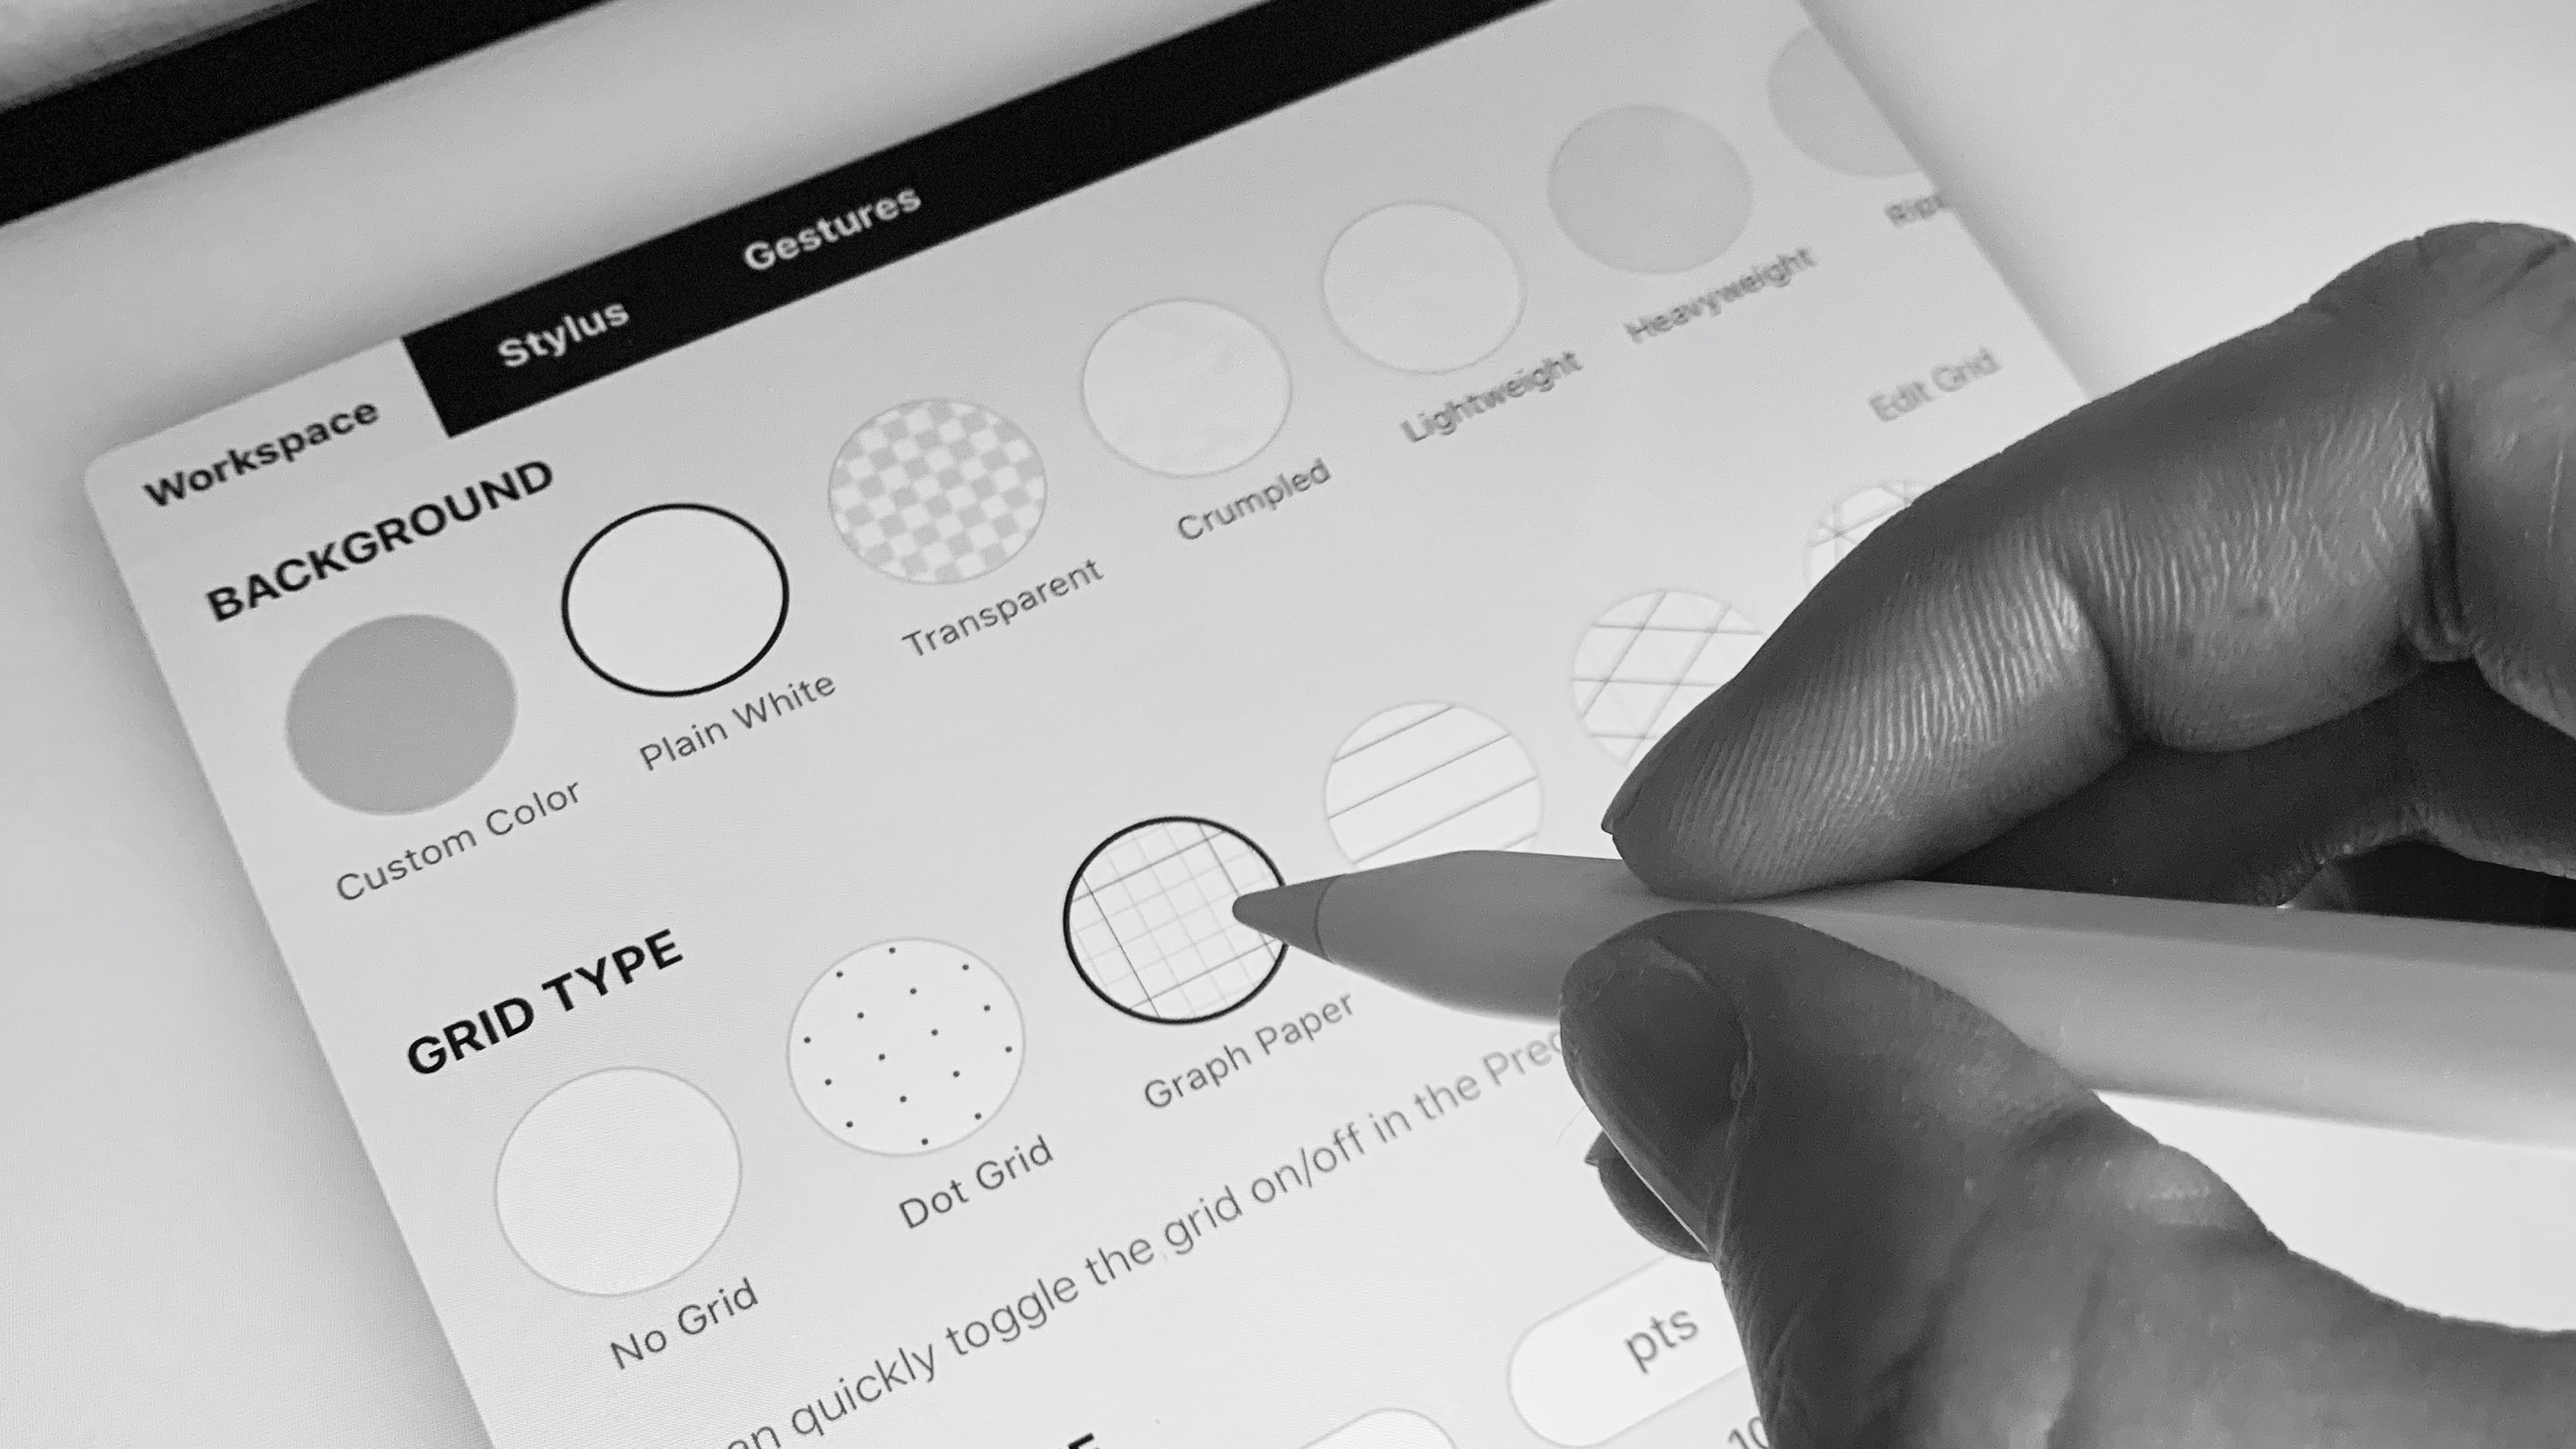
To help with your visual design work, Concepts gives you the ability to customize grids to your own dimensions. Adjust spacing, divisions, color, opacity and orientation to fit your grid to your project. Choose from dot, graph, lined paper, isometric and triangle grids for both loose thinking and secure structural design work.
In this tutorial, we'll share how to choose and activate a grid on your canvas, and how to customize the grid to your workspace.
You'll also find that Snap and Align work with each of the grids. You can learn more about them here.
How to Choose a Grid
1. Open the Precision menu on your canvas and tap the Grid Type option. This will open the Settings menu and share the possible grids. Each grid has its own preset types and customization options. Tap on the selected grid or tap "Edit Grid" to find these - more on that below.
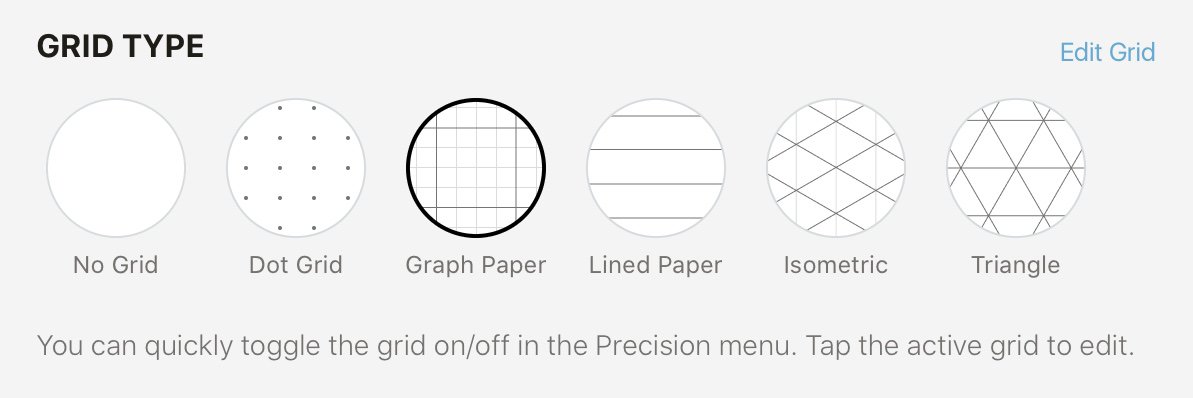
2. Tap the grid you'd like as your grid preset. Back on the canvas, you'll see the new grid type noted beside the Grid option in the Precision menu.
3. To activate the grid on the canvas, just tap Grid. The empty circle will become a filled circle and your grid will appear as an underlayment to your canvas.
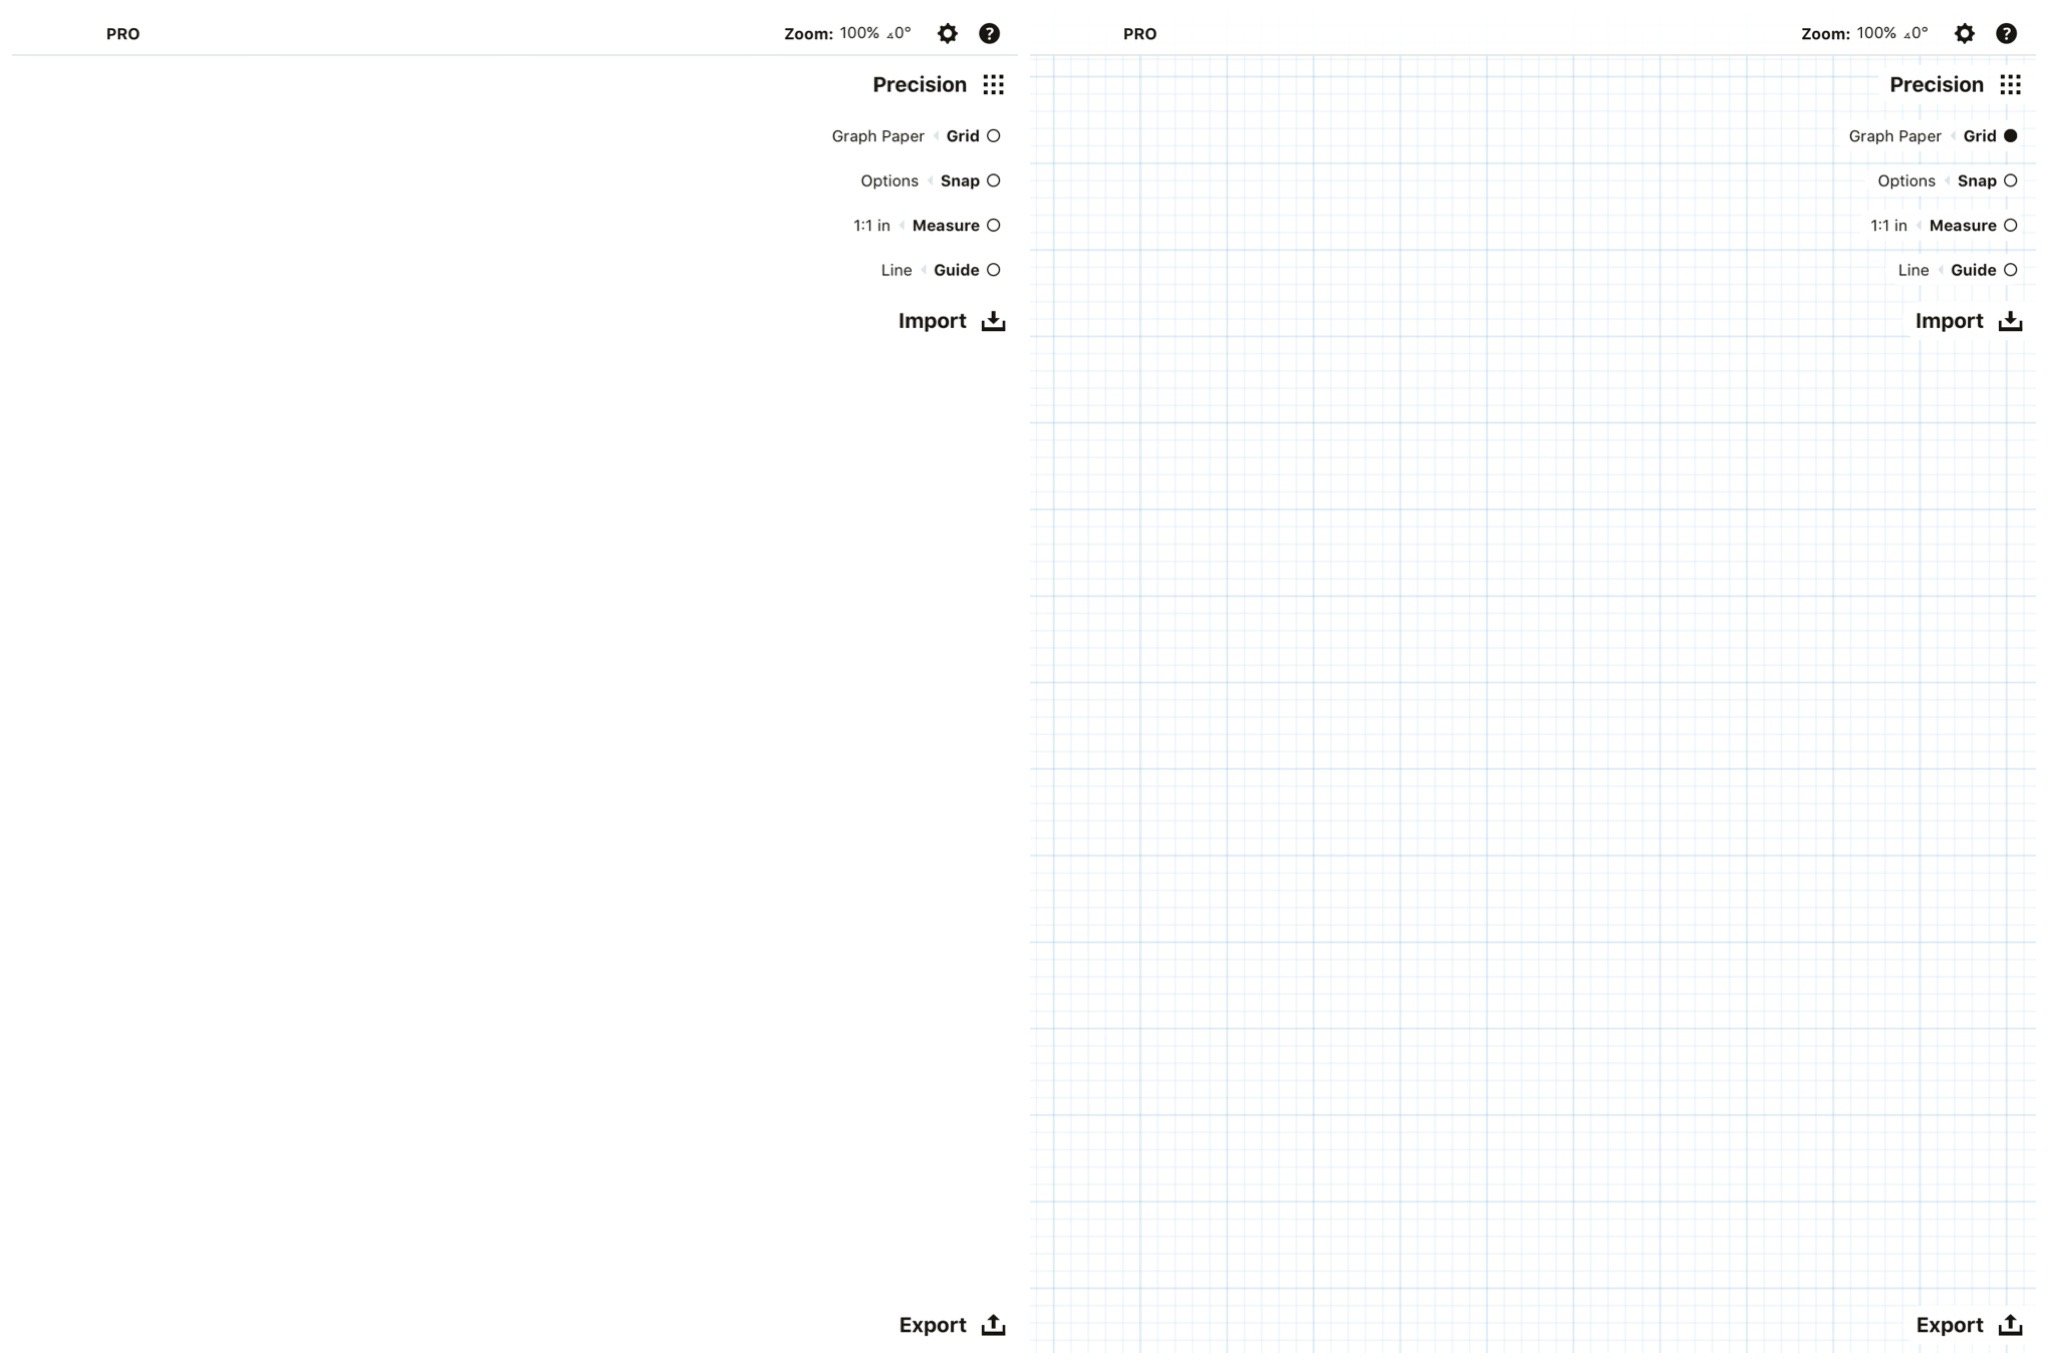
Active versus inactive grid in the Precision menu.
If the grid isn't set up the way you'd like it, you can quickly customize it with the steps below.
How to Edit Your Grid
1. Tap the Grid type in the Precision menu or open the Settings menu in the status bar.
2. Tap the Grid option you'd like to customize. A lining will appear around the icon to show it's the selected option. Tap it again or tap "Edit Grid" in the upper right corner of the menu to open the Grid Editor.
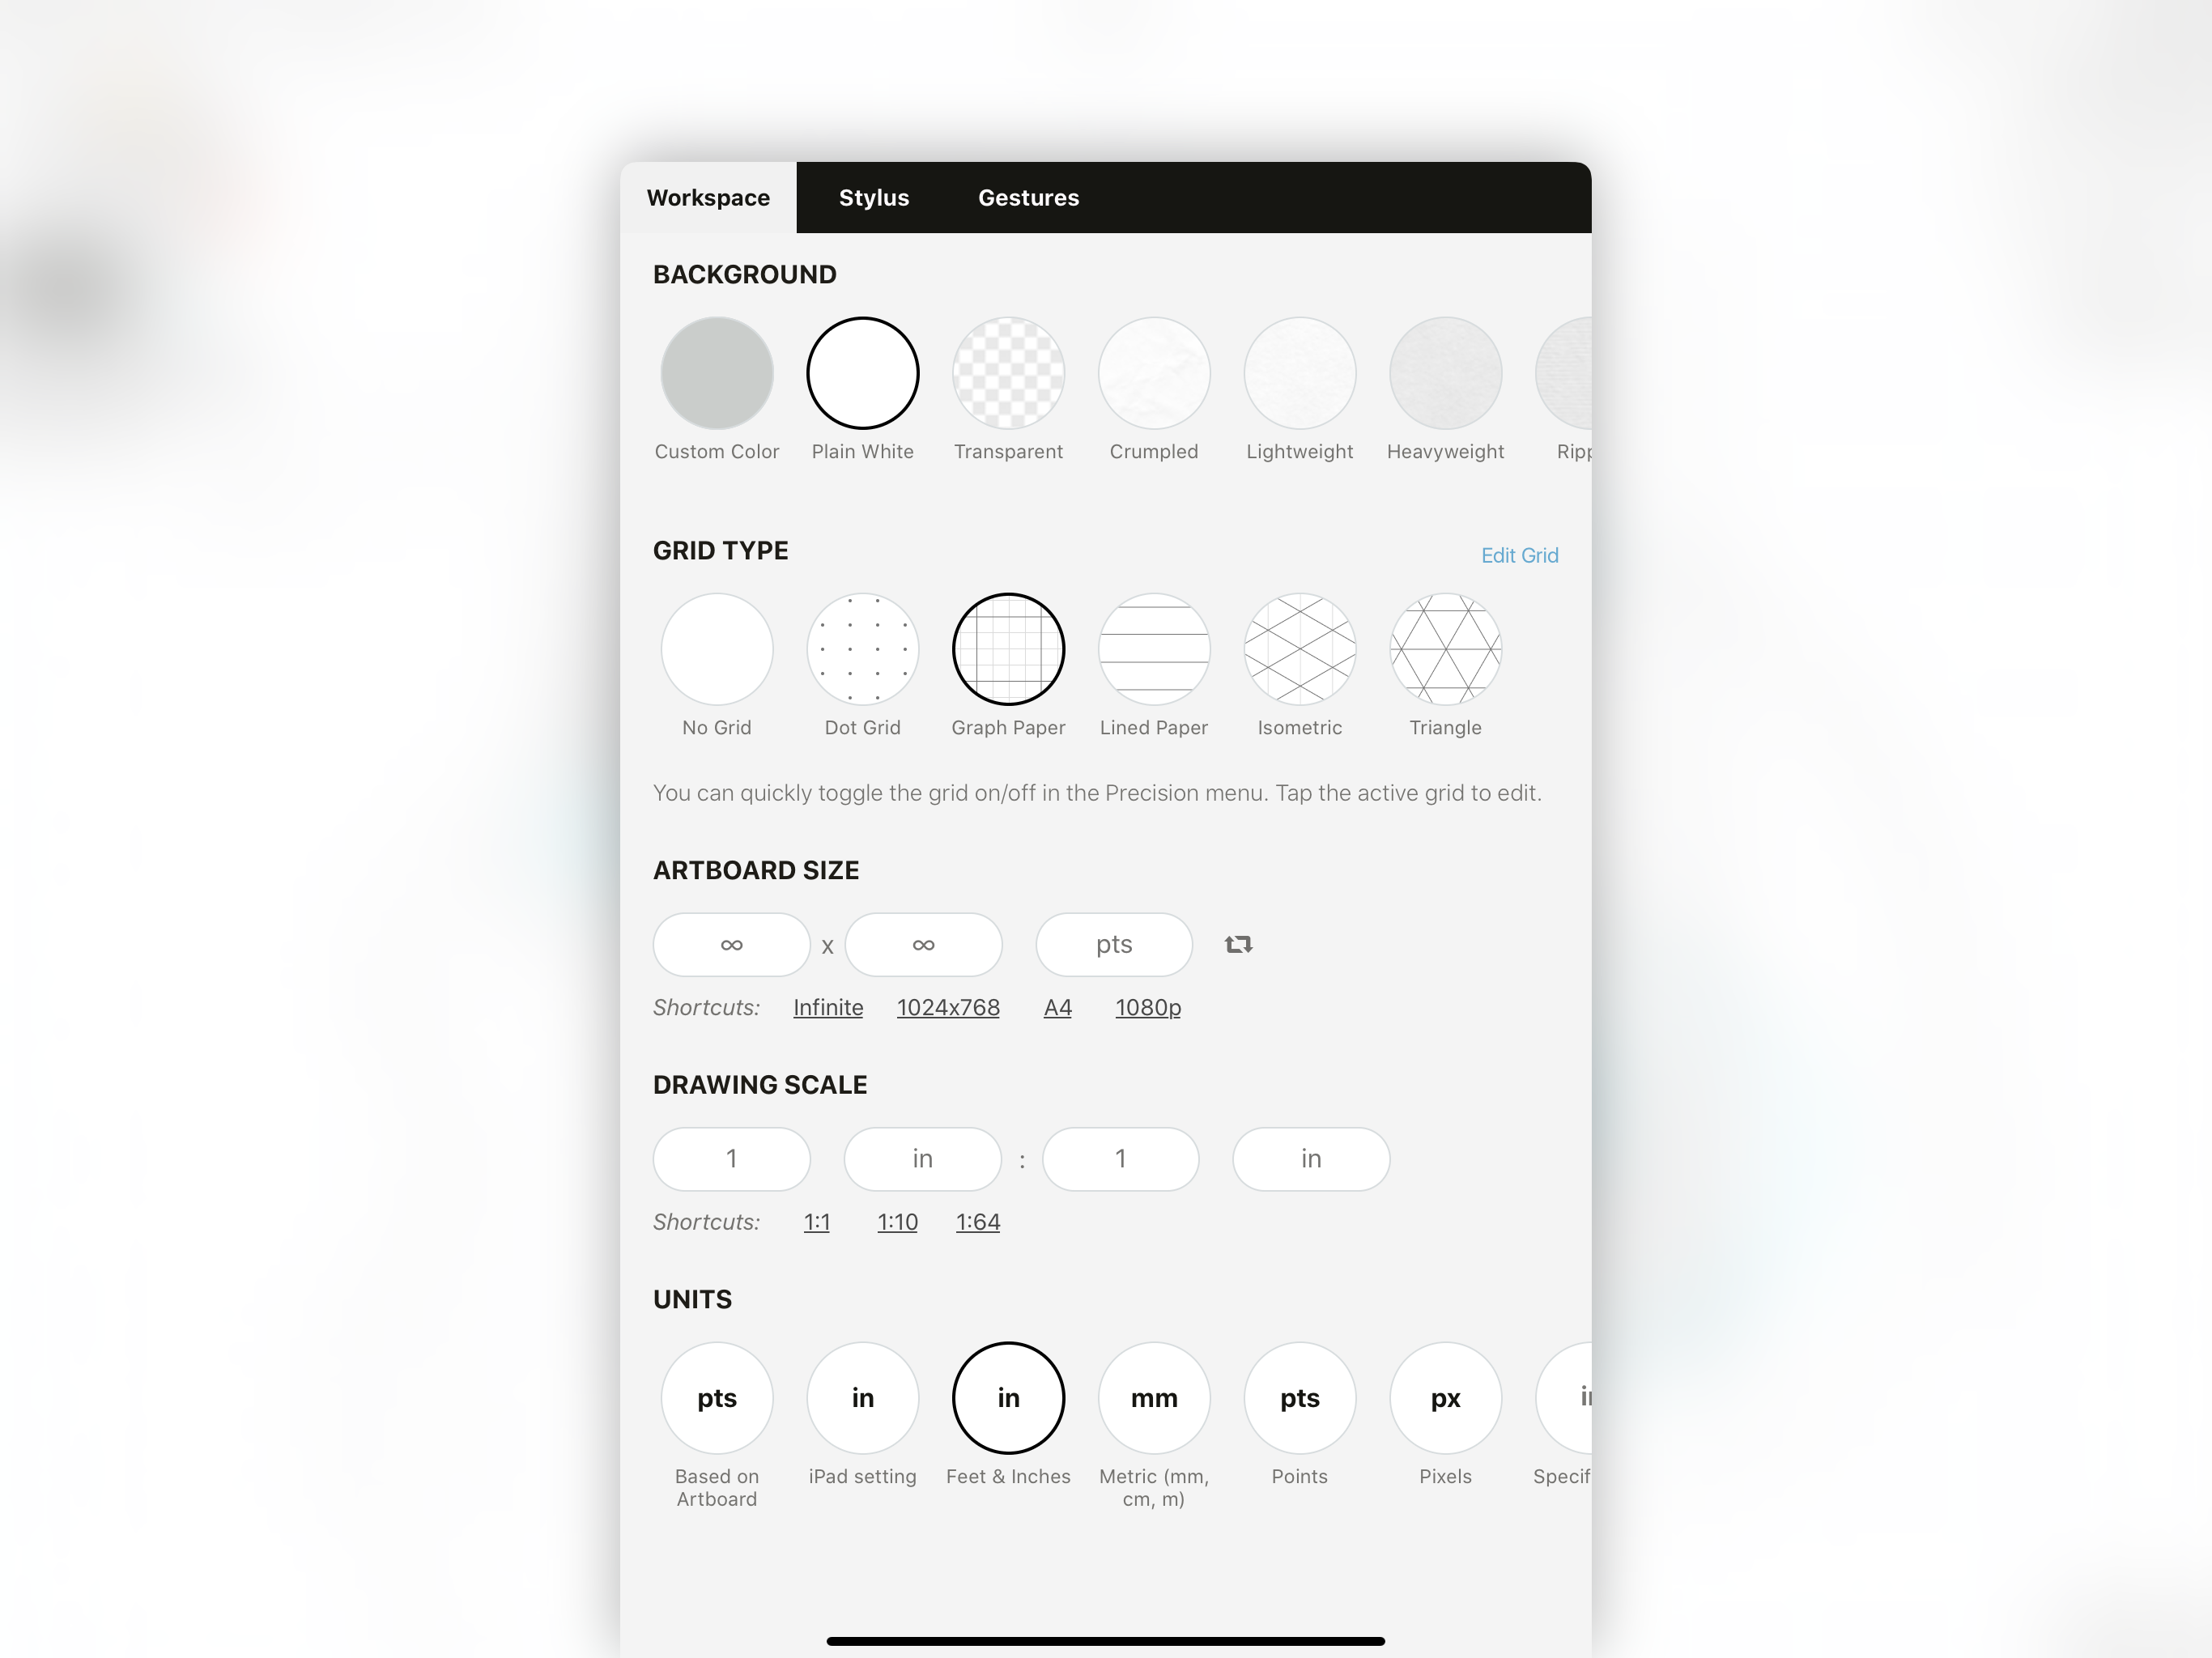
3. The Grid Editor will open with multiple customization options. For example, Graph has several presets to choose from: a plain Square Grid, a 1/10 Grid, a 1/4 Grid, and a Custom option. Choose your preset type.
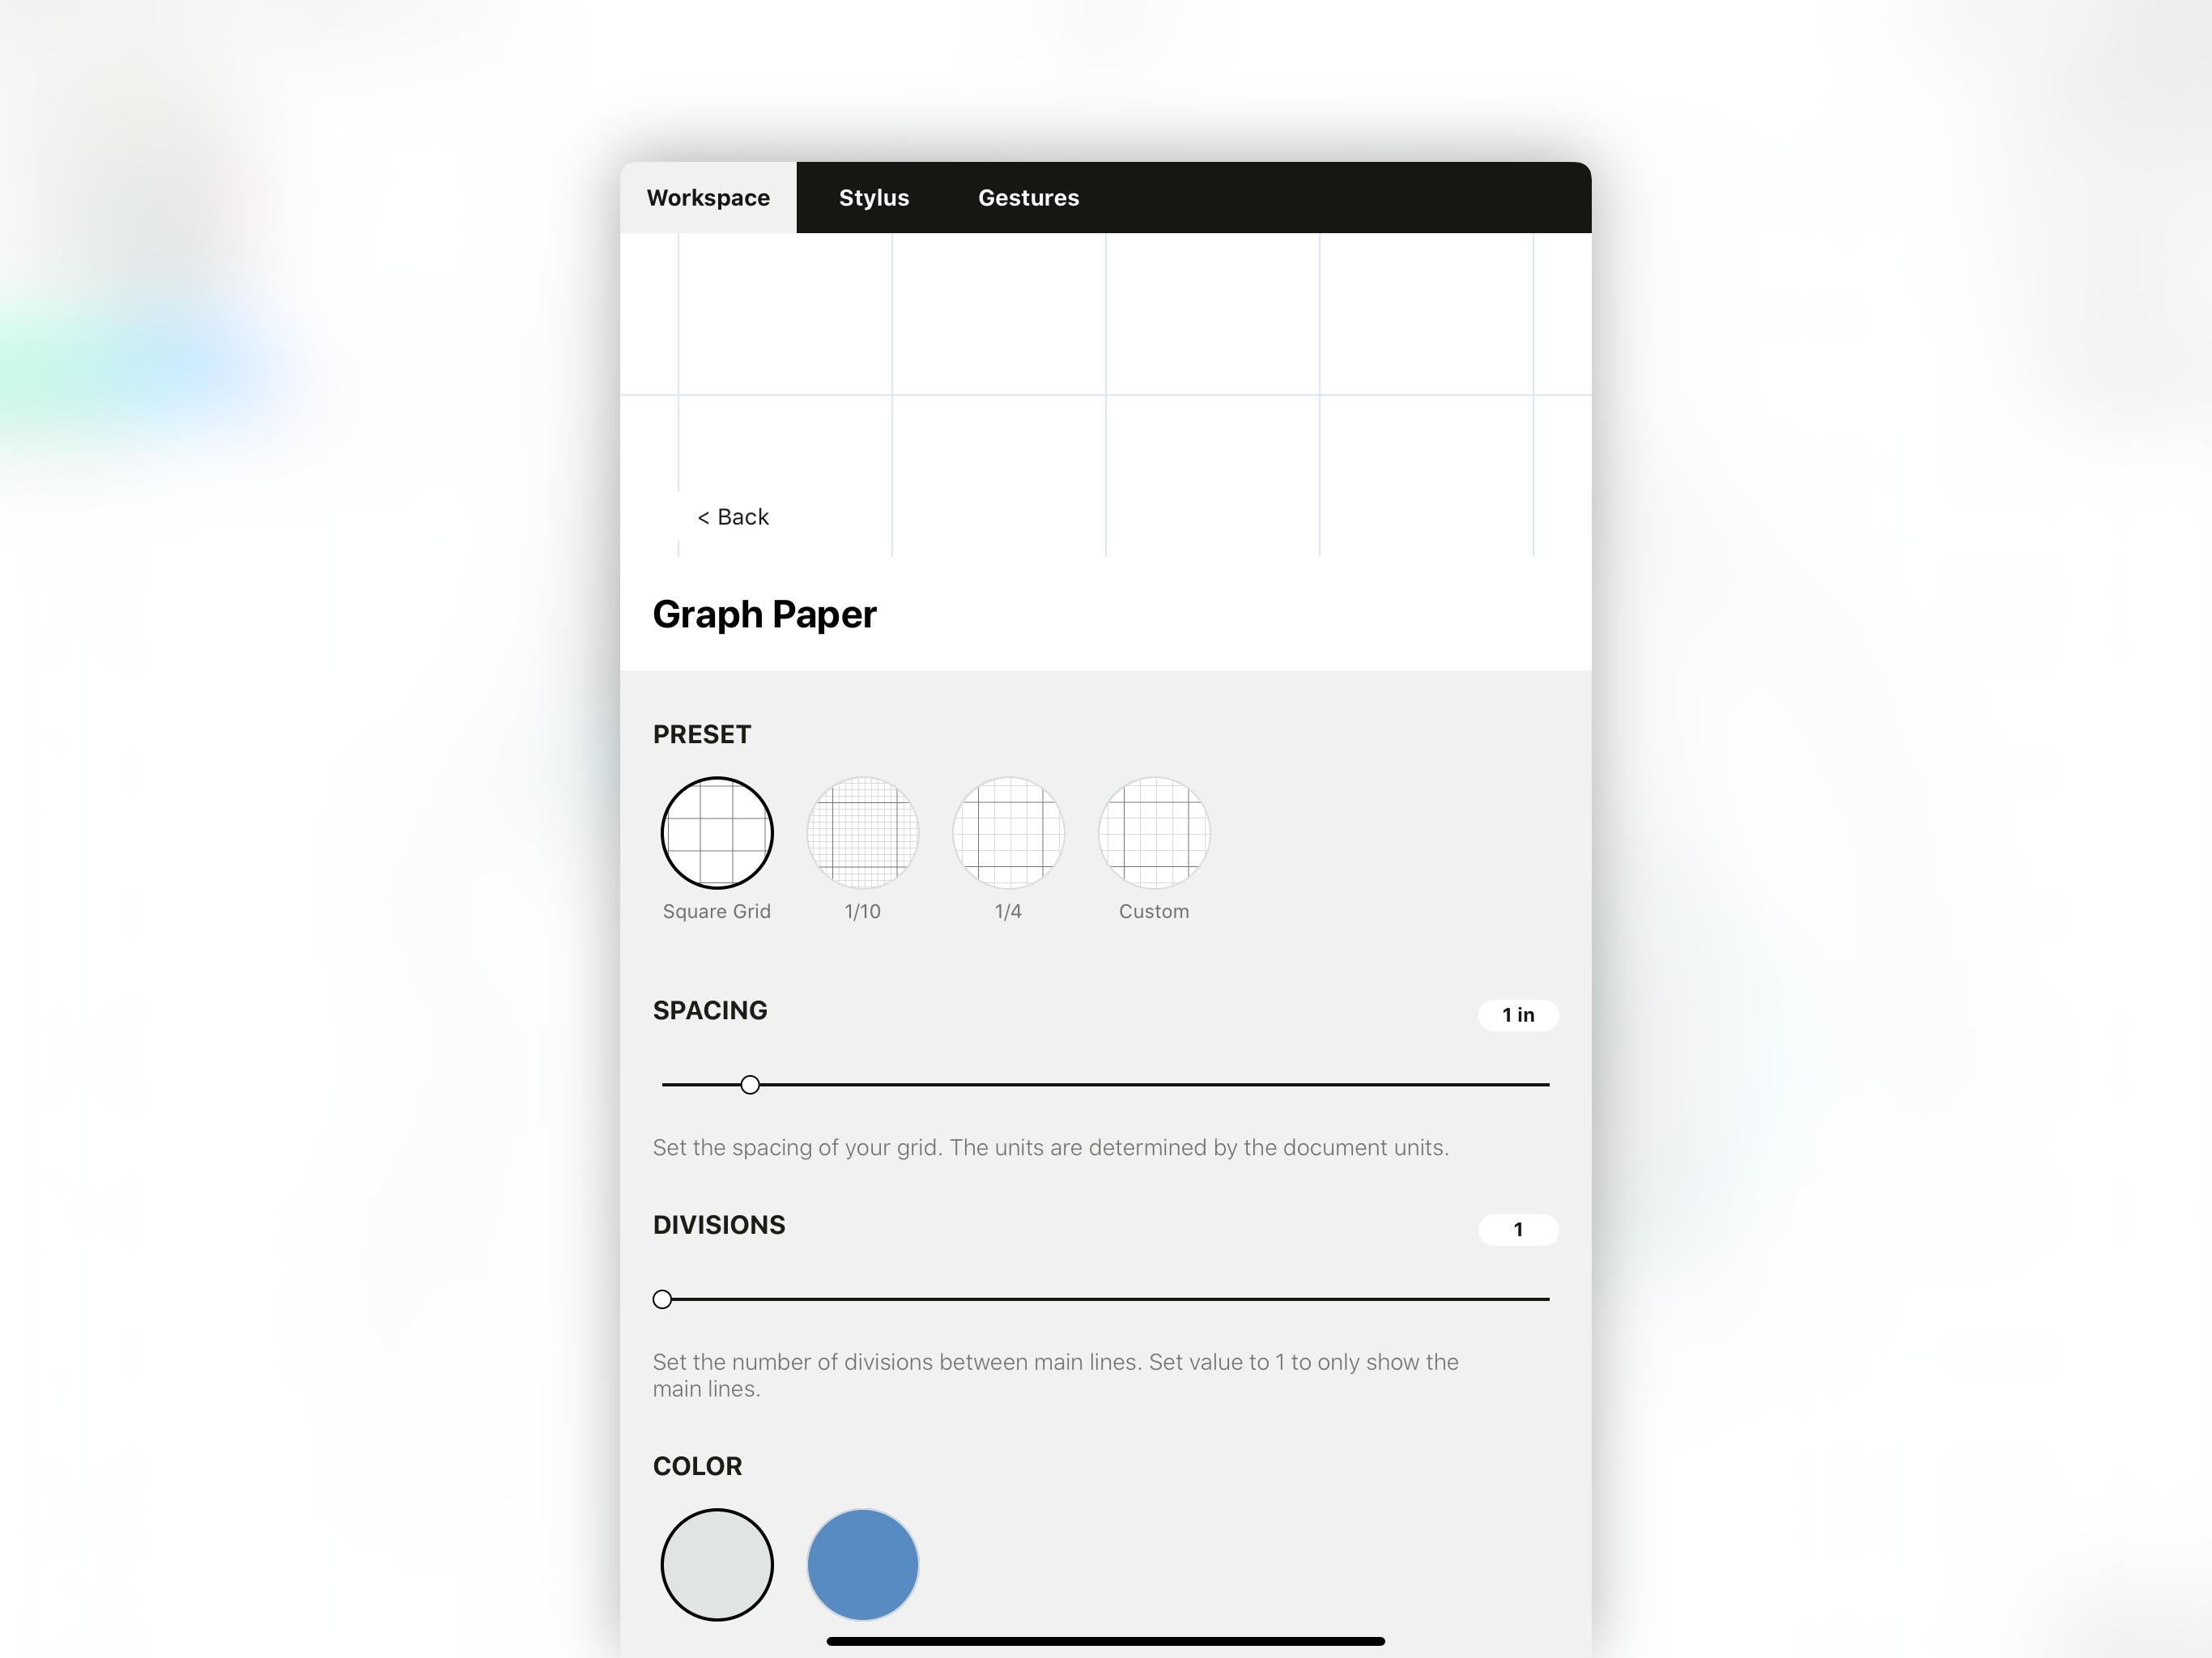
4. To customize your grid, choose a preset as a starting point or choose Custom grid, then adjust it using the menu options. You can adjust spacing, divisions and color, and for grids where it makes a difference, you can choose landscape vs. portrait orientation.
Spacing
Use the Spacing slider to increase or decrease the distance between your dots or lines. As with any field in the app, you can tap+hold the preset value to bring up a keyboard and type in a distance. Distance units correspond to the Units style you have set in the Settings menu.
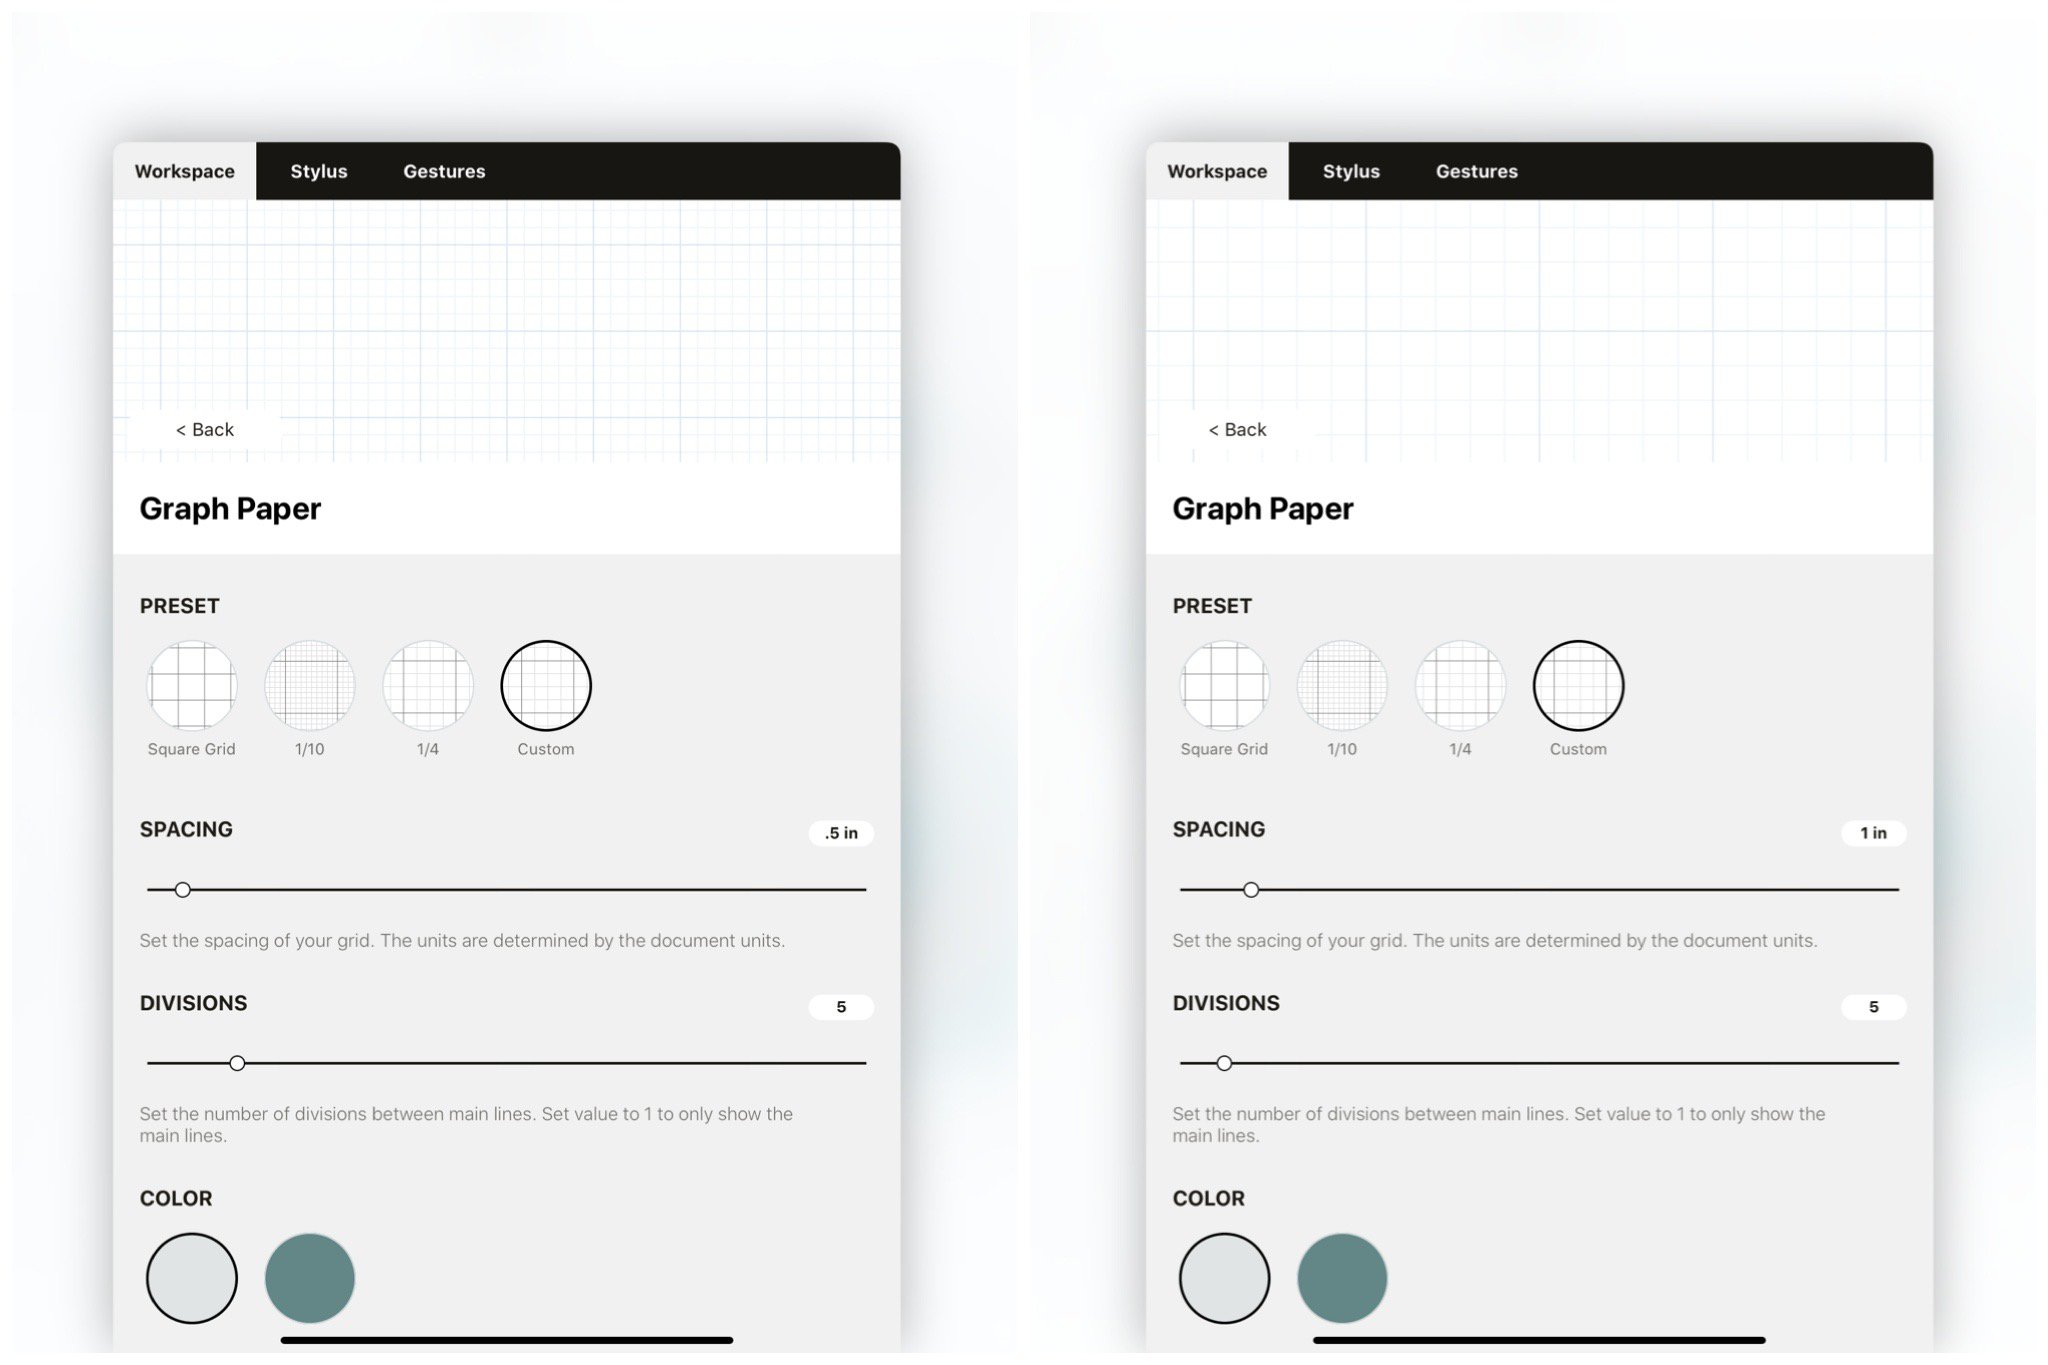
Divisions
Use the Divisions slider to increase the number of divisions between your lines. These are marked by a lighter line type than your main spaces.
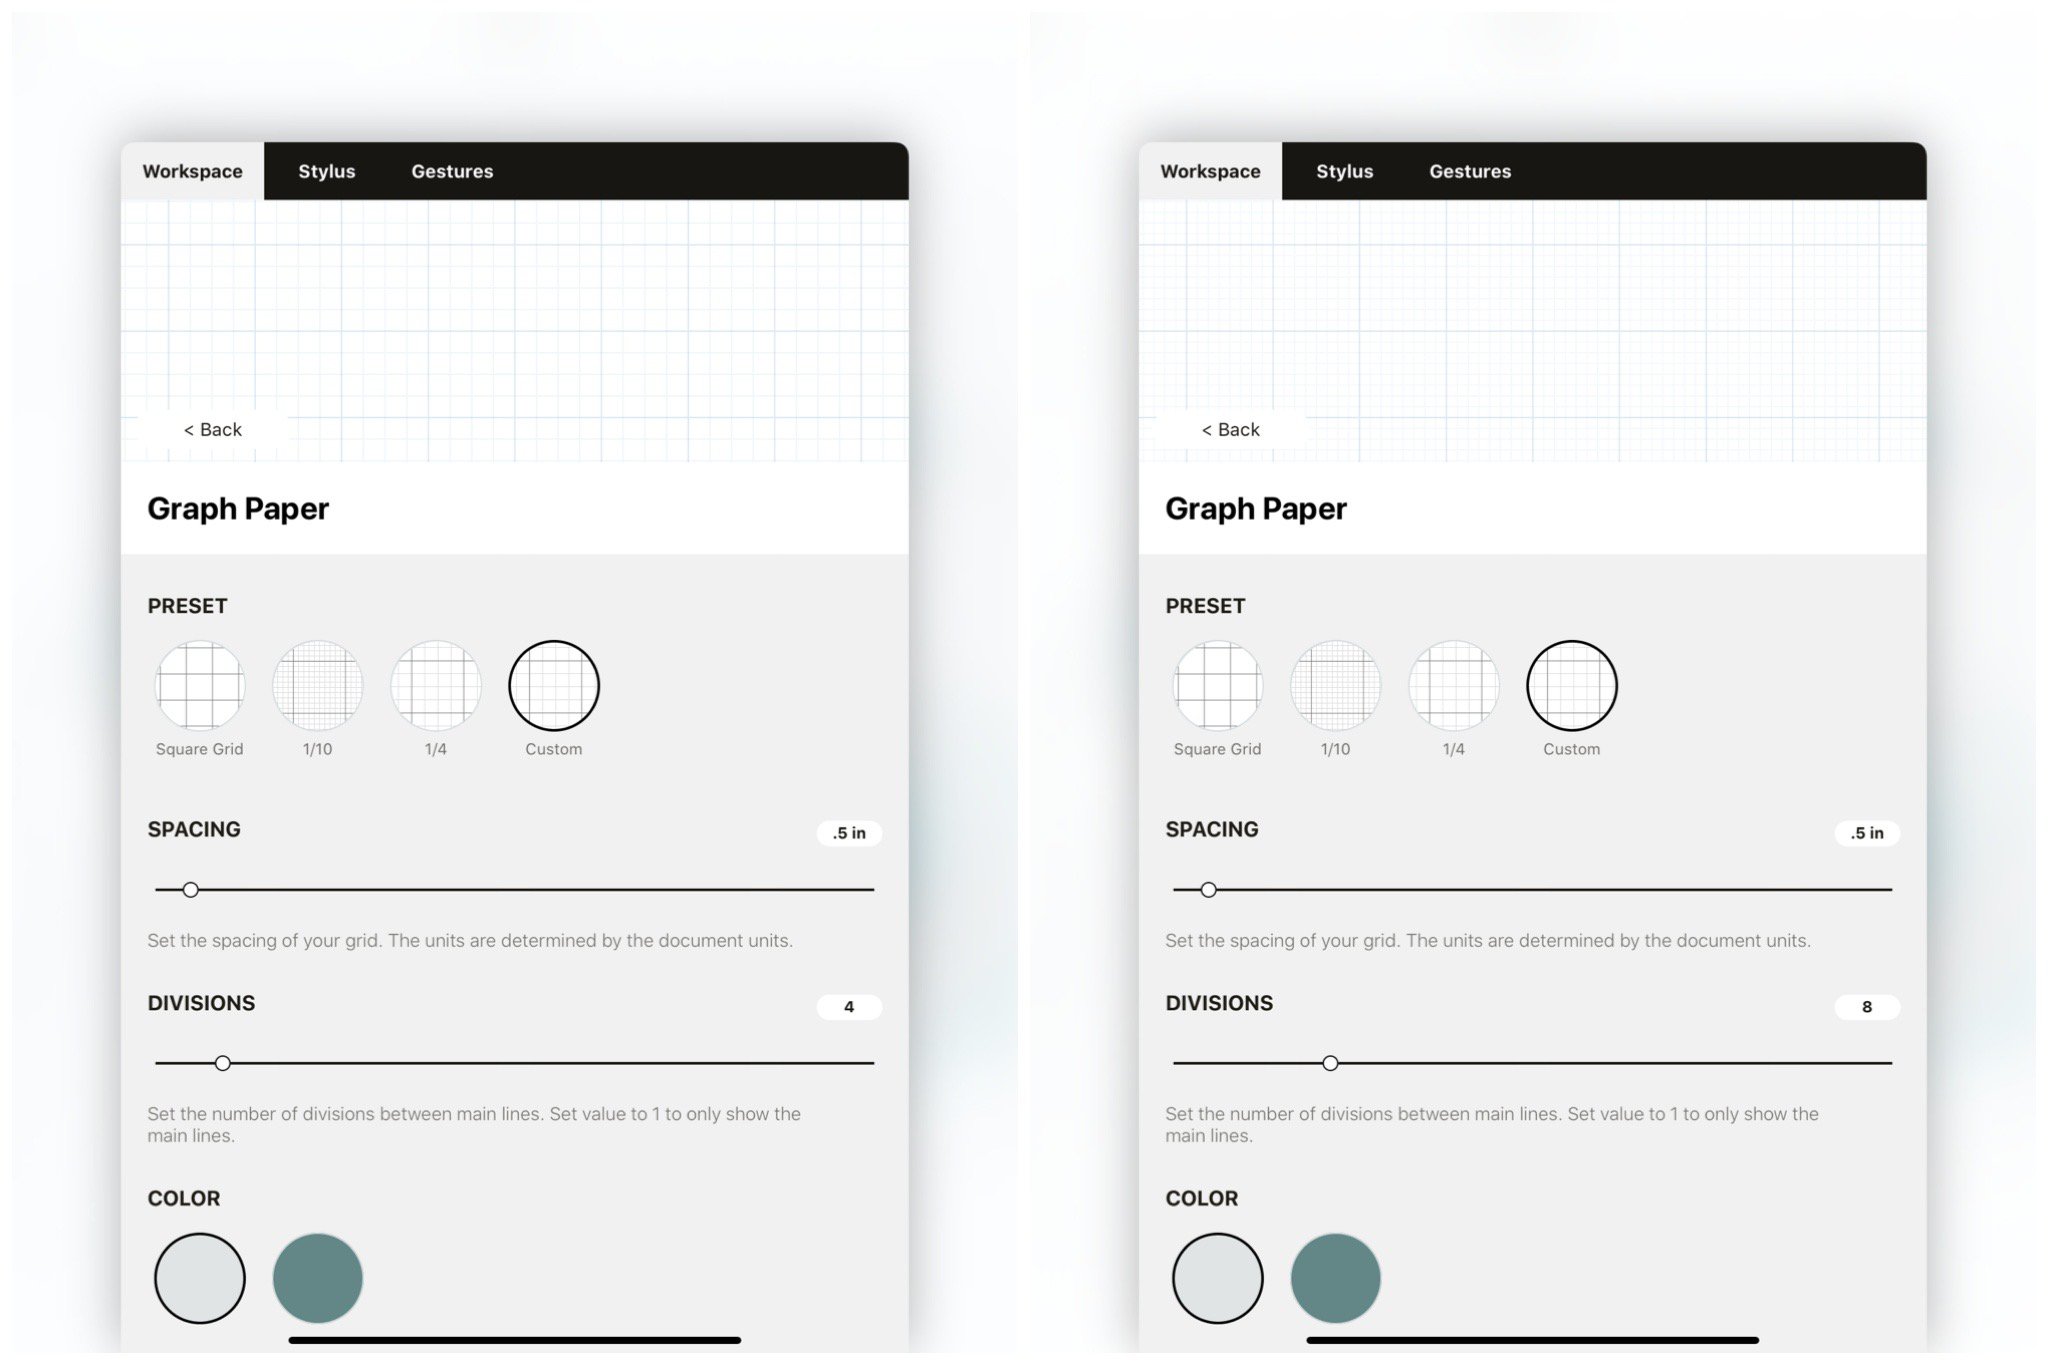
Grid set to 4 versus 8 divisions.
Color
You'll find two options for your grid color.
The Automatic color setting will adapt to the background color of your canvas, so if you're using Darkprint, for example, the lines will lighten to accommodate.
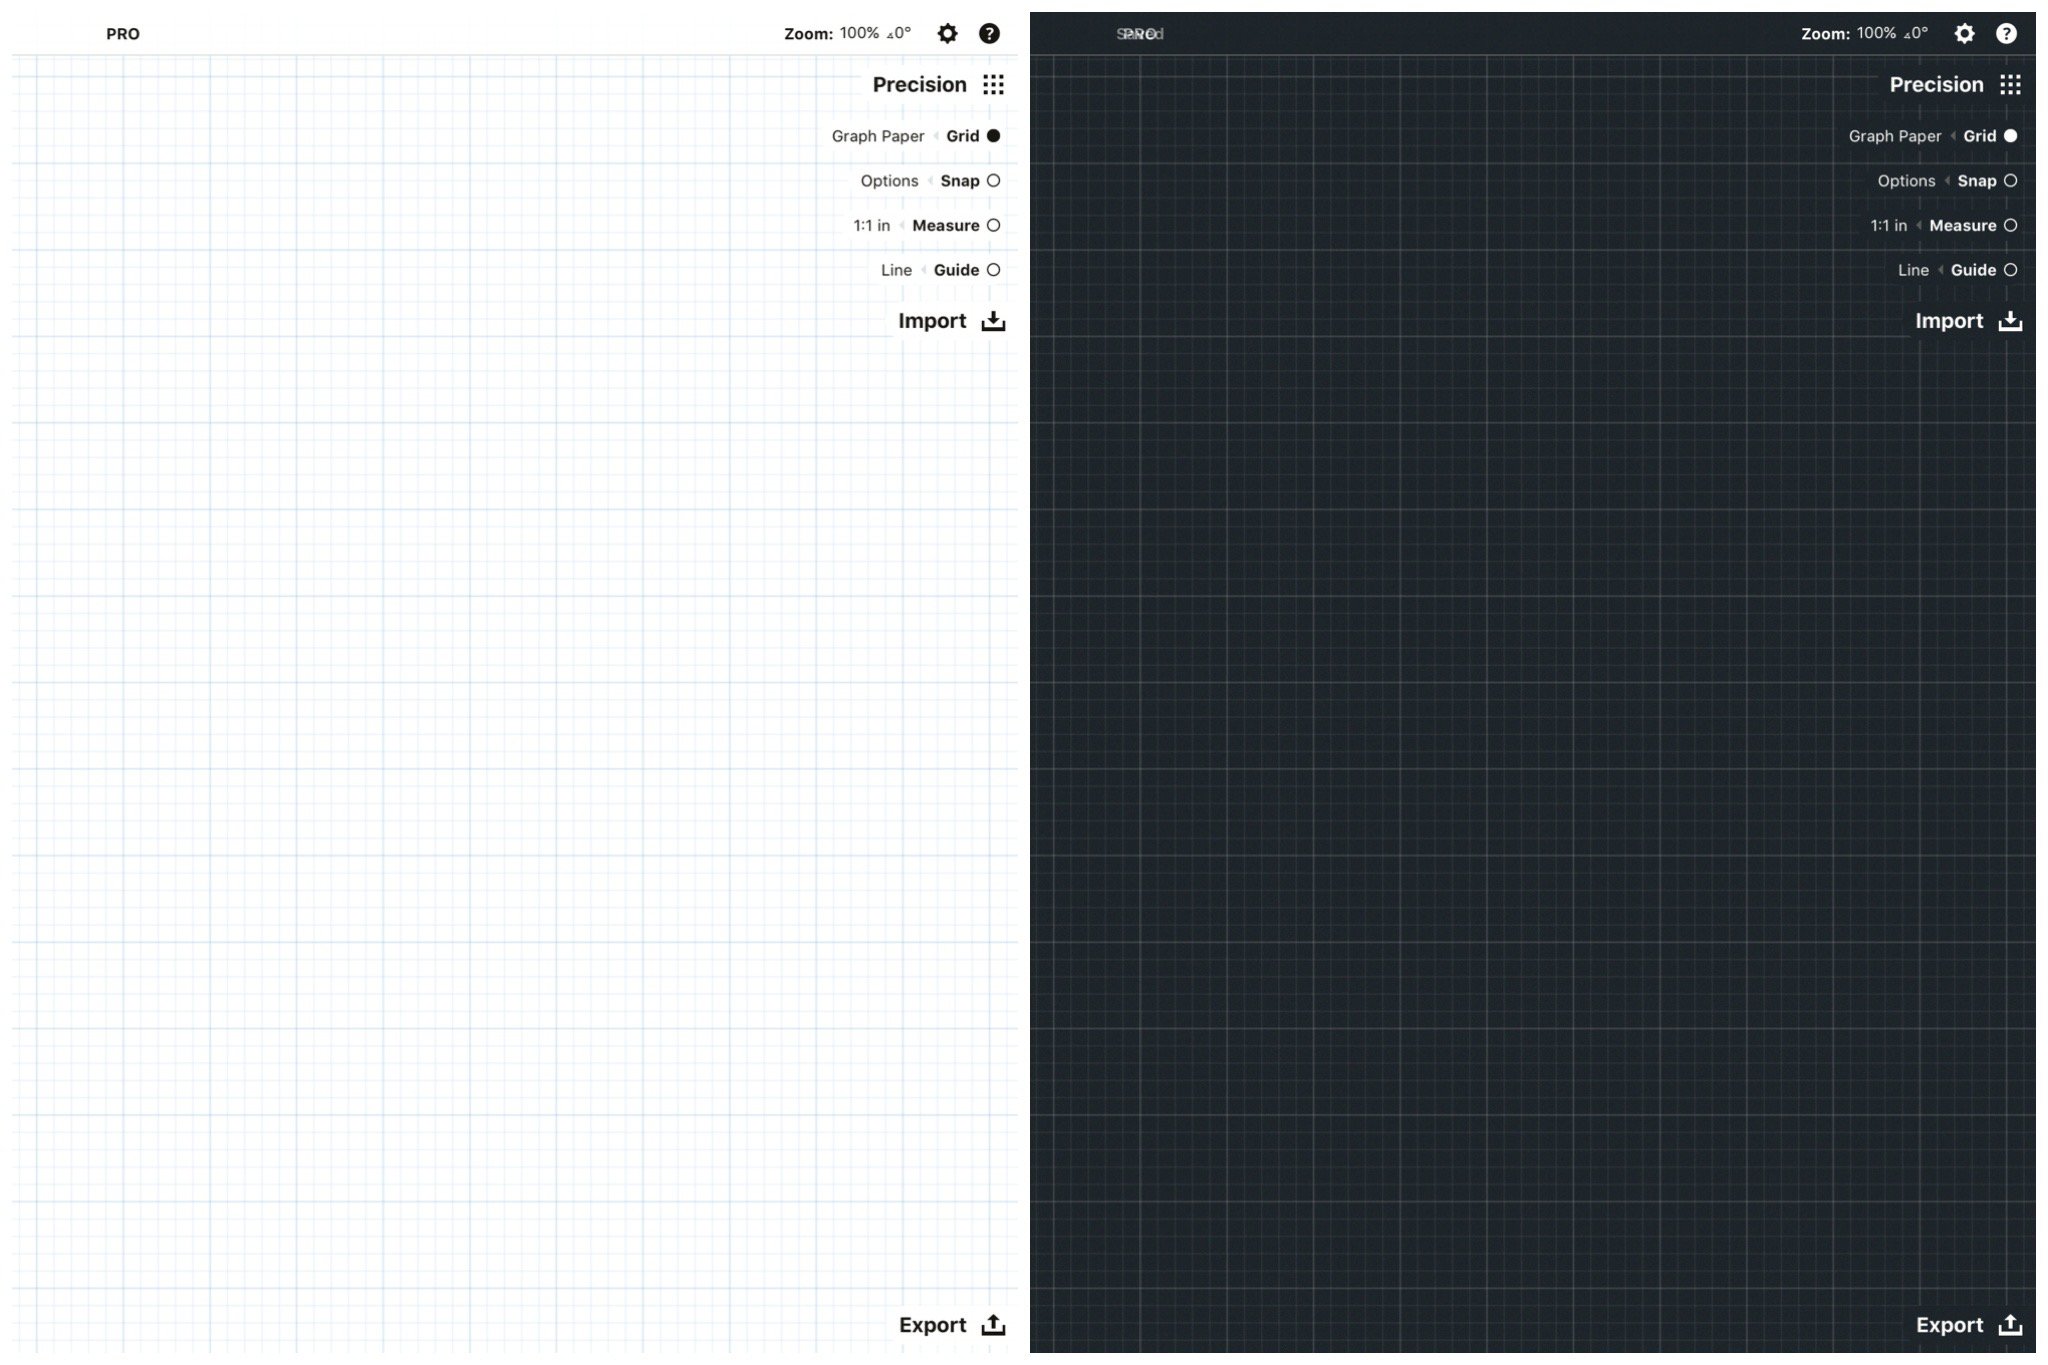
Grid line color based on paper type.
If you choose a Custom color, it will remain that color regardless of paper background, with an additional option to adjust the opacity of your grid.
To change the color of your grid, tap Custom to activate the custom color (for quick toggling between Automatic and Custom colors), then tap it again to open the color wheel and select your color.
To adjust the opacity, select Custom color, then find the Opacity slider below and adjust it to your liking.
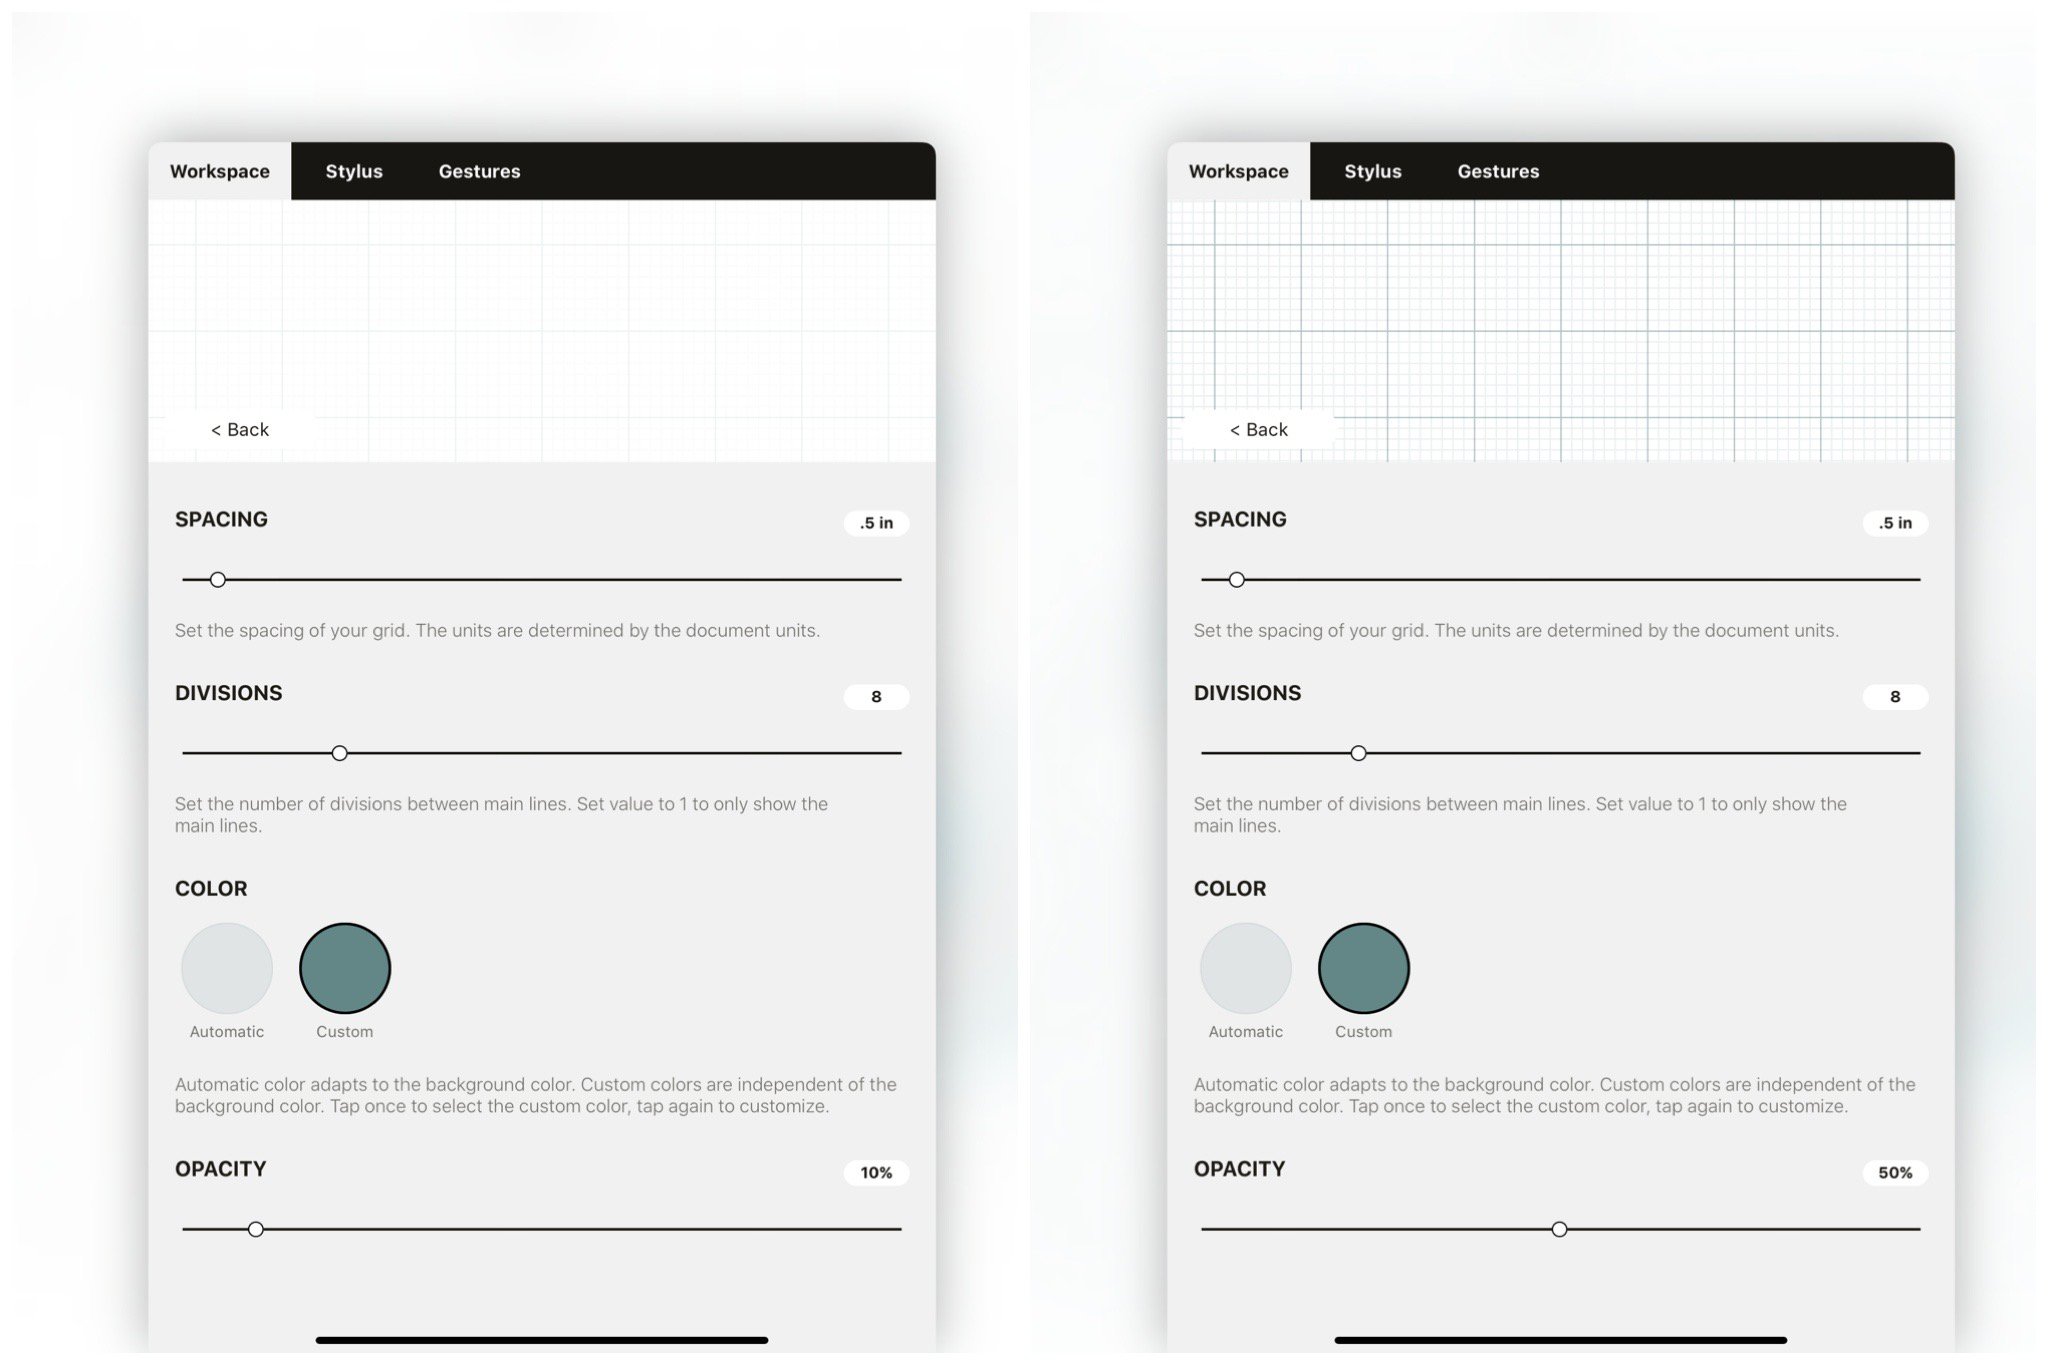
Custom grid opacity at 10% and at 50%.
Orientation
With grids where orientation makes a difference, you can choose between portrait and landscape mode.
You can also rotate your grid orientation on screen using two fingers, in case you prefer to write or sketch at an angle, or you tend to rotate your tablet while you draw. You have the option to disable canvas rotation by unchecking the "Enable Canvas Rotation" box under Settings > Gestures > Two Fingers.
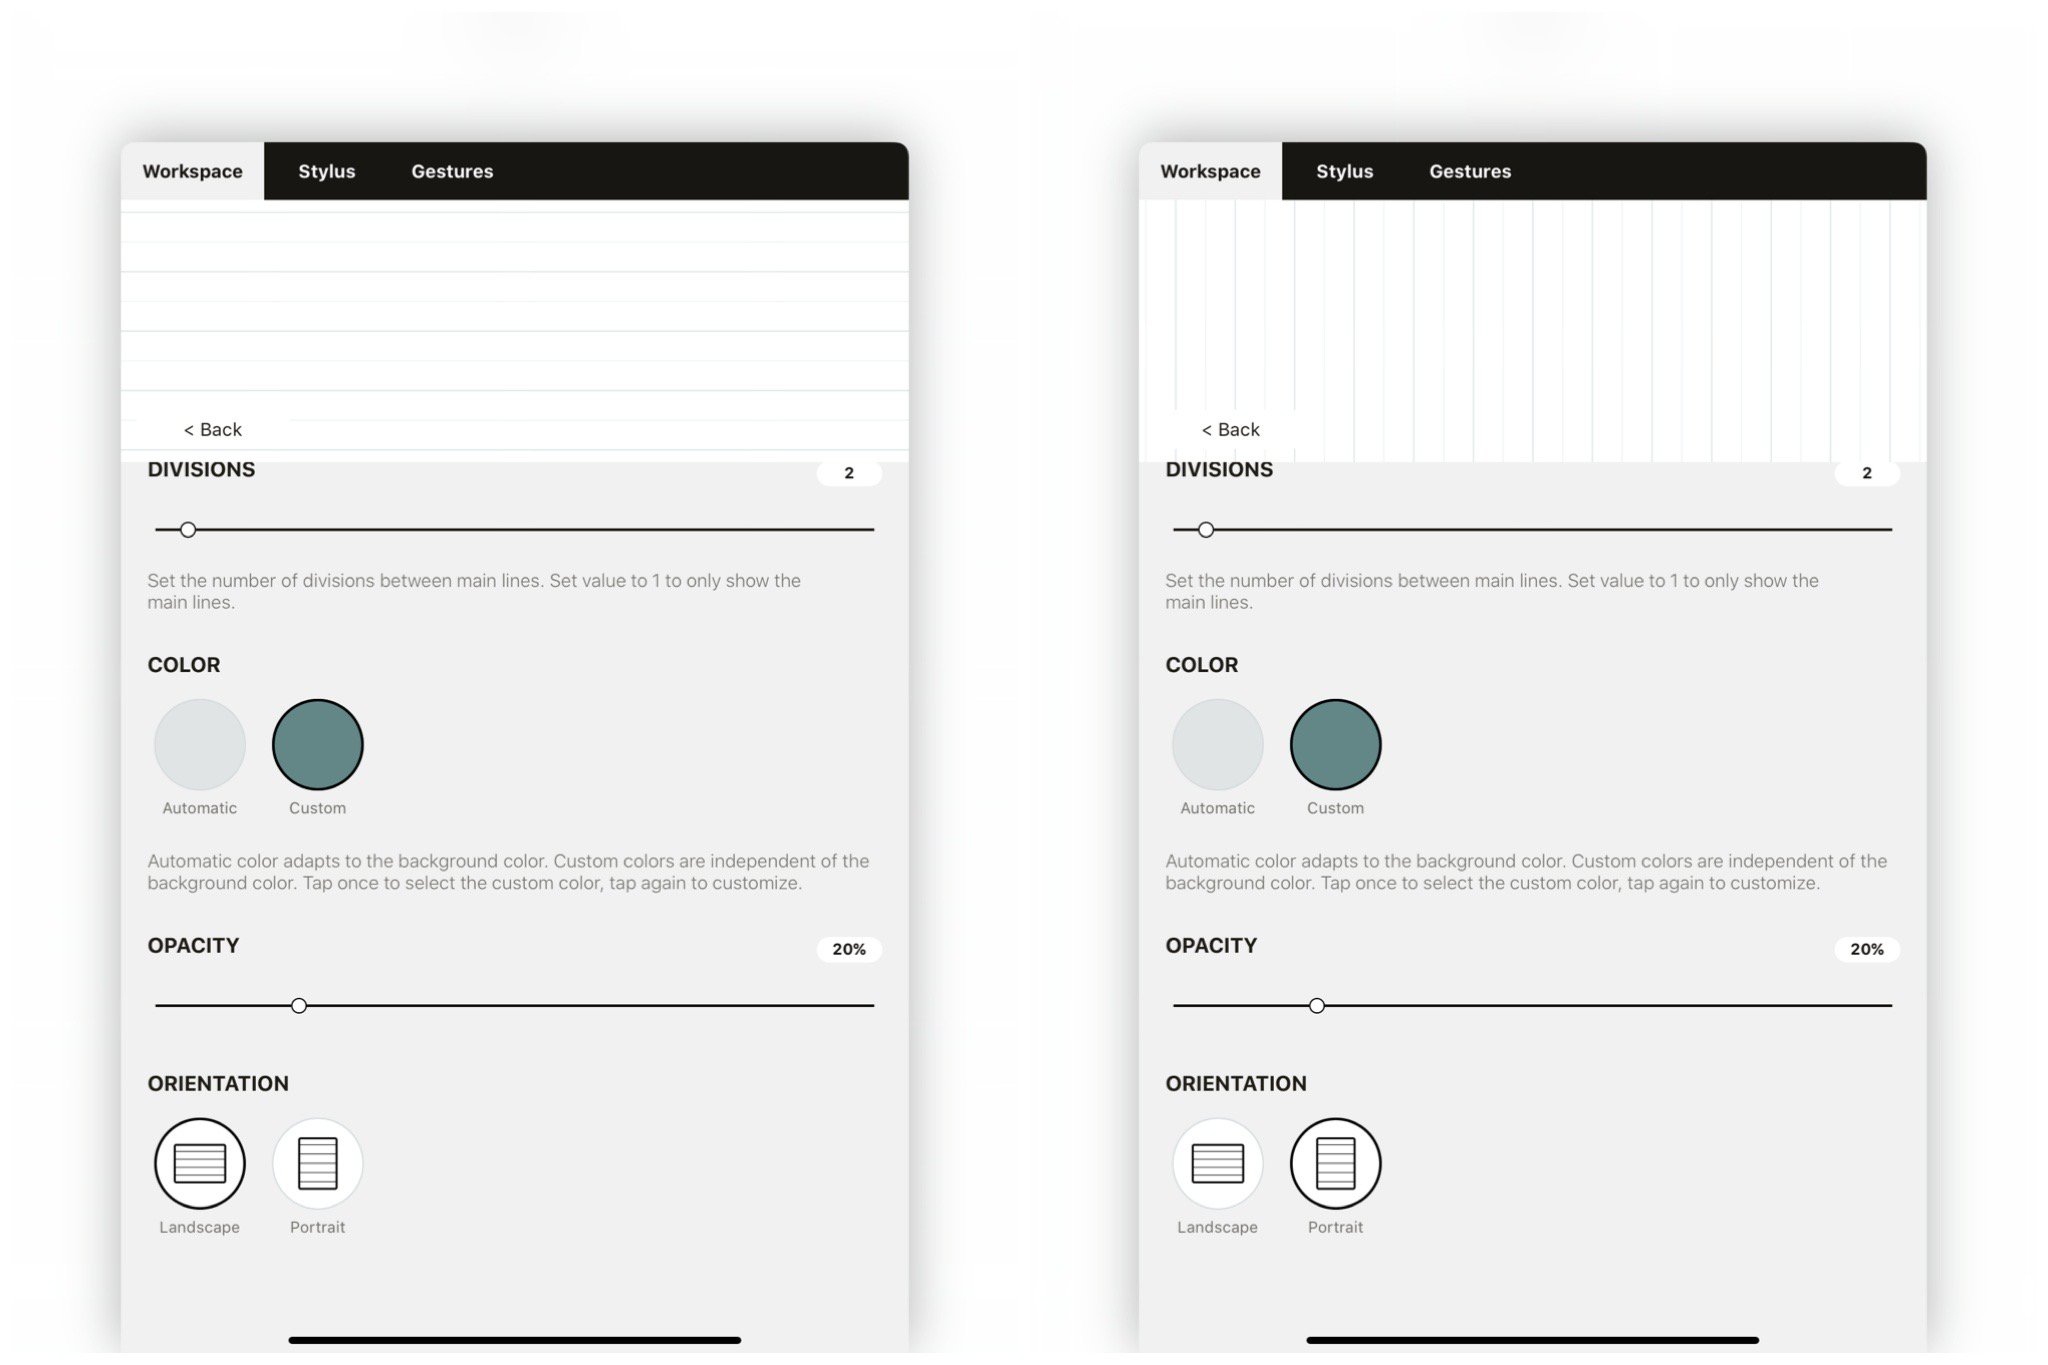
Lined paper in landscape versus portrait mode.
5. When you exit the menu, you'll find that your customized grid is applied to your Grid Type, and that you can toggle the grid on and off using the Grid option in the Precision menu.
Feel free to customize each of the grid types to your preference so that when you're ready to sketch, plan, note, design or lay out your next project, it's just a tap away.
If you have any questions about setting up your grids, please let us know by tapping Help > Ask Us Anything in app, or email us at support@concepts.app and we'll be happy to help.
By Erica Christensen
Recommended
How to Create Lined Paper - Learn how to set up lined paper for note taking and handwriting practice on your infinite canvas.
Setting Up Your Menus, Brushes and Presets - Learn how to customize your canvas layout, menus, tool wheel and brush presets in Concepts.
How to Design in Concepts - Learn to use Concepts' Shape Guides, Snap, Selection and Layers as you design a simple object.
Architectural Design Series - Join award-winning Architect Osama Elfar on YouTube as he shares how to design scaled floor plans, elevations and polished renderings.
How to Make a Transparent PNG Object - Transparent objects are instant creative assets in Concepts. Learn how to create one in five easy steps.