Concepts is an infinite, flexible creative tool for all your good ideas. Available on iOS, Windows and Android.
How to Draw a Mandala in Concepts
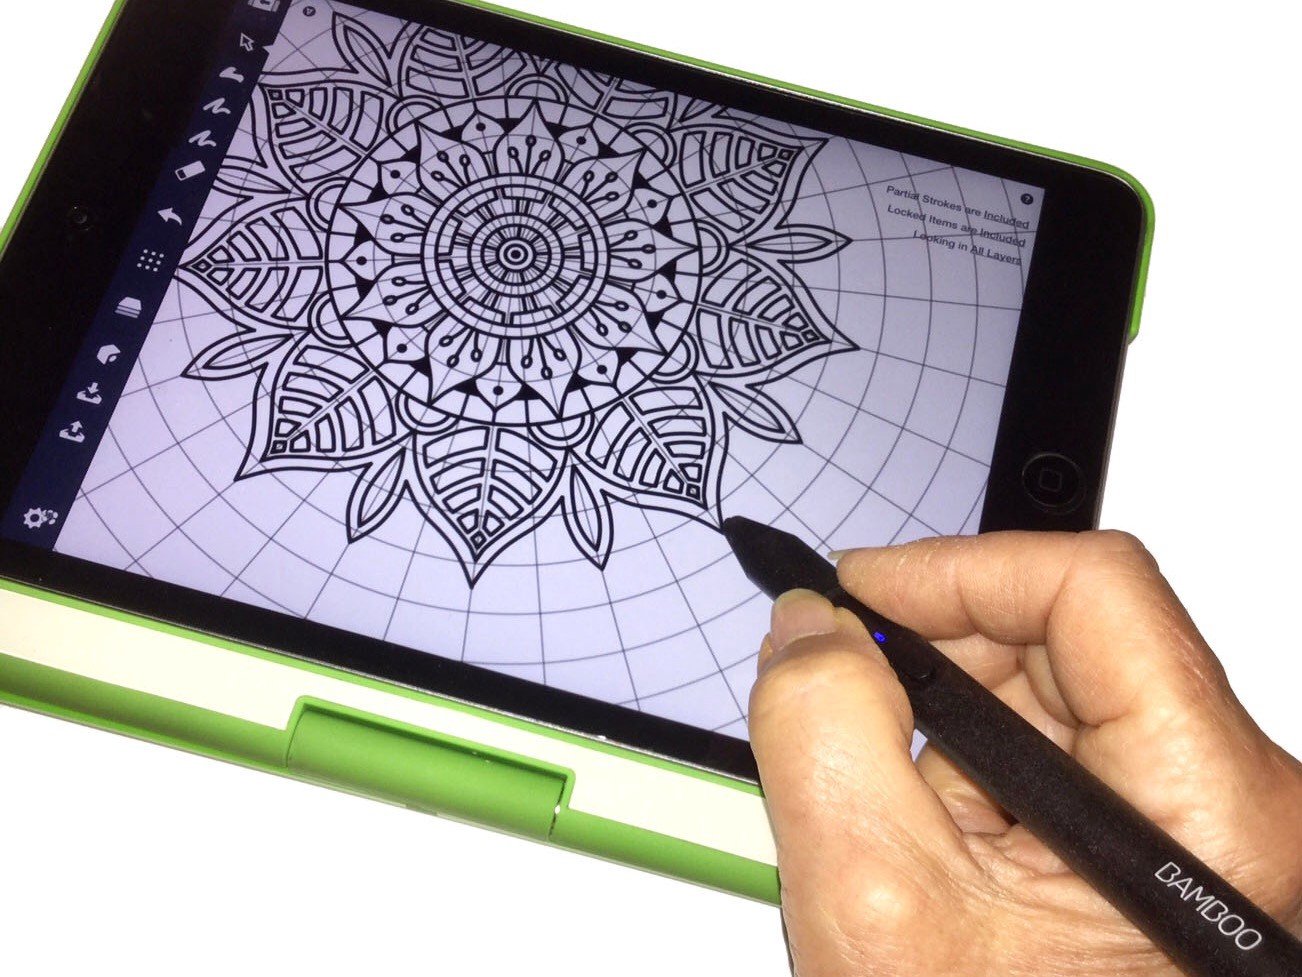
Learn how to create intricate mandalas in Concepts with this tutorial from Artist Jill Buckley.
"Why mandalas? Well, they are a wonderful way to sort of “space out”… to reset the creative flow. You approach it with no pressure, no preconceived notions of a final result. You simply begin adding elements and build a design."
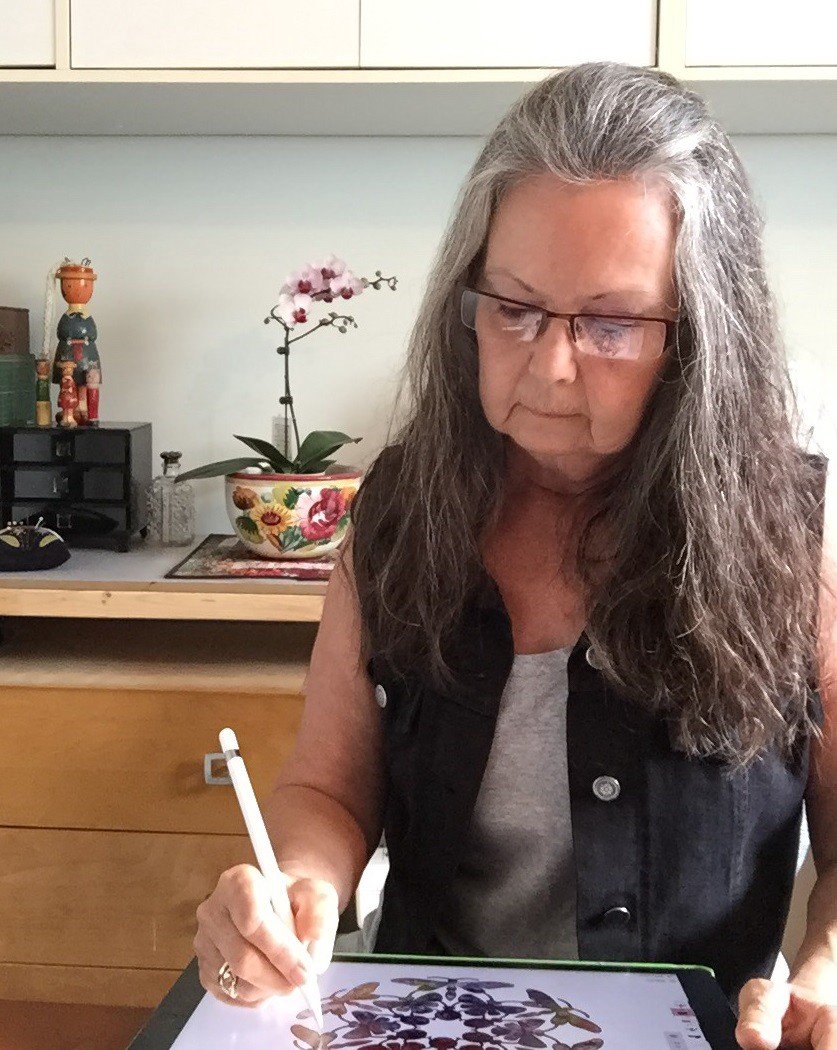
Jill Buckley - You might call me an accidental artist. I have little background or training, I’m a doodler. I’m rarely ever certain which direction any drawing may go. I generally start with an idea, then whatever the subject matter, I draw a rough outline and begin filling in with elements that make sense… and at times, some that may not. I don’t take myself too seriously, which is why my drawings tend to lean toward the whimsical.
As someone who was born in the 1950s, drawing always meant pencil, paper and yes, an eraser. Acquiring an iPad Mini 2 and discovering Concepts has certainly changed my approach to drawing. Working digitally is new to me. I think it is important to note that I am a hands-on, learn-by-doing type — I touch, tap, and experiment with tools to figure out how things work. When I began searching for an app that would allow me to use my iPad for drawing, I tried a few, but Concepts came out on top. This app suits my style and needs extremely well.
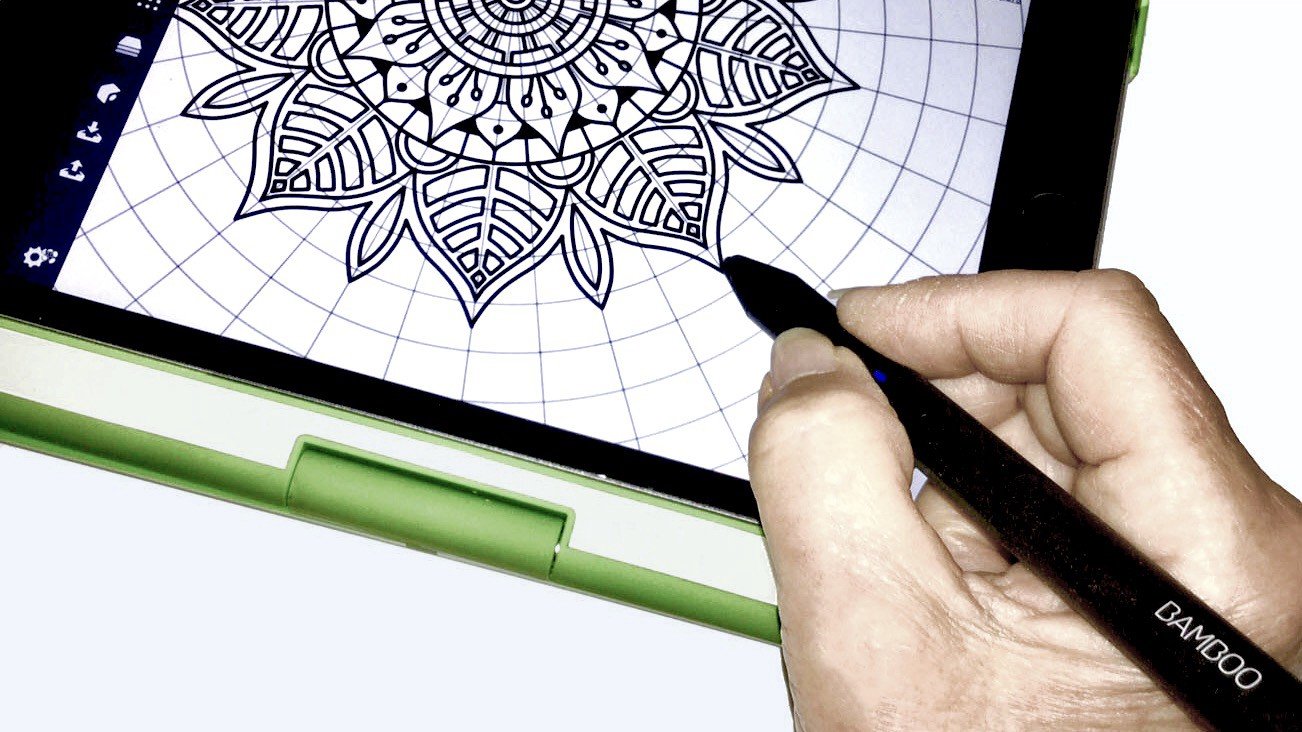
I also recently acquired Wacom’s newly released Bamboo Sketch stylus. This lightweight stylus pairs beautifully with Concepts and my device.

It was super easy to set up and offers a comfortable feel, while featuring customizable shortcut buttons, pressure sensitivity, interchangeable tips, and amazingly long battery life. Its compact case smartly holds the stylus itself along with extra nibs and its magnetic USB charge connector.
The shape of the tip allows me to really “see” my lines as I create, affording me greater precision and control — something that’s very helpful when creating patterns and designs.
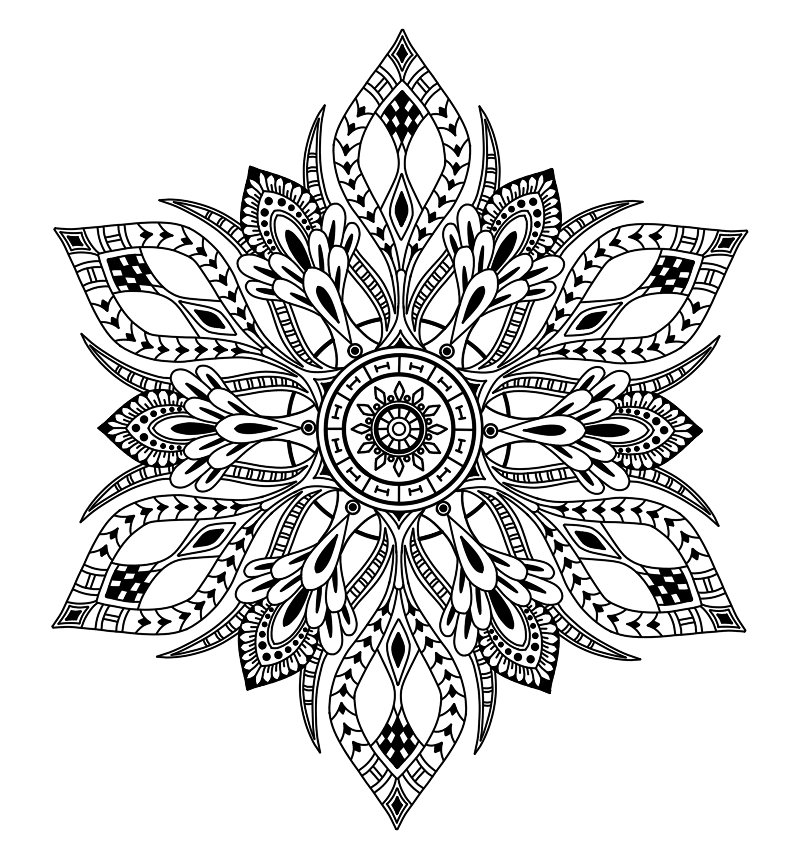
Drawing Mandalas
Today, I will show you my process for drawing mandalas in Concepts.
Why mandalas? Well, they are a wonderful way to sort of “space out”… to reset the creative flow. You approach it with no pressure, no preconceived notions of a final result. You simply begin adding elements and build a design. You can go wild with intense detail, or keep it fairly clean, calm and simple. But you need to begin with a structure, which I refer to as “bones.”
I set out to see if I could create bones that could be used as guides for drawing mandalas in Concepts. The goal was to create a couple of variations that could be saved as objects in my Make Your Own Objects library. Once done, it would be a simple matter of selecting a mandala structure to work with, and put it on its own layer to guide the actual drawing taking shape on the layer above. While one could quite easily find a mandala graph online to trace, I wanted to see if I could create one using precision tools in Concepts.
Oh, I neglected to mention that I like to challenge myself… to “figure it out.” And by so doing, I often learn a few things.
Creating the Bones
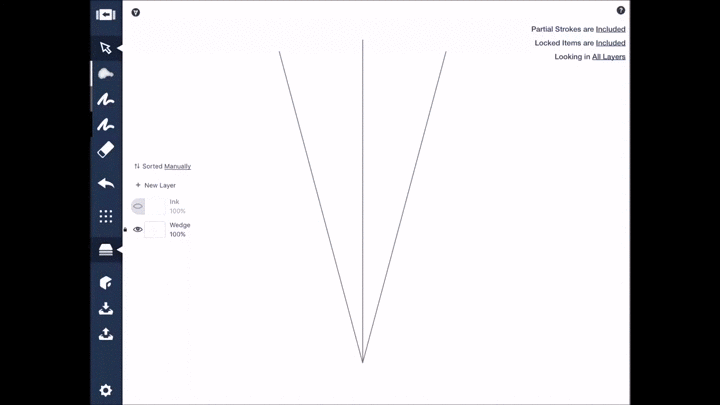
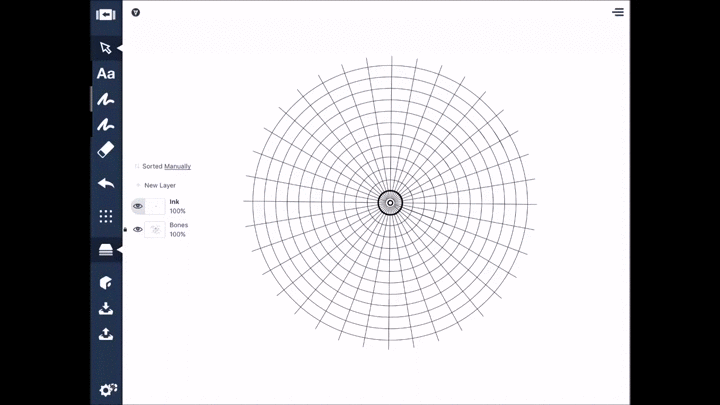
In a new drawing, choose the Fixed Width tool, size 1 pt, colour medium grey (of course any colour and strength could be used, the opacity can be adjusted later). I chose to name my first layer Angles — Spokes.
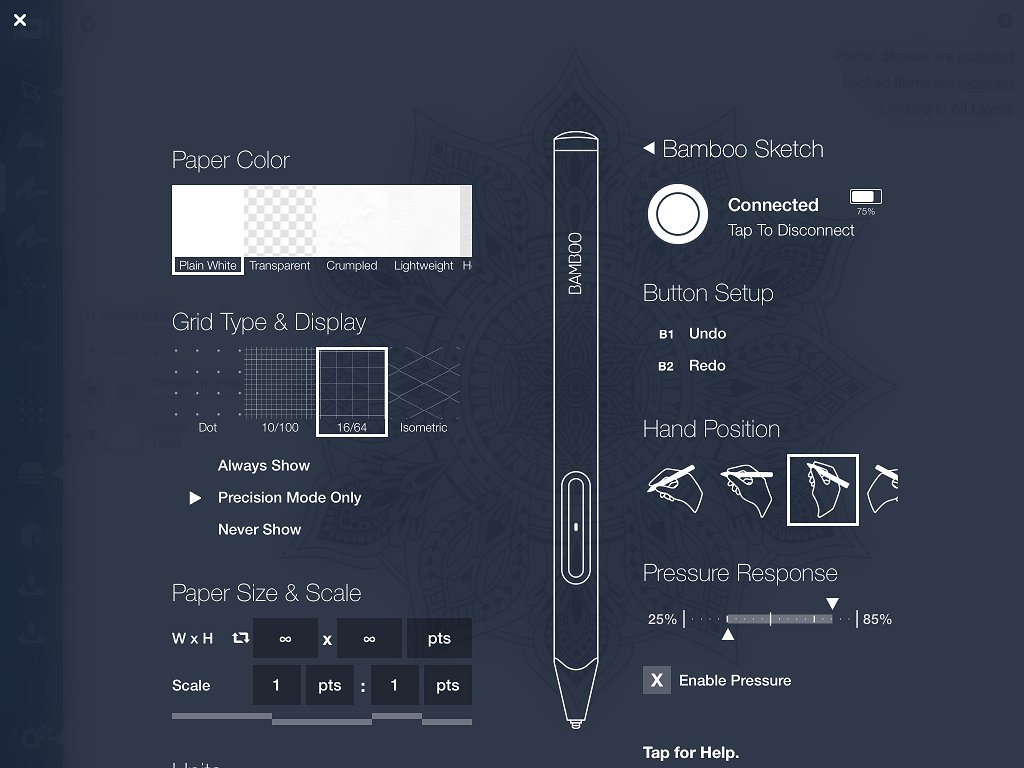
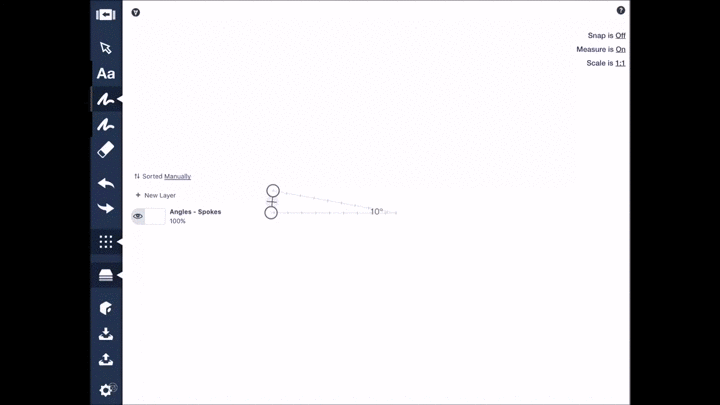
Tap the precision icon and from the drop down menu, select Angle. The Angle guide will appear on your screen. Long press the measurement, bringing up the keyboard. Begin by typing in 10 degrees, and close the window to be brought back to your drawing. Set the Angle guide in a spot where you will comfortably be able to draw.
Spokes
Basically, you will repeatedly choose angle measurements and draw them, building a circle of spokes.

Set the first angle to 10 degrees.
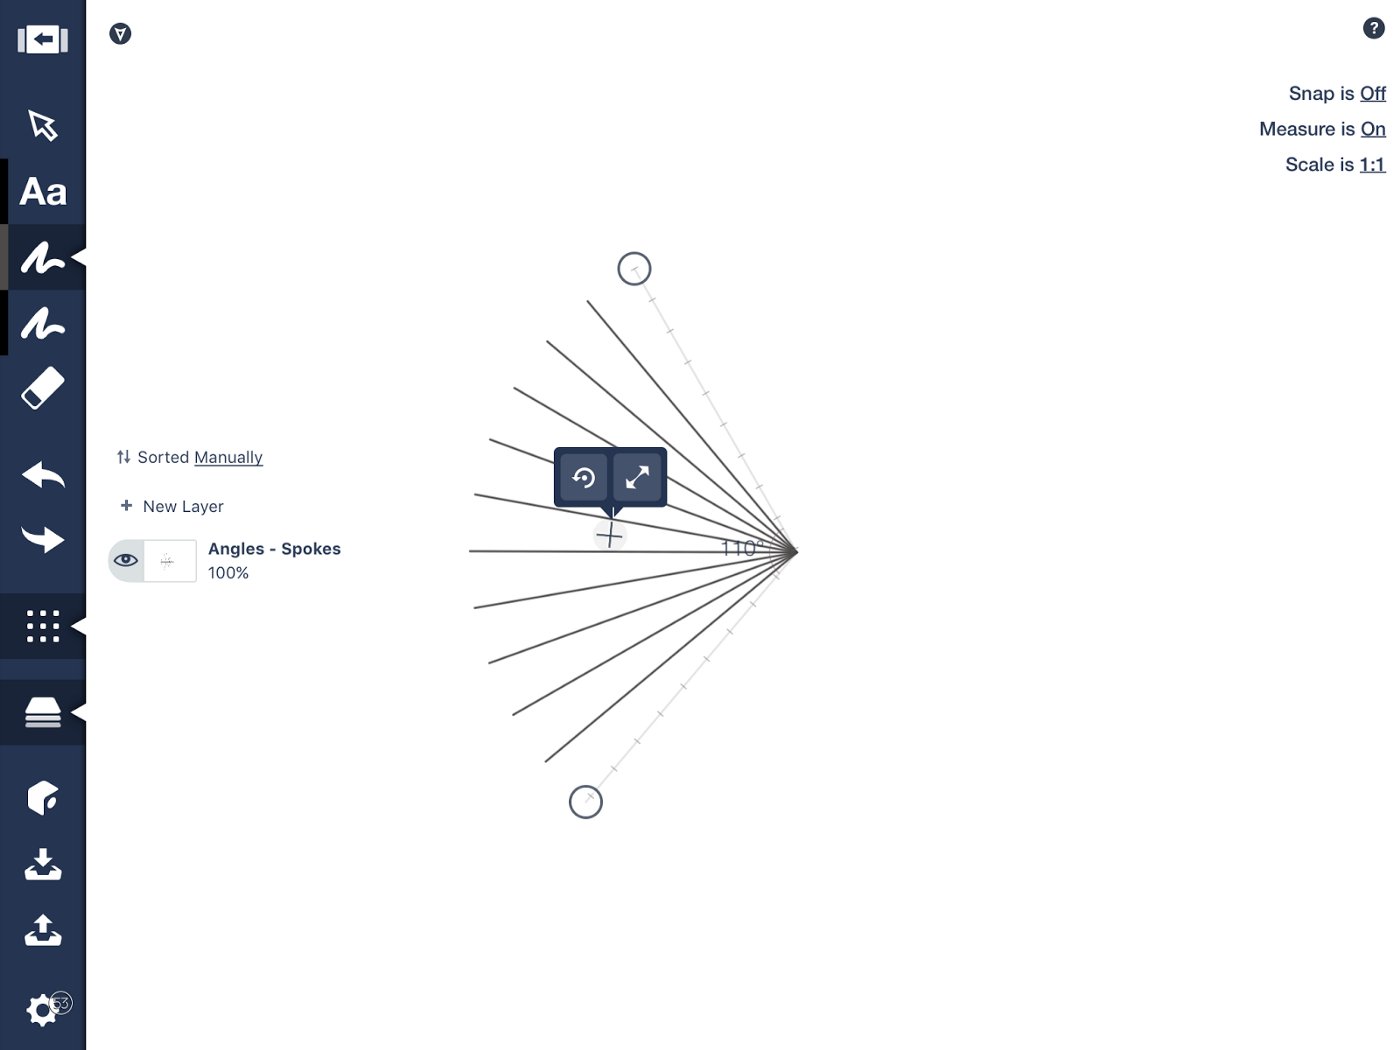
Building out the spokes using the Angle guide.
The sequence I used for this mandala is as follows: 10, 30, 50, 70, 90, 110, 130, 150, 170, 190… Note that when you type 190 degrees, it will appear as a second 170, but the angles will now be forming on the right.
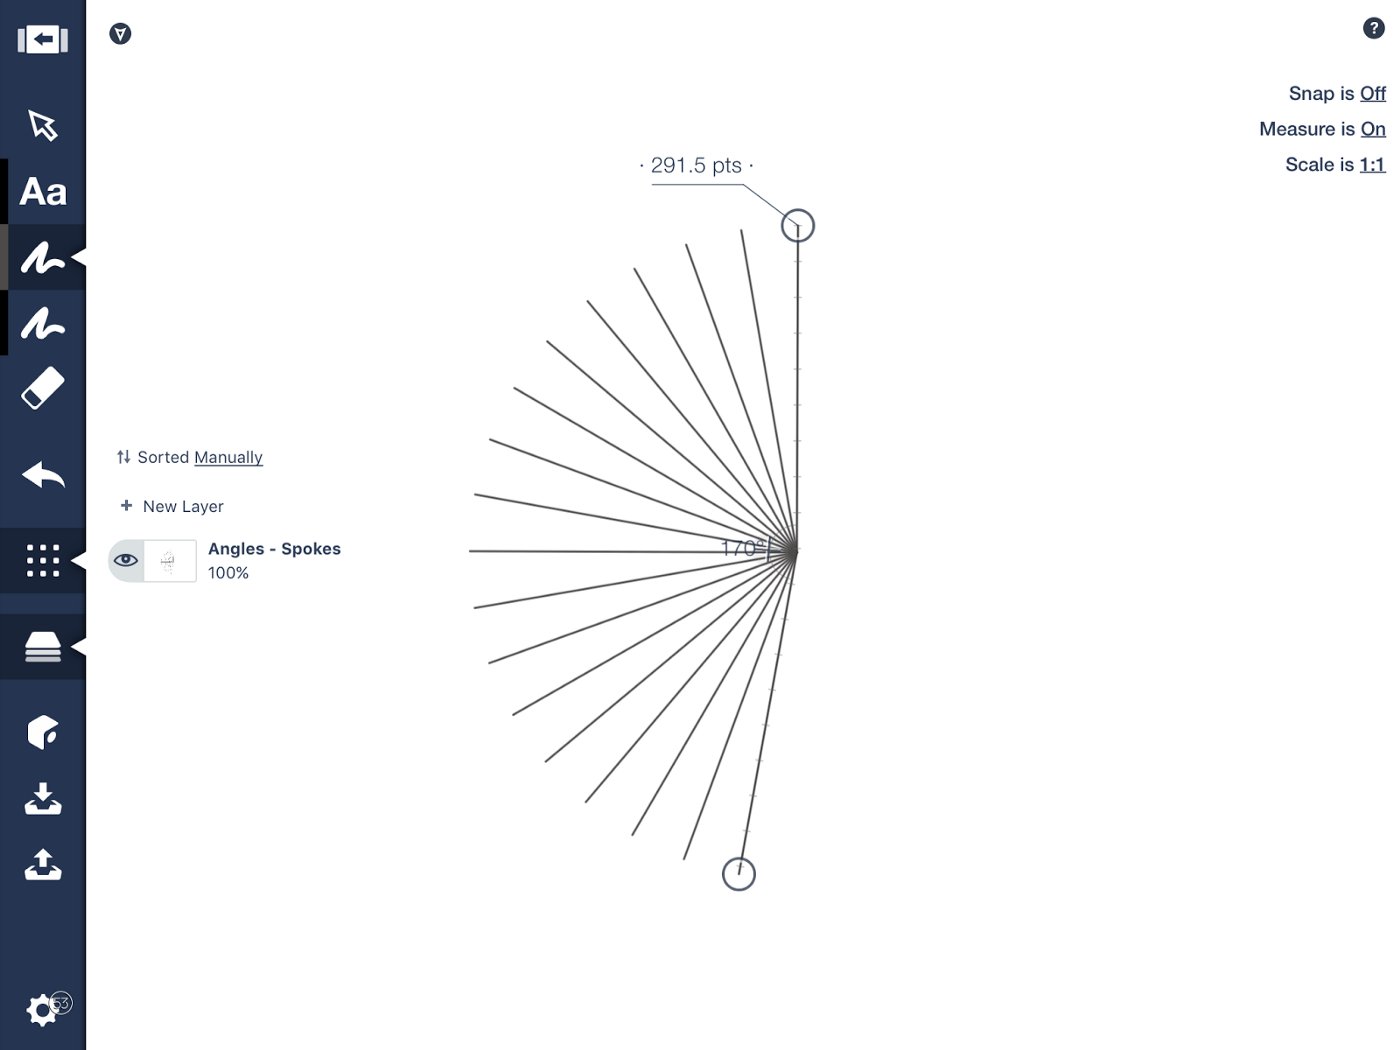
170 degrees on the left side.

190 degrees on the left side is the same as 170 degrees on the right.
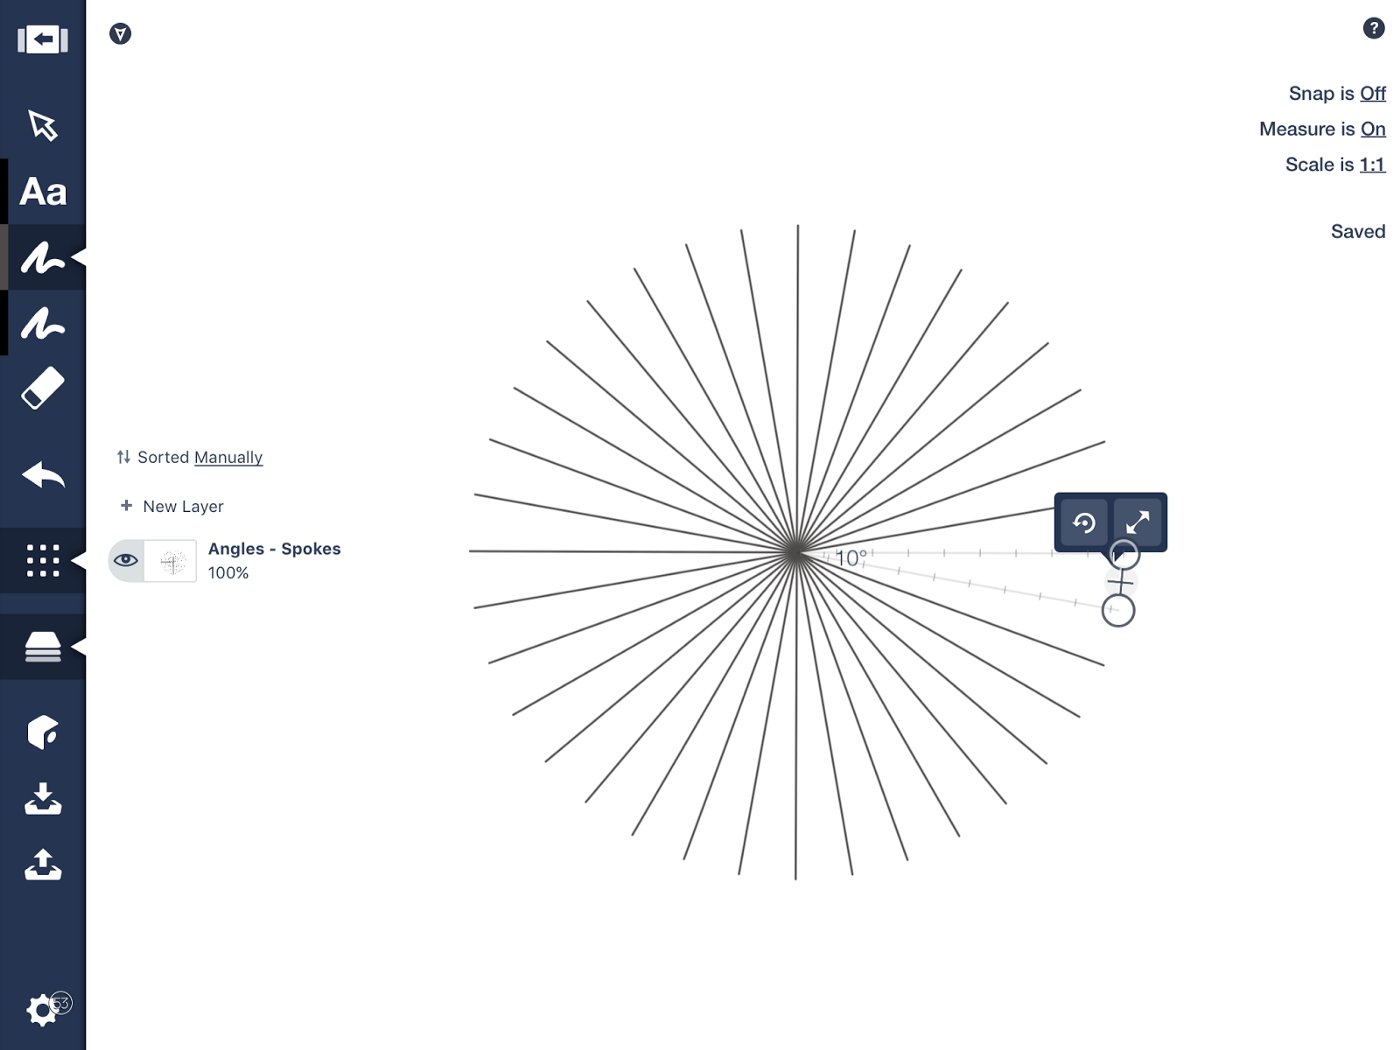
Build it all the way back around to 10 degrees.
Continue drawing angles back down the sequence: 150, 130, 110, 90, 70, 50, 30, 10.
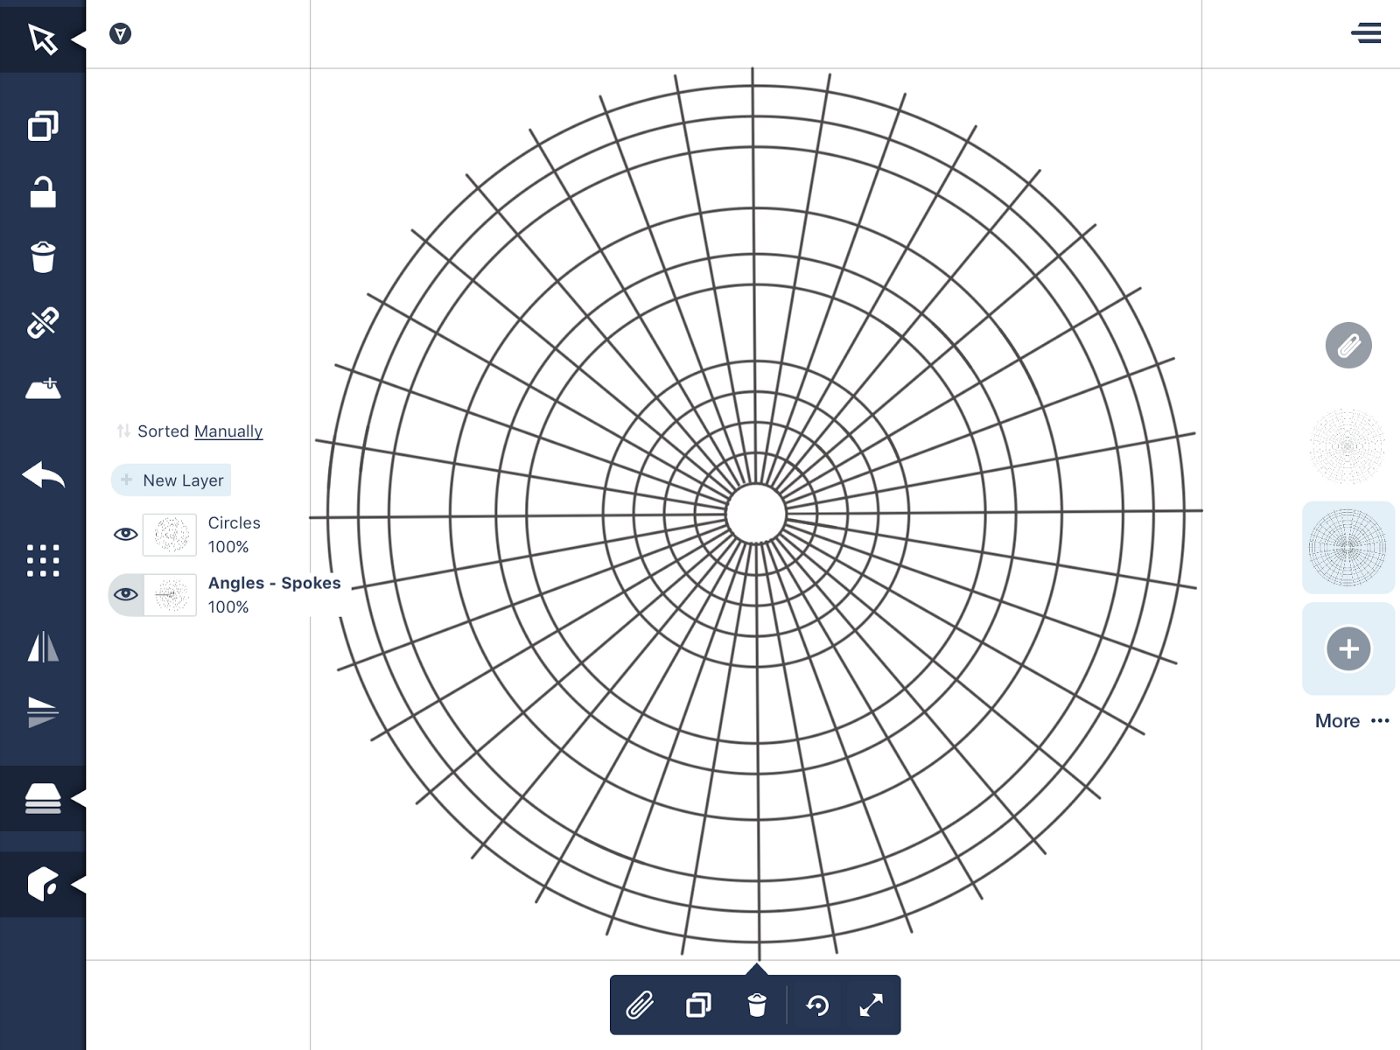
All of the angles or spokes are now complete.
Circles
It is time to begin adding some rings.
Lock the Angles — Spokes layer, and create a new layer. Name it Circles.
In the Circles layer, near the center of the spokes, tap the precision tool and choose the Ellipse guide. Double-tap the crosshairs at the center of the ellipse to make it a circle. Using the underlying spokes and nodes to help guide you, place the circle at the center of the bones.
Tap-and-hold the measurement to bring up the keyboard, type in 25 pts, and draw the circle.

Now proceed with the rest of the rings. To make them perfectly concentric, you don’t need to move the shape guide at all, just tap-and-hold the measurement to bring up the keyboard again. Type in your next measurement and draw the circle. Continue to repeat the process until you have all the desired rings placed.
Note: I used 25 pts as my first measurement to make it easier to place the starting ring as centrally as possible. Wanting a smaller inner circle, I chose 10 pts next. Then I continued outward. My next selection was 50 pts, then 75, 100, 125, 150, 175, 200 pts and so on. Increments of 25 worked well for me but you can certainly use measurements that appeal to you. You can keep the distance between them consistent or varied, depending on what you want your final mandala to be like.
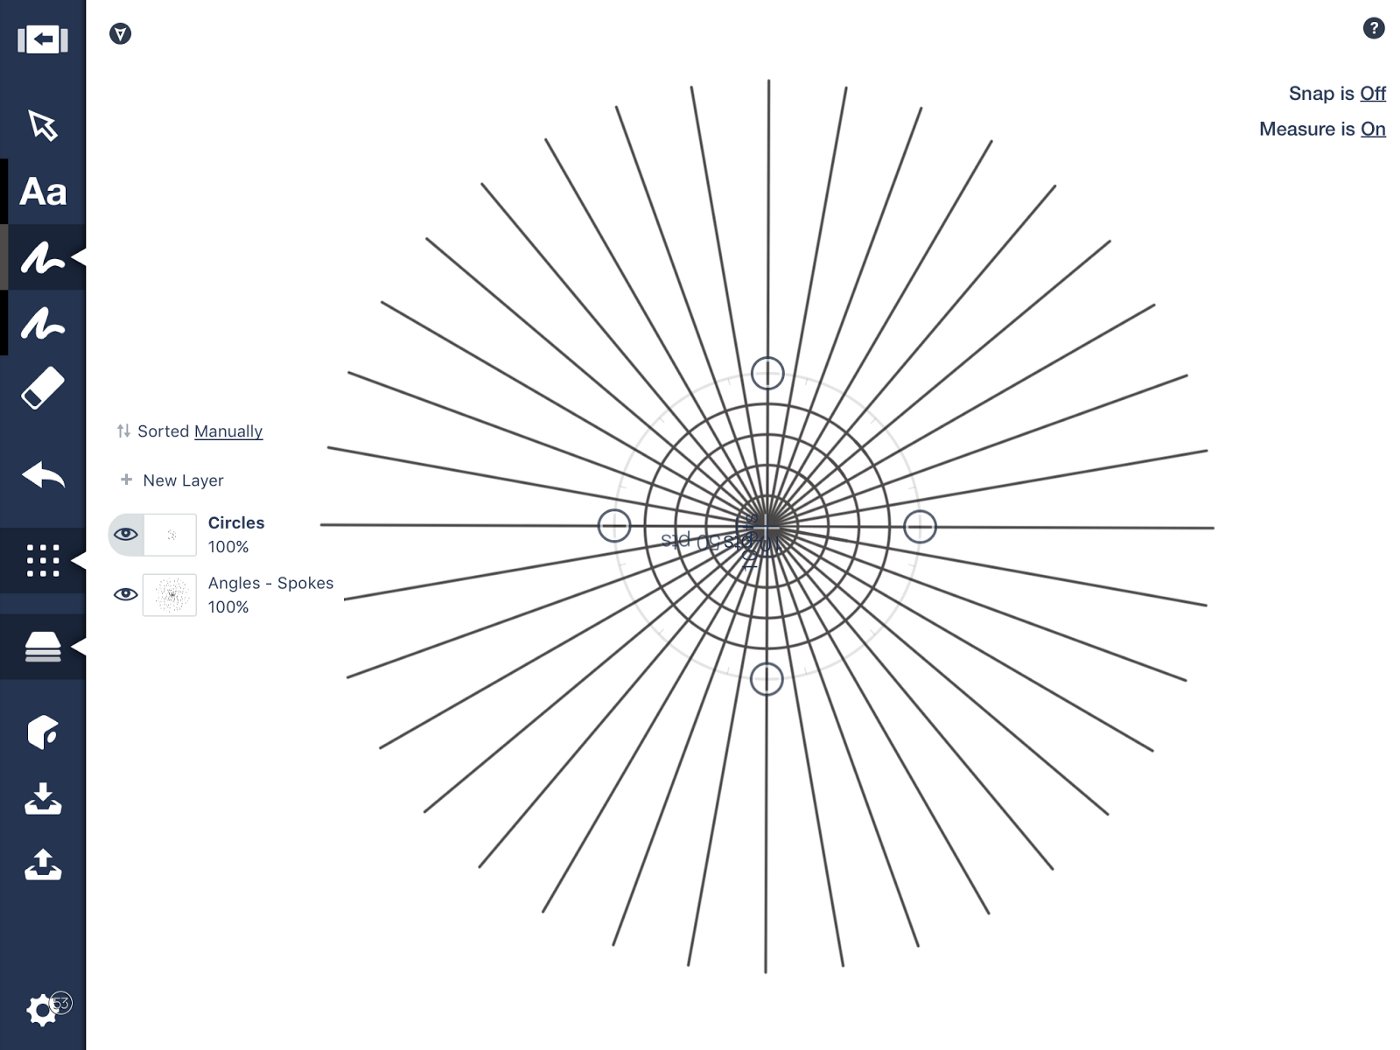
Choose a consistent point increase to make your rings consistent.
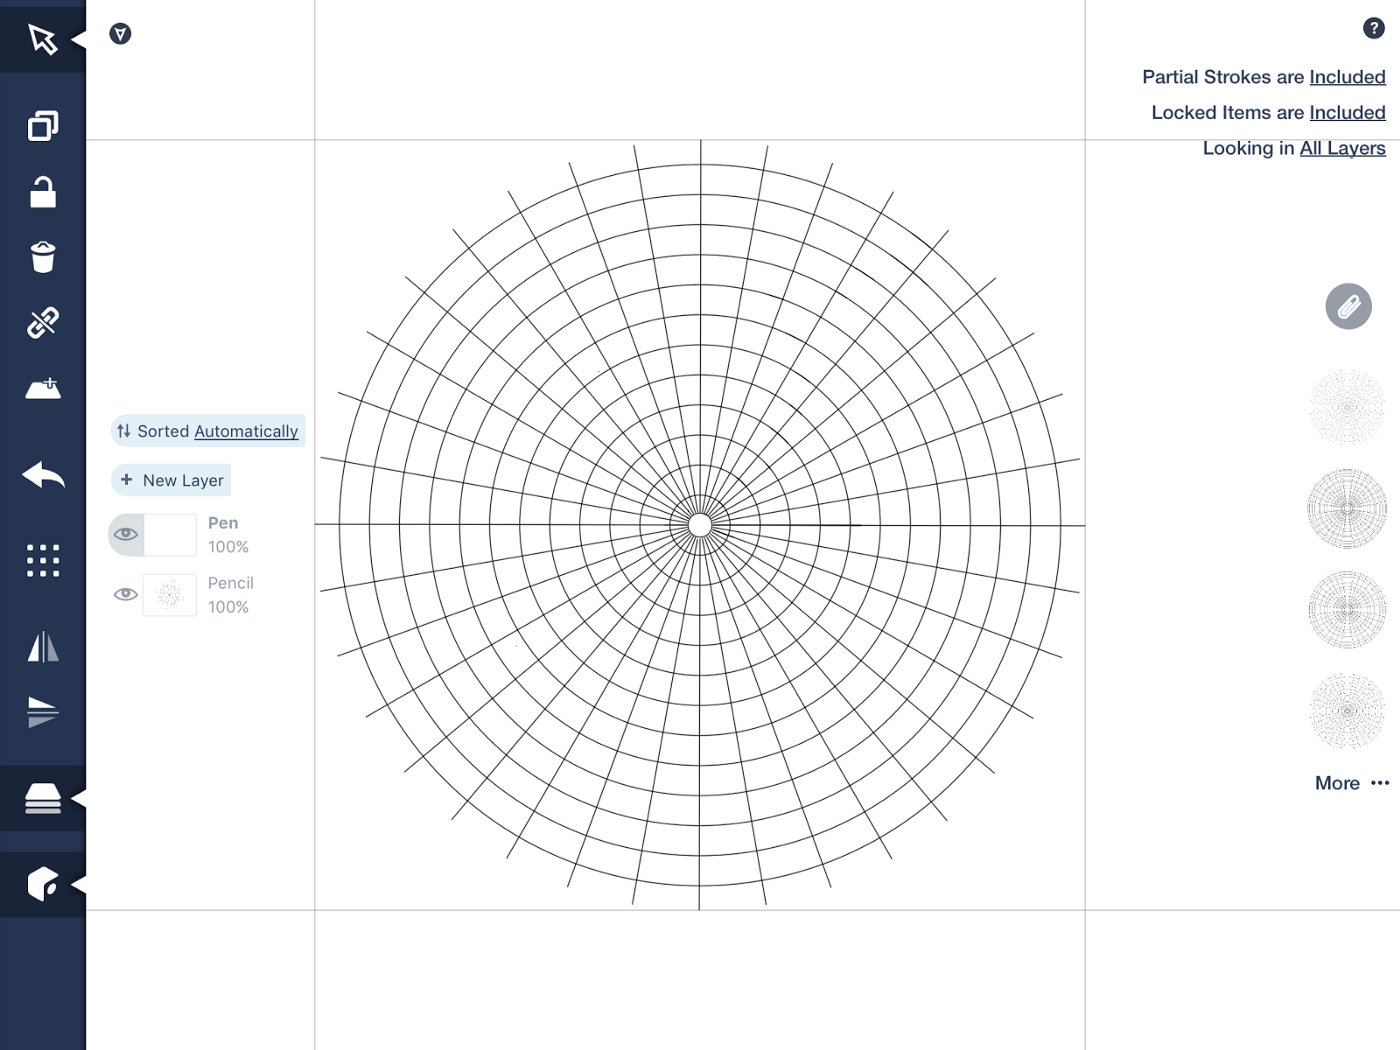
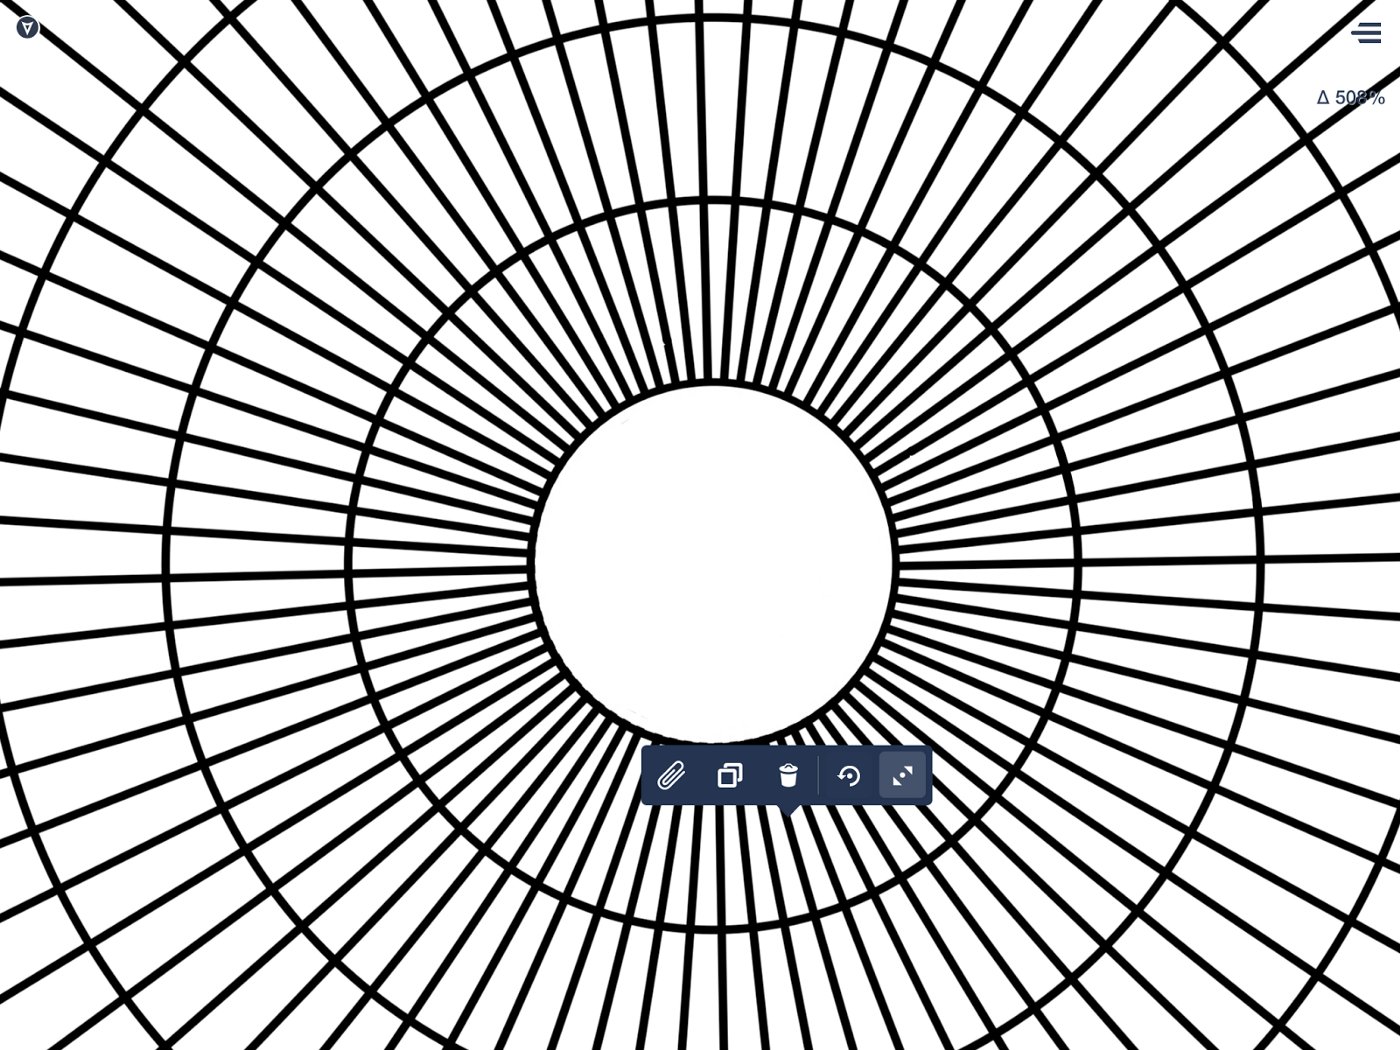
Once all the rings are drawn, zoom into the very center and erase the spokes inside the smallest circle.
In this pattern, I chose to skip some rings for variation in my inking.
Tip: Try creating variations by adding or removing spokes and rings.
Objects
Now tap the Object Library icon on the toolbar, and using Make Your Own Objects, create an empty object library. Select all of the strokes in your mandala bones and drag them to a new place in your object library.

Select the entire drawing…

… drag it to the plus (+) in the object library…
… and let go. It will go back to its original place on screen, while leaving a copy in your object library.
Tap-and-hold the mandala object for the option to give it a name.
Here is one of my library variations of mandala bones.
Do you see all of my mandala skeletons to the right?
If you don’t have Make Your Own Objects, you can save your mandala skeleton as a separate drawing. When you want to place it in a new drawing, select all of the strokes in your drawing and copy it to the clipboard. Begin a new drawing and tap anywhere on screen to bring up the clipboard and place your guide.
Make sure Scale is active on your Selection popup when resizing your bones, to make sure the eraser stroke stays proportional.
Tips for Drawing Patterns
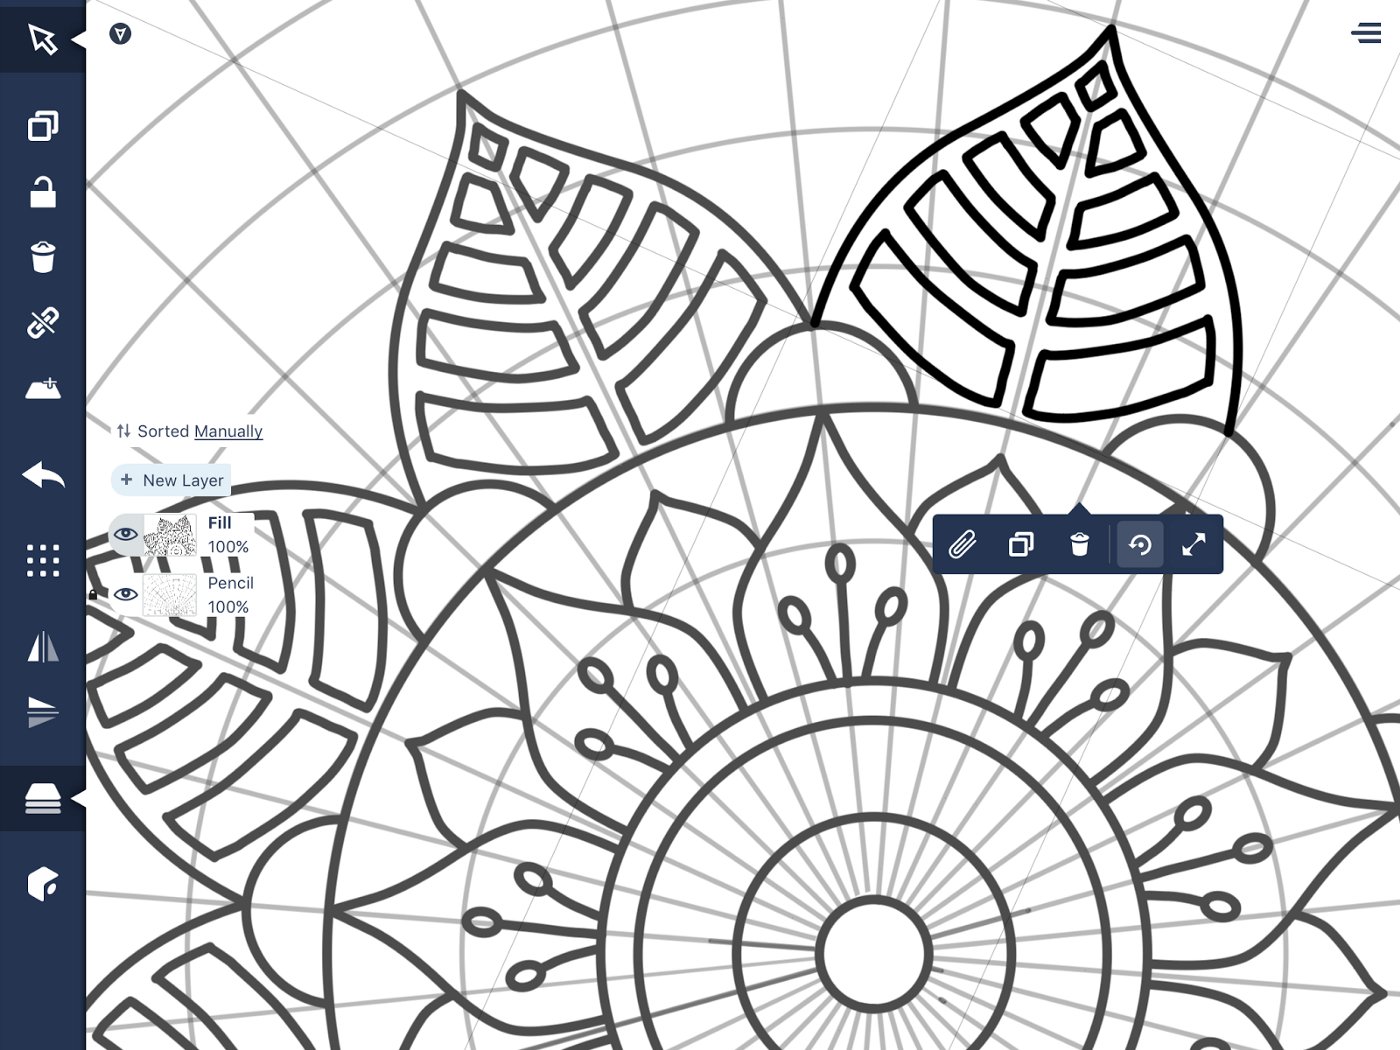
Once the bones are in your object library or clipboard, it’s a simple matter to create a new drawing, set your bones as the bottom layer, and start drawing in a layer above.
Tip: When you’re ready to use your mandala bones for drawing, remember to use Scale when expanding it to the desired size. This will keep that center eraser stroke properly proportioned with your other strokes.
Tip: Use the bones as the bottom layer when creating a Mandala drawing. Lock it while working on the layer(s) above to prevent inadvertently drawing on it, as this layer is simply your guide and will be deleted when your drawing is complete.

An example of drawing a pattern, using the bones as guides on a lower layer.
When you’re ready to draw the main design, pick something that inspires you and draw its most basic outlines inside a section of the mandala bones. Or, you can just go with the flow and start drawing lines and patterns.
The more narrow your drawing is, the more snowflake-like points you’ll have around the circle.
Create quick mandalas by drawing one pattern, copying it to the object library or clipboard, and duplicating it around the circle.
Alternatively, you can create quick mandalas by drawing one large element and duplicating it around the guide.
An example is this work in progress. I actually drew the bug in a separate drawing, copied him to the clipboard, then placed the image several times. Then I began building the mandala around it.
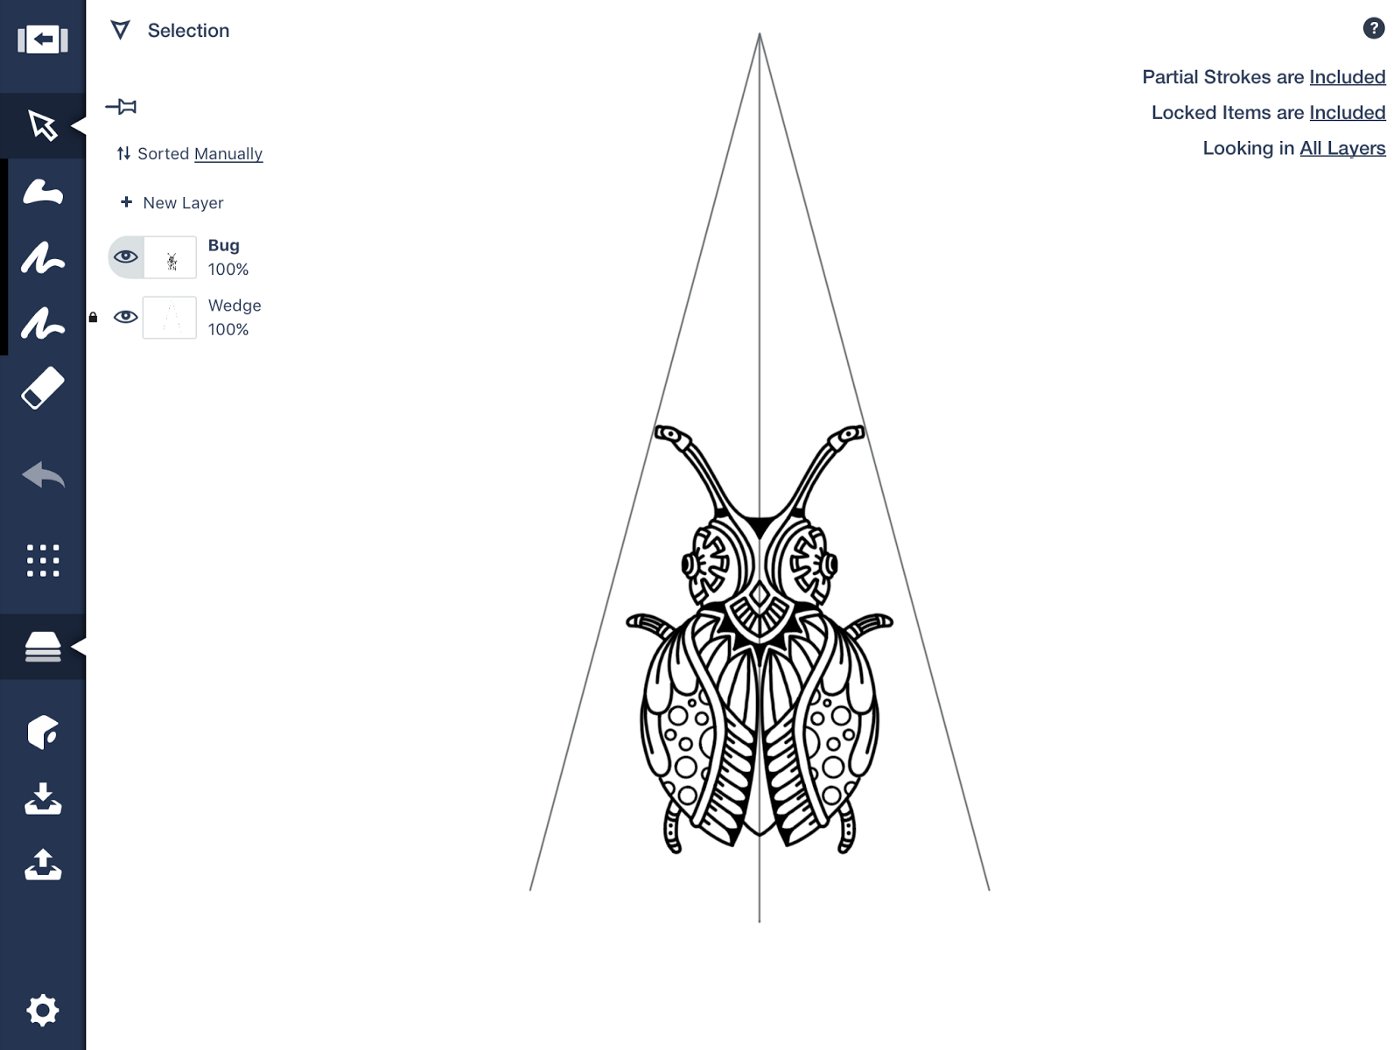
One bug…
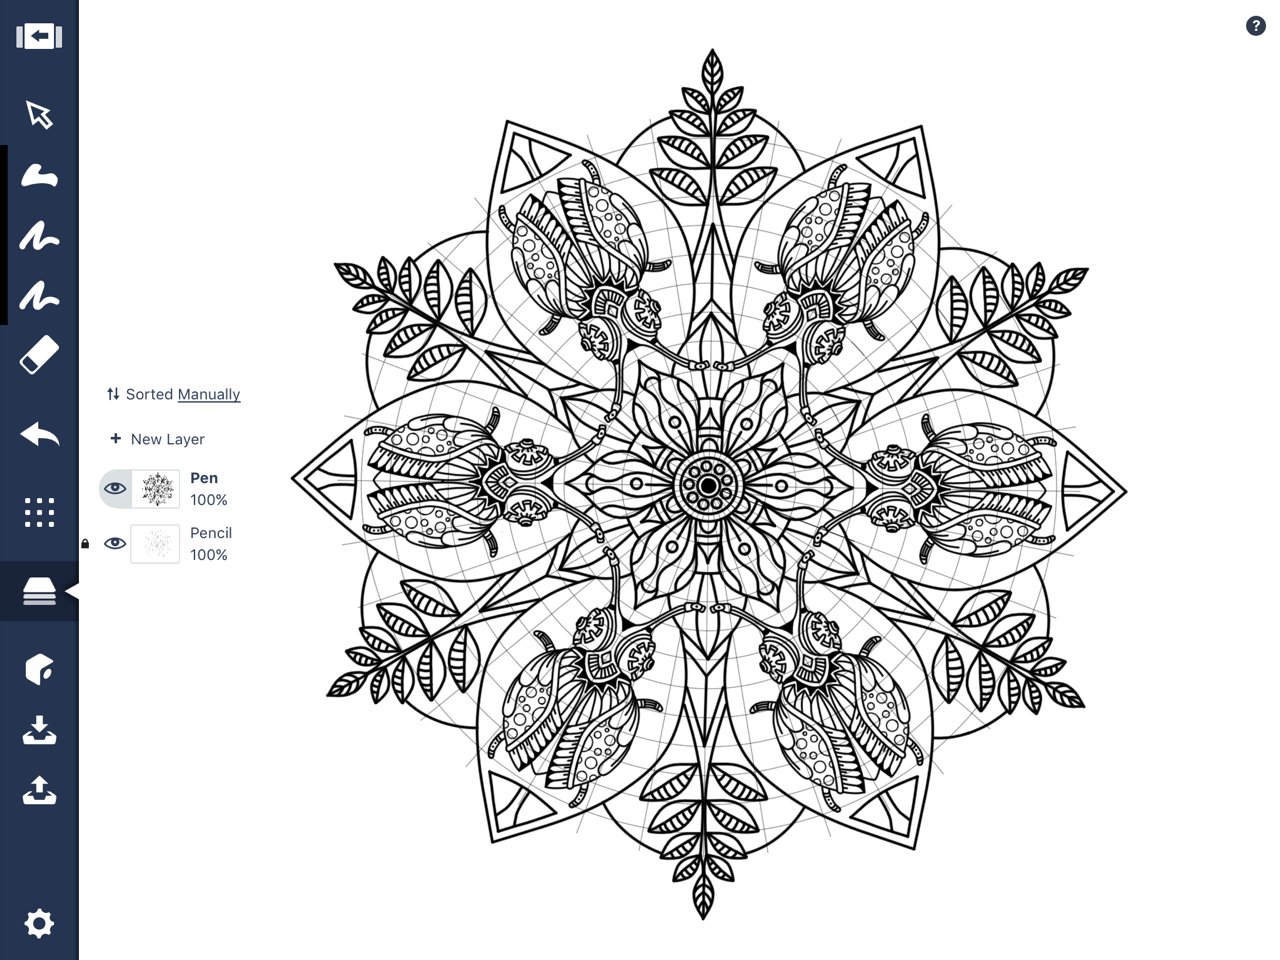
…duplicated into a large mandala.
Tip: Draw your intricate elements in separate layers, or group them together by using the “chain” link on the toolbar. When you wish to duplicate and move them into the next position, you can select them easily. It can also help to hide your previous work by temporarily turning off the layers underneath (by touching the eye).
Tip: To keep your elements from changing sizes when you copy/paste and move them, disable stretch mode.
When duplicating sections of your mandala, make sure the stretch/scale button is turned off.
In this example, I chose to build a mandala from the inside to the outside, using the bones as references for how far my linework reached.
Building a mandala from the inside to the outside.
The final mandala shown in the above gif.
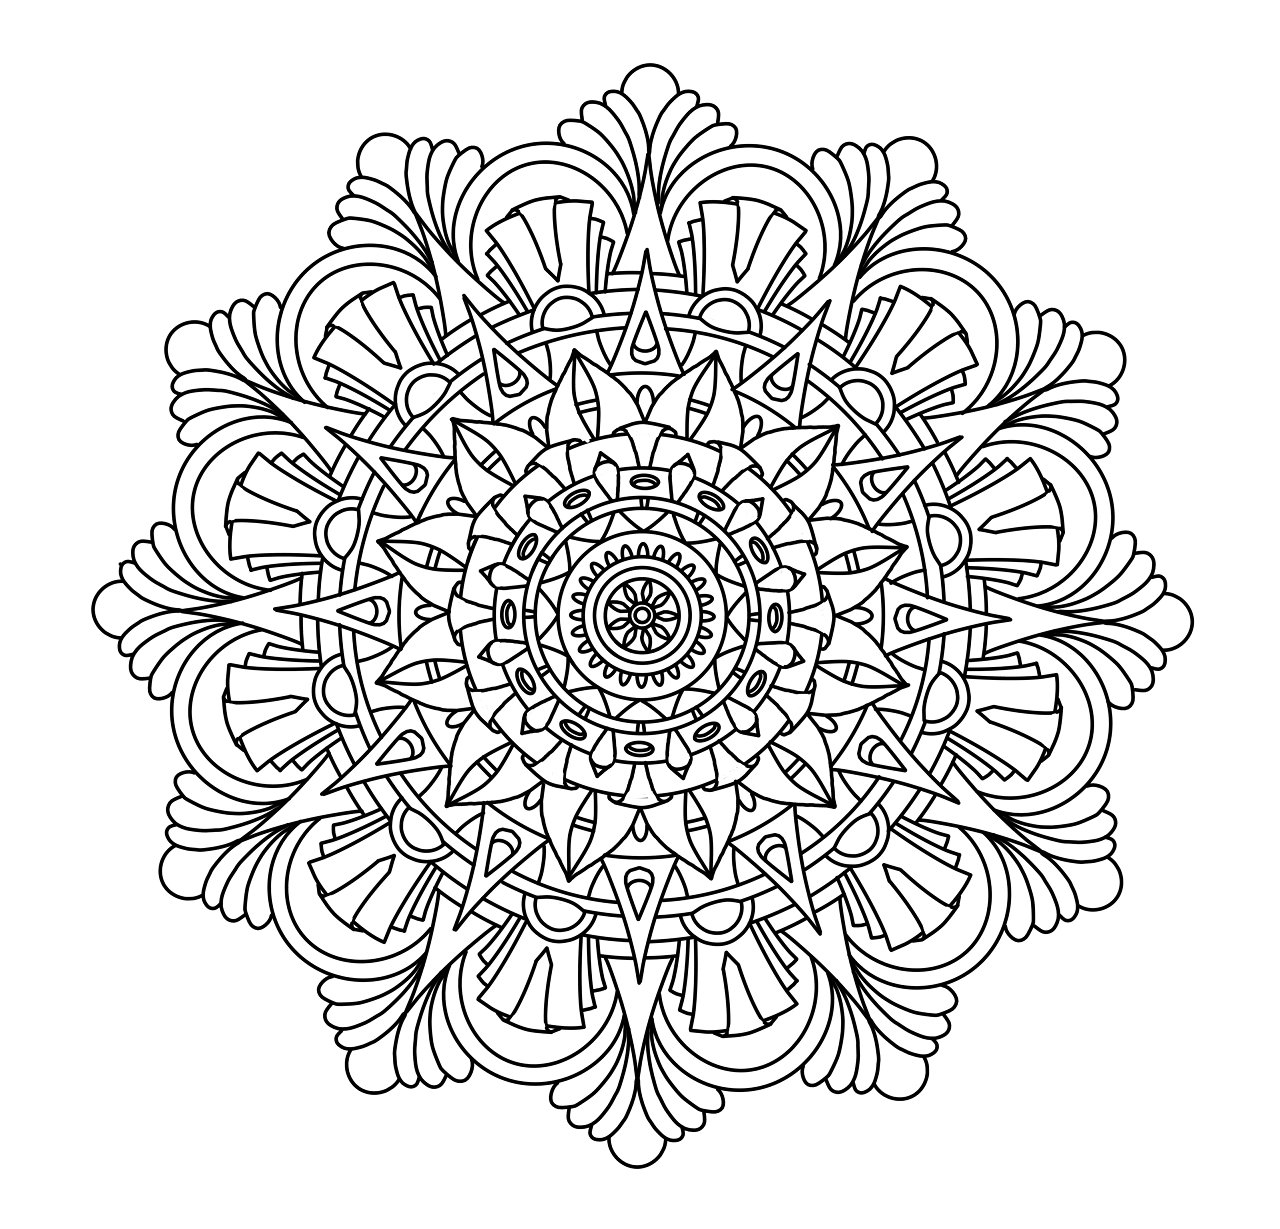
You will be limited only by your imagination. This one was created using the Filled Stroke tool.
The Filled Stroke tool lets you fill in your details.
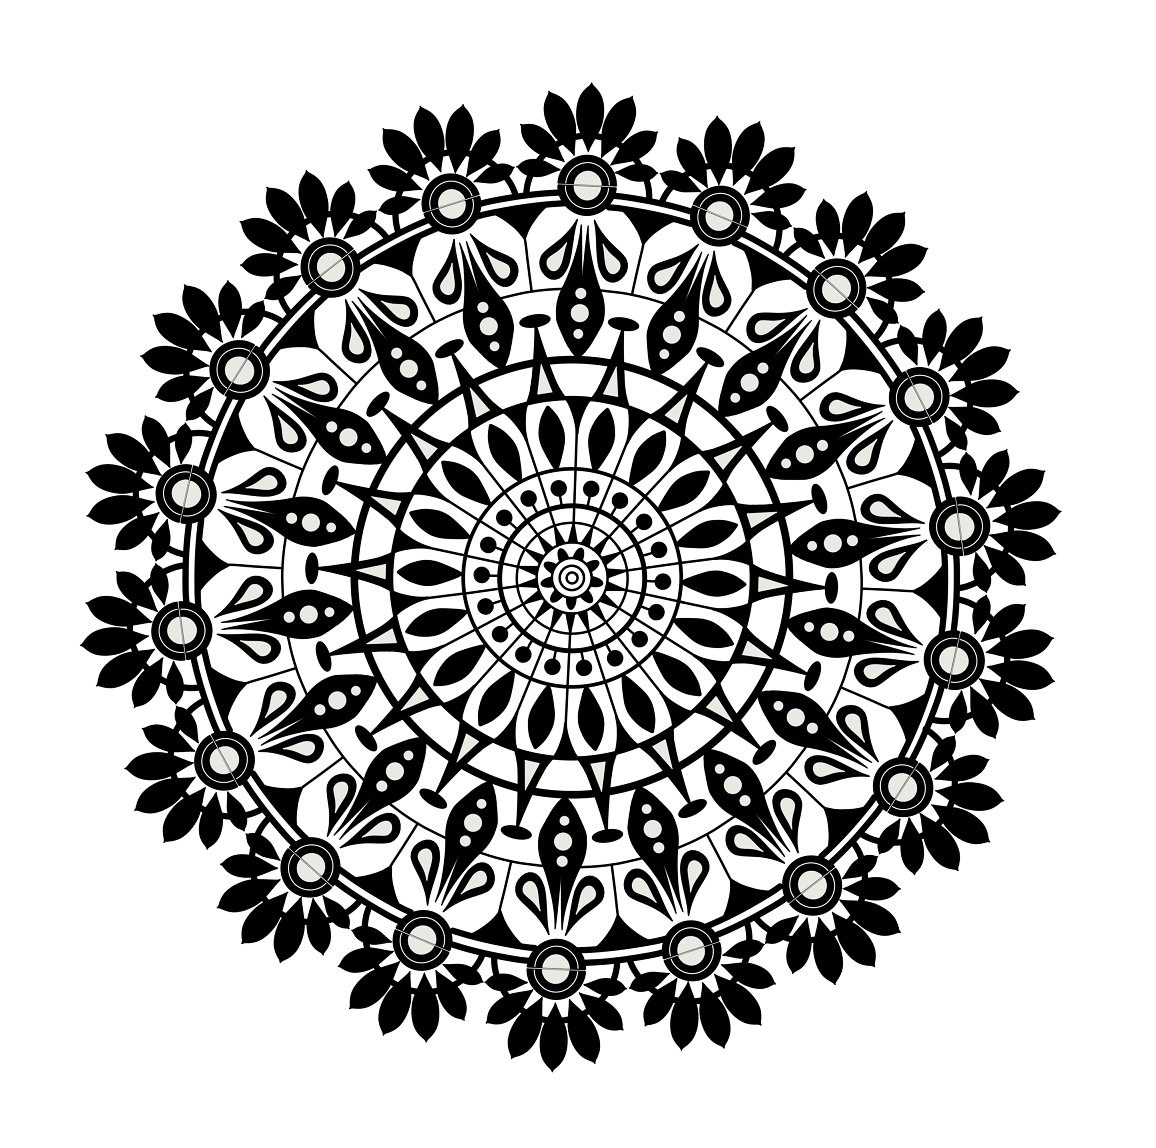
Keep it simple…
Simple is still beautiful.
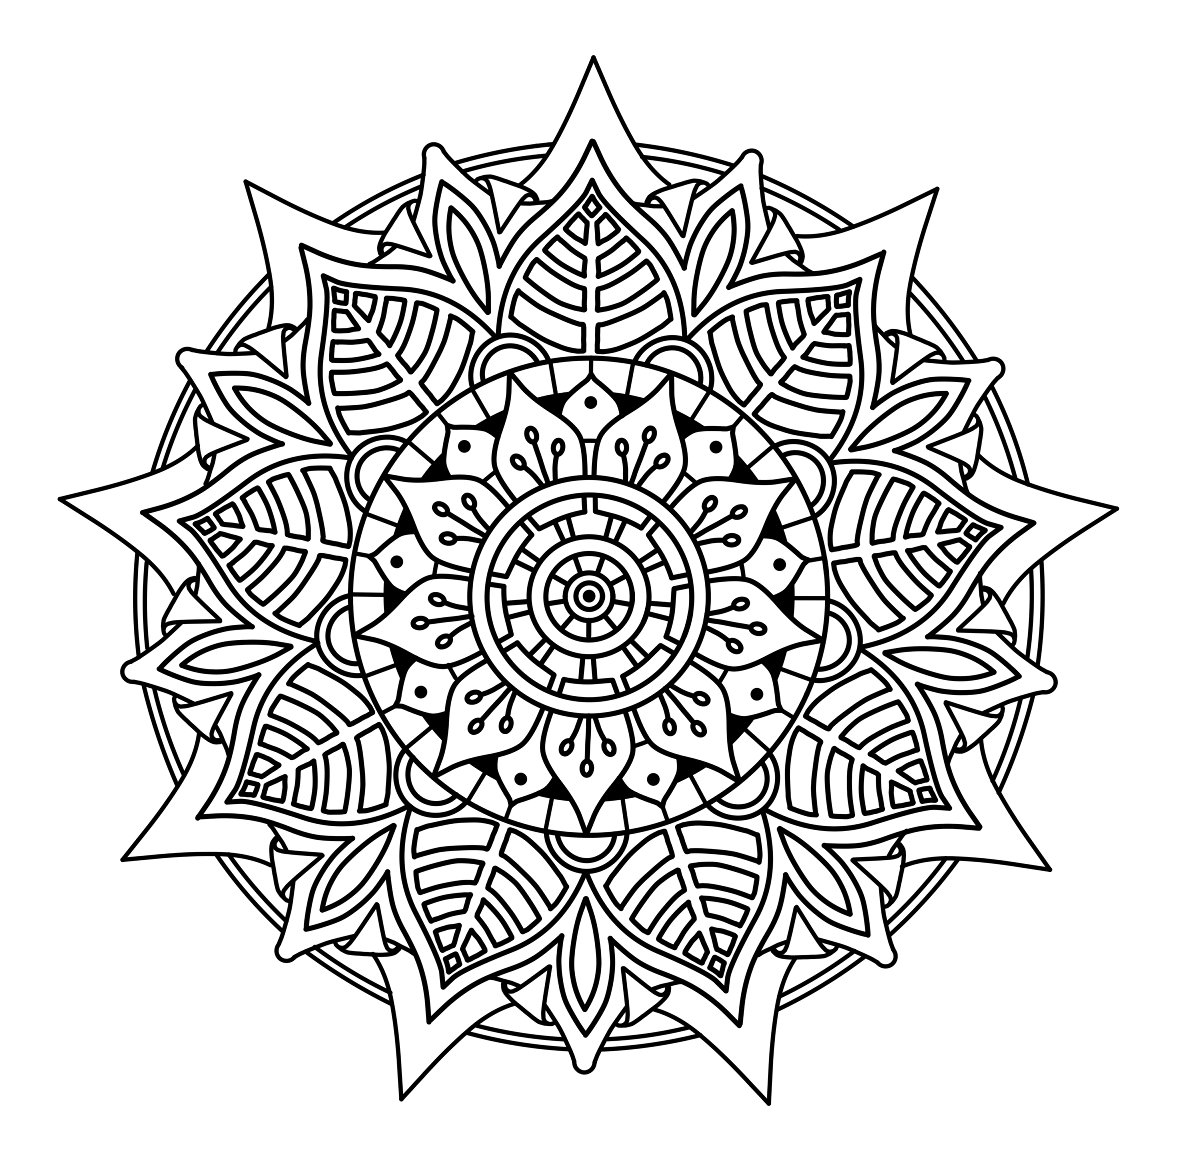
… or draw, draw, draw.
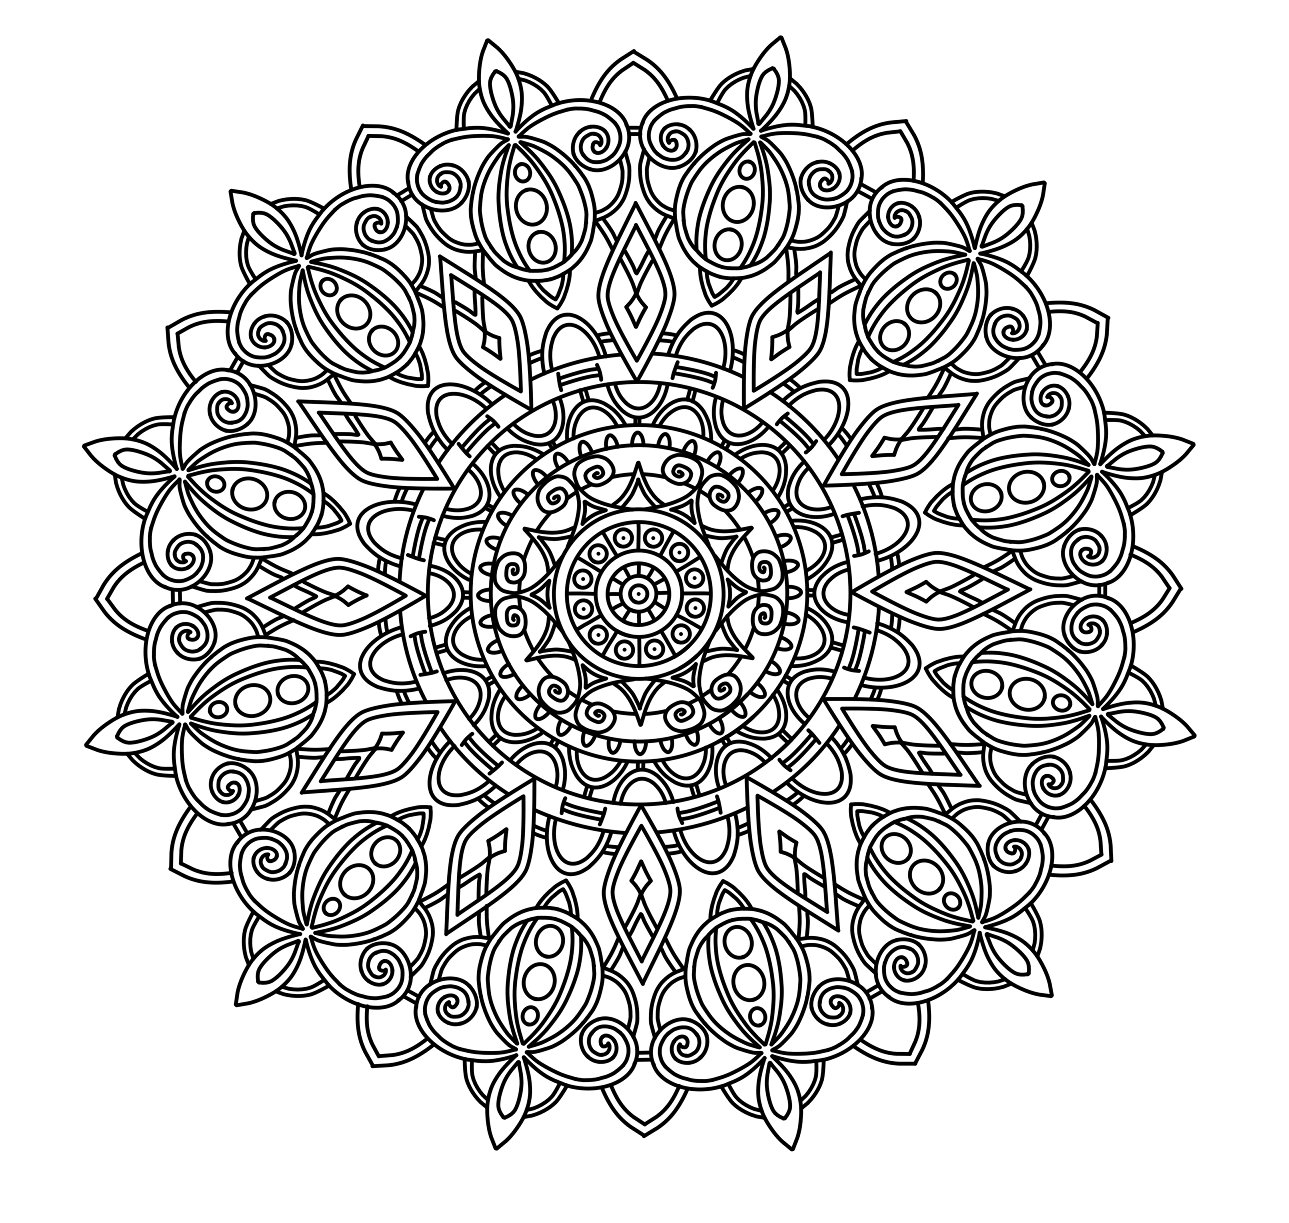
Flowing along with some finer lines.
Organic details.
The Concepts app suits my style of drawing wonderfully, but of course, we can always find little things that might improve the experience. For mandala drawing specifically, it would be great to have the ability to not only flip or mirror a selection, but to be able to rotate it by any number of degrees. For creating the bones, 360 degree angle capability could be quite helpful (or perhaps ruler and protractor tools).
What I like best is that once you’ve created the structure for building a mandala, you can use it over and over again. It’s right there ready and waiting when the mood strikes to just zone out and draw.
Jill Buckley is a self-taught artist living in southwestern Ontario, Canada. Her working years involved garment design and construction, but her fascination with line, pattern and form continued into retirement. Doodling, a regular process in her textile art pieces, eventually evolved into the intricate drawings she is recognized for today. Her work can be seen in books, magazines, logos and most notably as embroidery designs available on several top of the line Janome sewing machines, and as patterns offered by internationally renowned embroidery artist/author Trish Burr.
Read Jill’s blog on how she explores art and creates designs.
Follow Jill’s beautiful work on Instagram.
Interview by Erica Christensen
Recommended
Designing for Whitework - Jill Buckley shares how she and Trish Burr collaborate to design and create exemplary whitework patterns and tutorials.
Using the Object Library and Make Your Own Objects - All about Concepts’ object libraries and how to make your own vector objects.
Creating a Project Template - Instead of changing tools every time you change direction, save yourself some valuable sketching time by creating a template for your project.