Concepts is an infinite, flexible creative tool for all your good ideas. Available on iOS, Windows and Android.
Building a Scale Model
Ben Merrill and Lasse Pekkala transform a Concepts sketch into a 1:235 scale model of an island lakehouse getaway.
One of our cornerstones at TopHatch is cultural openness. Our little team is spread across seven countries, each with their own perspectives and inspirations. Design doesn’t stick without a diverse set of data and a healthy creative chaos supporting it.
Here in the land of a thousand lakes — Finland has 187,888 lakes, in fact — we think about water, saunas, and private islands with absolute fondness. Everyone should have an island. And that island should include a sauna, and maybe a nice beach house, too.
We decided since we couldn’t buy one, we could make one.
This project was inspired by one of our favorite authors, Tove Jansson, creator of the Moomin race, and the private island she commandeered for over 25 years. We also love all the cool, layered resin builds we see on Pinterest.
We were also motivated by our possibly unhealthy obsession with design tools. Concepts (our app for design sketching) is designed to speed up your workflow and help you build new, awesome, organic things with little effort. How does Concepts work with the latest desktop manufacturing equipment? How much work is involved in moving from drawing to build? Is this the future of Making?
We actually started on this drawing last year when we released PDF import/export. Summer was ending, birds were heading south, and people were shutting themselves indoors. What better time to test out new iPad Pro apps like Shapr3D, which is developing a reputation among architects for simple massing studies (among other things)?
Planning and Setup
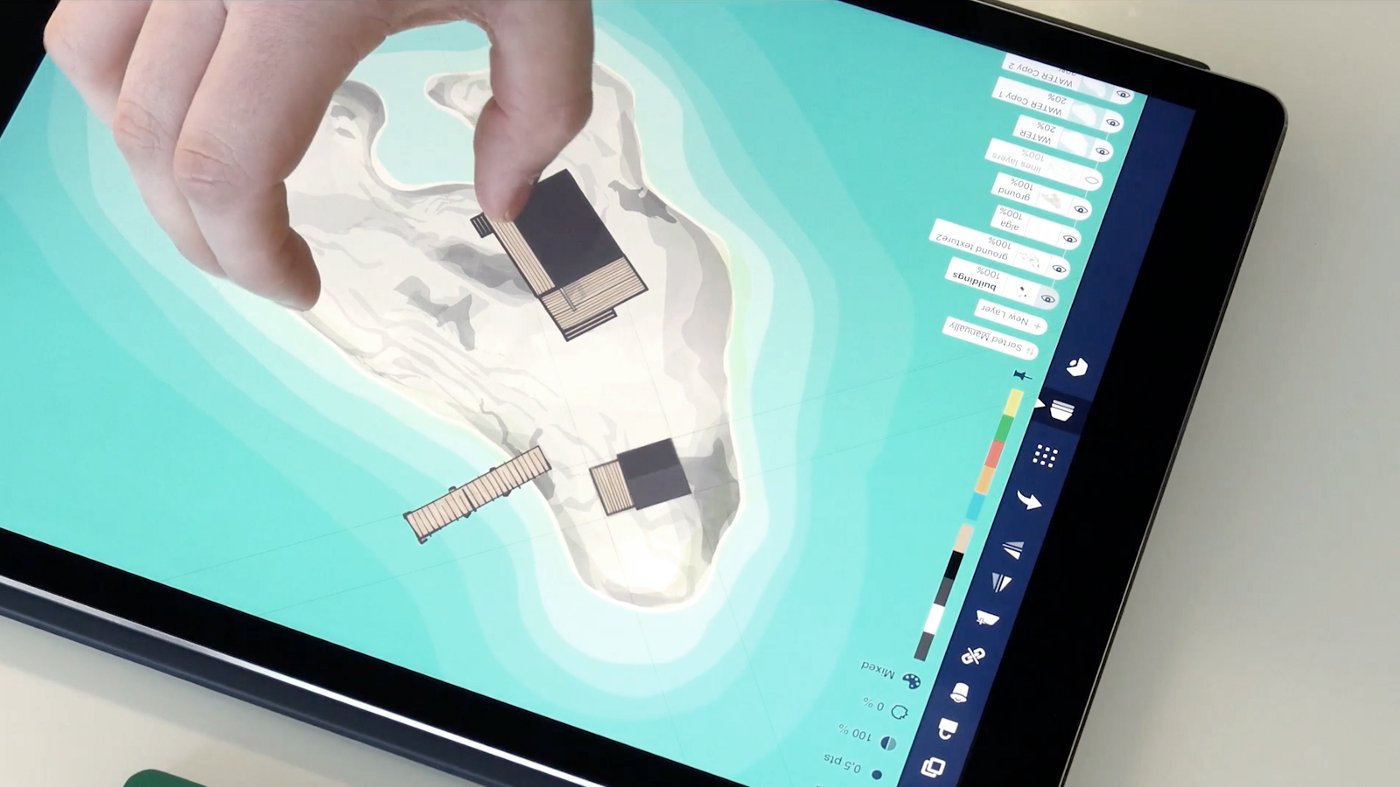
Planning and exploration are two activities best done in Concepts, thanks to the infinite canvas and full manipulation capabilities. Our process started with these initial sketches, and developed into full storyboards we’d use to create the model and shoot video at the same time. Some people make things twice so it looks better on camera… we like to plan a bit and make mistakes as we go.
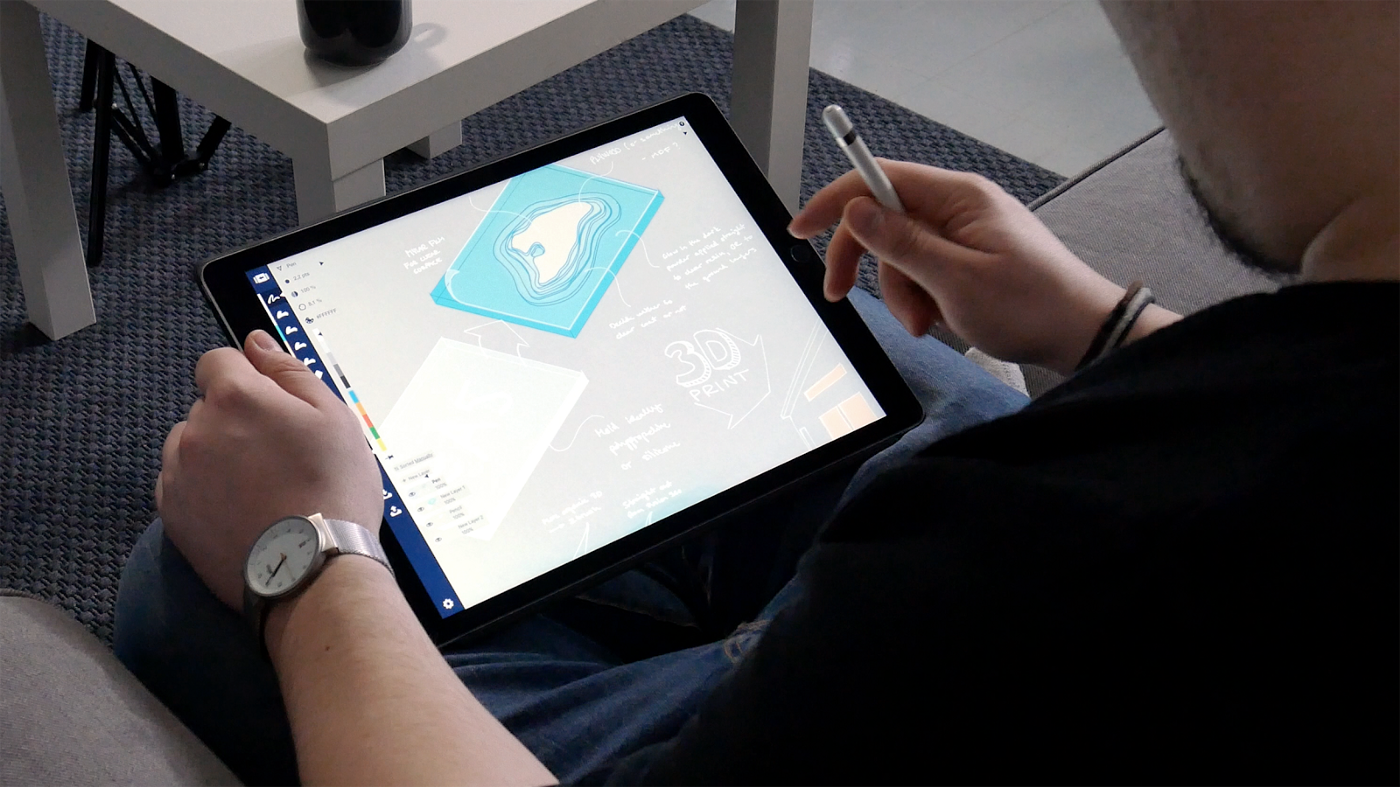
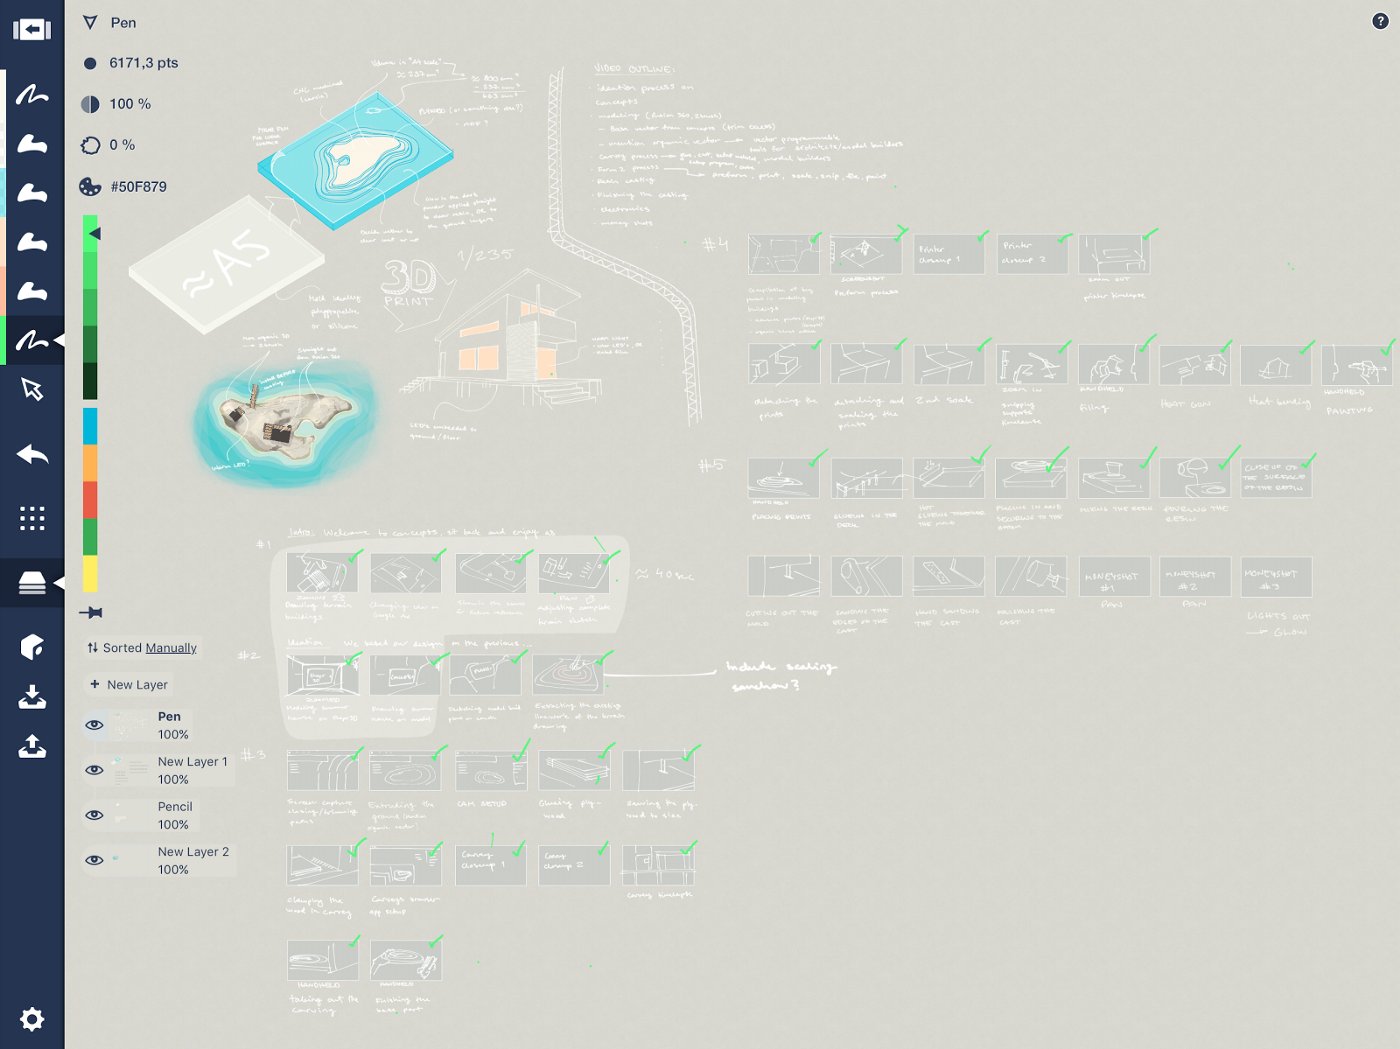
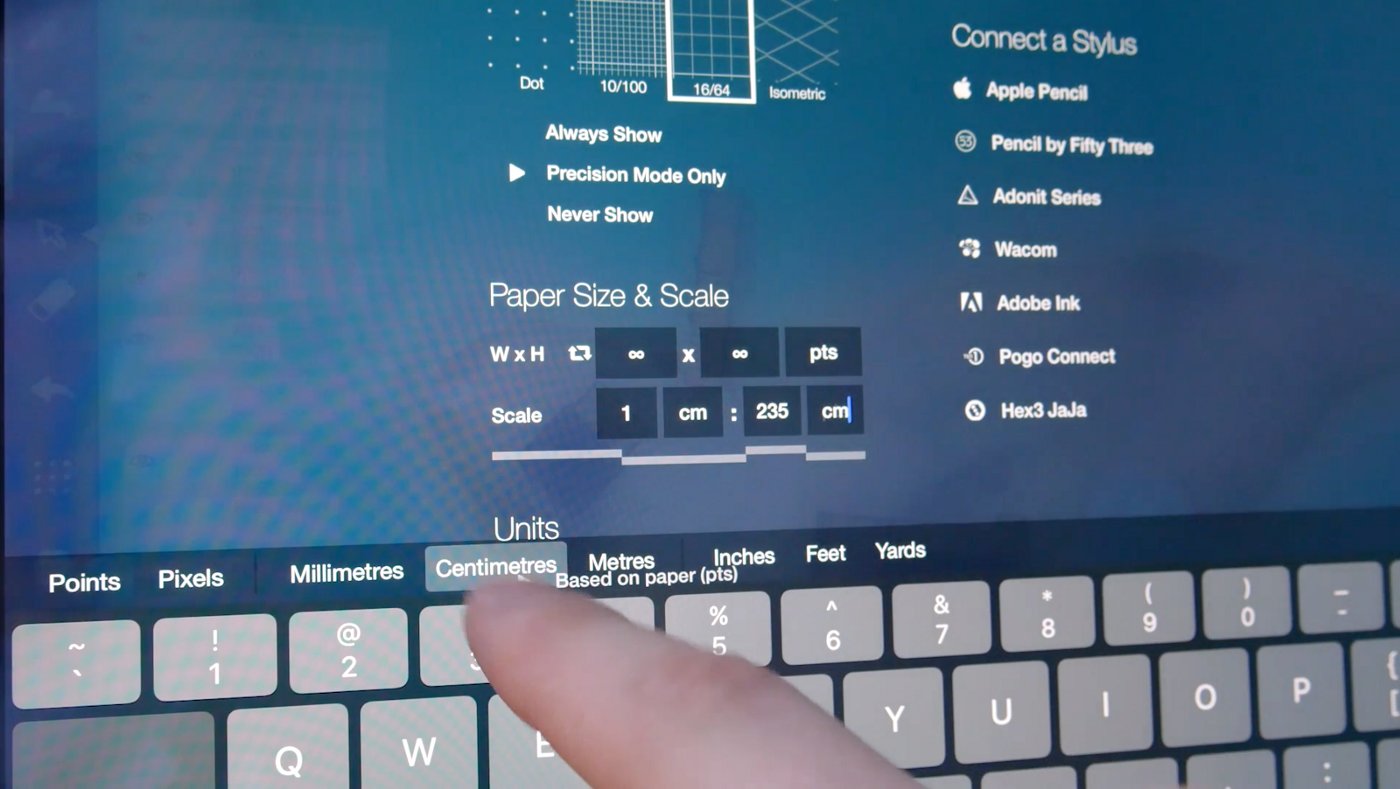
Scale is a critical piece of defining space and its impact. We set ours to 1:235, which allowed us to fit our model on an A4 sheet of paper, roughly the max size of the Carvey, our studio-friendly CNC mill from Inventables. For more on setting scale, check this article.
Carving the Island
In some ways, 3D CAD (Computer Aided Design) is a necessary evil. With lots of trial and error, it accomplishes the task of pre-visualizing parts in 3D, and provides complete accuracy to the machines that create those parts. But in the age of natural interface, CAD still lacks approachability.
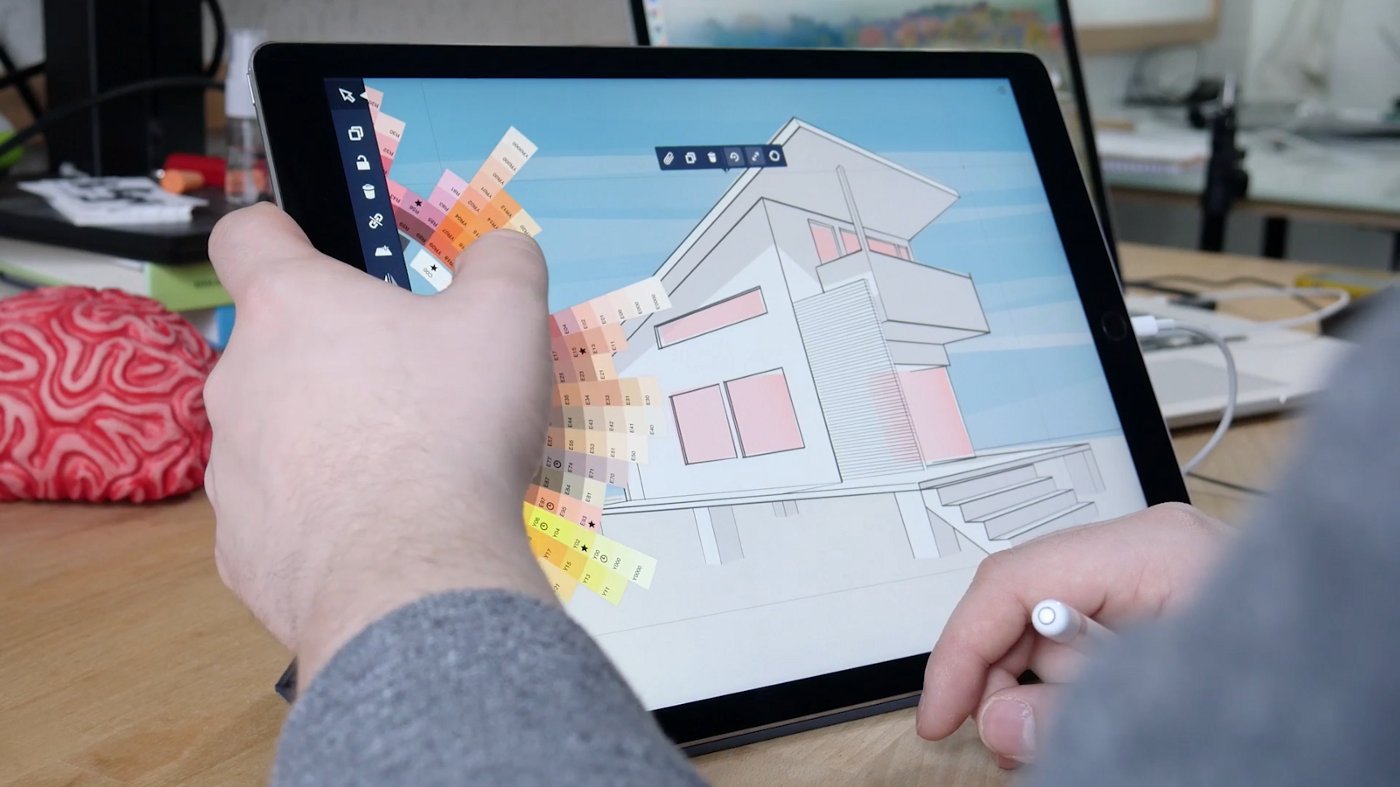
Concepts softens that process by taking your hand-drawn, organic strokes and exporting them in popular vector formats like DXF, SVG, and PDF. These can then be read by current-generation CAD systems, which are then extruded or formed in 3D.
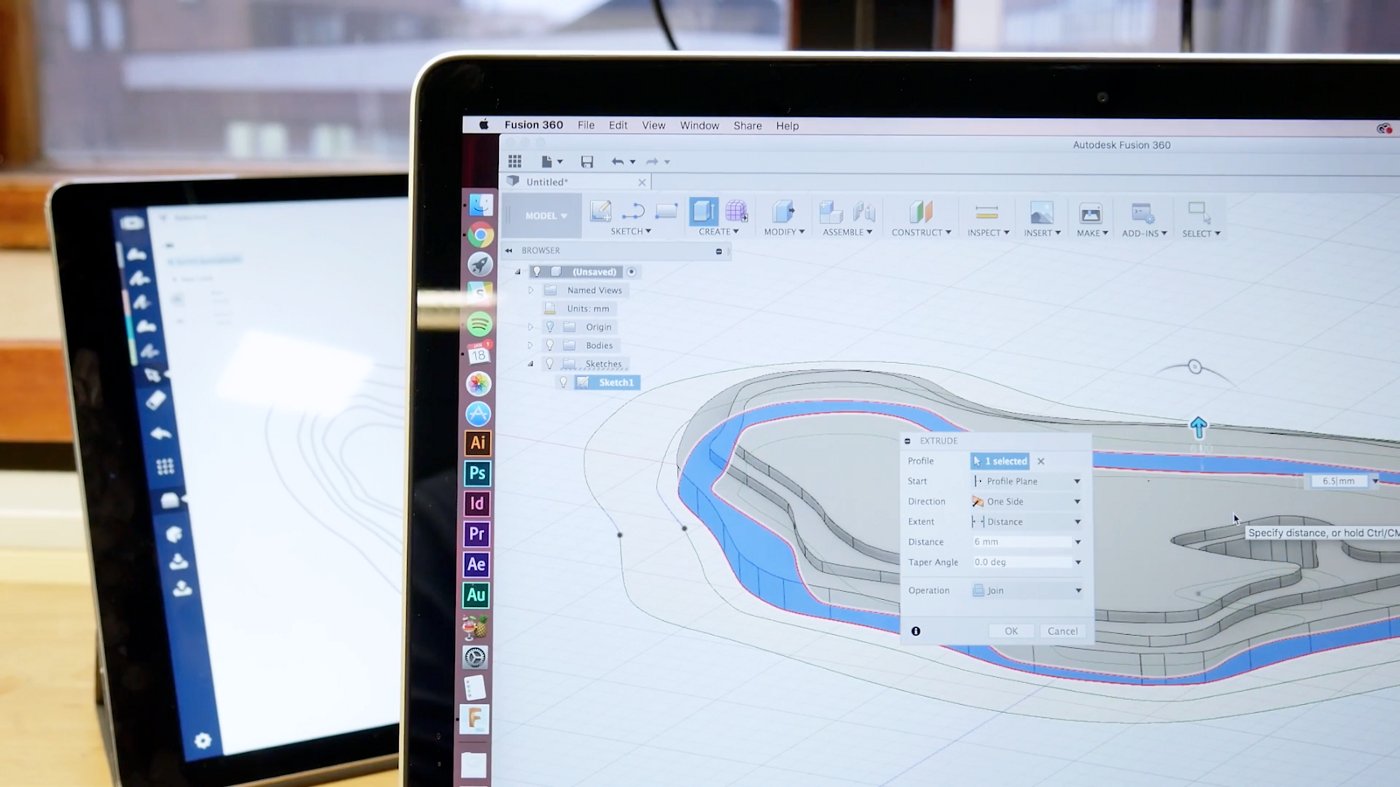
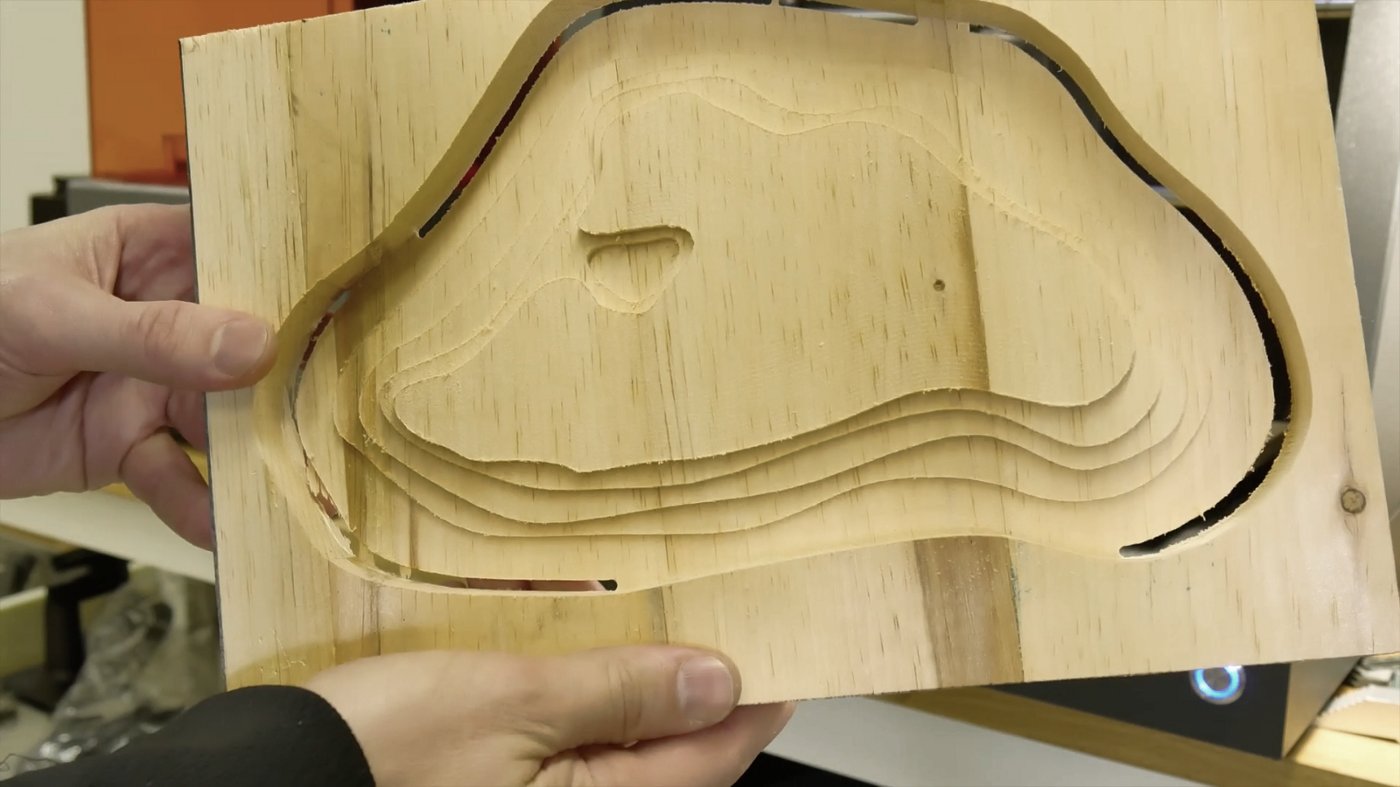
For this model, we chose Autodesk’s Fusion360 software, which can handle many stages of traditional modeling and export to a variety of machine formats. We used Concepts’ SVG export to Airdrop the terrain model into Fusion360, closed the paths, and began to extrude the terrain into depths suitable for a proper island.
Unfortunately, we failed to comprehend the complexity of Fusion360’s export process, which required extra plugins and exposed levels of detail we just didn’t need (or understand). So we switched to Illustrator for the path closing, which is required as Concepts doesn’t have a method itself yet. Inkscape or Affinity Designer would have worked as well.
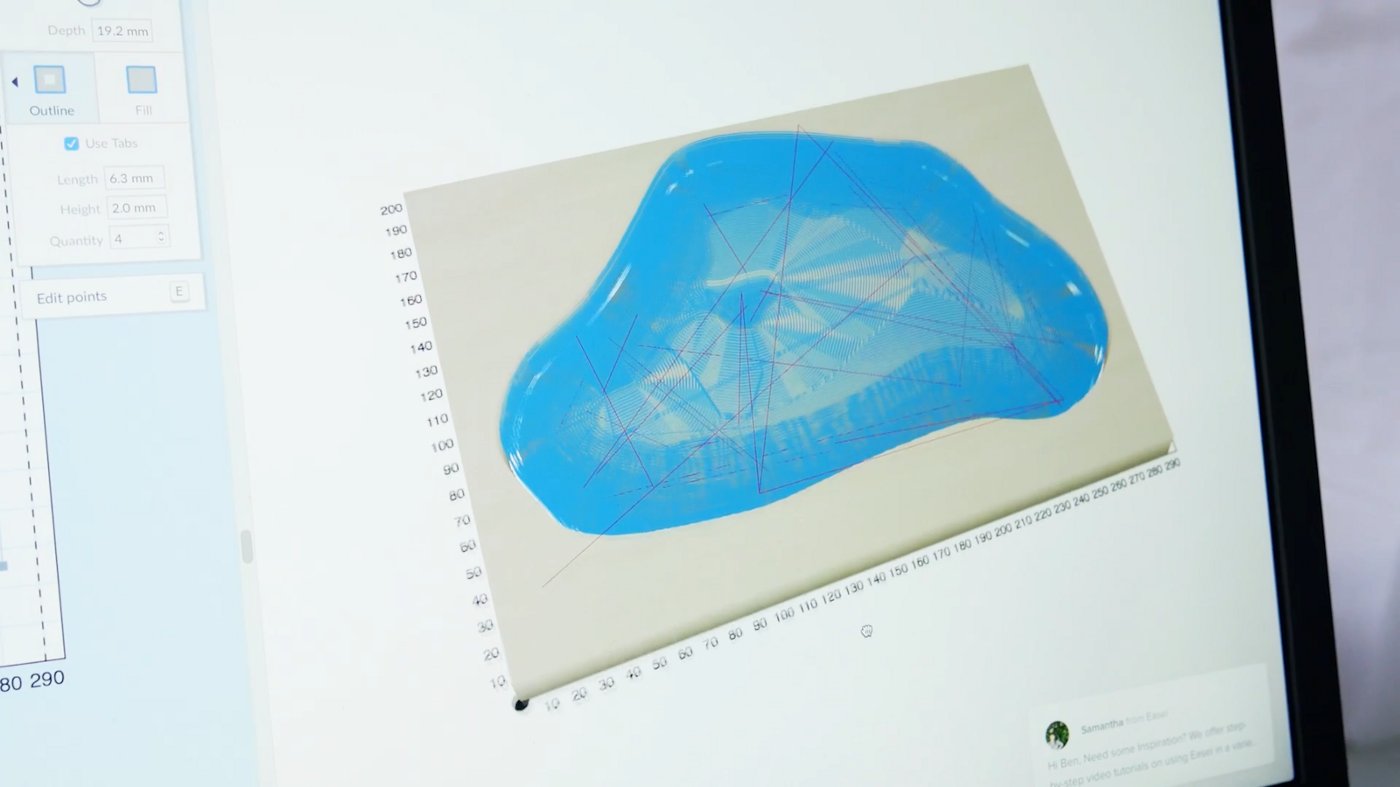
Then we took the corrected SVG from Illustrator and loaded it into Easel, the free and easy CAM (Computer Aided Manufacturing) software used to power the Carvey.
Painless.
Until our laptop went to sleep and stopped sending instructions to Carvey. With no buffer onboard and no resume function, we restarted our 2-hour cut cycle and went into the other room to avoid the noise. (It’s a bit quieter than our vacuum cleaner, to its credit.)
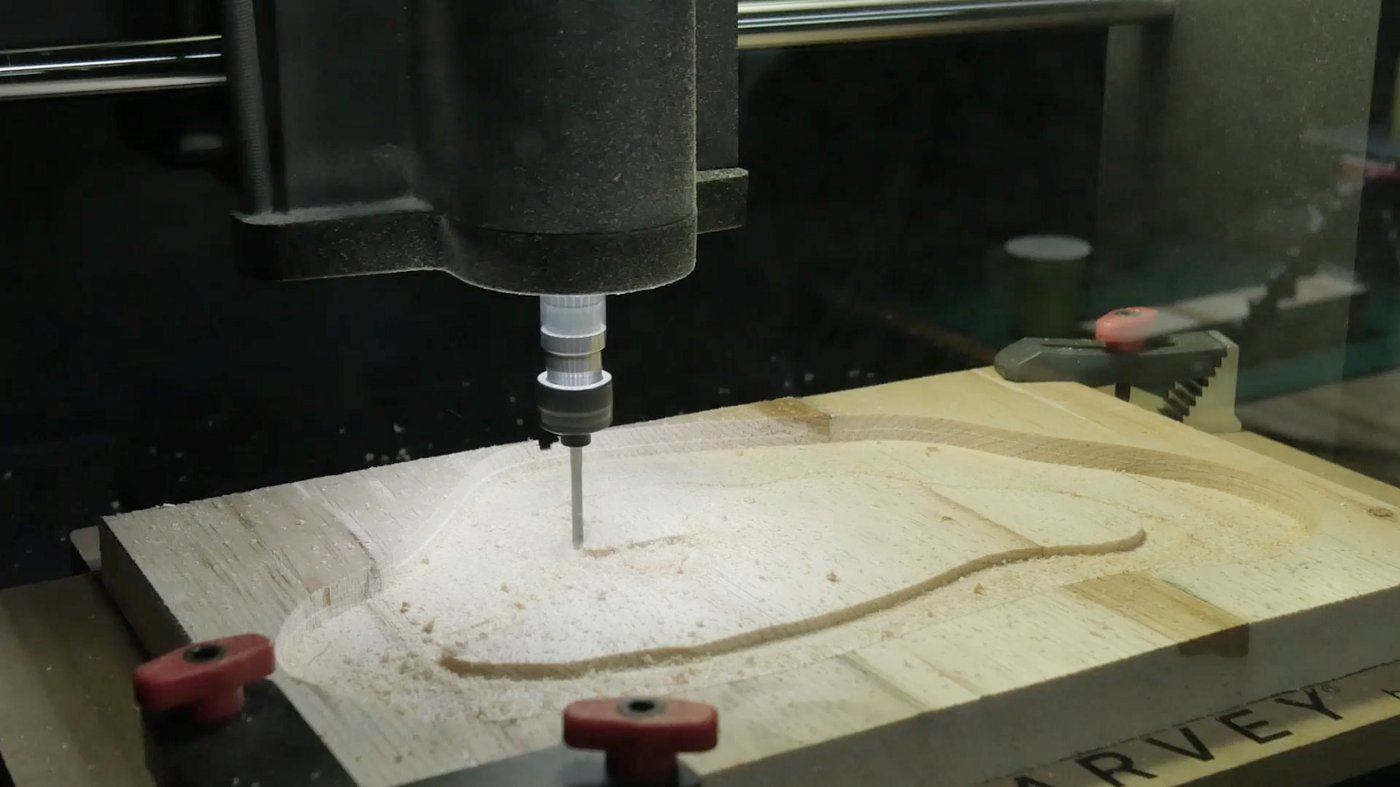
Why didn’t we just use the bandsaw on a few independent layers of wood and glue them afterwards? Well, we could have for this project, but we’re after greater precision in our cuts and the knowledge to make it work.
Modeling and Printing the House
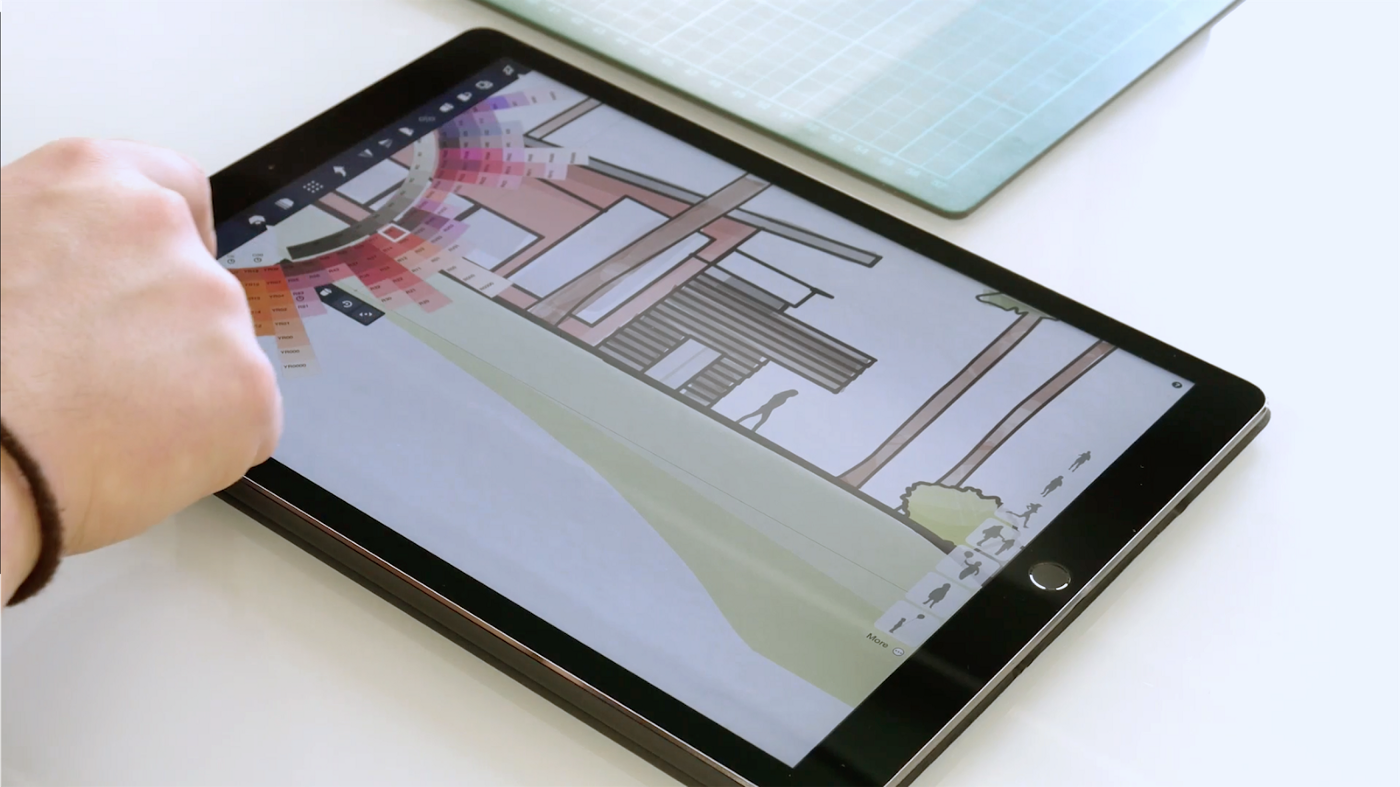
3D modeling is improving, but has significant hurdles to move past the 2D/3D interface barrier. More intuitive apps like Shapr3D and uMake help, but it’s still a 2D surface.
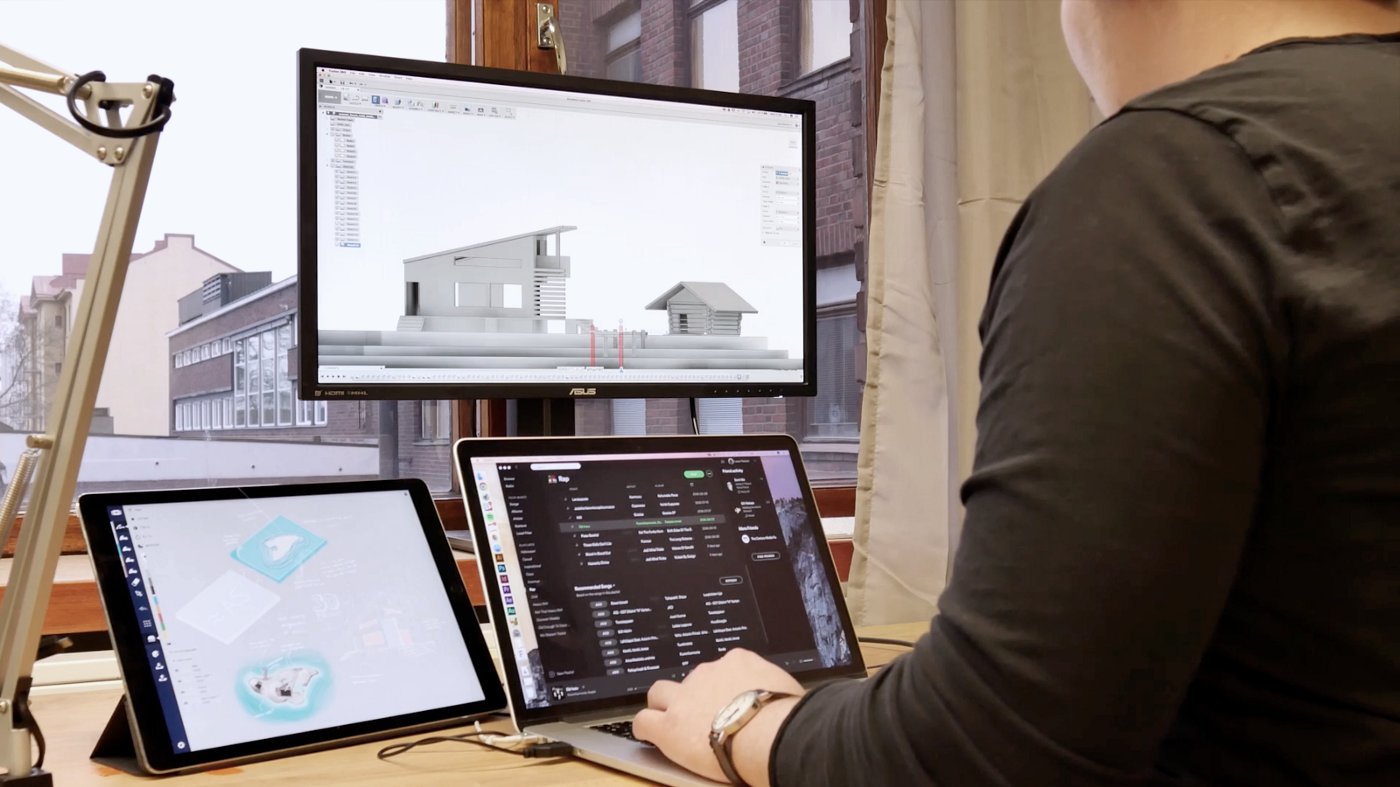
So it’s a routine — if labor-intensive — task to model the buildings, which we started by tracing elevation sketches done in Concepts.
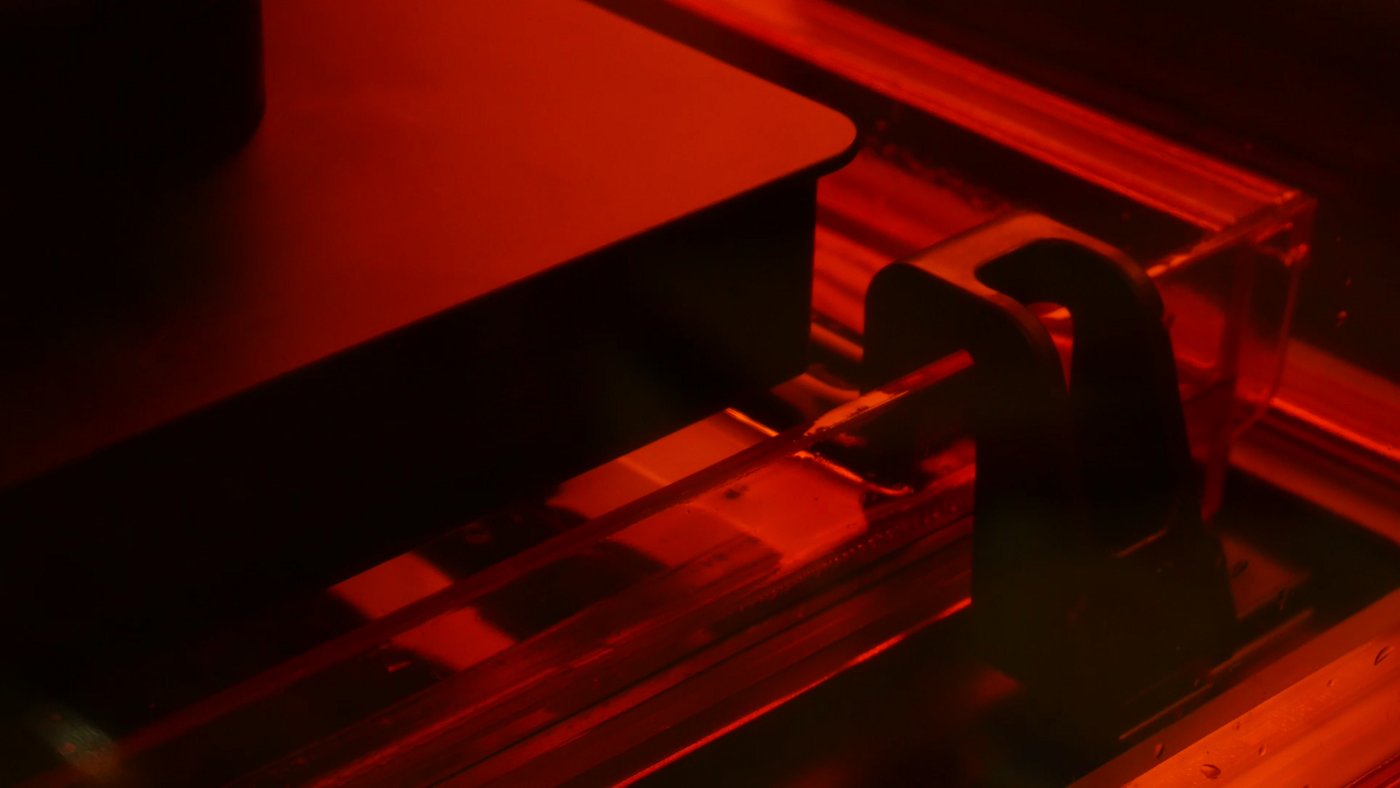
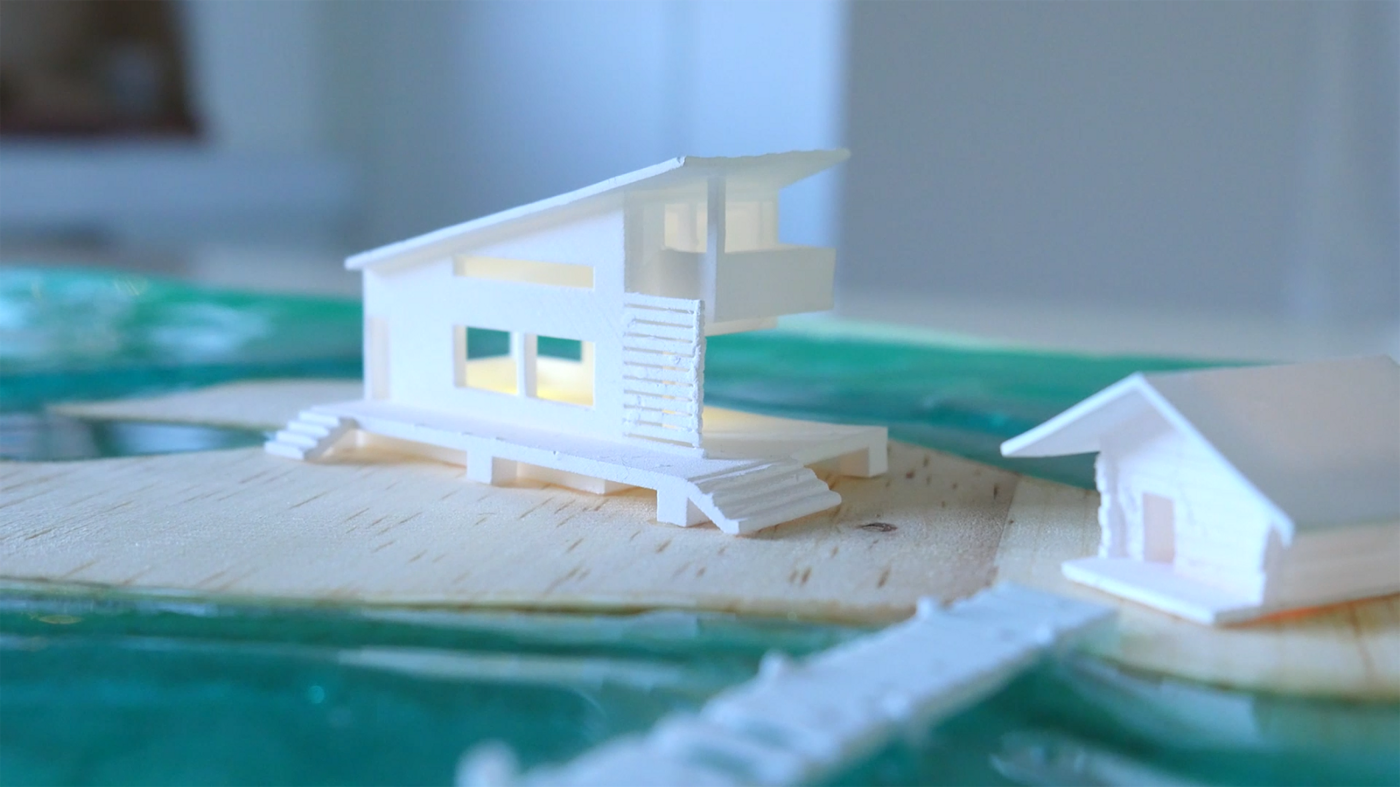
Then we moved to the Form2 3D printer by FormLabs. These guys nailed the experience. Drop the .STL model into their software, hit the one-click print button, and confirm on the device. A few hours later, magic happens and you have beautiful, high-resolution prints in plastic.
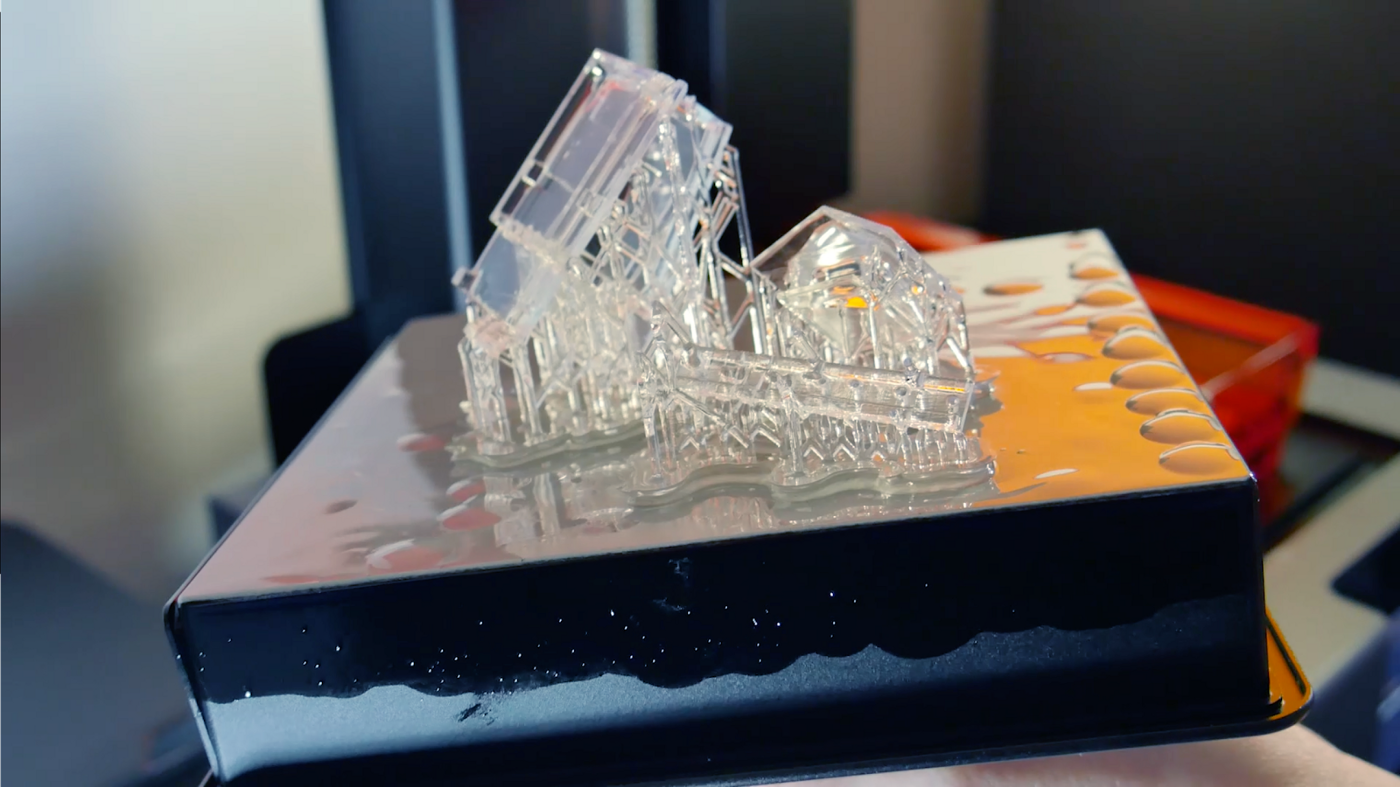
As a bonus, it looks great on video.
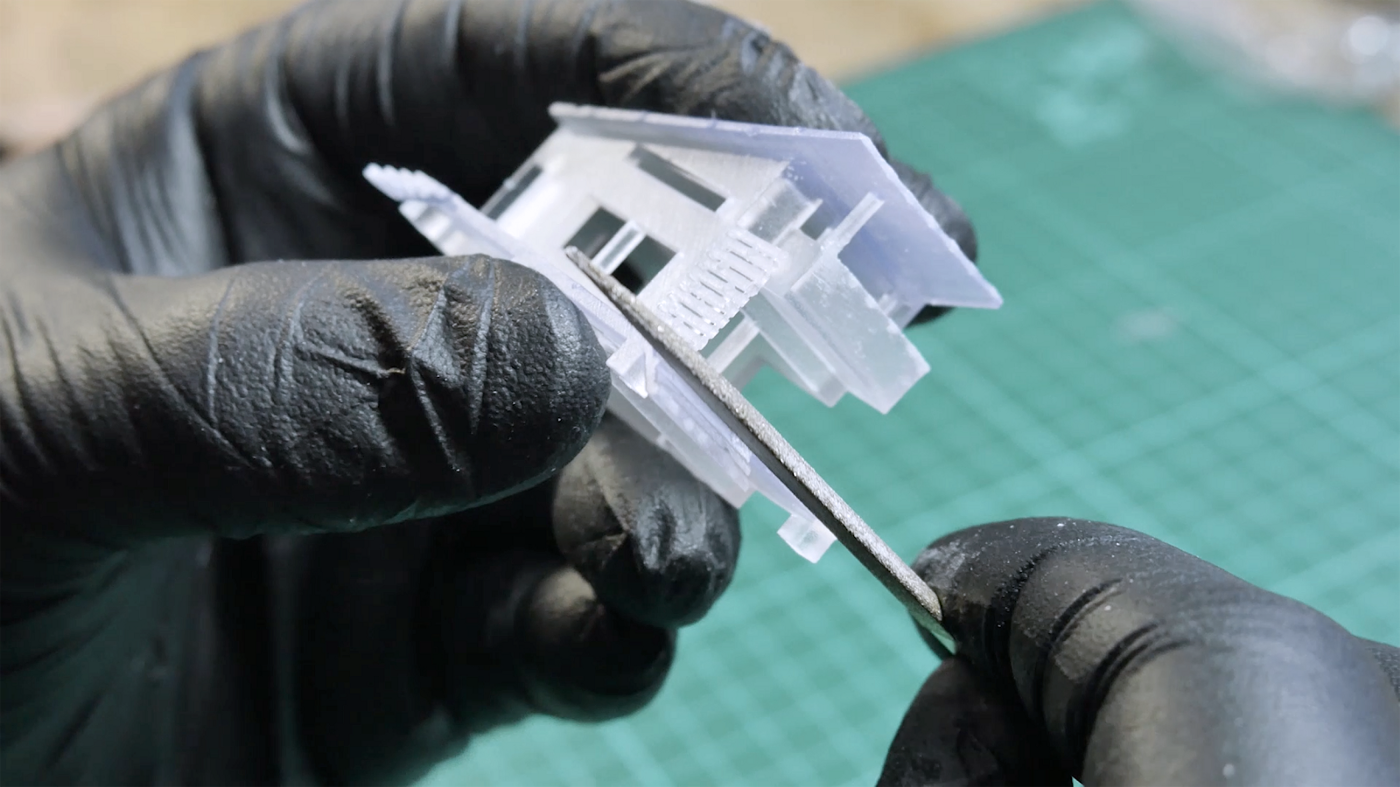
There’s a tiny bit of filing and cleanup to do after the prints come off, but we like this part for its strangely satisfying feel and smell. It’s like whittling for the digital age. We also hit it with some primer and basic acrylic hobby paint through the airbrush.
The Lake
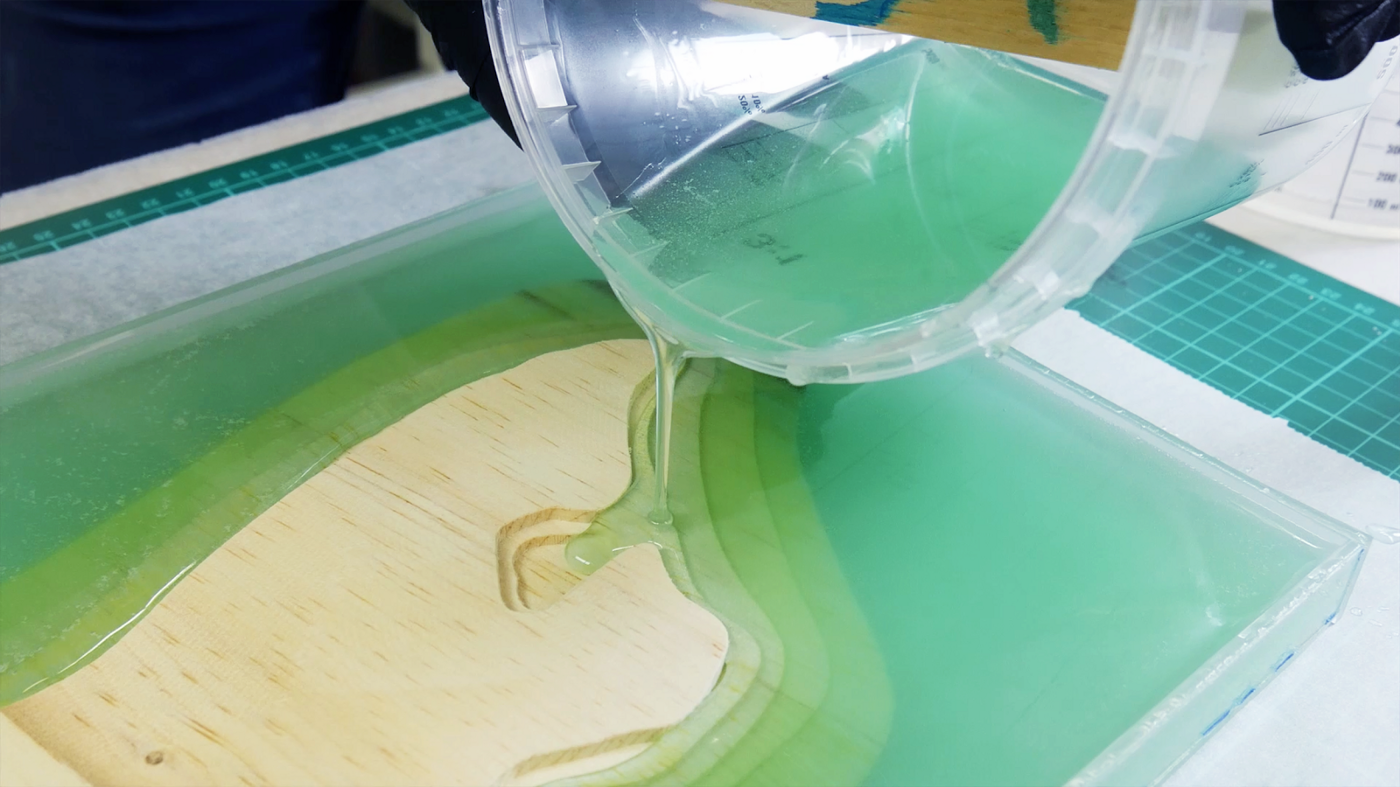
There are many different kinds of resin. The Form2 uses one type that cures in UV light. Your dentist uses a similar kind. There are others that use heat or air to cure, or a separate catalyst. There are polyester resins that smell funny and epoxy resins that don’t but are a bit more unpredictable. We went with a crystal clear two-part epoxy and a 5:2 mix ratio recommended by our local composites dealer.
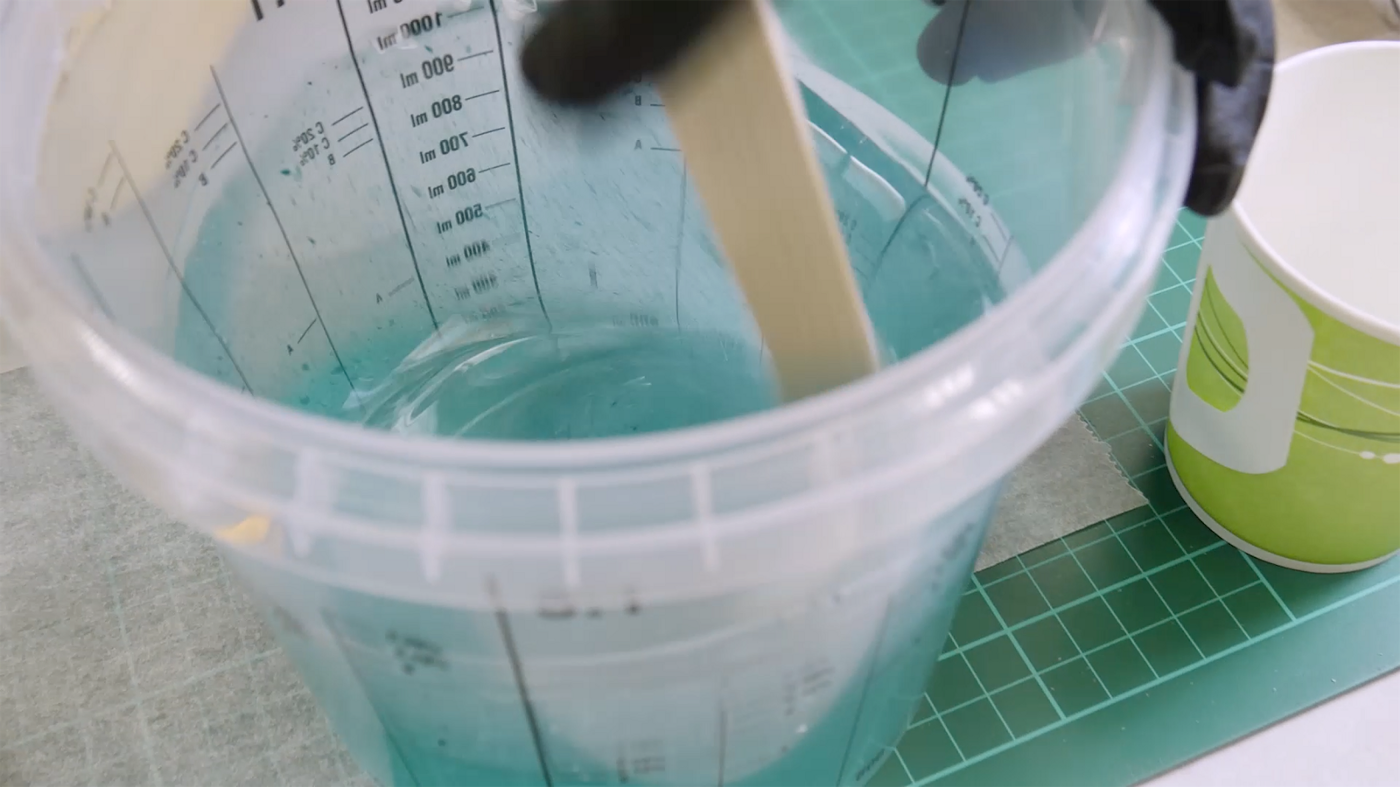
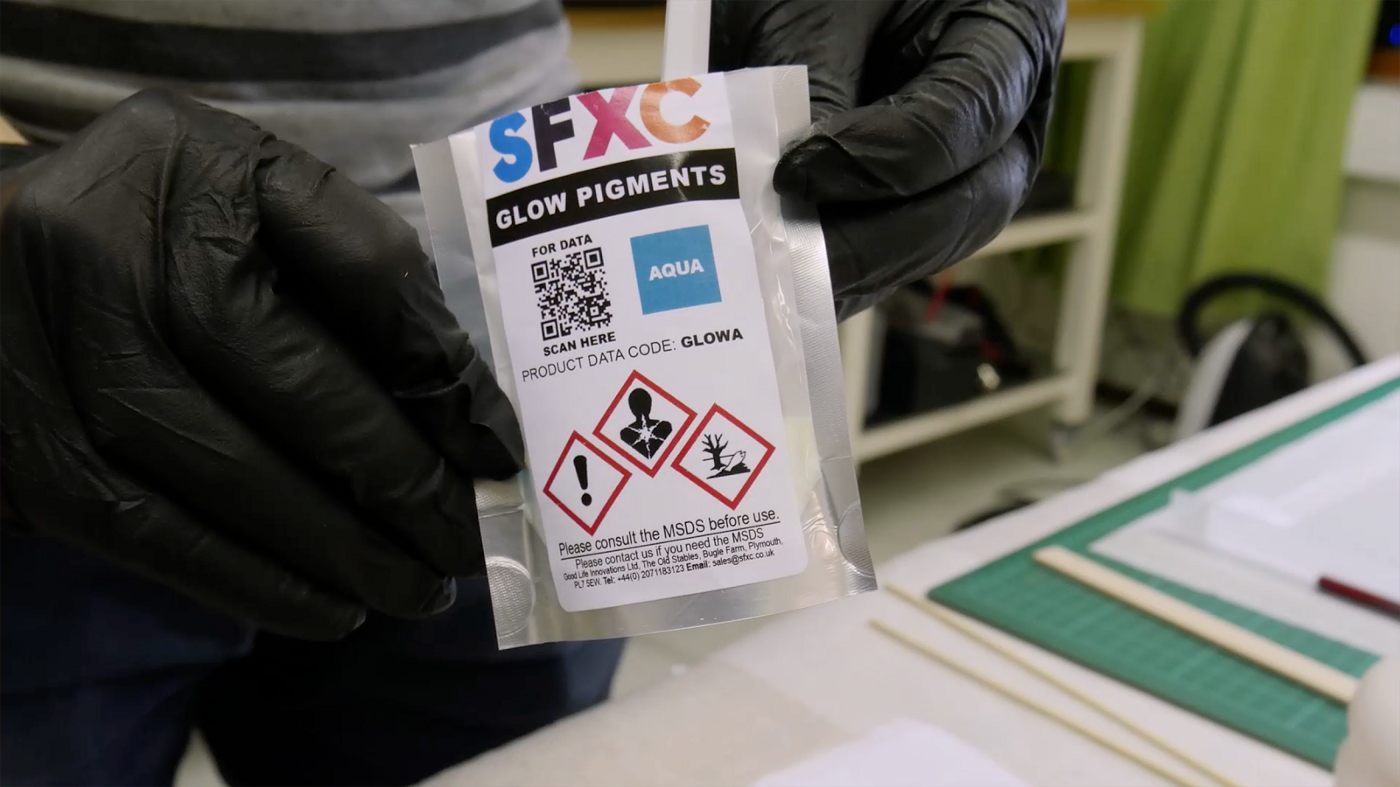
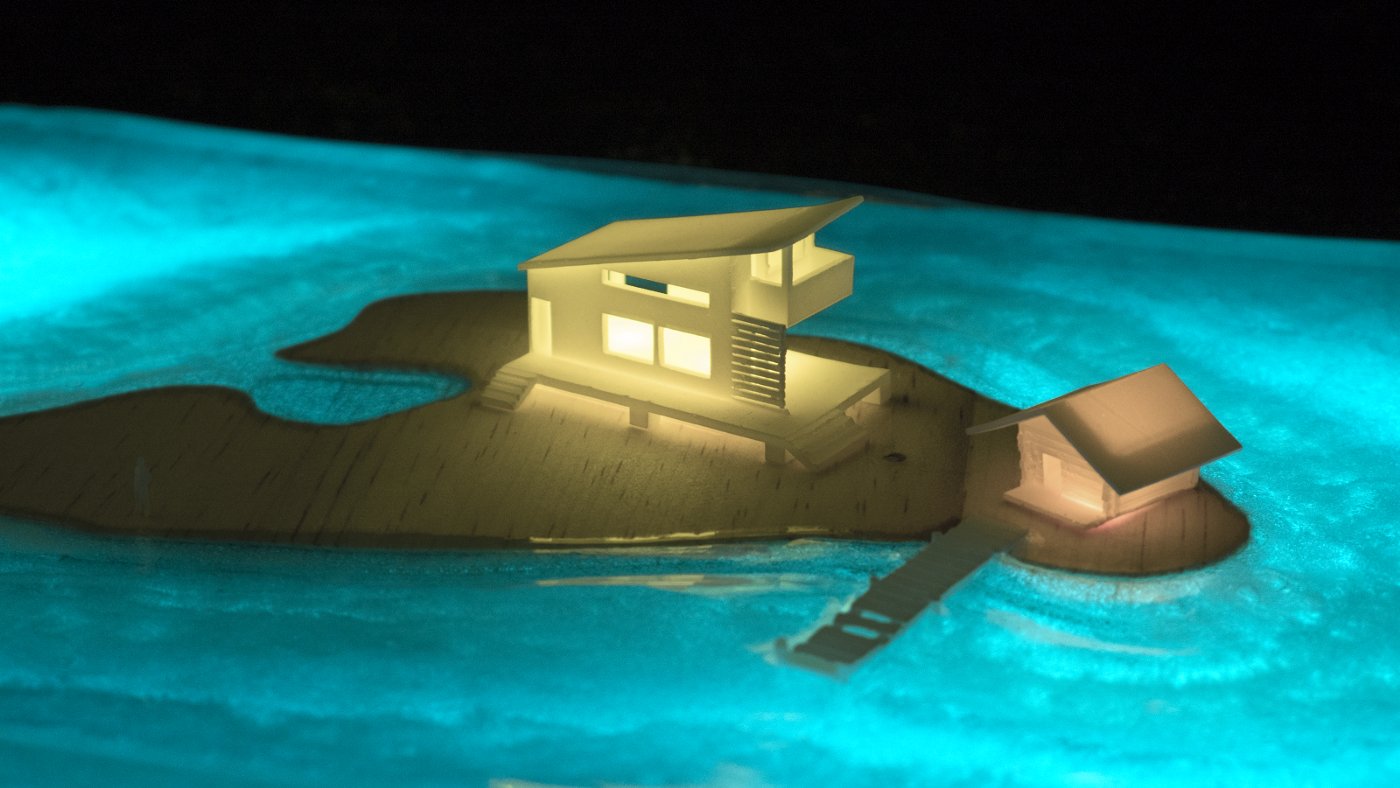
Just for fun, we added some blue and green food coloring for the water tint, and some super-cool luminous (glow-in-the-dark) powder to make it look good at night. That gave us the idea to add lights, too. Programmable ones, that would flicker! Because we like to make it easy on ourselves.
So there we were, fingers deep in liquid plastic.
We’d done some looking around for mold options, specifically which materials would stick / not stick to the epoxy. Acrylic seemed like a good choice. Easy to cut, easy to glue, easy to remove, and cheap.
It was looking so good!

What we didn’t count on was the heat generated by the curing process.
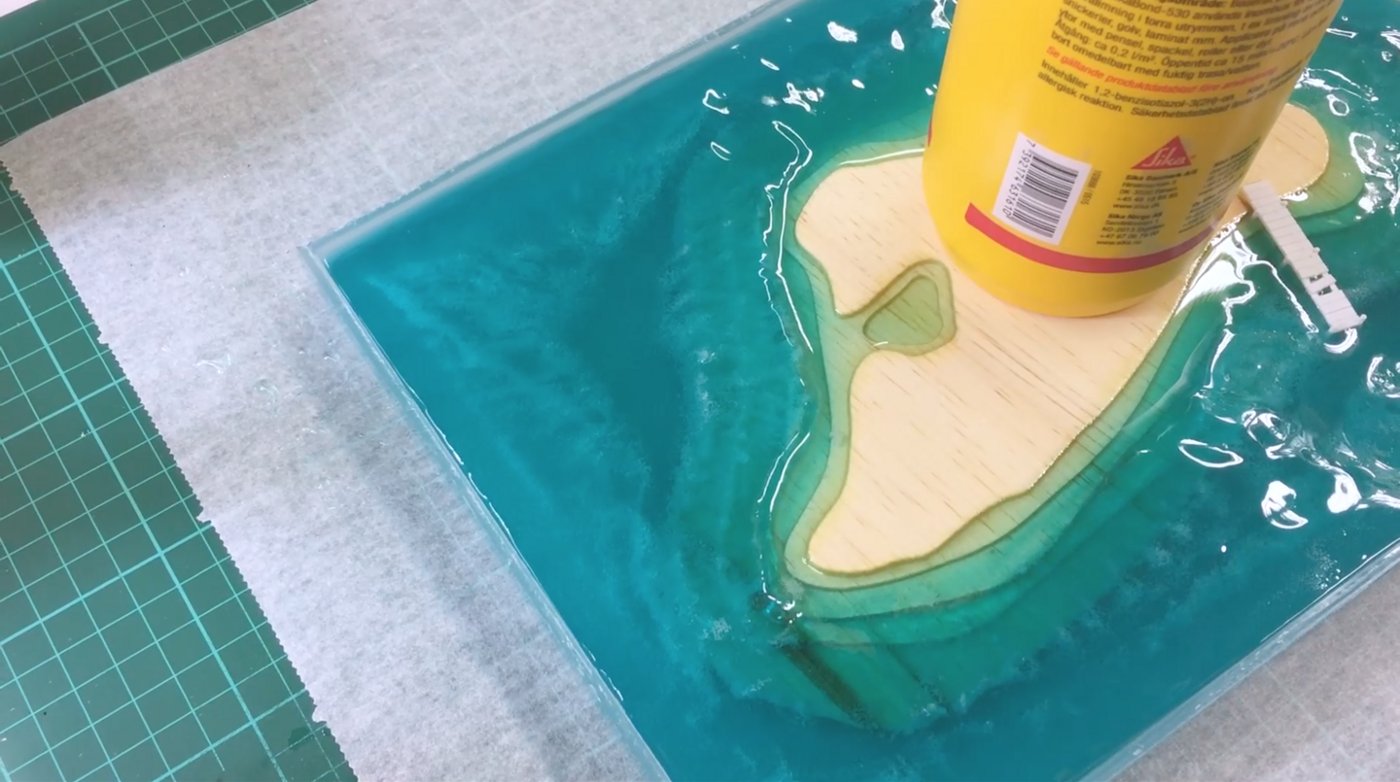
The lake steamed, the mold warped, and waves began to form. We quickly pulled out some of the resin with a syringe so it wouldn’t overflow the island.
Maybe a heat gun to stop the bubbling? There was lots of heat already, and the epoxy solidified fast. It was too late.
Rather than dwell on it, we moved ahead and drilled a few holes in the base as light channels, then hooked up three micro-leds to an Arduino Nano for the flickering.
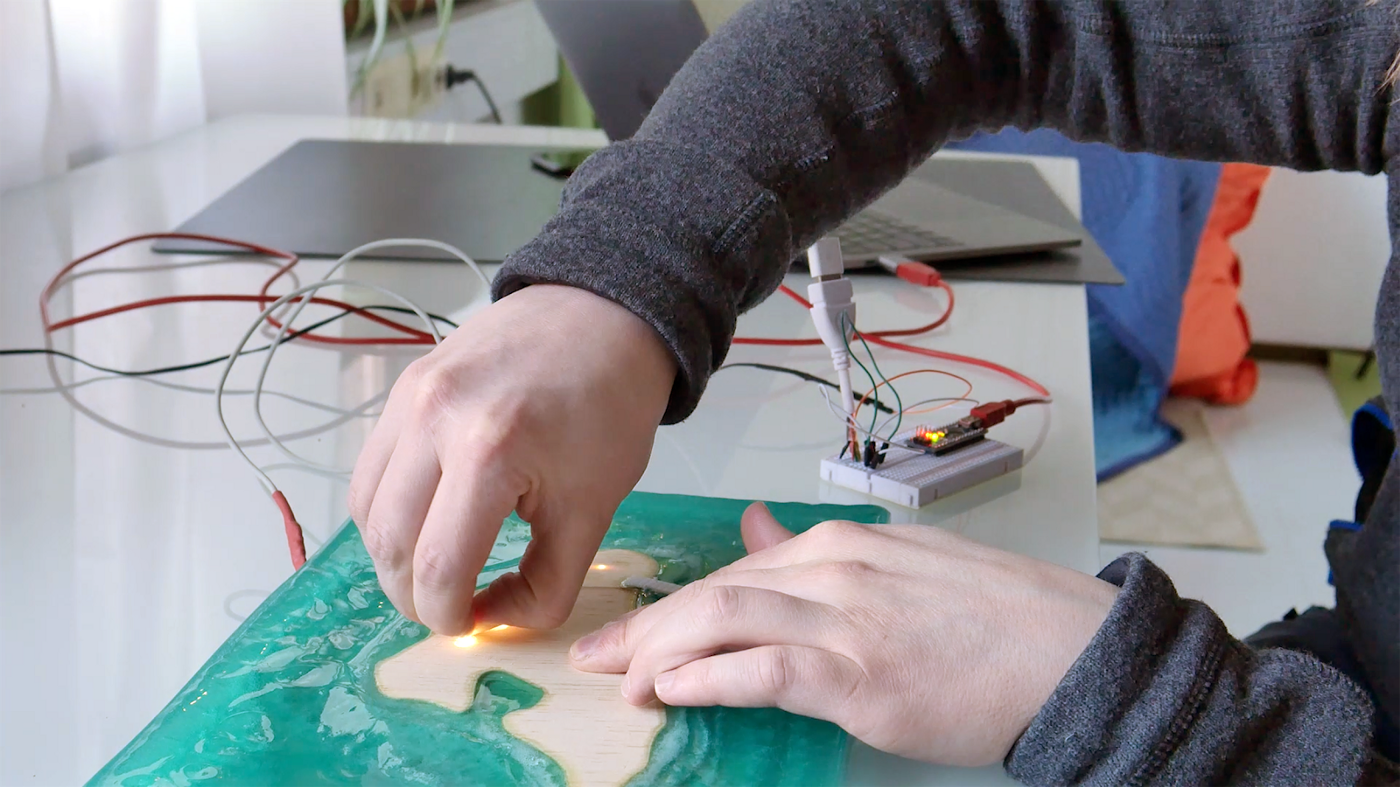
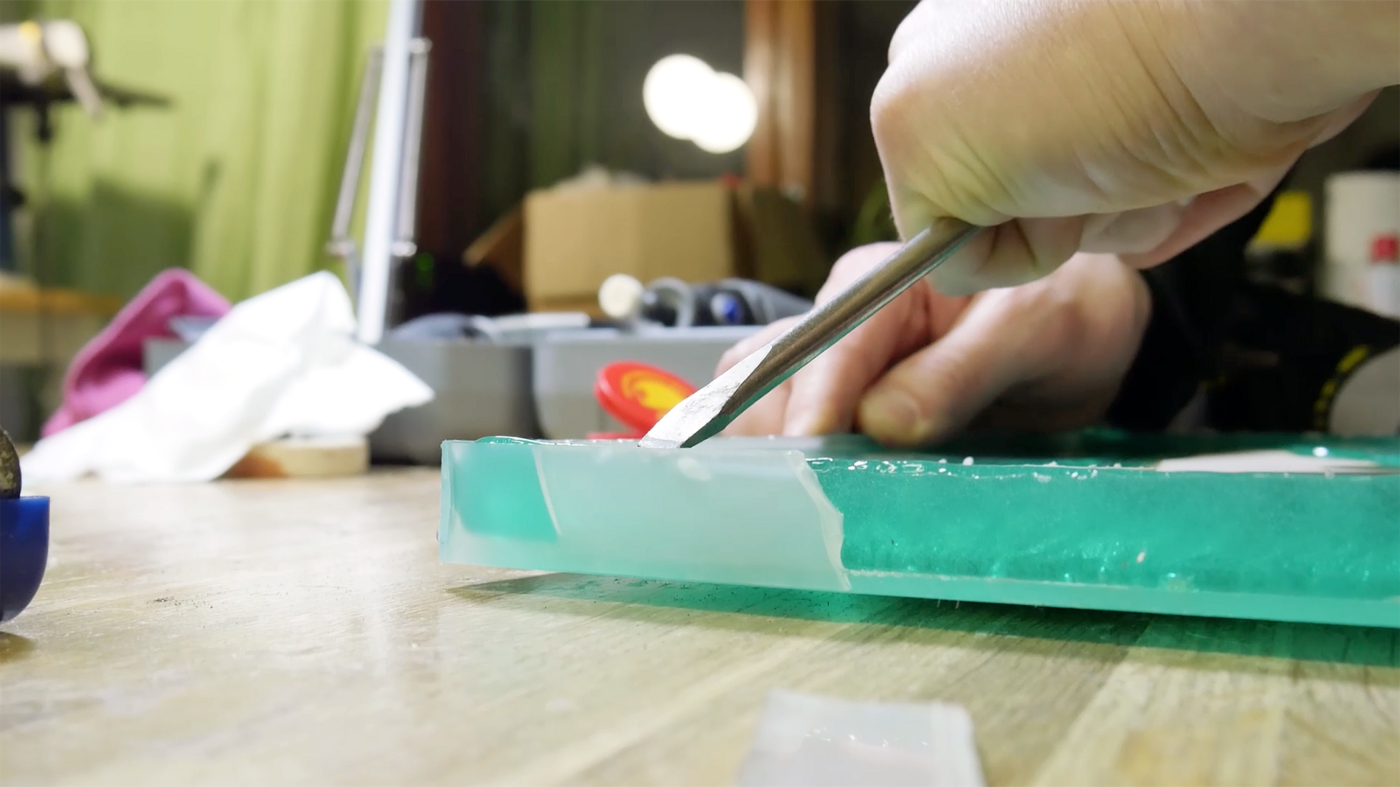
On the plus side, we got great footage and learned a lot. The cured resin looked like waves, fitting of the sea that inspired it.
At some point in the process, you realize that reality provides constraints and physical materials have their own ideas, and you really only learn by doing. So get out there and make something!

Narrative by Ben Merrill
Photos and Model by Lasse Pekkala
Recommended
Designed to Make: Rolling Light - Designer Marcelo Cominguez walks us through the process behind creating his rolling lamp.
3D Rendering a Mechanical Ibis - Learn how to turn 2D sketches into 3D art in this interview with graphic artist Mike McFadyean.
Scale and Measurement in Concepts - Learn how to apply accurate scale and measurements to your plans and drawings.