Concepts is an infinite, flexible creative tool for all your good ideas. Available on iOS, Windows and Android.
Adding Color and Pattern to Designs
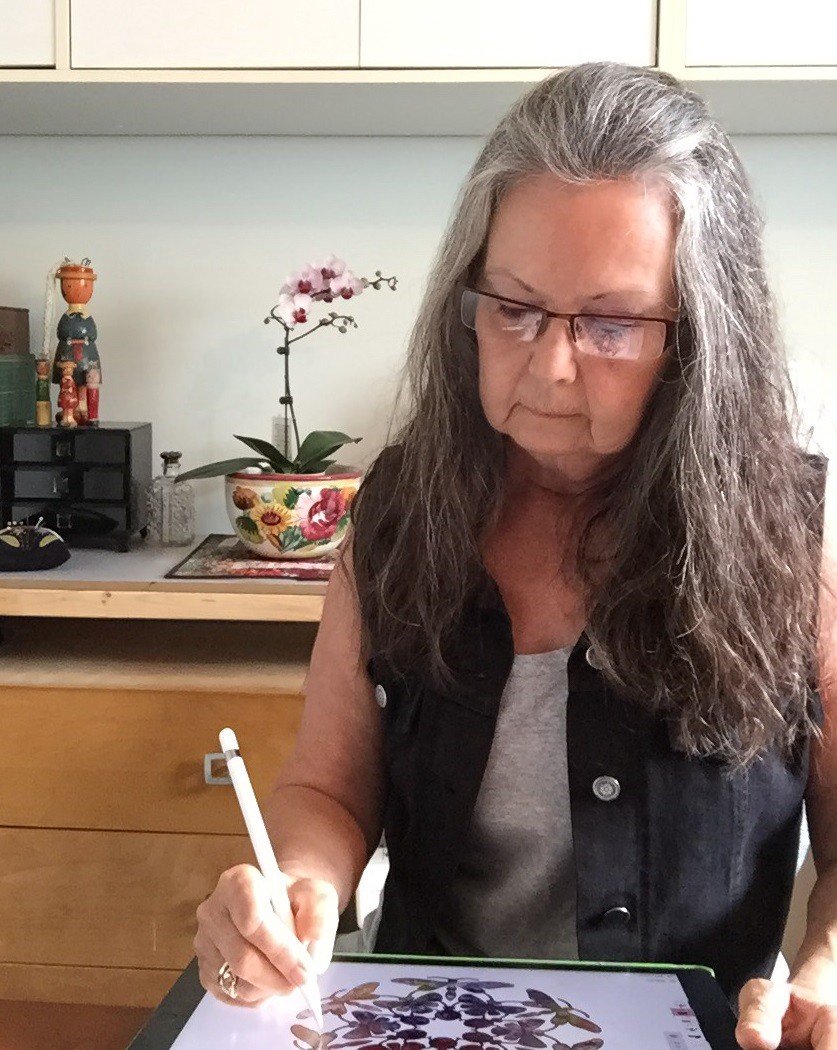
Artist Jill Buckley shares simple techniques for planning colors and patterns in your projects.
"This simple technique gives you a very real idea of what your project can become, and can help you make tough directional decisions about the final appearance without extra cost or work."
Jill Buckley - I began using Concepts in early 2016 and in the years since then, the Concepts team has released several updates that have brought many improvements. Among them are some truly wonderful tools for working with color in my projects. The color picker and ability to create your own palettes are some of my favorites, allowing me to pick colors straight from my photographs. While working with these photos, I discovered a way to add color and pattern to my projects using the images themselves, as well.
This simple but effective technique allows me to “audition” fabrics to better envision how my sewing projects might turn out. To do this, I select fabric samples, photograph them, and save them to my iPad. Then I import them into Concepts, layer them behind the line work of one of my designs, and use the Eraser tool to mask the edges. Using this technique, I am able to get a fairly good sense of the ultimate outcome of an appliqué project before ever laying a hand on my scissors.
Appliqué Design
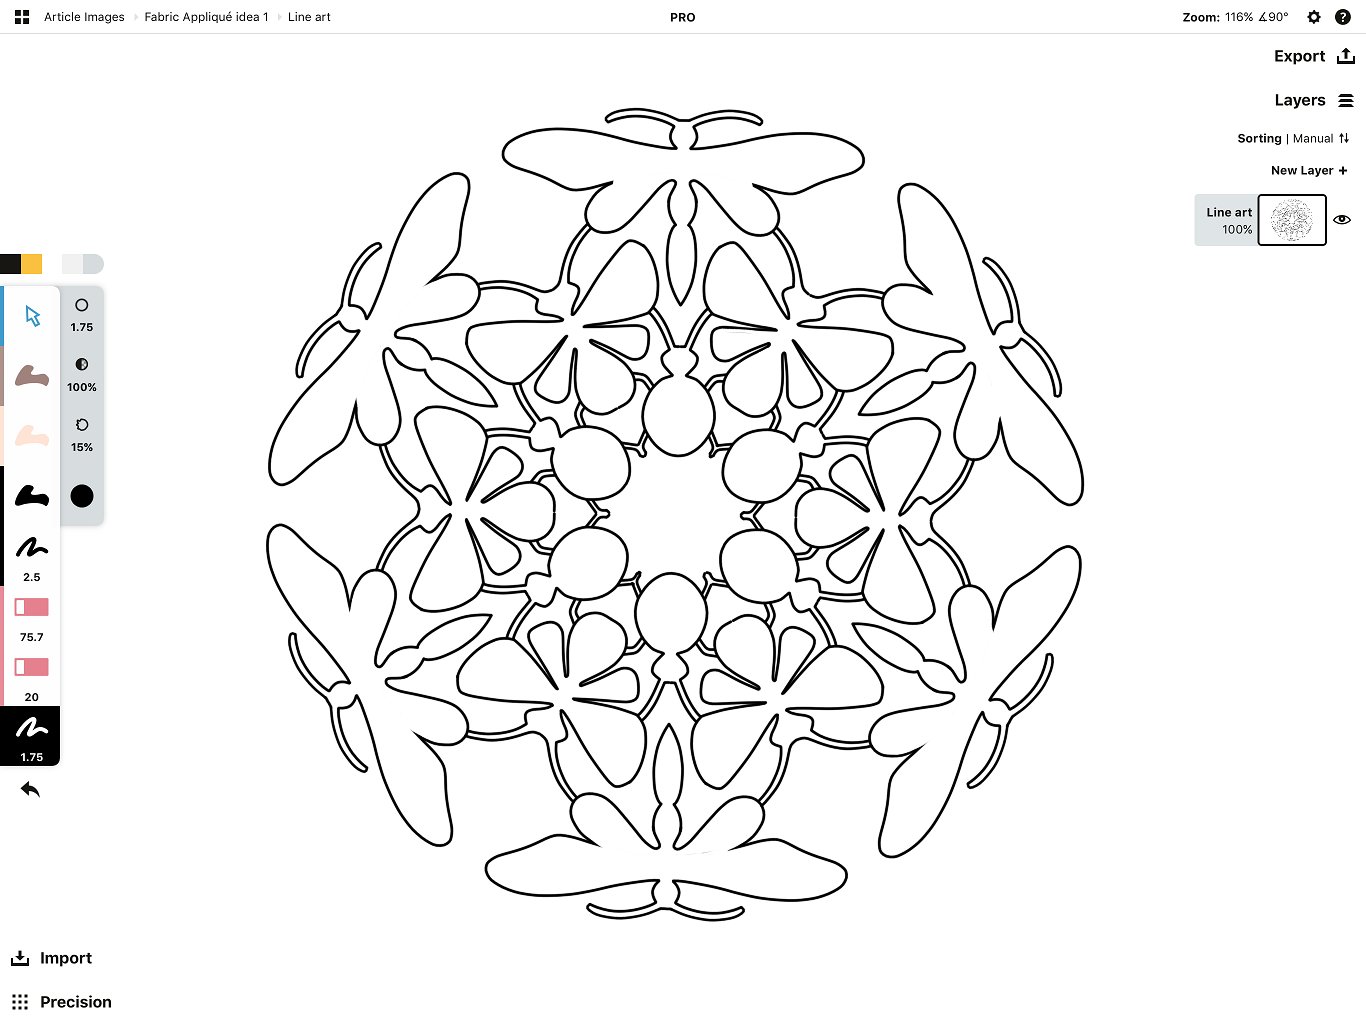
For this appliqué project, I started by placing the line work on Layer 1.
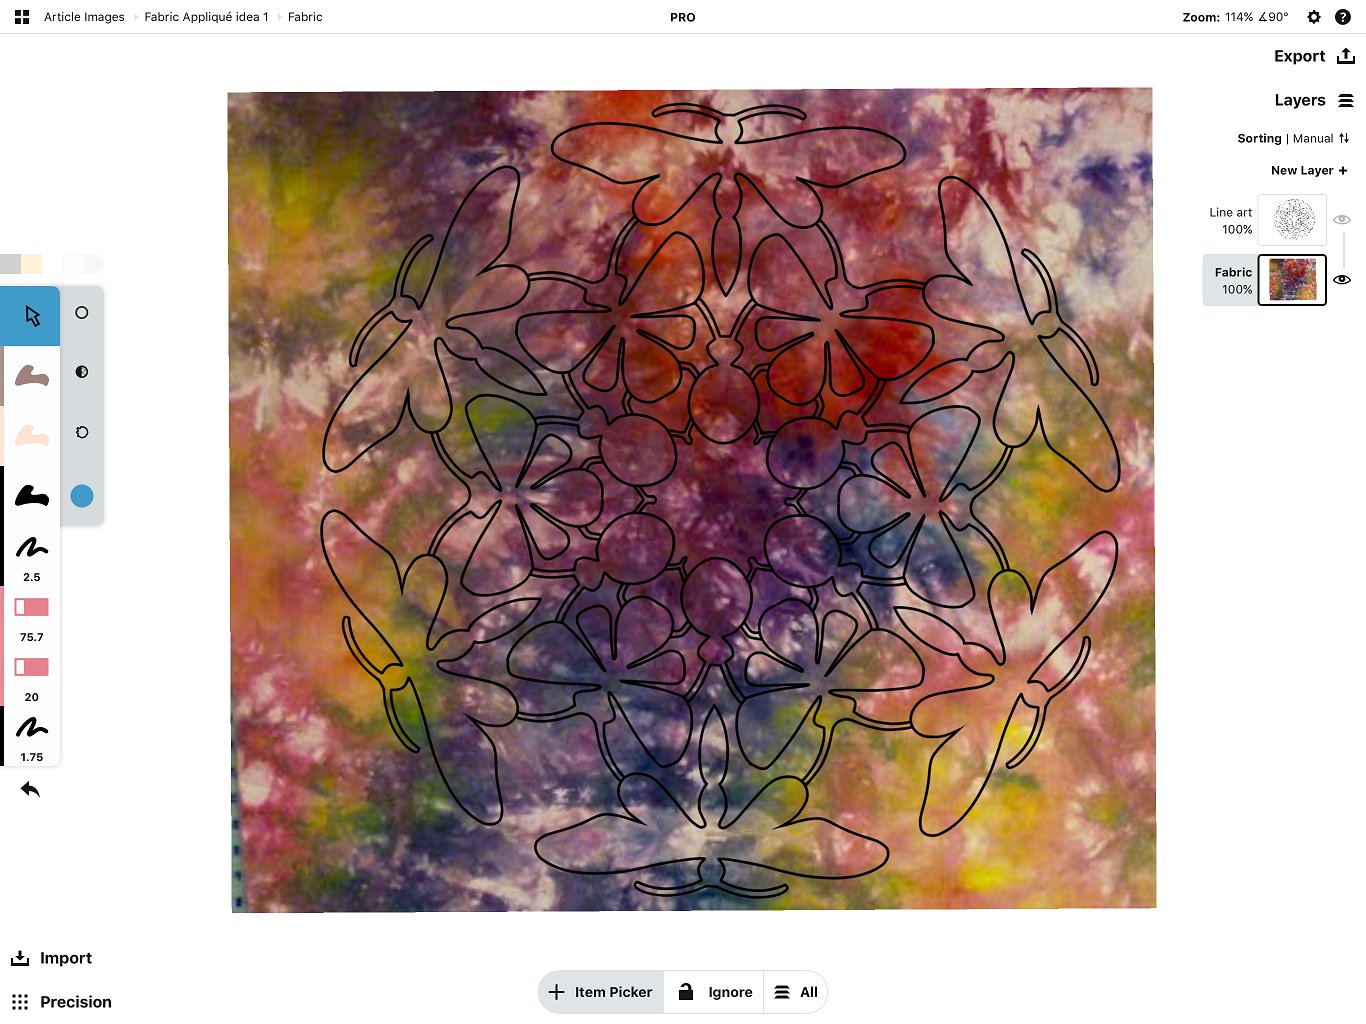
Next, I simply added my fabric to a New Layer placed underneath the first layer, and then used the eraser tool to “cut” away the excess.
Yes, this takes a little time, but there is something quite satisfying about erasing away the background and revealing the finished design.
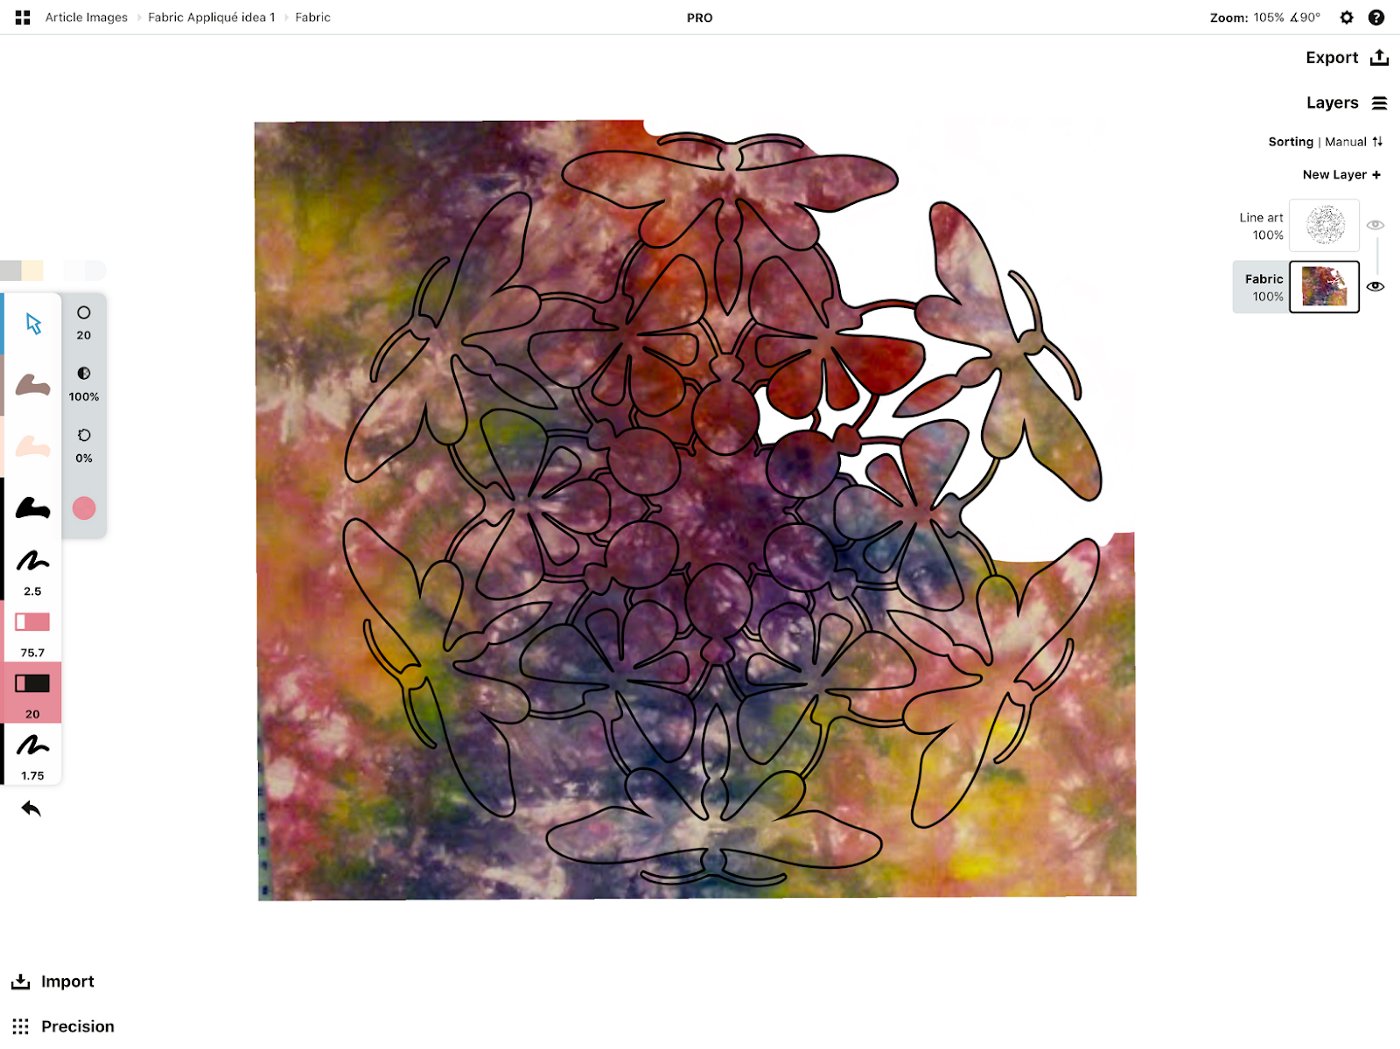
Now, seeing how my design will look, I can confidently cut into my actual fabric.
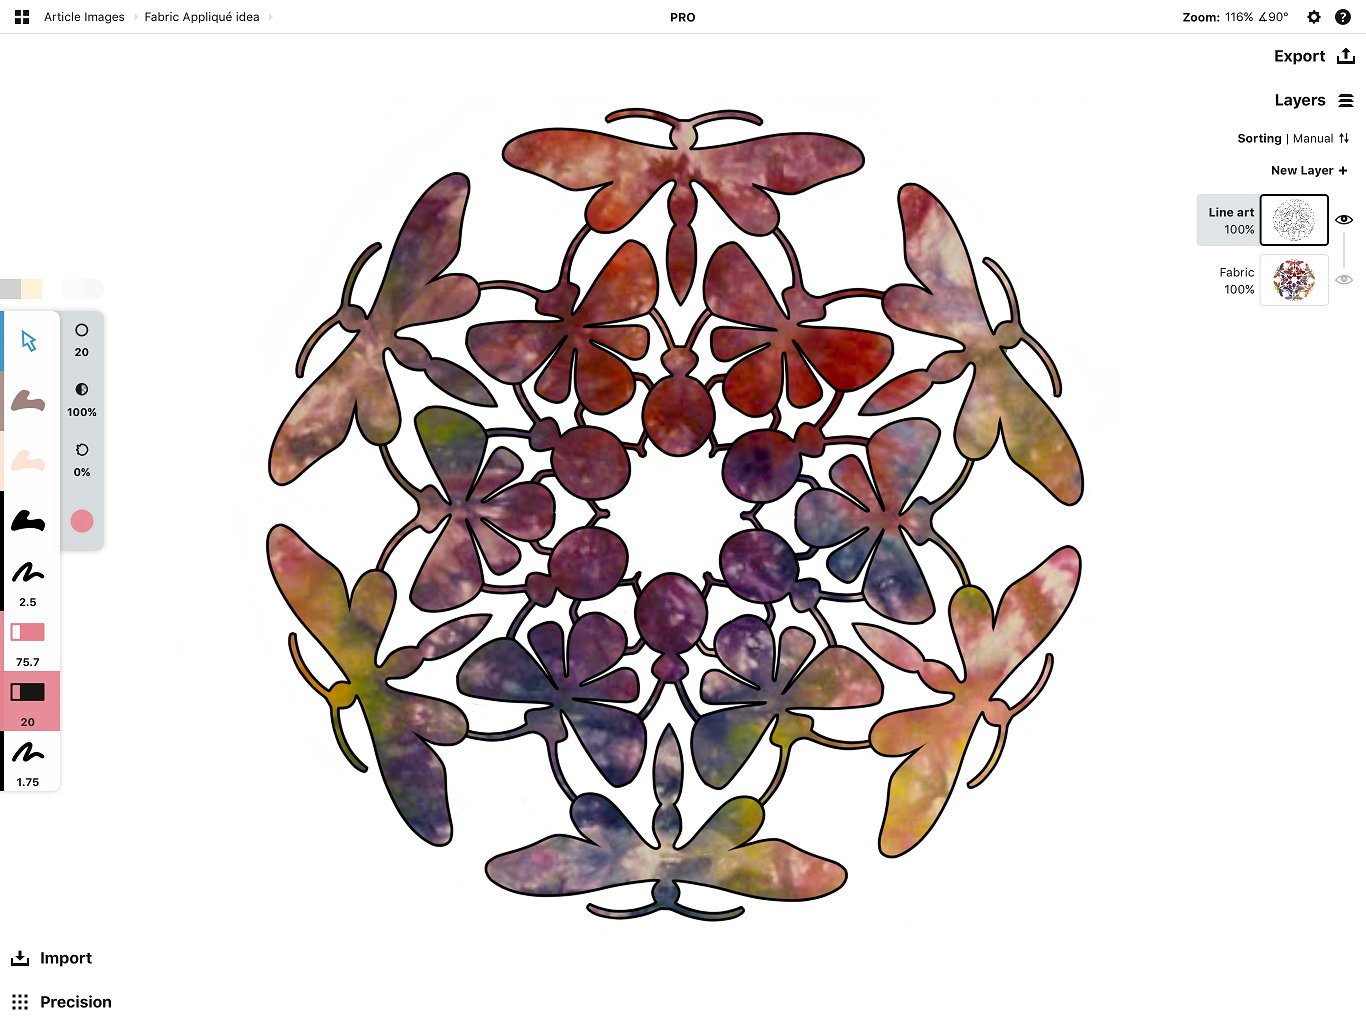
The same idea can be used with multiple layers… a different fabric image on each layer.
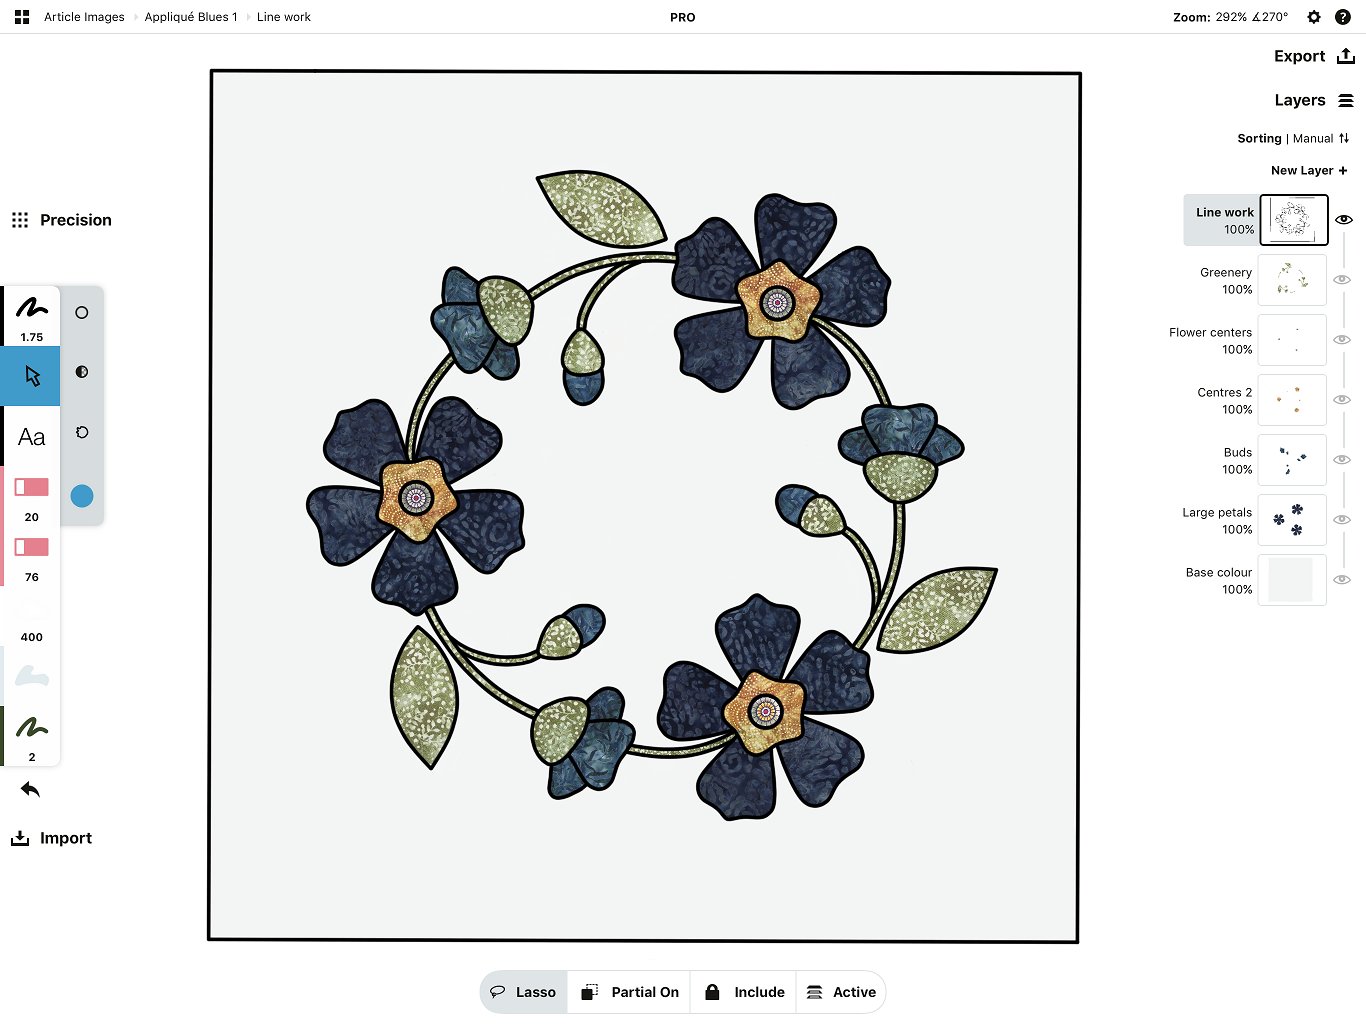
Tip: Be sure to name each layer so you always know exactly what part of the drawing you are working on and pay attention to how your selection tool is set up.
In this case you can see I have used multiple layers… notice how they’ve been named so I can quickly identify which part of the drawing I’m actively working in.

These two projects above are currently just designs in Concepts. Let’s see how this technique works on a real project.
Shoulder Bag Design
Recently, I was looking to make a handbag I could customize to suit my needs. While searching for ideas online, I happened upon Janelle McKay’s website Emmaline Bags, where among other things, Janelle offers her unique designs as instant, downloadable, printable, PDF files available for purchase. I chose to purchase a pattern design called the Double Flip Shoulder Bag. The overall size along with the pocket configuration was exactly what I had in mind.

Image used with the designer’s permission.
I snapped a photo of the line work provided on the cover page of the pattern that you see above, placed the image on a layer in Concepts, then began tracing the lines in a layer above it.

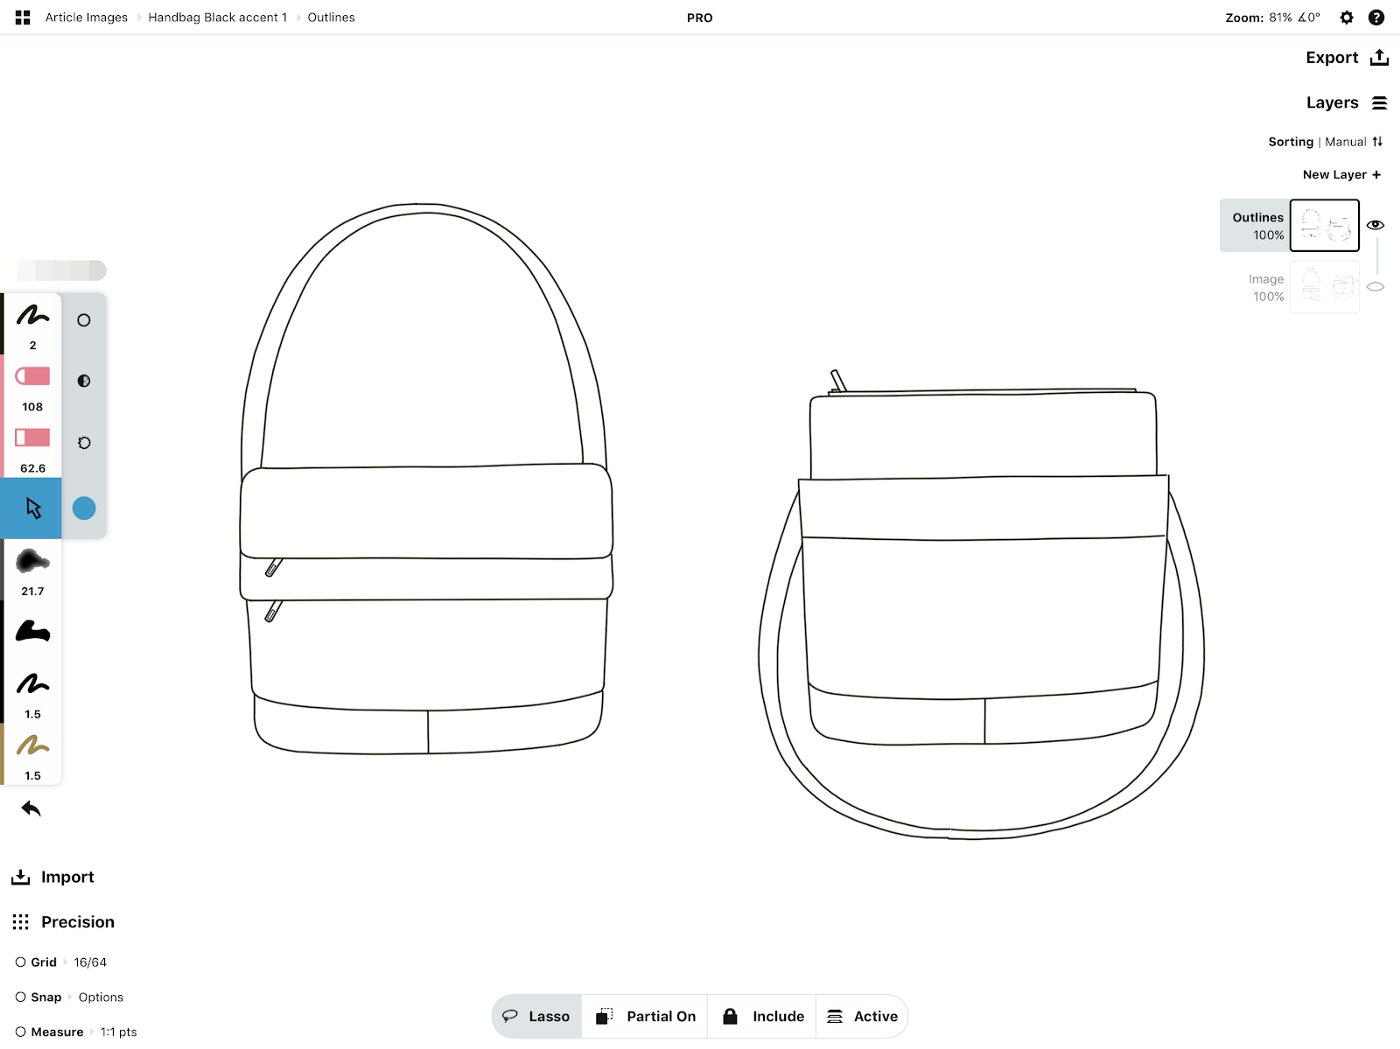
Once I had traced the basic features of the bag, I no longer needed the image to continue, so I deleted the image layer.
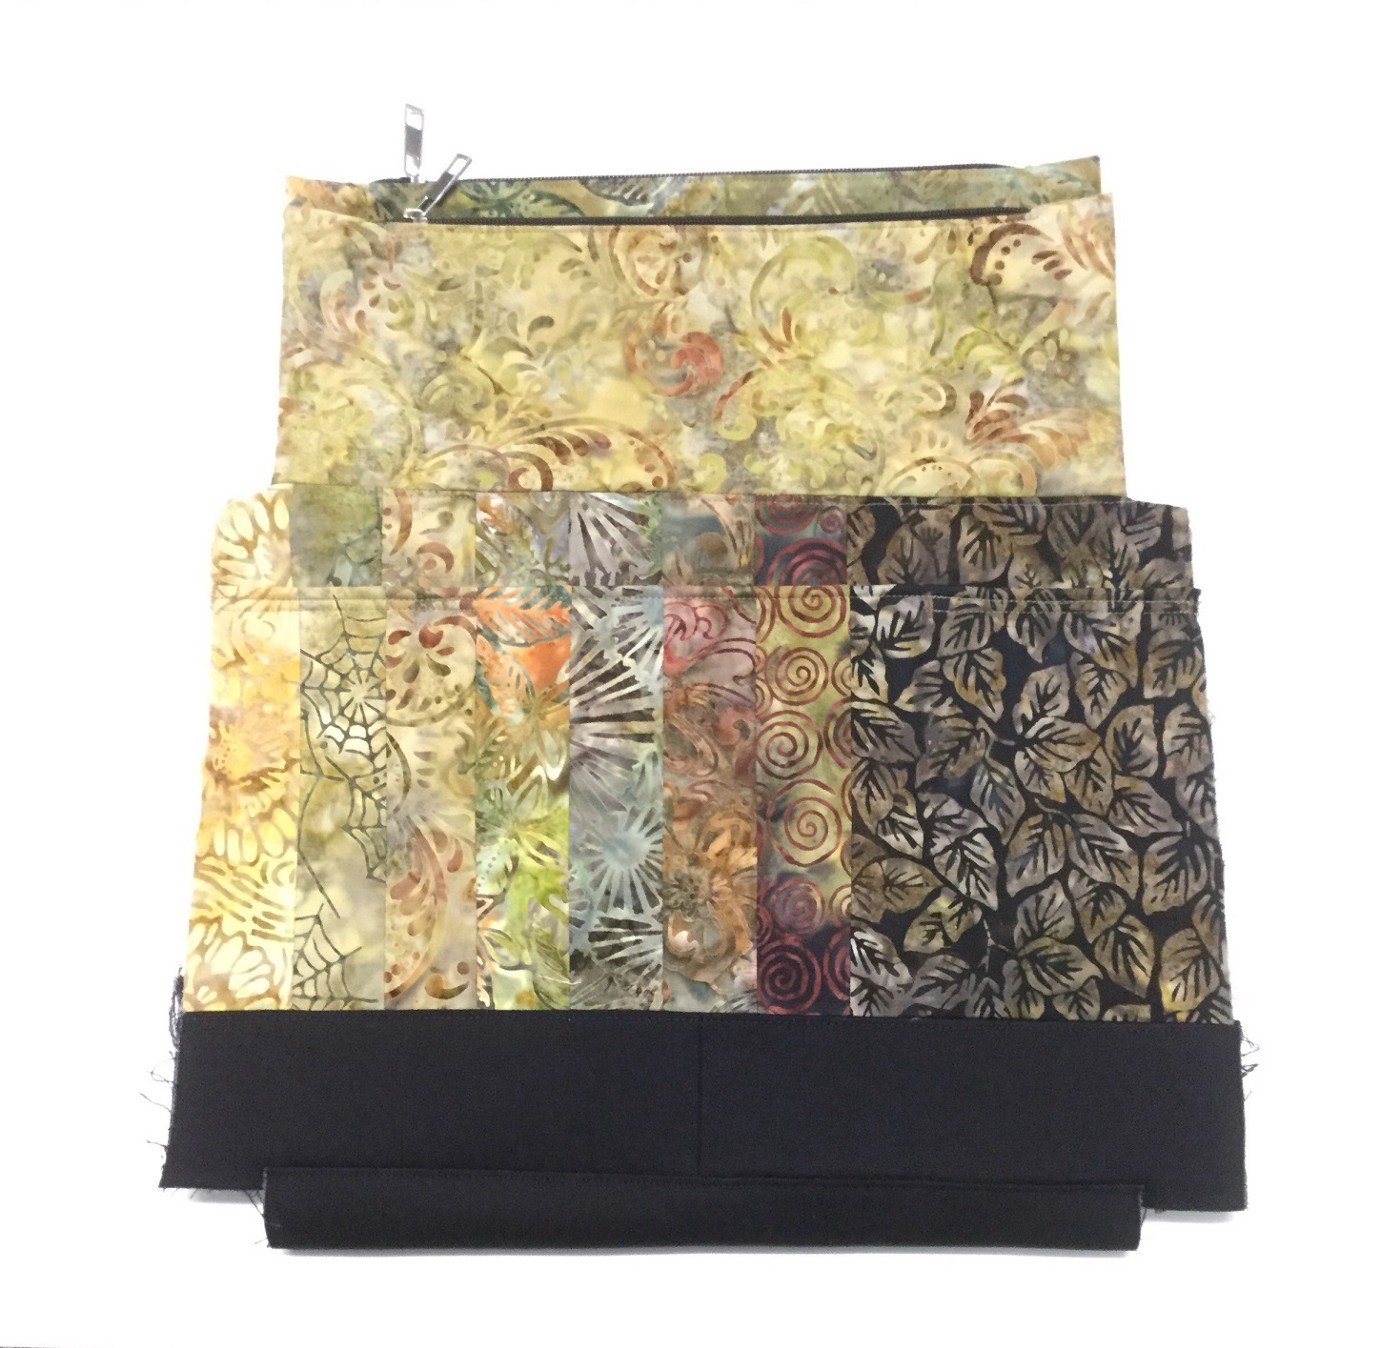
Next came the fun part. I took photos of the fabrics I thought I might want to use to create my bag.
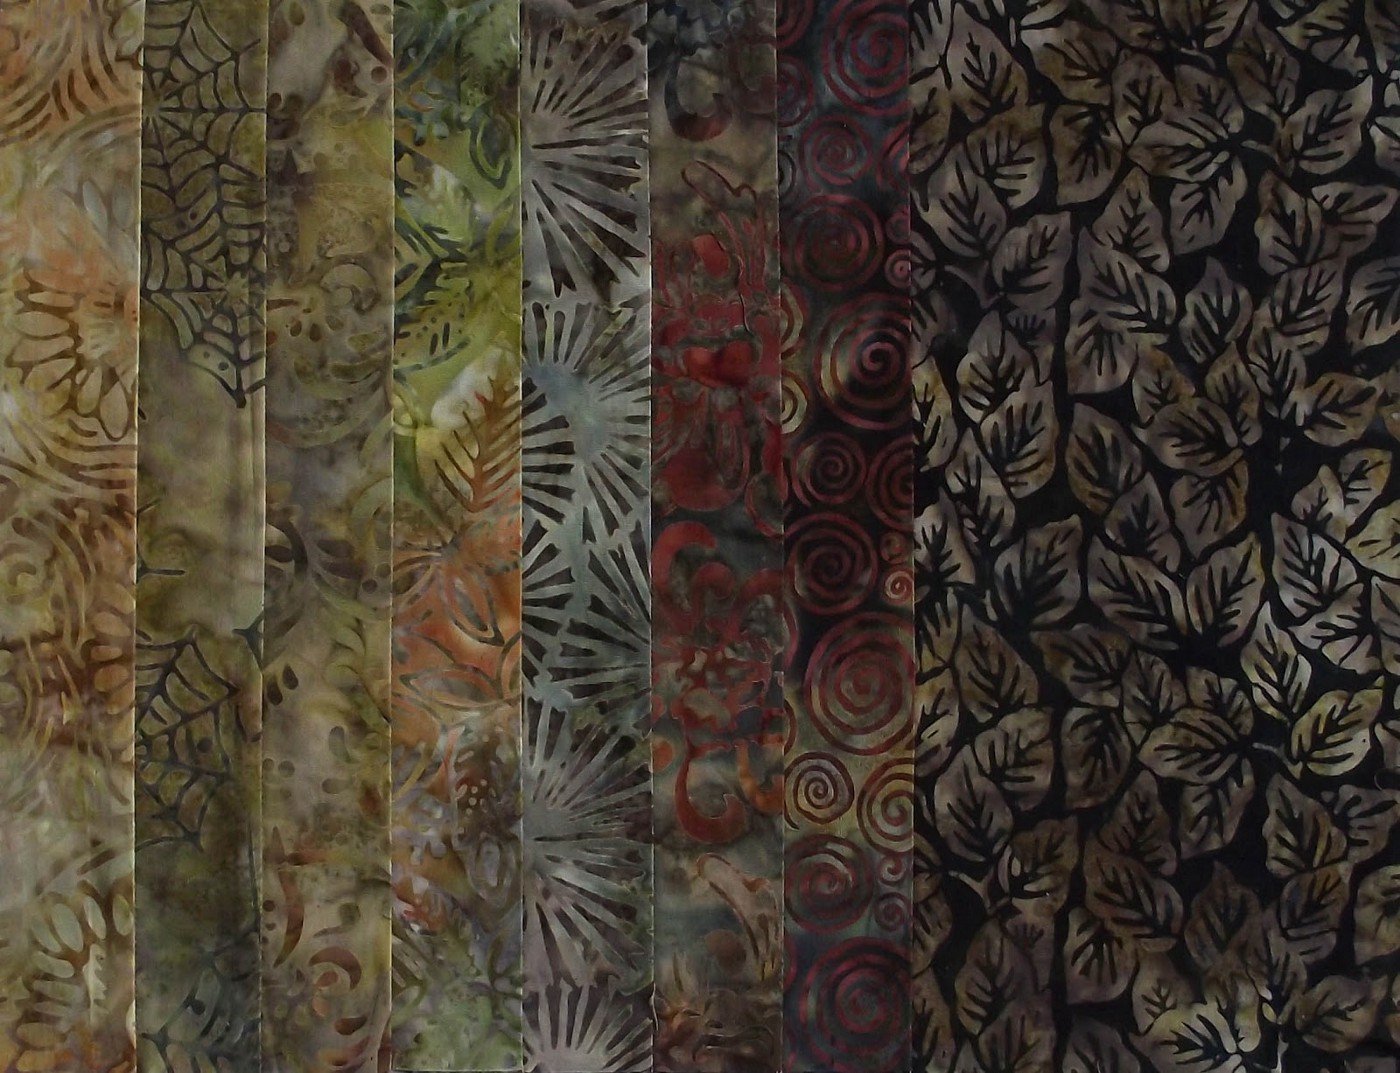
This piece is the result of sewing several scraps together to form the fabric I hoped to use for the main front and back of the bag.
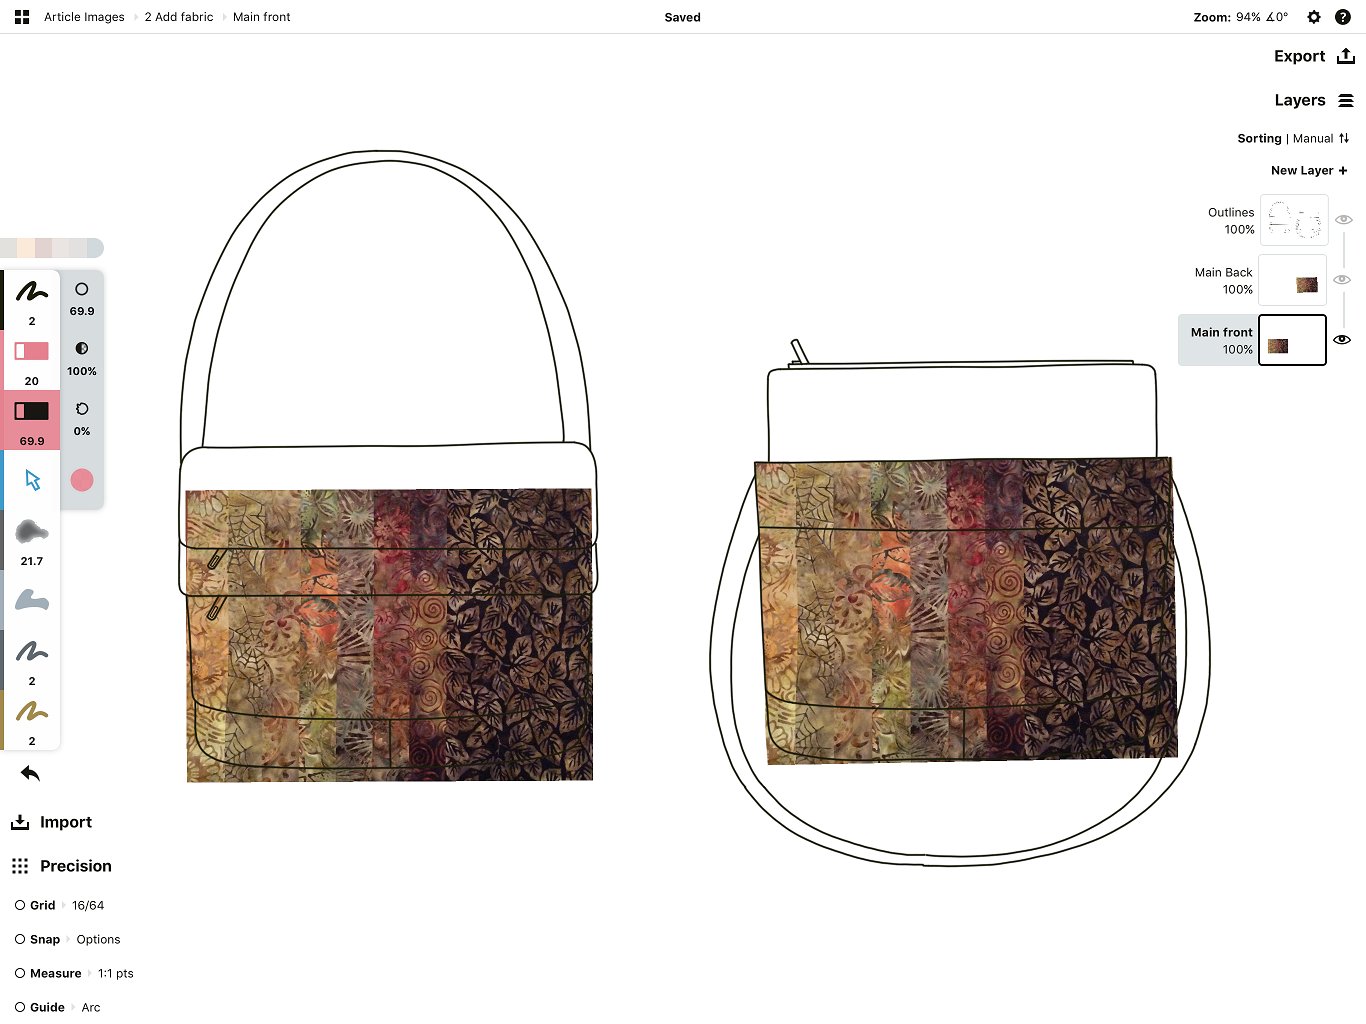
Tip: Try to keep the scale in mind as you work. Keep the actual size of the project and the pattern scale of your fabrics in proper relationship.
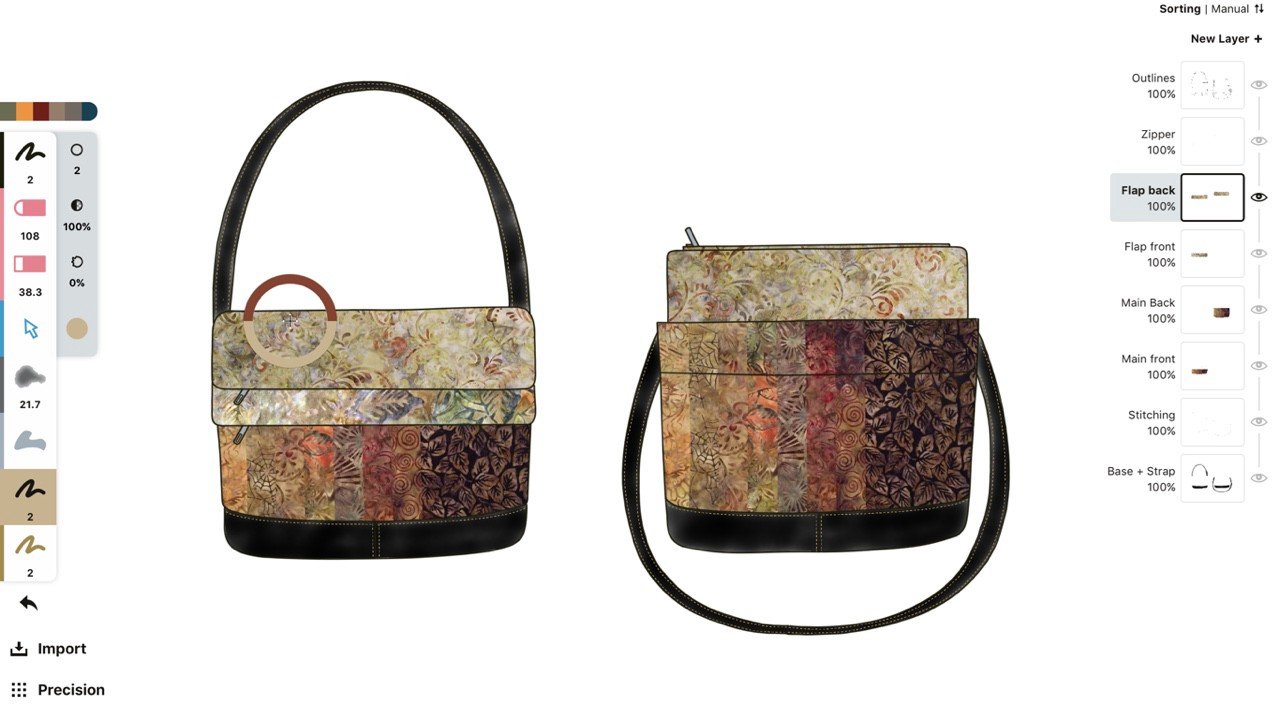
First, I added the image of the fabric. I imported the same image for the front of the bag and for the back, but placed them on different layers.
Then I used the eraser tool to “trim” up the edges.

Next, I added images of the fabrics I planned to use for the exterior flaps. Once again, I placed these on their own layers, and used the eraser tool in the same manner as before.

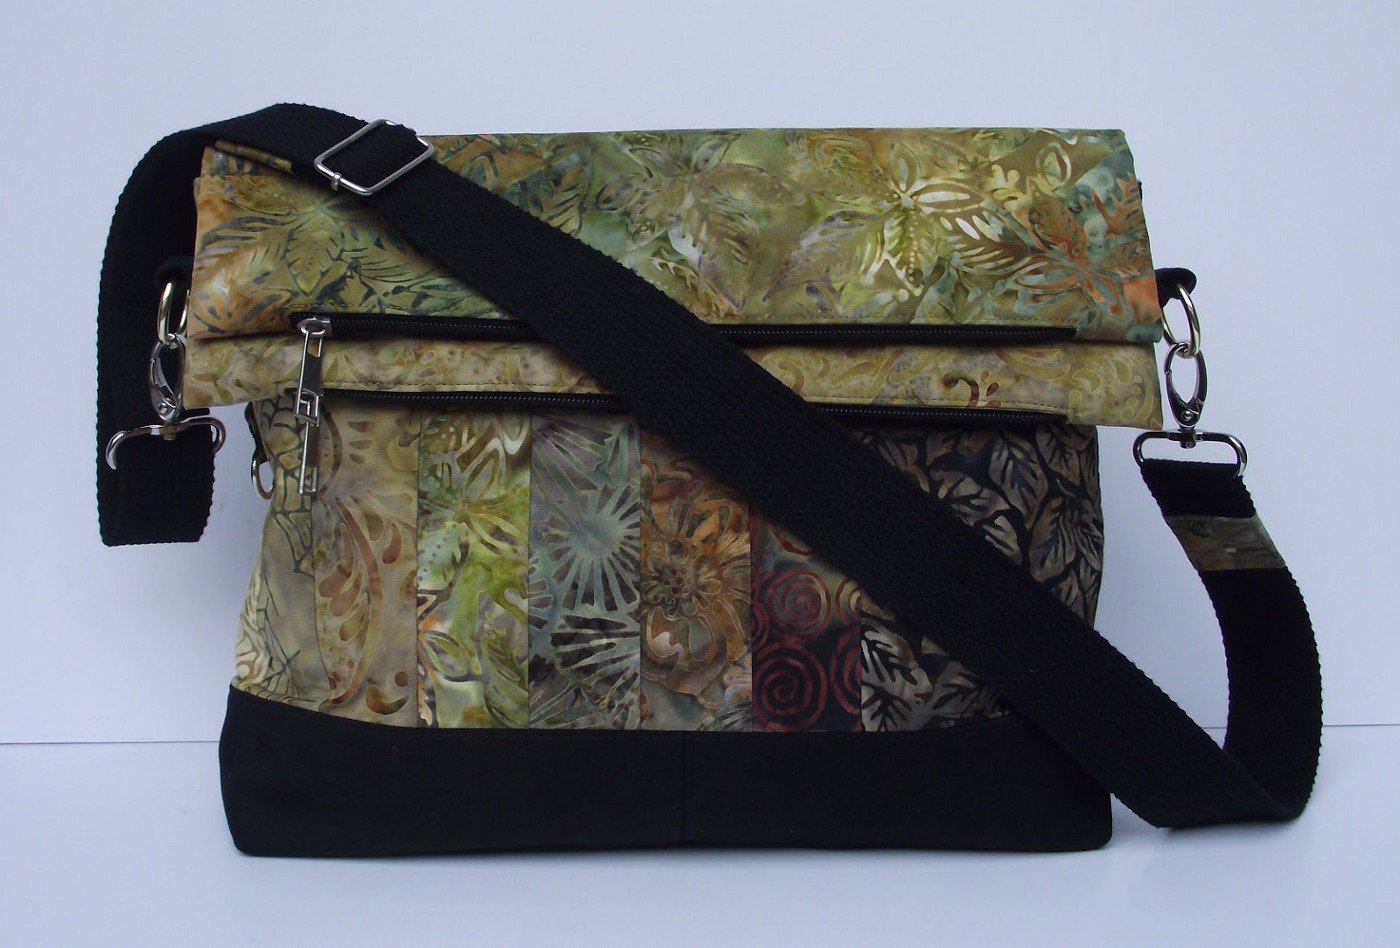
Here is a look at the handbag itself as I progressed through the sewing and assembling steps.
On to the base and shoulder strap. Wanting to use a solid color as an accent, I added color to the design using the watercolor tool rather than a fabric image. I cleaned up the area using the eraser tool… and, yes, you guessed it… gave it its own layer. By keeping the solid color on an isolated layer, I could now easily select and change it to see a wide variety of options.
I set the selection tool to Lasso and made sure it was set to work with the “Active” layer containing the base and shoulder strap. I highlighted the strokes with the lasso, then tapped a color from my color palette. Just like magic, the strokes changed to that color.
I chose these colors directly from the fabric using the color picker. You can see them in the palette above the tool bar.

Tip: Use the color picker to snag colors directly from the “fabrics” you are working with and create a palette to ensure your choice will be complementary.
As you can see, this simple technique gives you a very real idea of what your project can become, and can help you make tough directional decisions about the final appearance without extra cost or work. I hope these techniques will help you as you design and create your own projects.
Jill is one of our favorite creative designers! If you'd like to read more on her work, take a look at these articles:
Jill Buckley is a self-taught artist living in southwestern Ontario, Canada. Her working years involved garment design and construction, but her fascination with line, pattern and form continued into retirement. Doodling, a regular process in her textile works, eventually evolved into the intricate drawings she is recognized for today. Current day technology, especially Concepts, has dramatically changed her drawing process. While Jill considers drawing a relaxing pastime, her works can be seen in books, magazines, logos and most notably as embroidery designs available on several top-of-the-line Janome sewing machines, and she feels privileged to provide illustrations for internationally renowned embroidery artist / author Trish Burr. Find Jill at The Quilt Rat and on Instagram.
Interview by Erica Christensen
Recommended
When Design Meets Cake, It Transforms into Delicious - Chef Madison Lee adds flavor, sugar, and a dash of design on the iPad Pro to create artisanal, one-of-a-kind cakes for celebrations.
Designing for Whitework - Jill Buckley shares how she and Trish Burr collaborate to design and create exemplary whitework patterns and tutorials.
Discovering the Unexpected in Fashion Design - Emily Keller shares her creative journey in Fashion Design and how she creates knitwear designs on her iPad.