Concepts is an infinite, flexible creative tool for all your good ideas. Available on iOS, Windows and Android.
10 Techniques to Up Your Sketching Skills
If you find yourself stuck with a bad case of art block, try these techniques to get your art going again.

A blank canvas can be intimidating. The restless keening of your idea as your muse threatens to dispose of you can be even more so.
But you just don’t know how to get it from your head onto the paper. Do you:
a) bury your head under the pillow and drown yourself in further zzzs…
b) fling your expensive iPad into the ocean in a sobbing fit of despair… or
c) cut off your ear?
or…
d) gather your wits and stylus, inhale the bravery floating on the breeze, and take a few minutes to teach yourself some techniques?
If you picked d, read on. Don’t pick c. Or b. Yes, I am tempted by a daily.
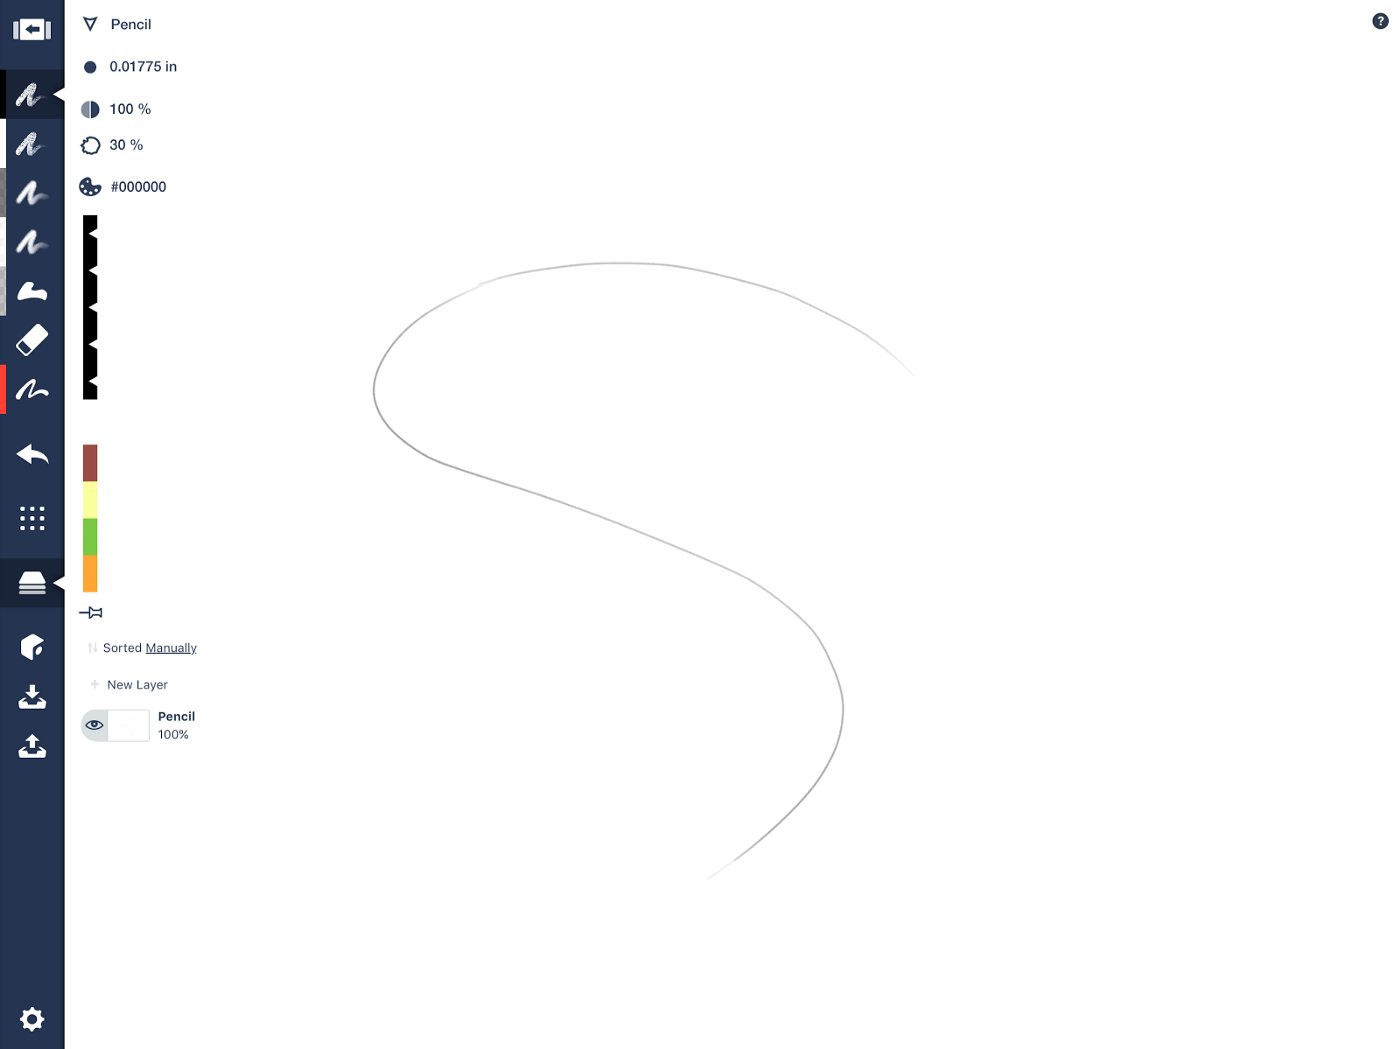
1) Jump the mental hurdle. Face the canvas, choose your pencil, and mark the paper.
Use your whole arm. Feel the voice and energy of your idea flow through your arm and into your line.

YEAH. IT’S A BEAUTY. BUT IT FEELS GOOD, LIKE THE UNIVERSE IS LISTENING ALL OF A SUDDEN.
It’s okay to threaten your muse back if you pick up your pencil and quote-unquote fail while doing it instead of not start at all, because picking up your pencil to try redefines your relationship. It signals you are willing to work, which gets your muse respecting and humming along with you.*
*If you believe in muses. I imagine a muse as a symbol for the driving creative force inside me. It’s part of me, just like there are many parts of me — the ego, the editor, the heart, the voice etc. There are moments for each area to peak, yet we all work together.
2) Keep the flow going.
FEEL THE FORCE, LUKE.
Motion is everything in communication. Even the great Mona Lisa, silent and still in her chains of pigment, captures you with her eyes. Everyone exists inside a moment of action, intention or feeling, but you want to grip people inside of yours. Start by pulling that motion into your drawing.
3) Be rough like the pencil.

IT’S KINDA… SOMETHING.
Everything starts out rough. Pearls start as sand. Diamonds start as coal. Sketches start as graphite (or stylus-induced energy waves) and are rough beginnings to beautiful things. Flow along with this physical law of creation.
But it’s okay to turn Smoothing on to a nice 30%, if you want it a little less rough. Or if you’re on a bumpy train.
4) Experiment and imagine. Define the idea’s purpose.
Often at this stage, ideas like to take on multiple forms. They mutate and howl, and you howl along with them. But it’s okay. You’re the master. Persuade it of its purpose and it will be glad to know itself.

A TEMPTING IDEA BEAST.
The flow of my lines feel like a path, but I also want to give it some depth and dimension. I’ve been contemplating structural items lately… I’m turning it into a (tame) architectural piece for a garden.

IT’S ALMOST A HIGH HEEL. BUT IT ISN’T.
5) Give your idea context.
Everything exists in relation to something else, and contrast is key to showing off the unique features of your idea. Set your object into a space that allows it to show off its main purpose.
Product designers often use a simple shape in the background to reflect their detailed concept. Architects add in a few trees, while landscape designers add a house. Allow your idea to remain the focal point.

A ROUGHLY SATISFACTORY START.
6) When the idea has a form you like, start refining your sketch.
Make a new layer. Choose a pen tool and up the smoothing.

ENJOY MAKING YOUR SKETCH MWAH.
If you like, turn on Snap so you create closures between strokes, and use the Precision tools where necessary to achieve perfect lines and shapes. Select and adjust your strokes after-the-fact until you’re satisfied.
7) Give it substance and vibrance.
In a layer below your lovely ink, add the texture of the object. If you need a reference, import a quick Google image search. For this metal sculpture, I colored messily with marker over the entire structure. Then I used the Eraser to mask the edges.

MESSY… MESSY… CLEAN.
8) Add shadows and light.
These more than anything give your object life. The earth is always moving, which means the sun, shadows and atmosphere constantly change position. You instinctively gain a lot of information about even a 2D world via the effects of the light source.
Imagine where your sun is shining from. Add shadows with a low-opacity black Filled Stroke tool or Airbrush. In a layer above, Airbrush white light to add some shine.

ITS ATTITUDE IS STARTING TO SHOW ITSELF.
9. Add references.
After filling in the landscape, add in a couple of sizing references to give true context to the piece. (How big were those trees, really?) This sculpture is looking right at home, now. Not so much beast or shoe, is it?

THE ULTIMATE CLIMBING TOY.
10) Share your sketch and ask for feedback. External eyes see things your bleary eyes can’t, and are crucial to helping your project take the next leap. Iterations make keepers.

NEXT TIME, USE A CLEAN CONCRETE WITH NANOTUBES.
Whether you decide that this sketch has filled its purpose or you choose to evolve it into a new form, look what you’ve learned from the process. Your idea, your muse, and your sketching skills thank you. On to the next great idea!
By Erica Christensen
Recommended
Drawing Shapes Instead of Lines: 8 Exercises for Filled Stroke - Learn how to use Concepts' filled-stroke tool to create fluid, dynamic shapes in your drawings.
How to Design in Concepts - Get started using Concepts' Shape Guides, Snap, Selection and Layers as you design a simple object.
Drawing from Inspiration - Iron Man - Freelance artist Cory Siewert shares how he draws Iron Man with digital Copic markers in Concepts.