Concepts is an infinite, flexible creative tool for all your good ideas. Available on iOS, Windows and Android.
How to Make a Custom Greeting Card
Learn to make your own custom greeting cards with this tutorial from artist Erica Christensen.

Whenever I browse the greeting card aisle (or five) at the local shop, I’m alternately envious of those who design cards and sell them in bulk, and glad I don’t have to give my life to designing and selling greeting cards in bulk.
That’s not knocking greeting cards, I just like my card for my sweetheart to be one-of-a-kind.
Here’s how to make your own card. Whether you print just one, or love the process so much you begin selling them at large, you’ll enjoy the satisfaction of making something that is all you.
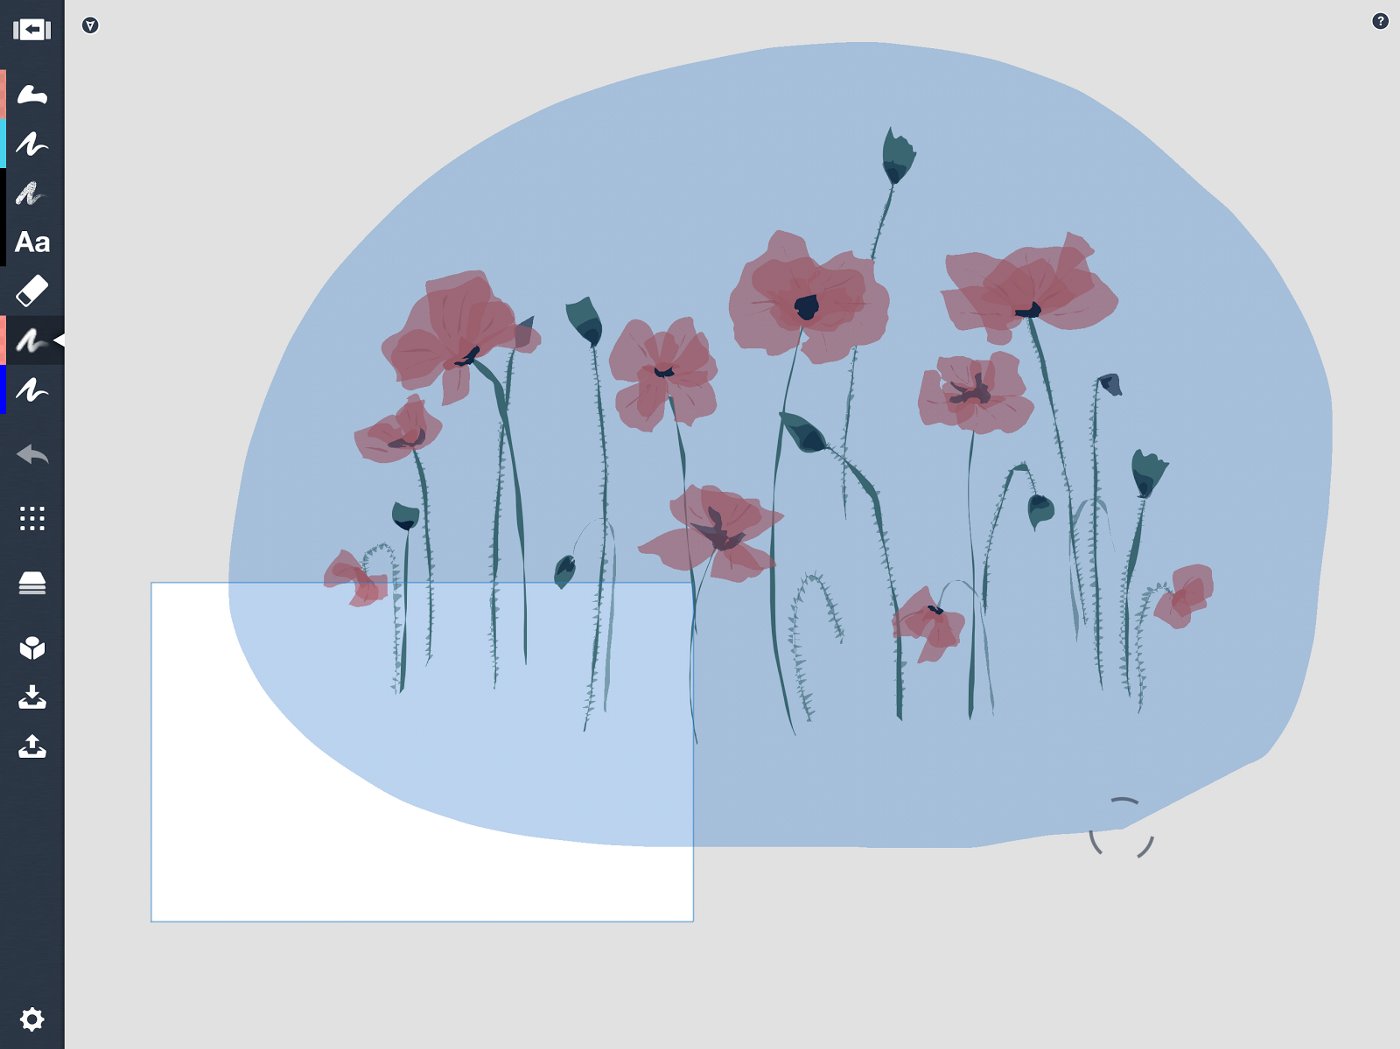
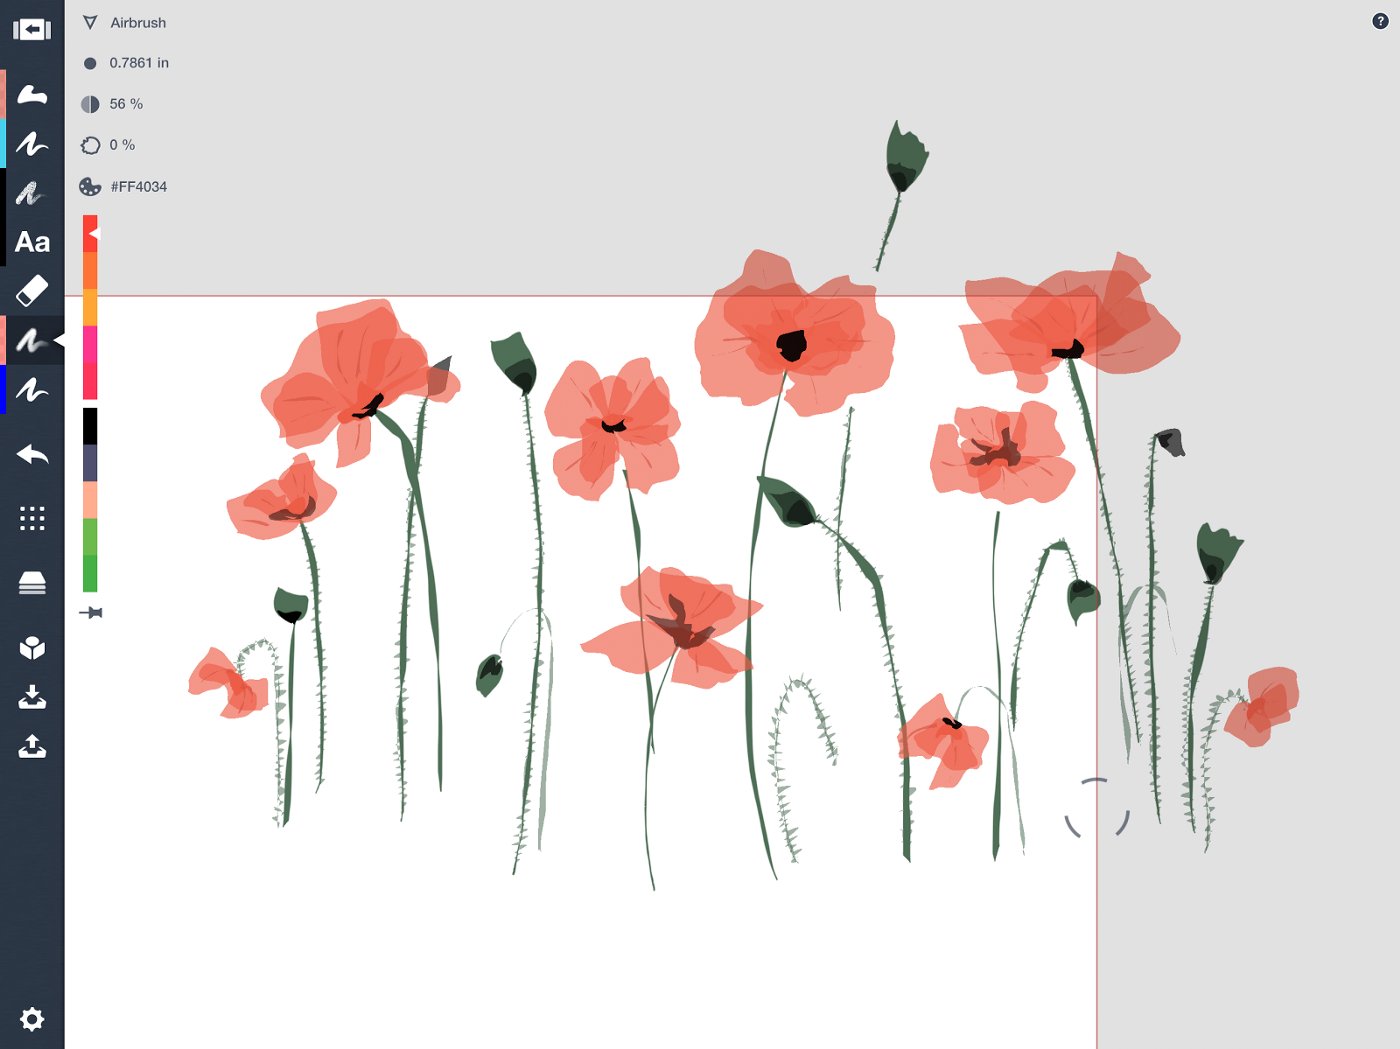
1. Draw your picture.

I have a soft spot for poppies. Try using the Filled Stroke tool at a lowered opacity for a clean, lovely watercolor effect.
2. Enter your Settings menu.
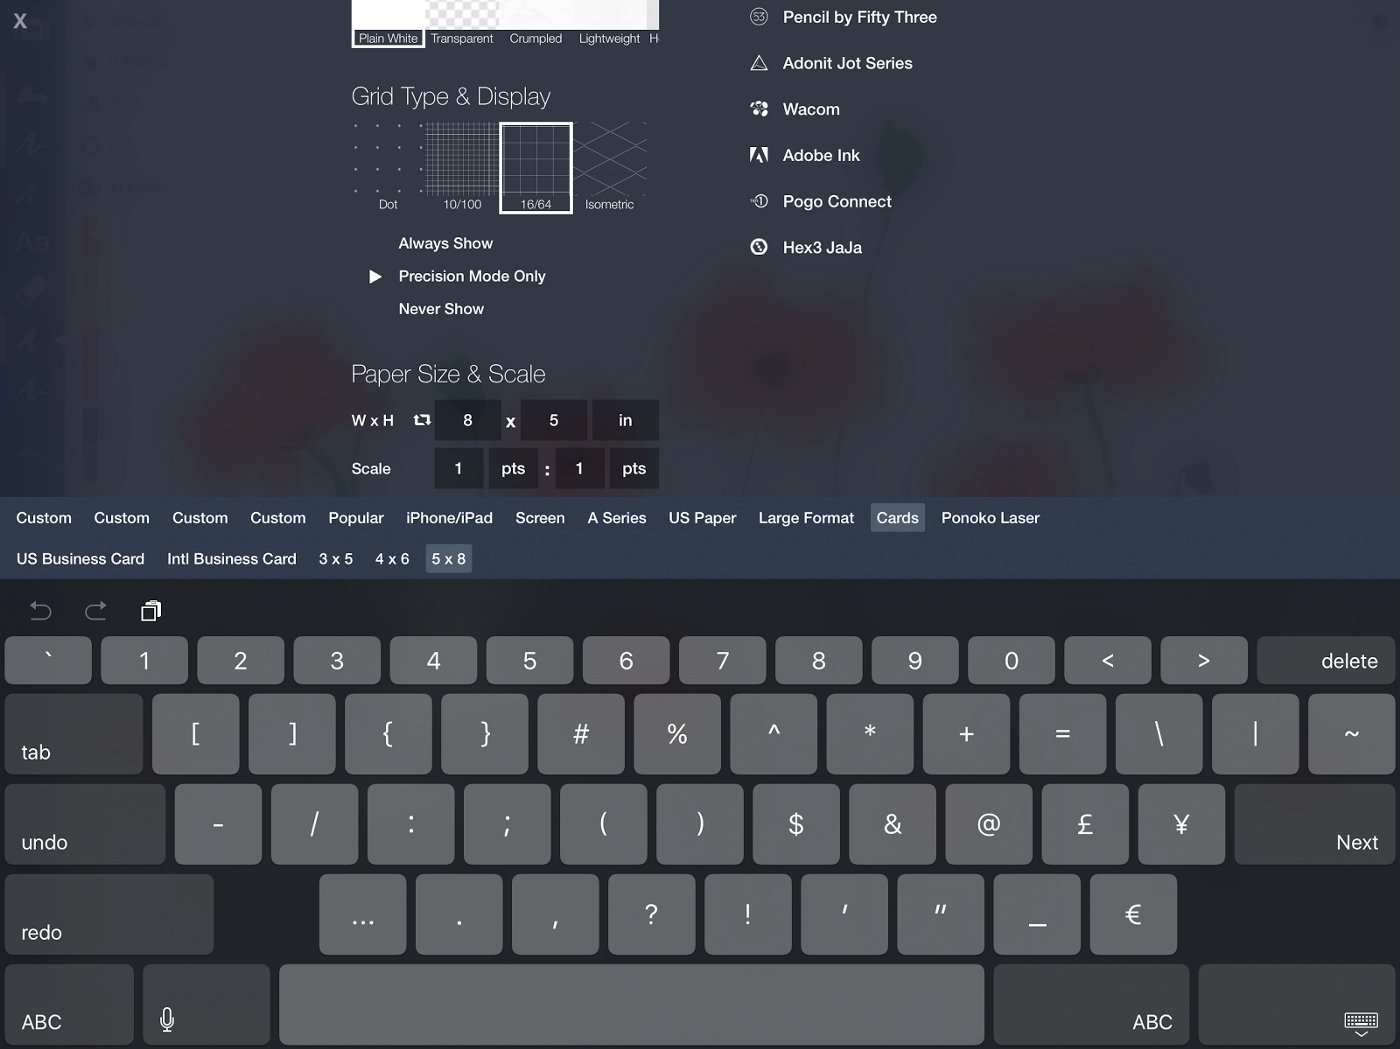
Under Paper Size & Scale, touch one of the input areas and in the menu that appears, tap the Cards option and choose your card size. This will set your paper boundaries to the exact dimensions you want.
3. Select your drawing.
Make sure you are selecting in All Layers to grab all of your drawing. If you’re uncertain, check the HUD in the upper right corner of the screen once it’s selected. Tap the underlined portion to toggle between Active Layer and All Layers.
Also, do you see the right-most button on the selection popup, the two opposing arrows? That means Stretch is on. Since my drawing uses only the Filled Stroke tool, the strokes stay the same whether I stretch them big or small. The Fixed Width, Wire, and Filled Stroke tools all retain their proportions this way.
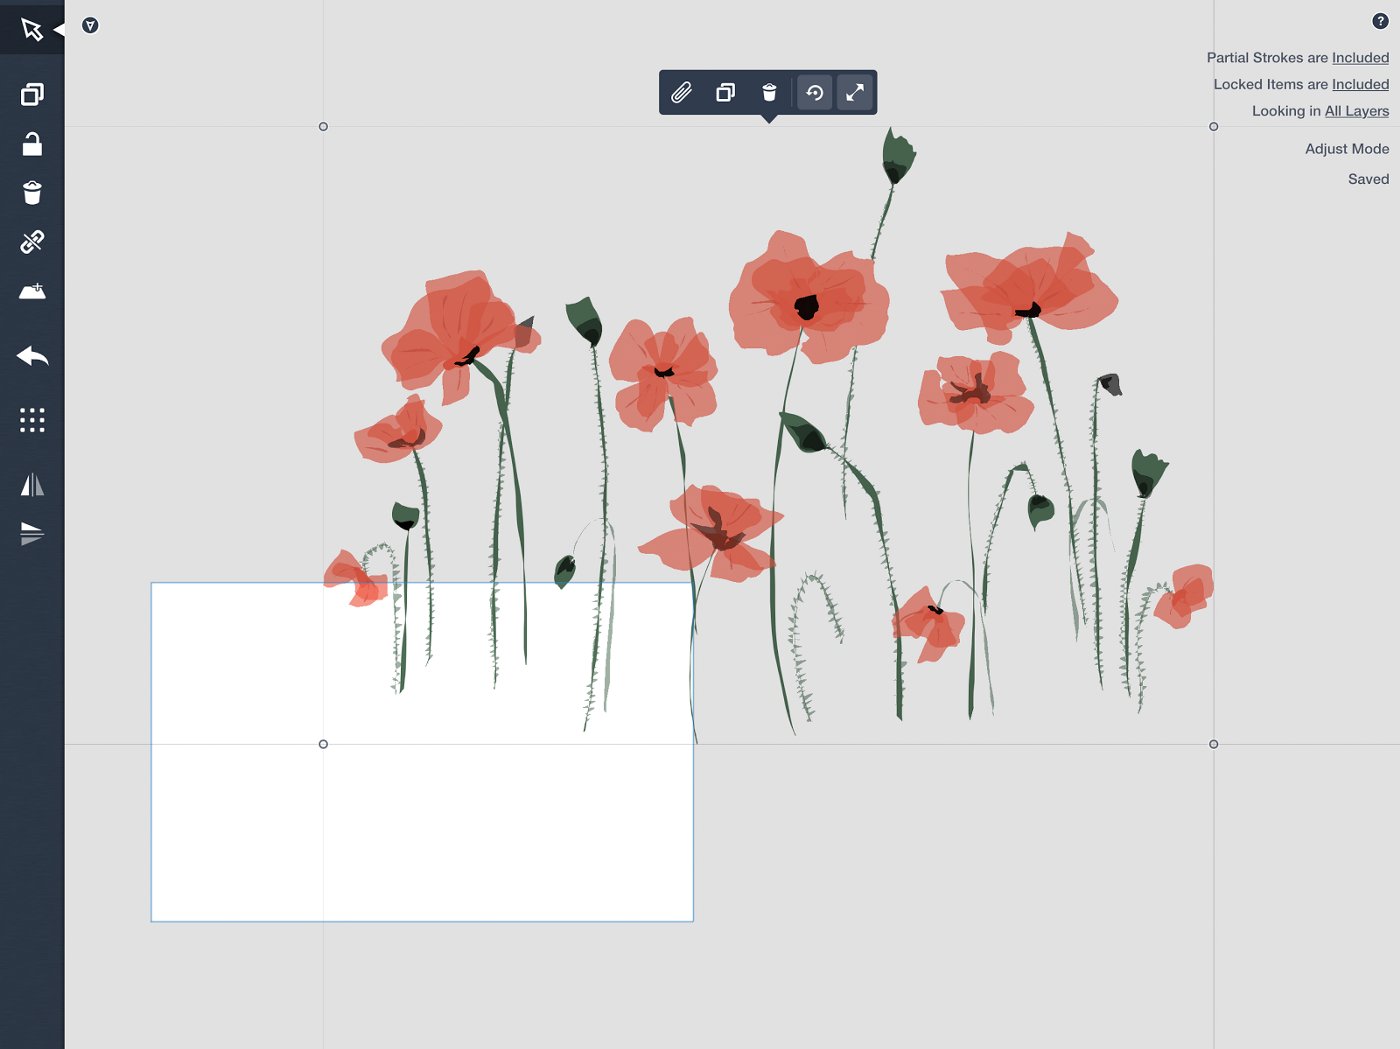
The Pen, Pencil and Marker tools with raster-like textures shrink at different rates. For these and drawings using more than one tool, touch the two opposing arrows one more time so there is a dot in the middle. This turns Scale on. Your drawing will retain its dimensions, pinch or pull.
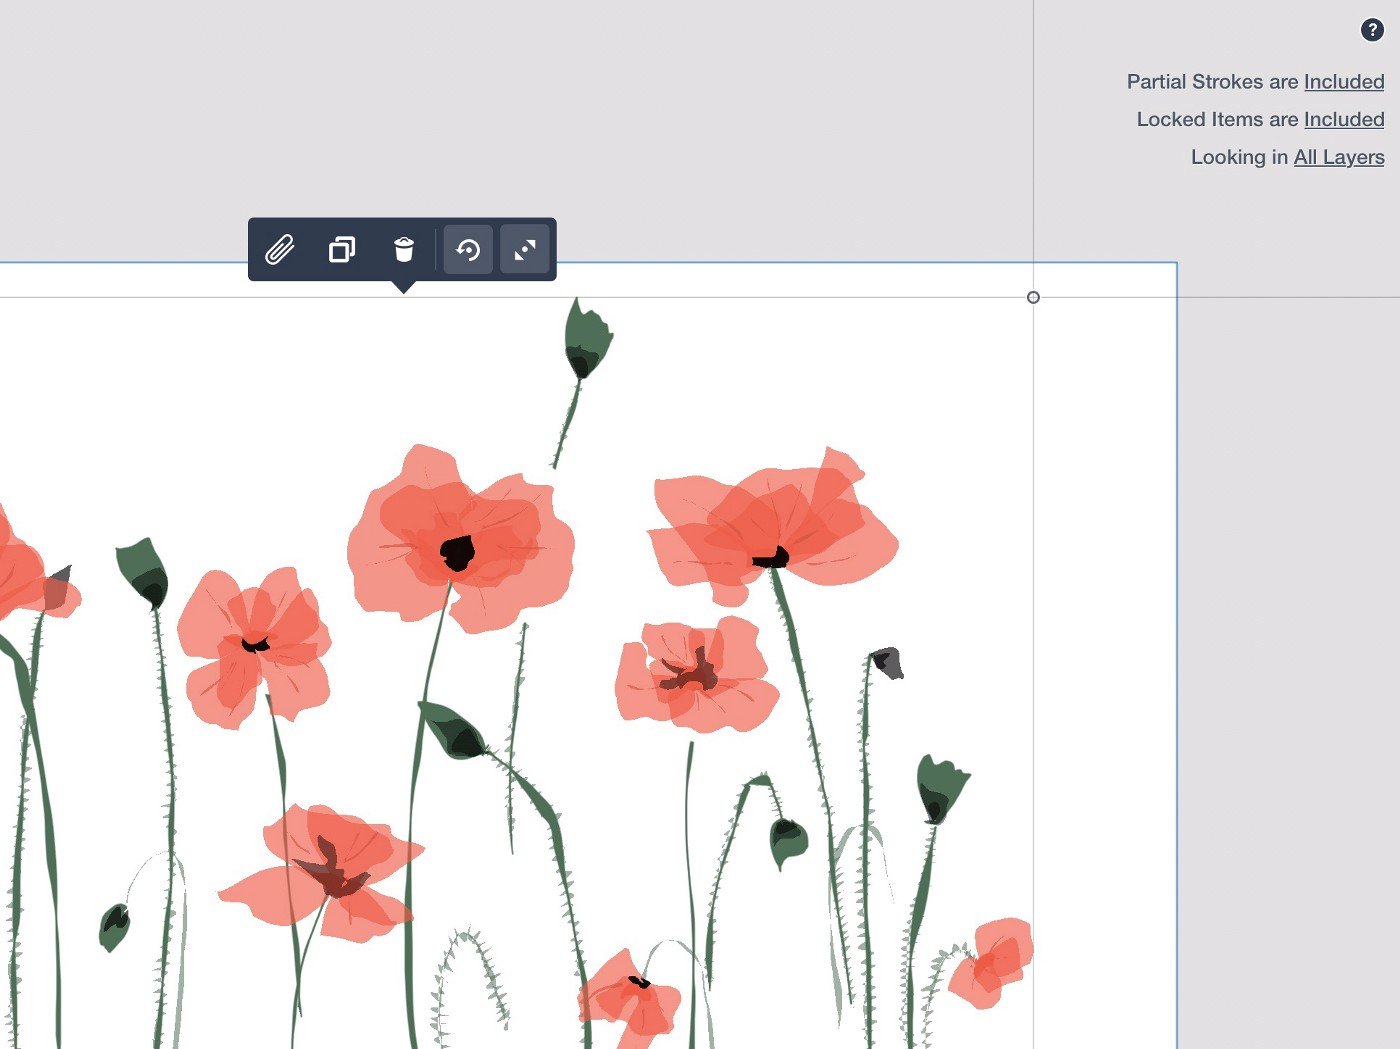
4. Fit your image to your paper.
Or, tap-and-hold the edge of the paper and drag to reposition it around your image.

5. Touch the Export button on the toolbar and under Custom Export, select Configured Size. See how reassuring it is, with that 5 x 8 next to it?
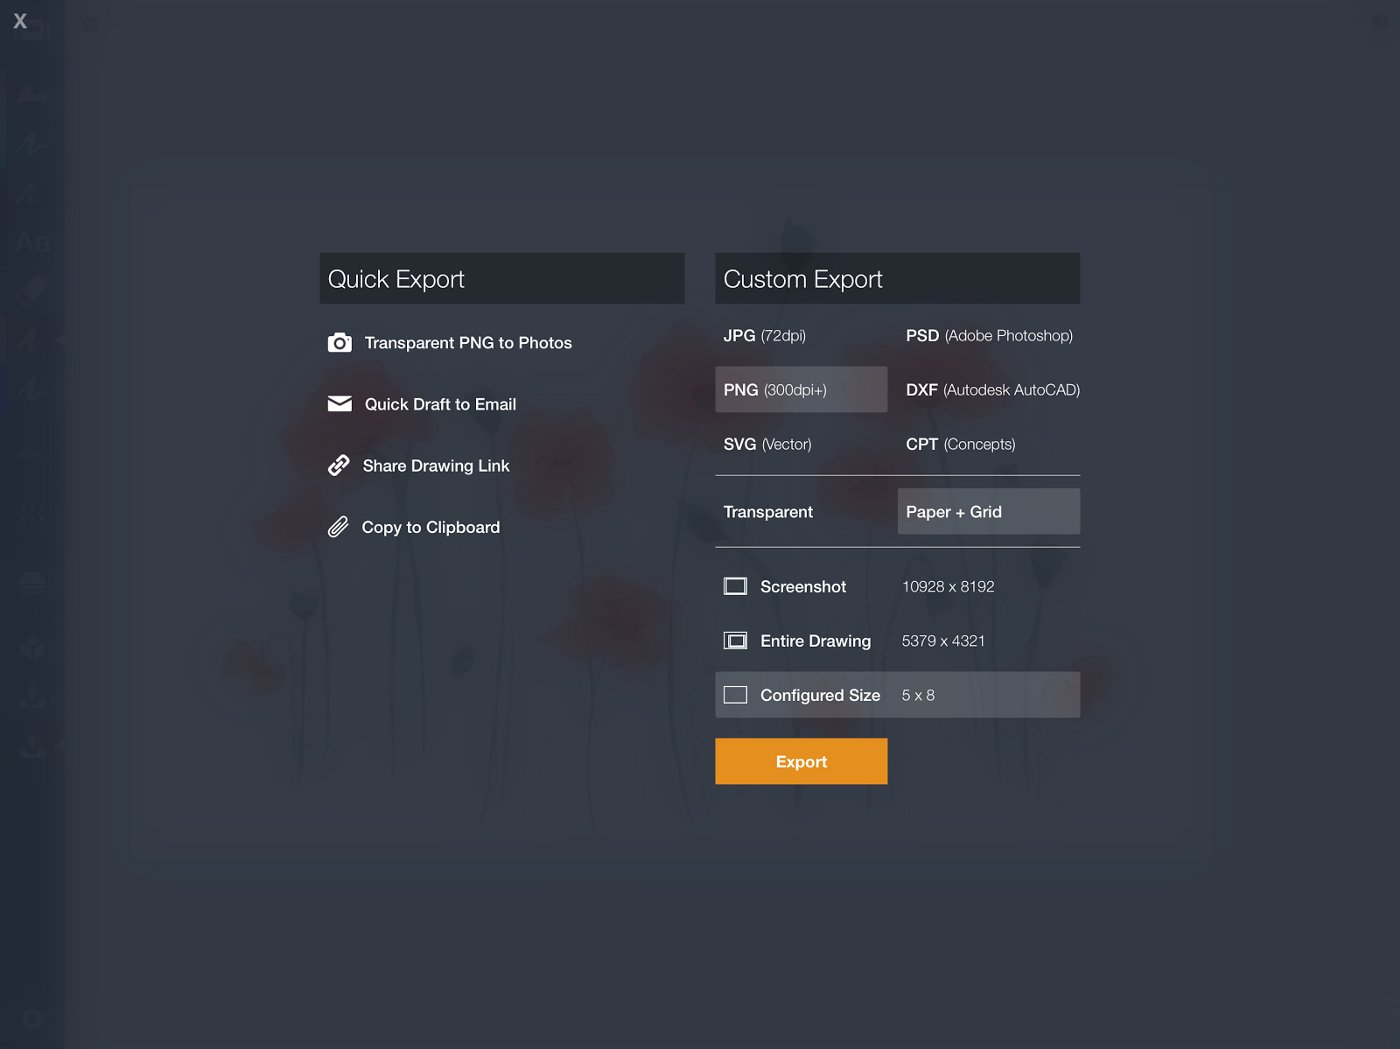
6. Annnd… Export.
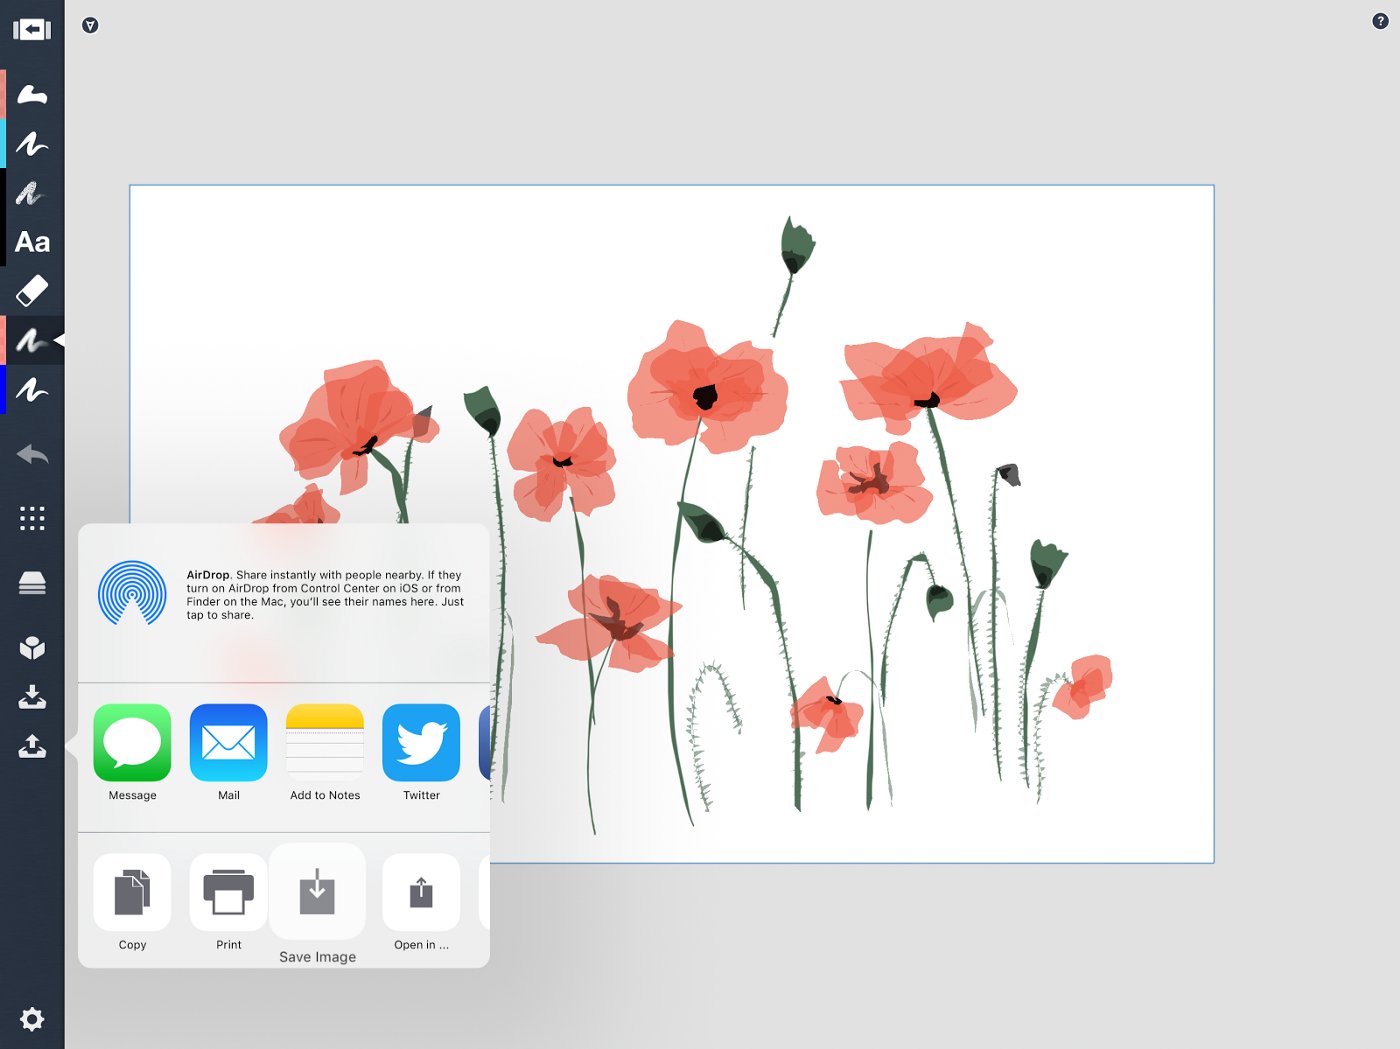
To the Photo Roll…

…ready to be saved to the USB drive and taken to the nearest color printer. In my case, Staples is right down the street and prints the red hues quite nicely.
Remember to print the image upside down at the top of the paper, so that when you fold the card, the image appears right-side up. Or print it on the bottom half of the page.
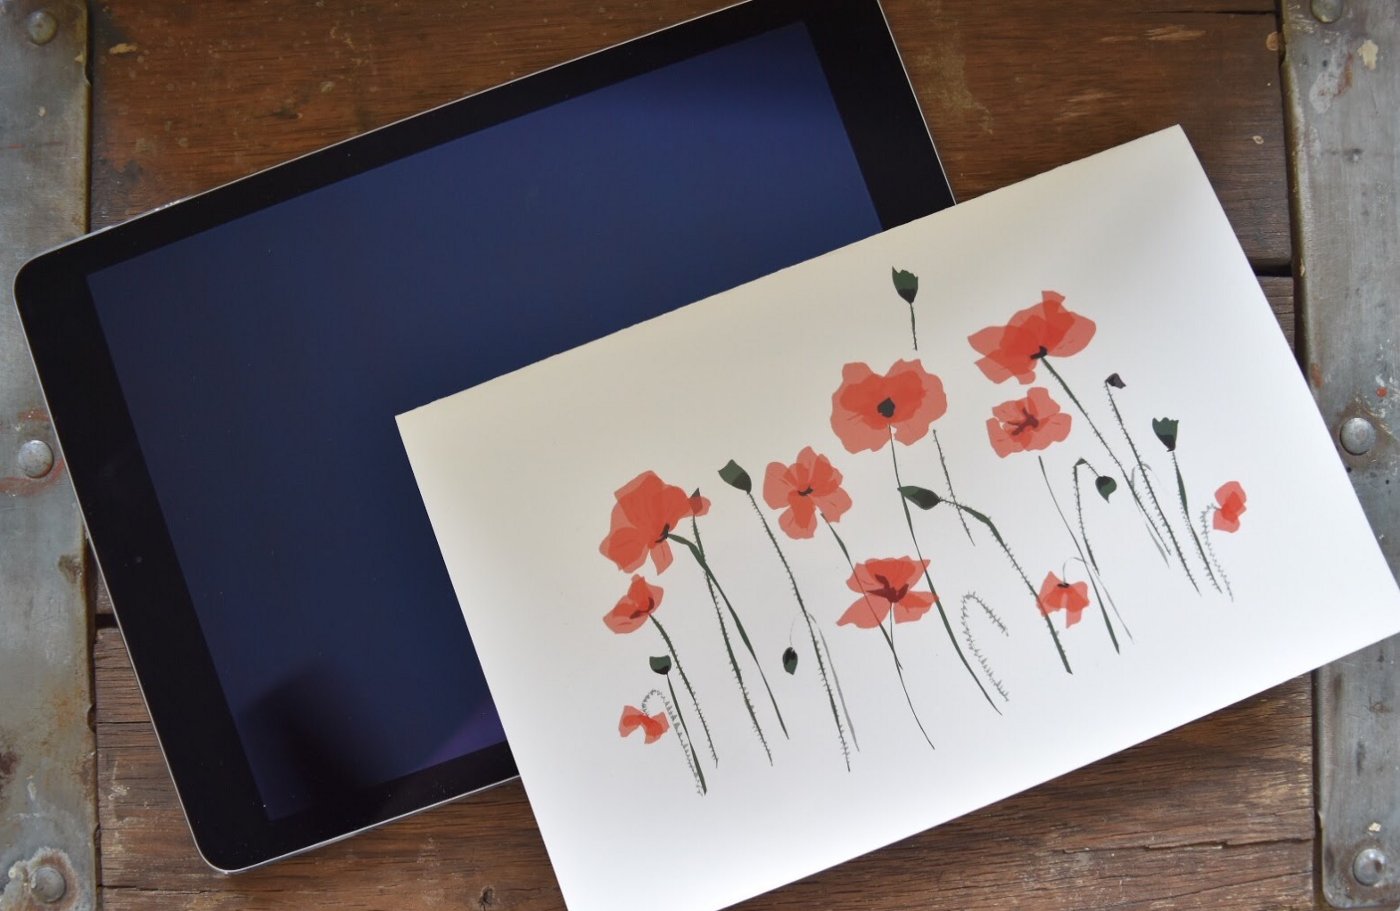
Around two dollars and not-too-many-minutes later, the card is all yours, and ready for your special someone. Happy creating!

Erica Christensen is the Chief Writer for the Concepts team, and a freelance writer and illustrator. She has sold her art through various art markets and commissions, published art-related educational materials, and writes stories the rest of the time. The earth's ecological systems give her endless inspirations in textures and world building. She loves hiking through the mountains, and prefers to live outdoors with her notebook, iPad Pro, and flock of children and chickens. You can find her work on Instagram or her website.
Recommended
How to Create Custom Gift Wrap - Artist Erica Christensen shares how to make your own custom gift wrap with Concepts and Spoonflower.com.
How to Create a Stencil - Jill Buckley shares her process behind creating original stencils for silk-screening.
When Design Meets Cake, It Transforms into Delicious - Chef Madison Lee adds flavor, sugar, and a dash of design on the iPad Pro to create artisanal, one-of-a-kind cakes for celebrations.