Concepts is an infinite, flexible creative tool for all your good ideas. Available on iOS, Windows and Android.
How to Create Custom Gift Wrap
Artist Erica Christensen shares how to make your own custom gift wrap with Concepts and Spoonflower.com.
The holiday season is rolling, yet it’s early enough to be thoughtful about how you want your season’s gifts to shine. Part of the fun of giving is the beauty of the package itself. This year, I decided to give my gifts a custom touch, and in a day’s time, I was able to draw, design and order these rolls of custom-printed gift wrap using Concepts and Spoonflower.com.
Here's how to do it.
1. Dream up your design with Concepts.
I wanted to make a couple styles of gift wrap — a classy one for my elegant kinfolk, and a playful type for my sweetheart kids. Where I live, snow brings a joyful, holiday glow, so snow was the way to go. And my other two wintery favorites? Polar bears and penguins.
I began to work on the snowflakes first. I thought I could use the same snowflakes for both papers, using the Make Your Own Objects ability in Concepts.
Make Your Own Objects is perfect for collecting every design you can imagine — from windows and doorways for floor plans, to seasonal themes like sun and beach or squashes. Whatever you draw now can become a collection of useful objects for later, ready to drop into your current project.
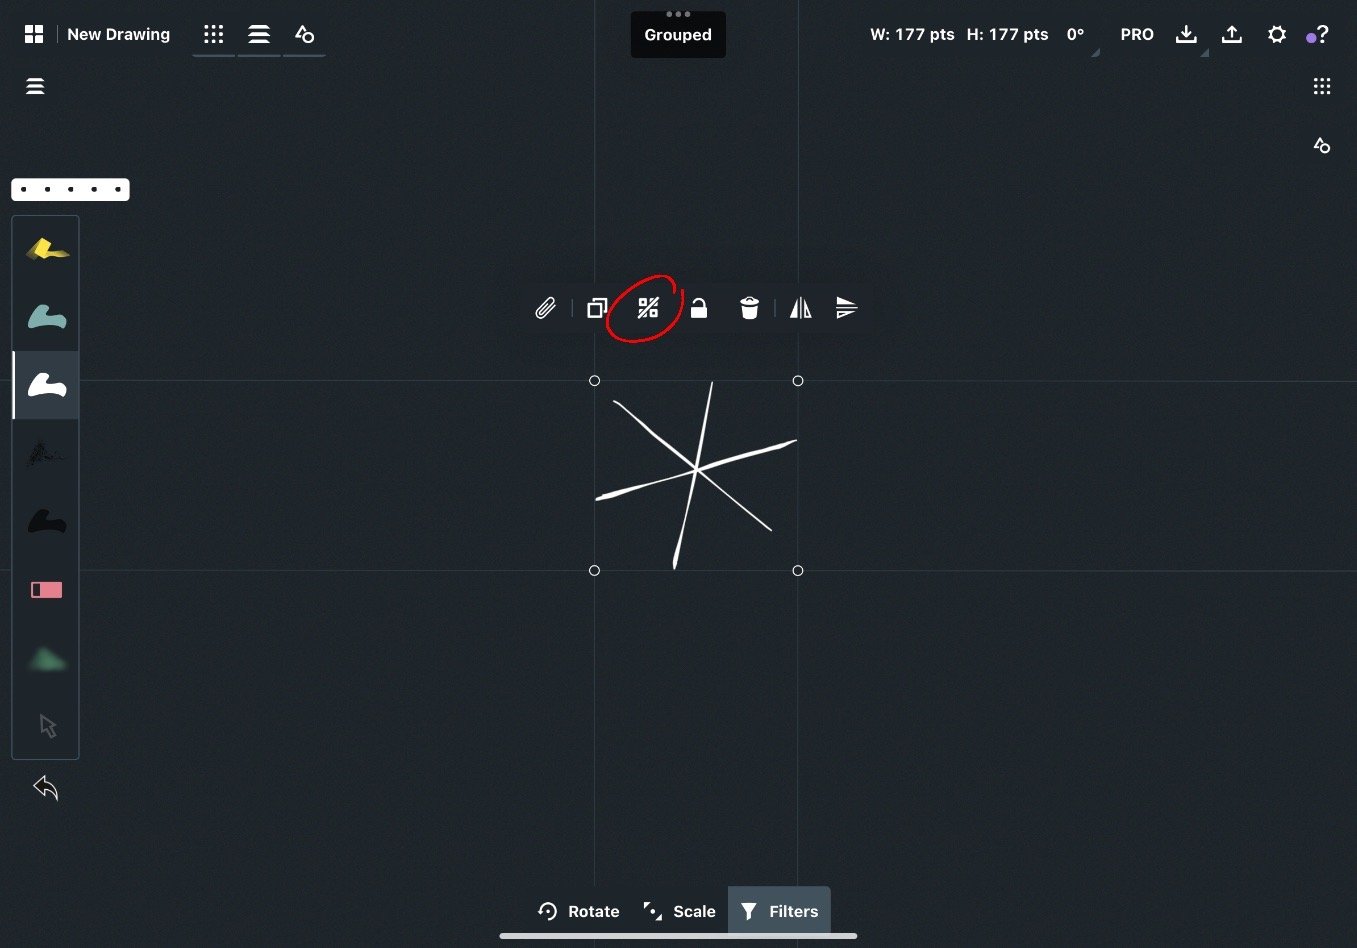
I set my tool to Filled Stroke. I love the raw character that comes from using this tool — it gives illustrations a very satisfying artistic texture. Using this tool, I made three intersecting lines for the frame of the flake. Then I linked them together for easy selection and movement later on.
In the Objects menu, I made a new Object Library…
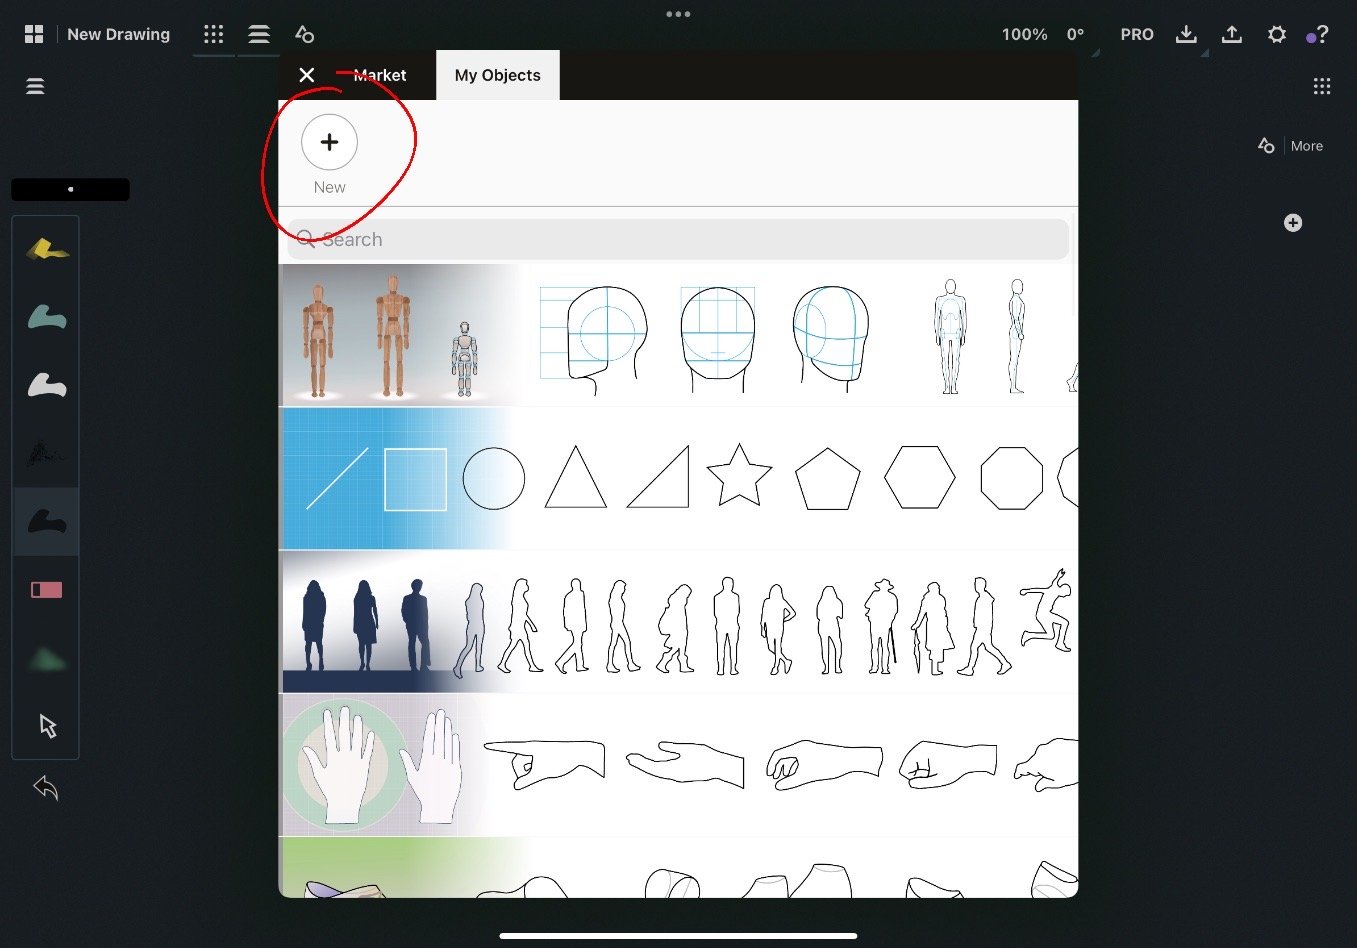
… selected the snowflake frame…
… and added it to the library by tapping the plus button.
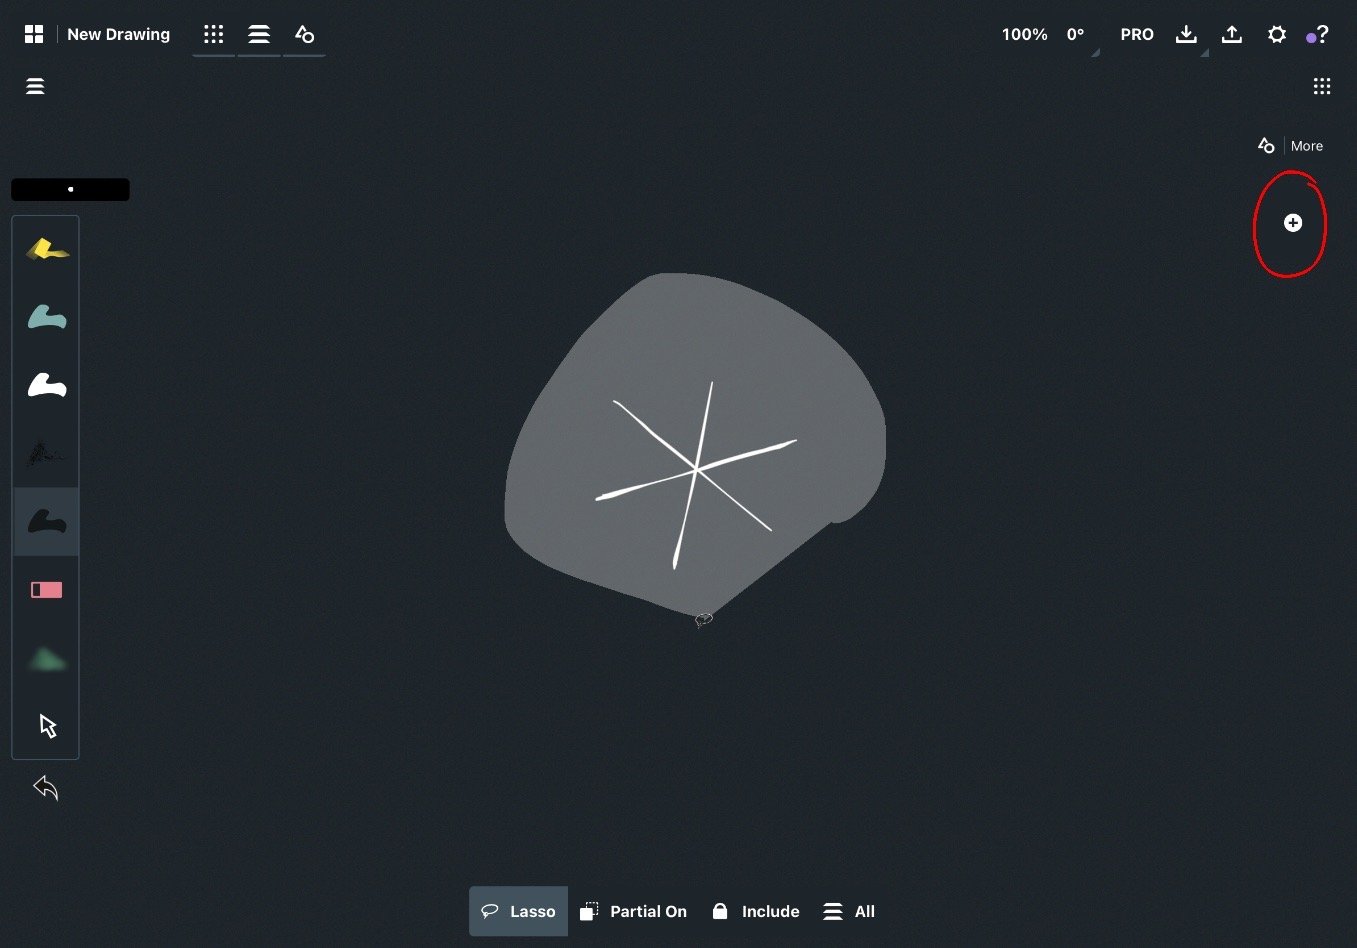
Then I got busy designing snowflakes. For each new snowflake, I dragged the same frame from the object library onto the canvas and decorated it. Once done, I selected the design, linked all the strokes together, and added my new snowflake object to the library.
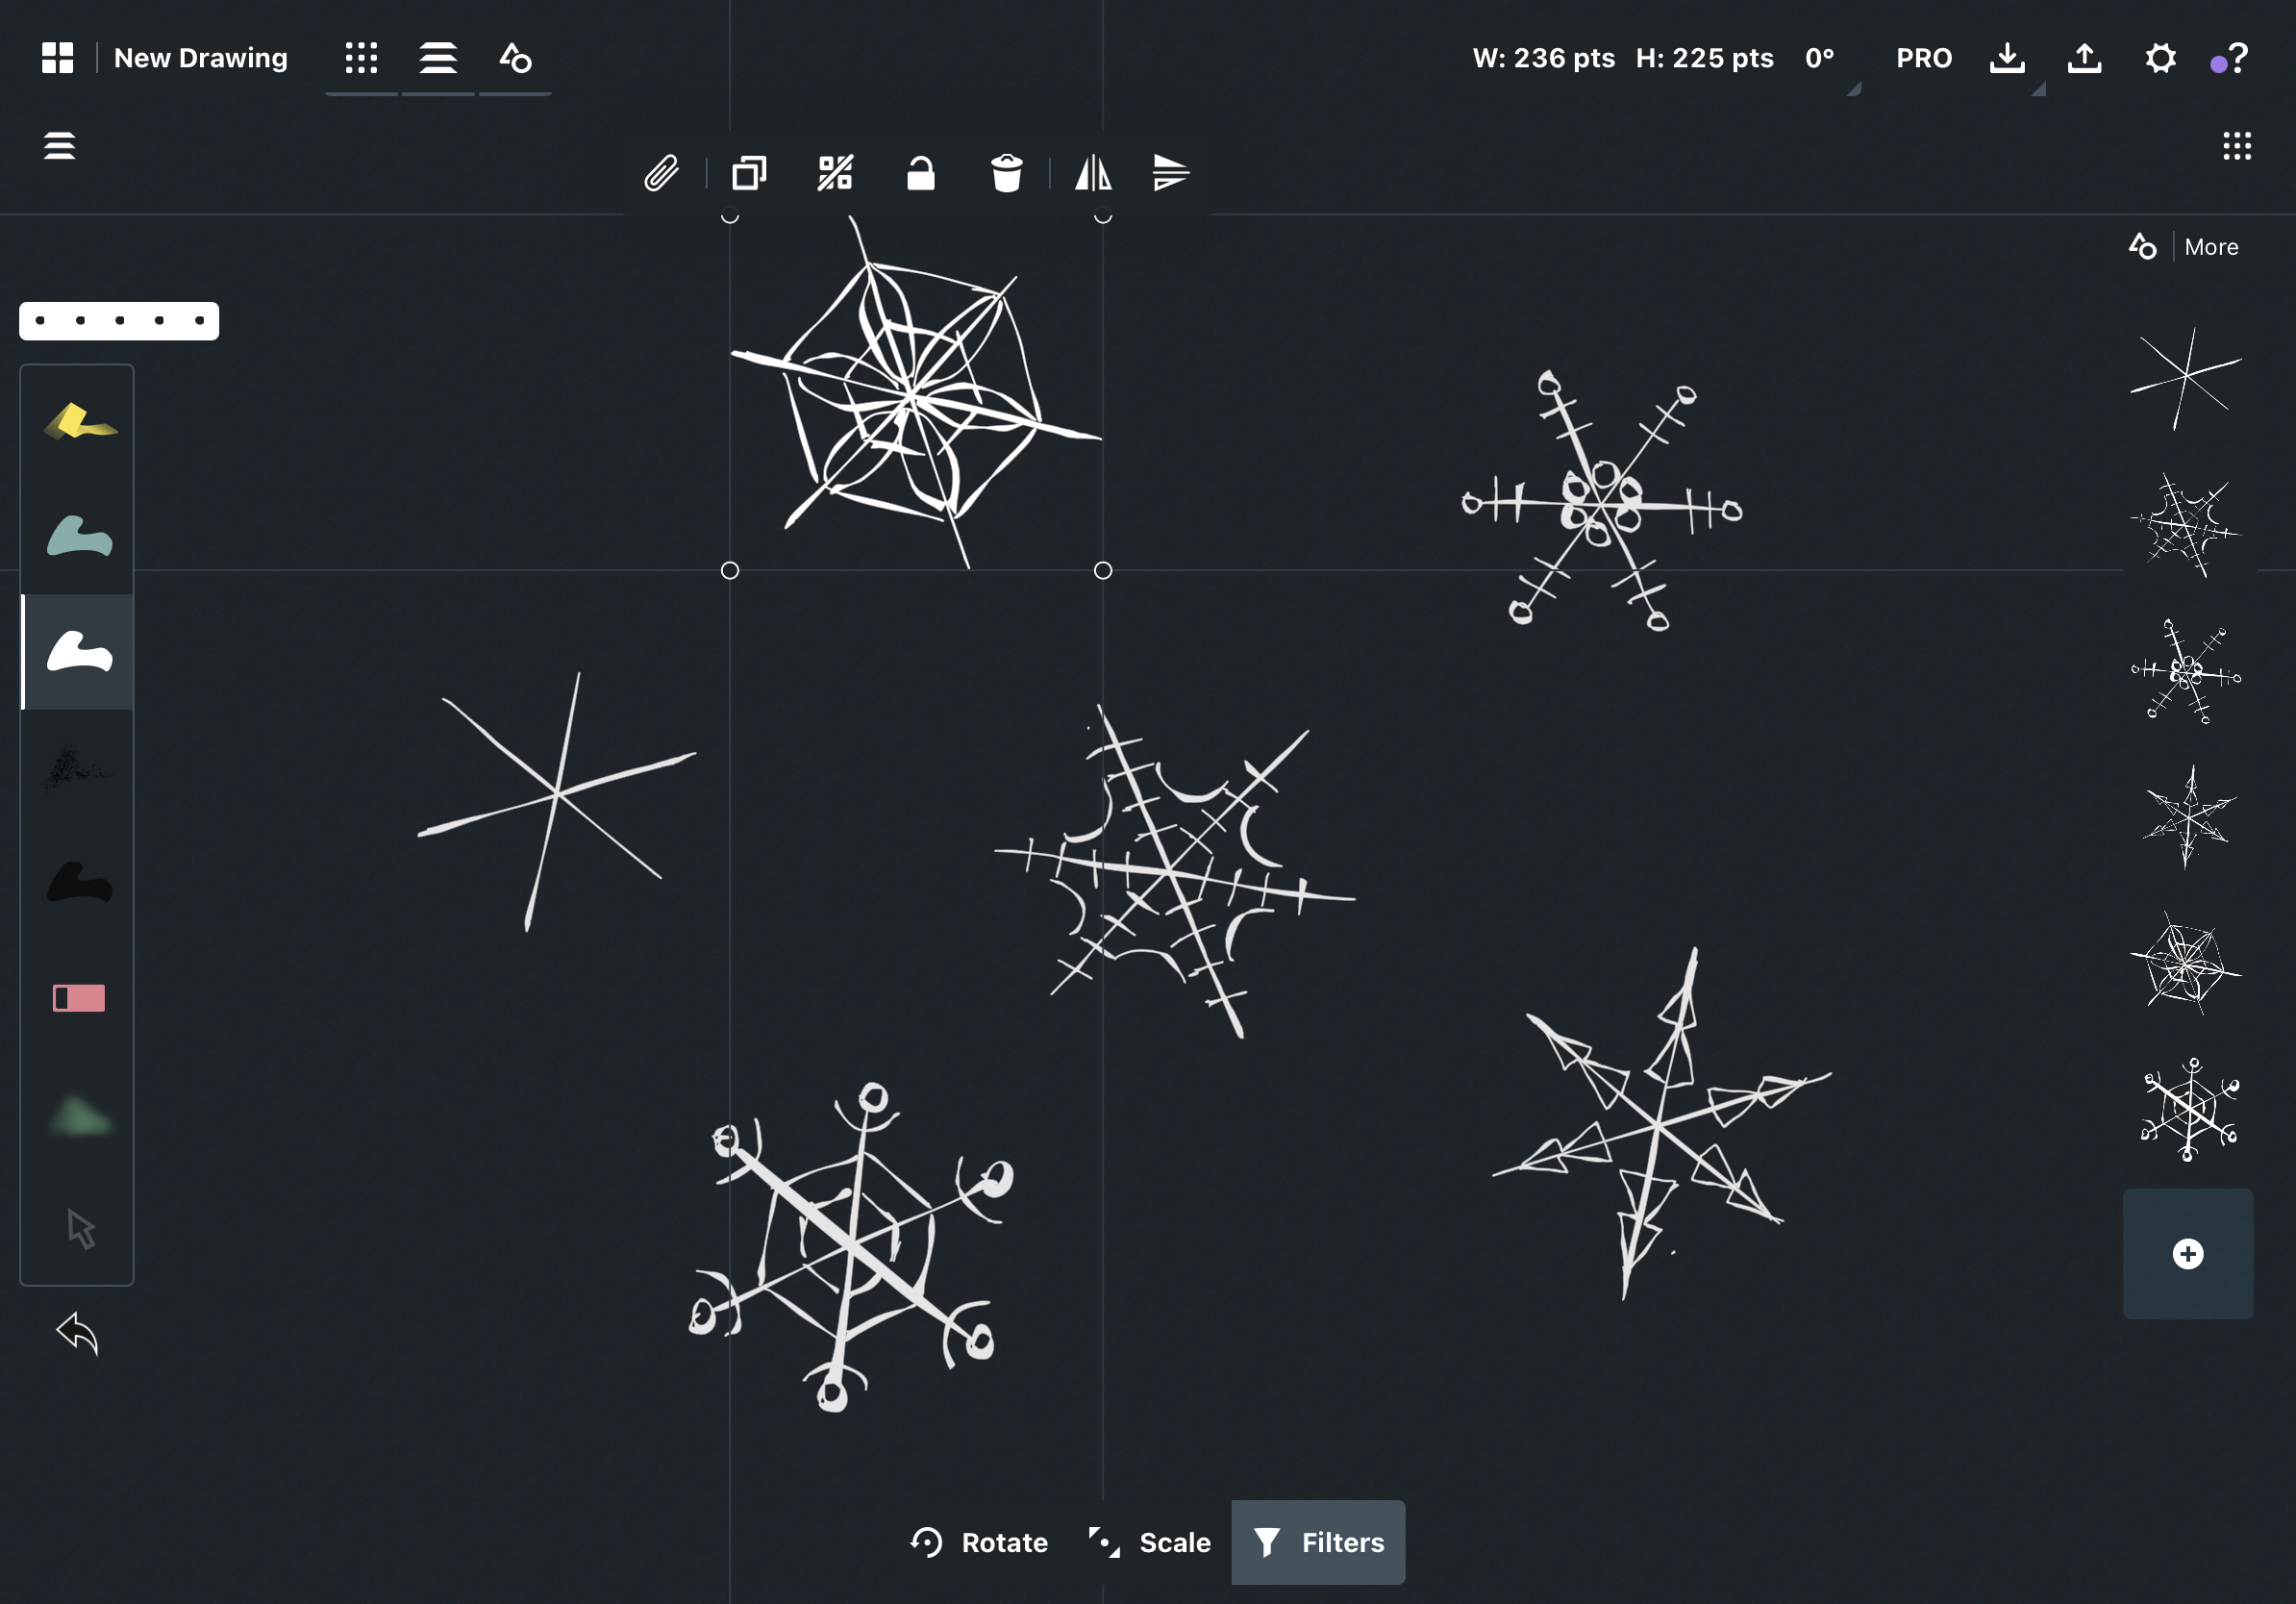
Look at the collection grow. So satisfying!
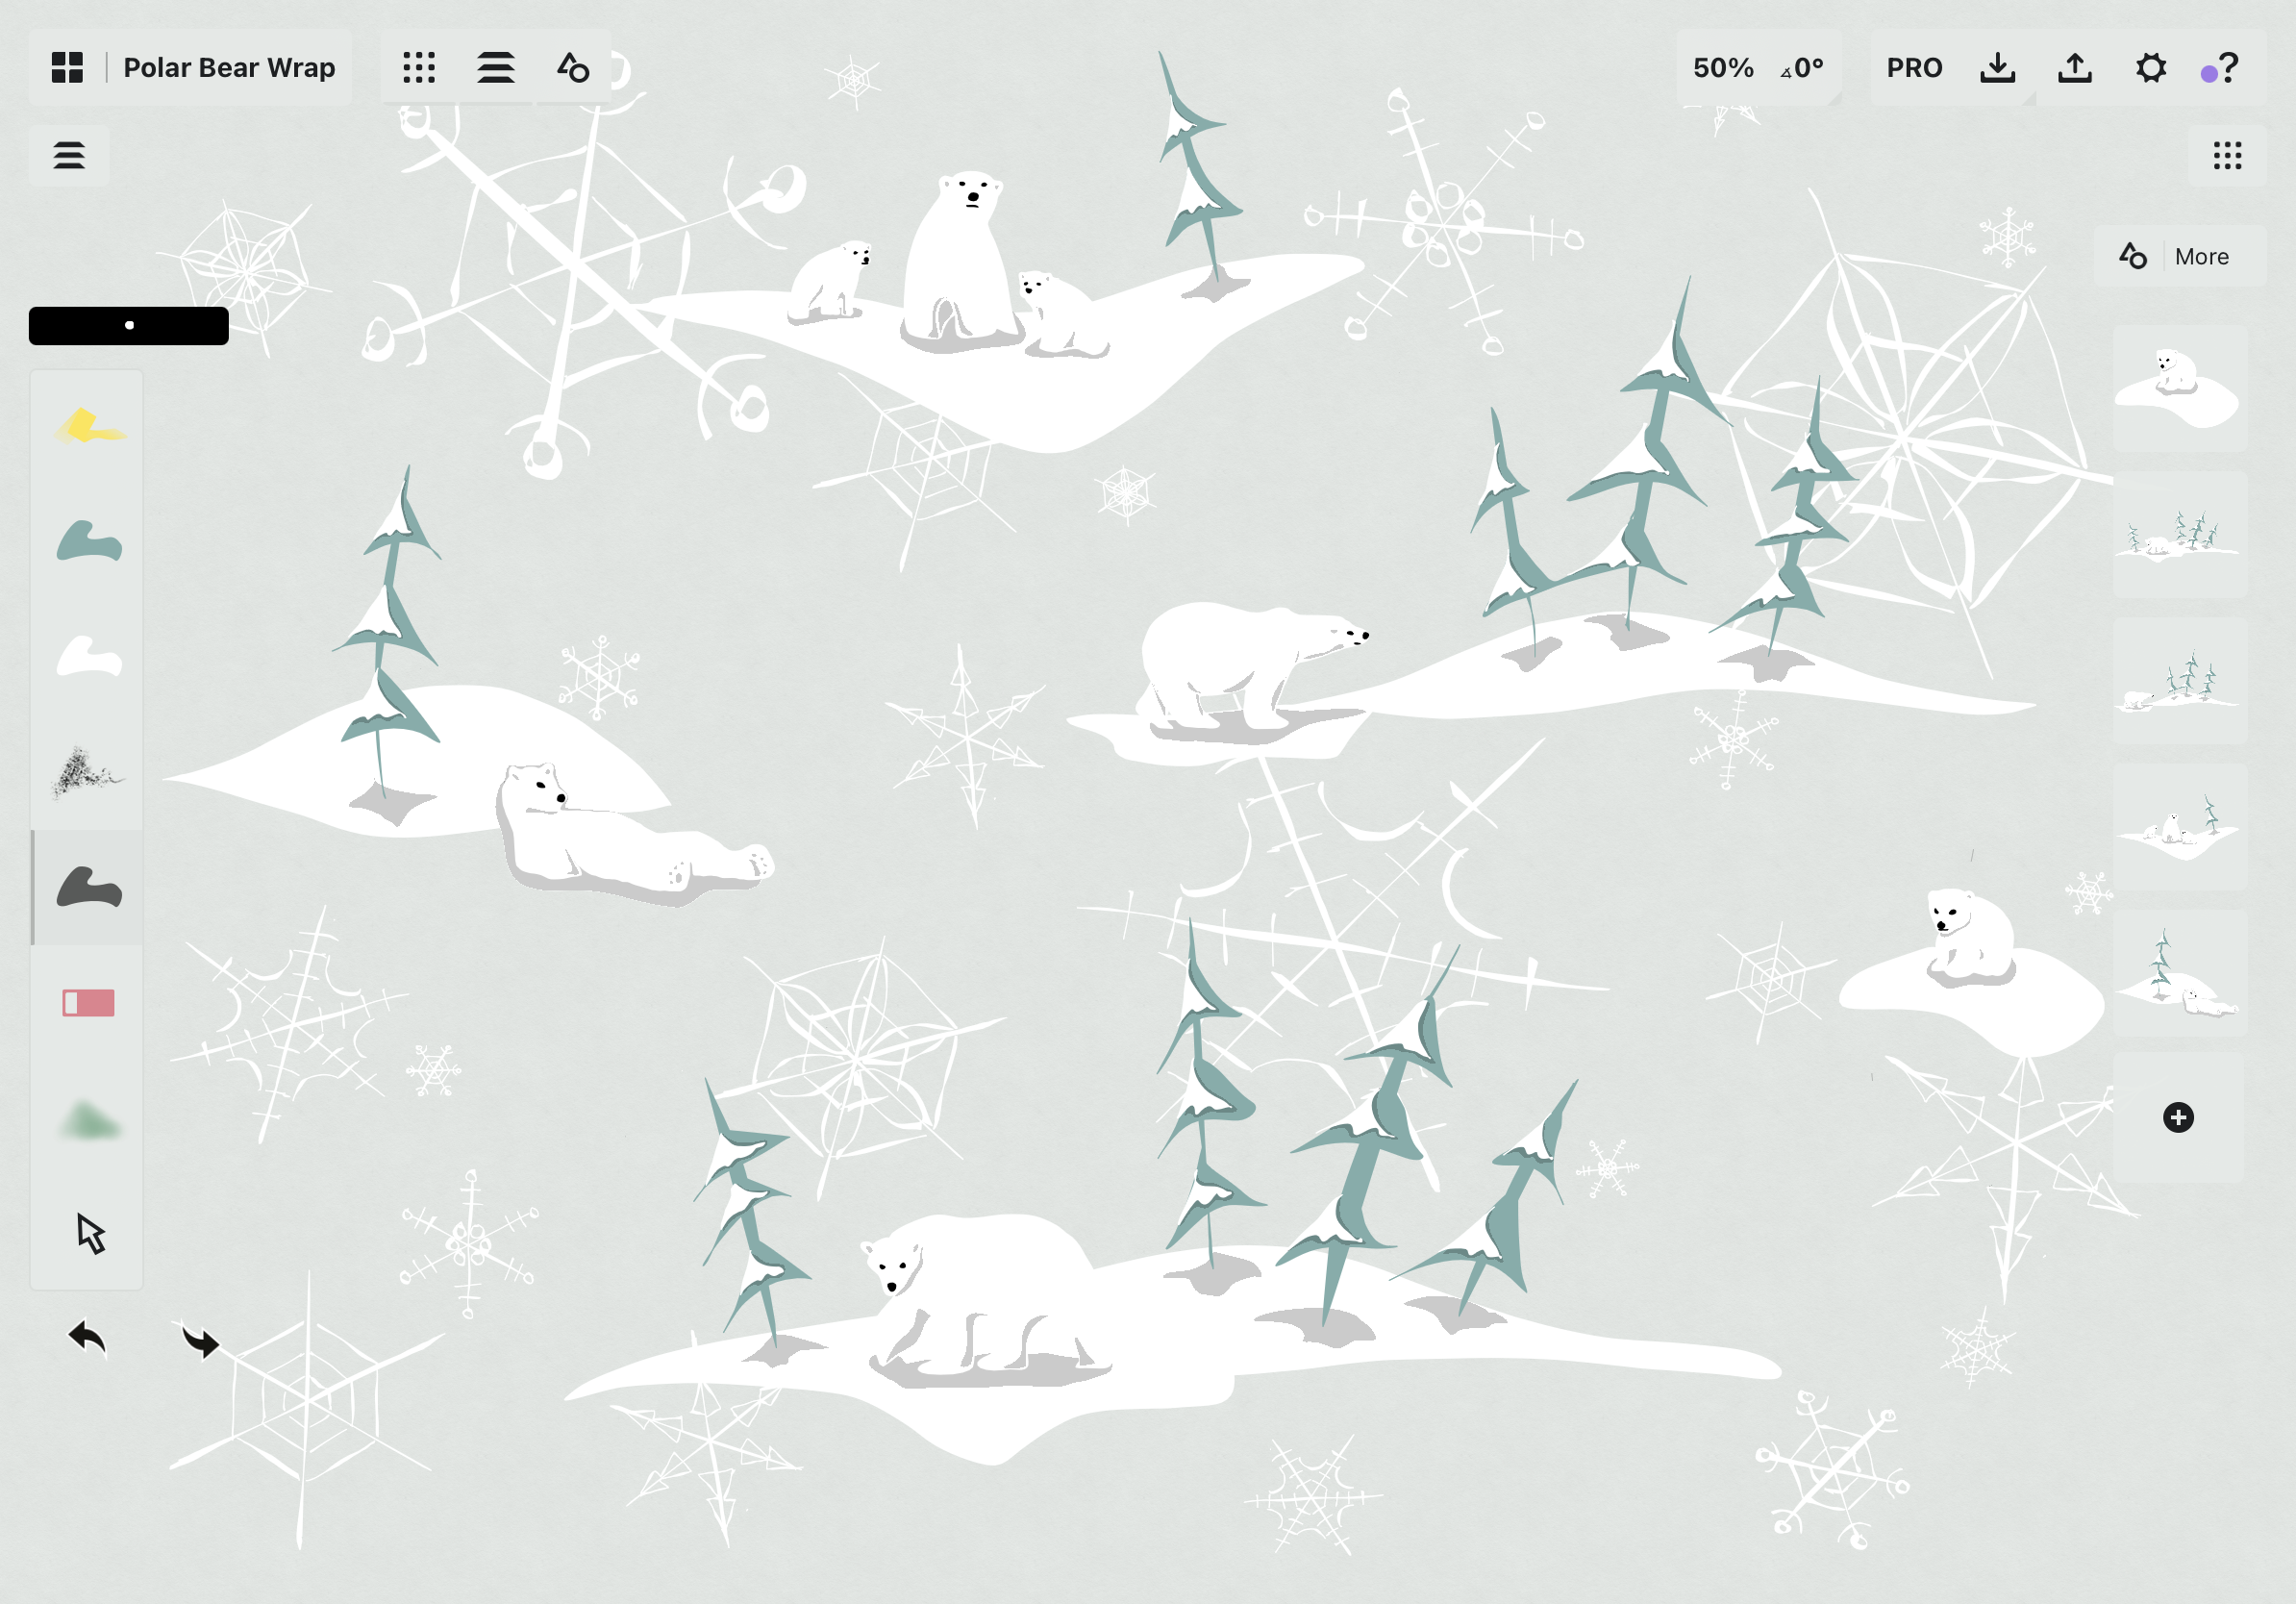
In a new drawing, I brainstormed my character scenes, polished them up, then dragged the snowflakes into a background layer.
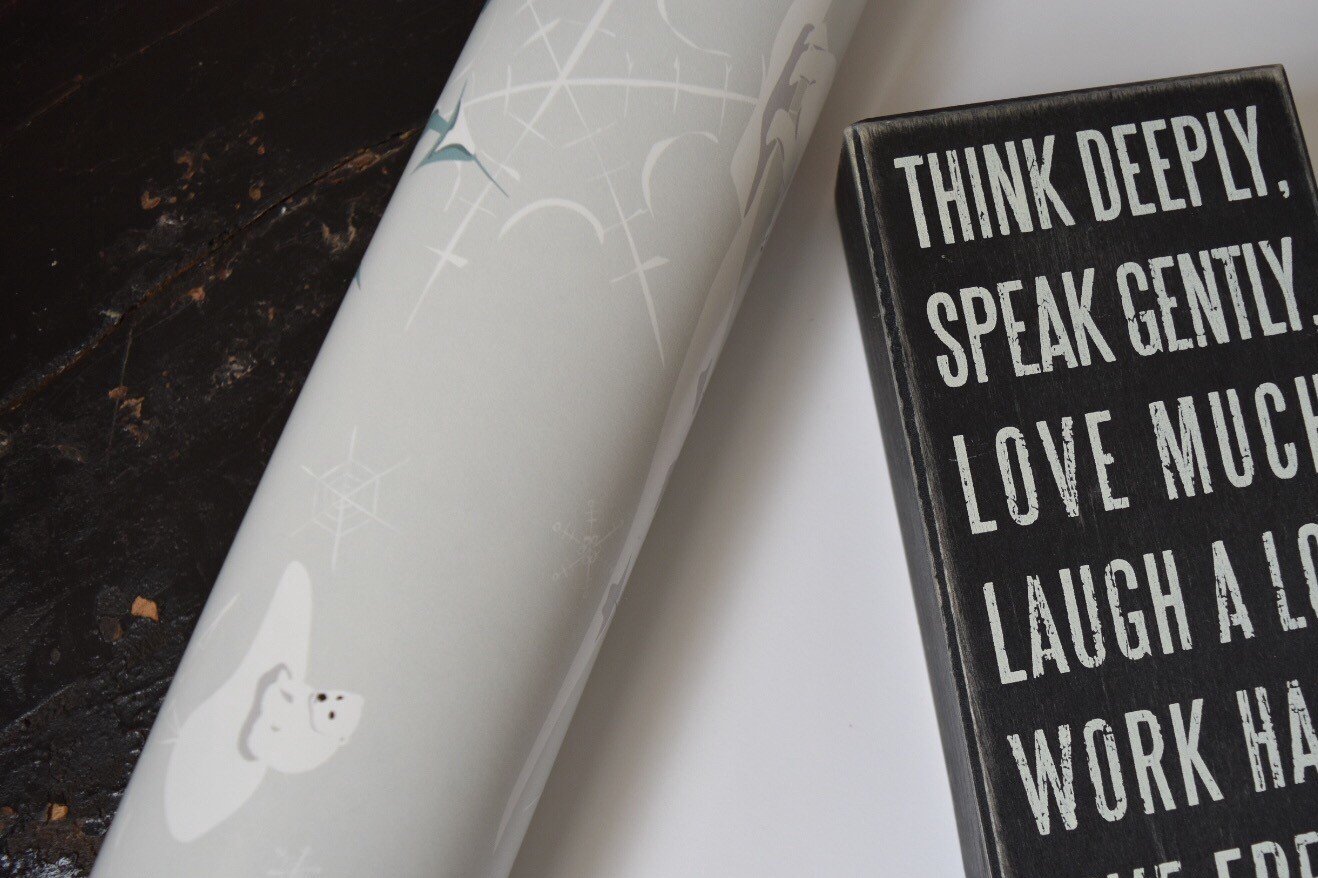
Polar bears and trees on silver for the elegant paper.
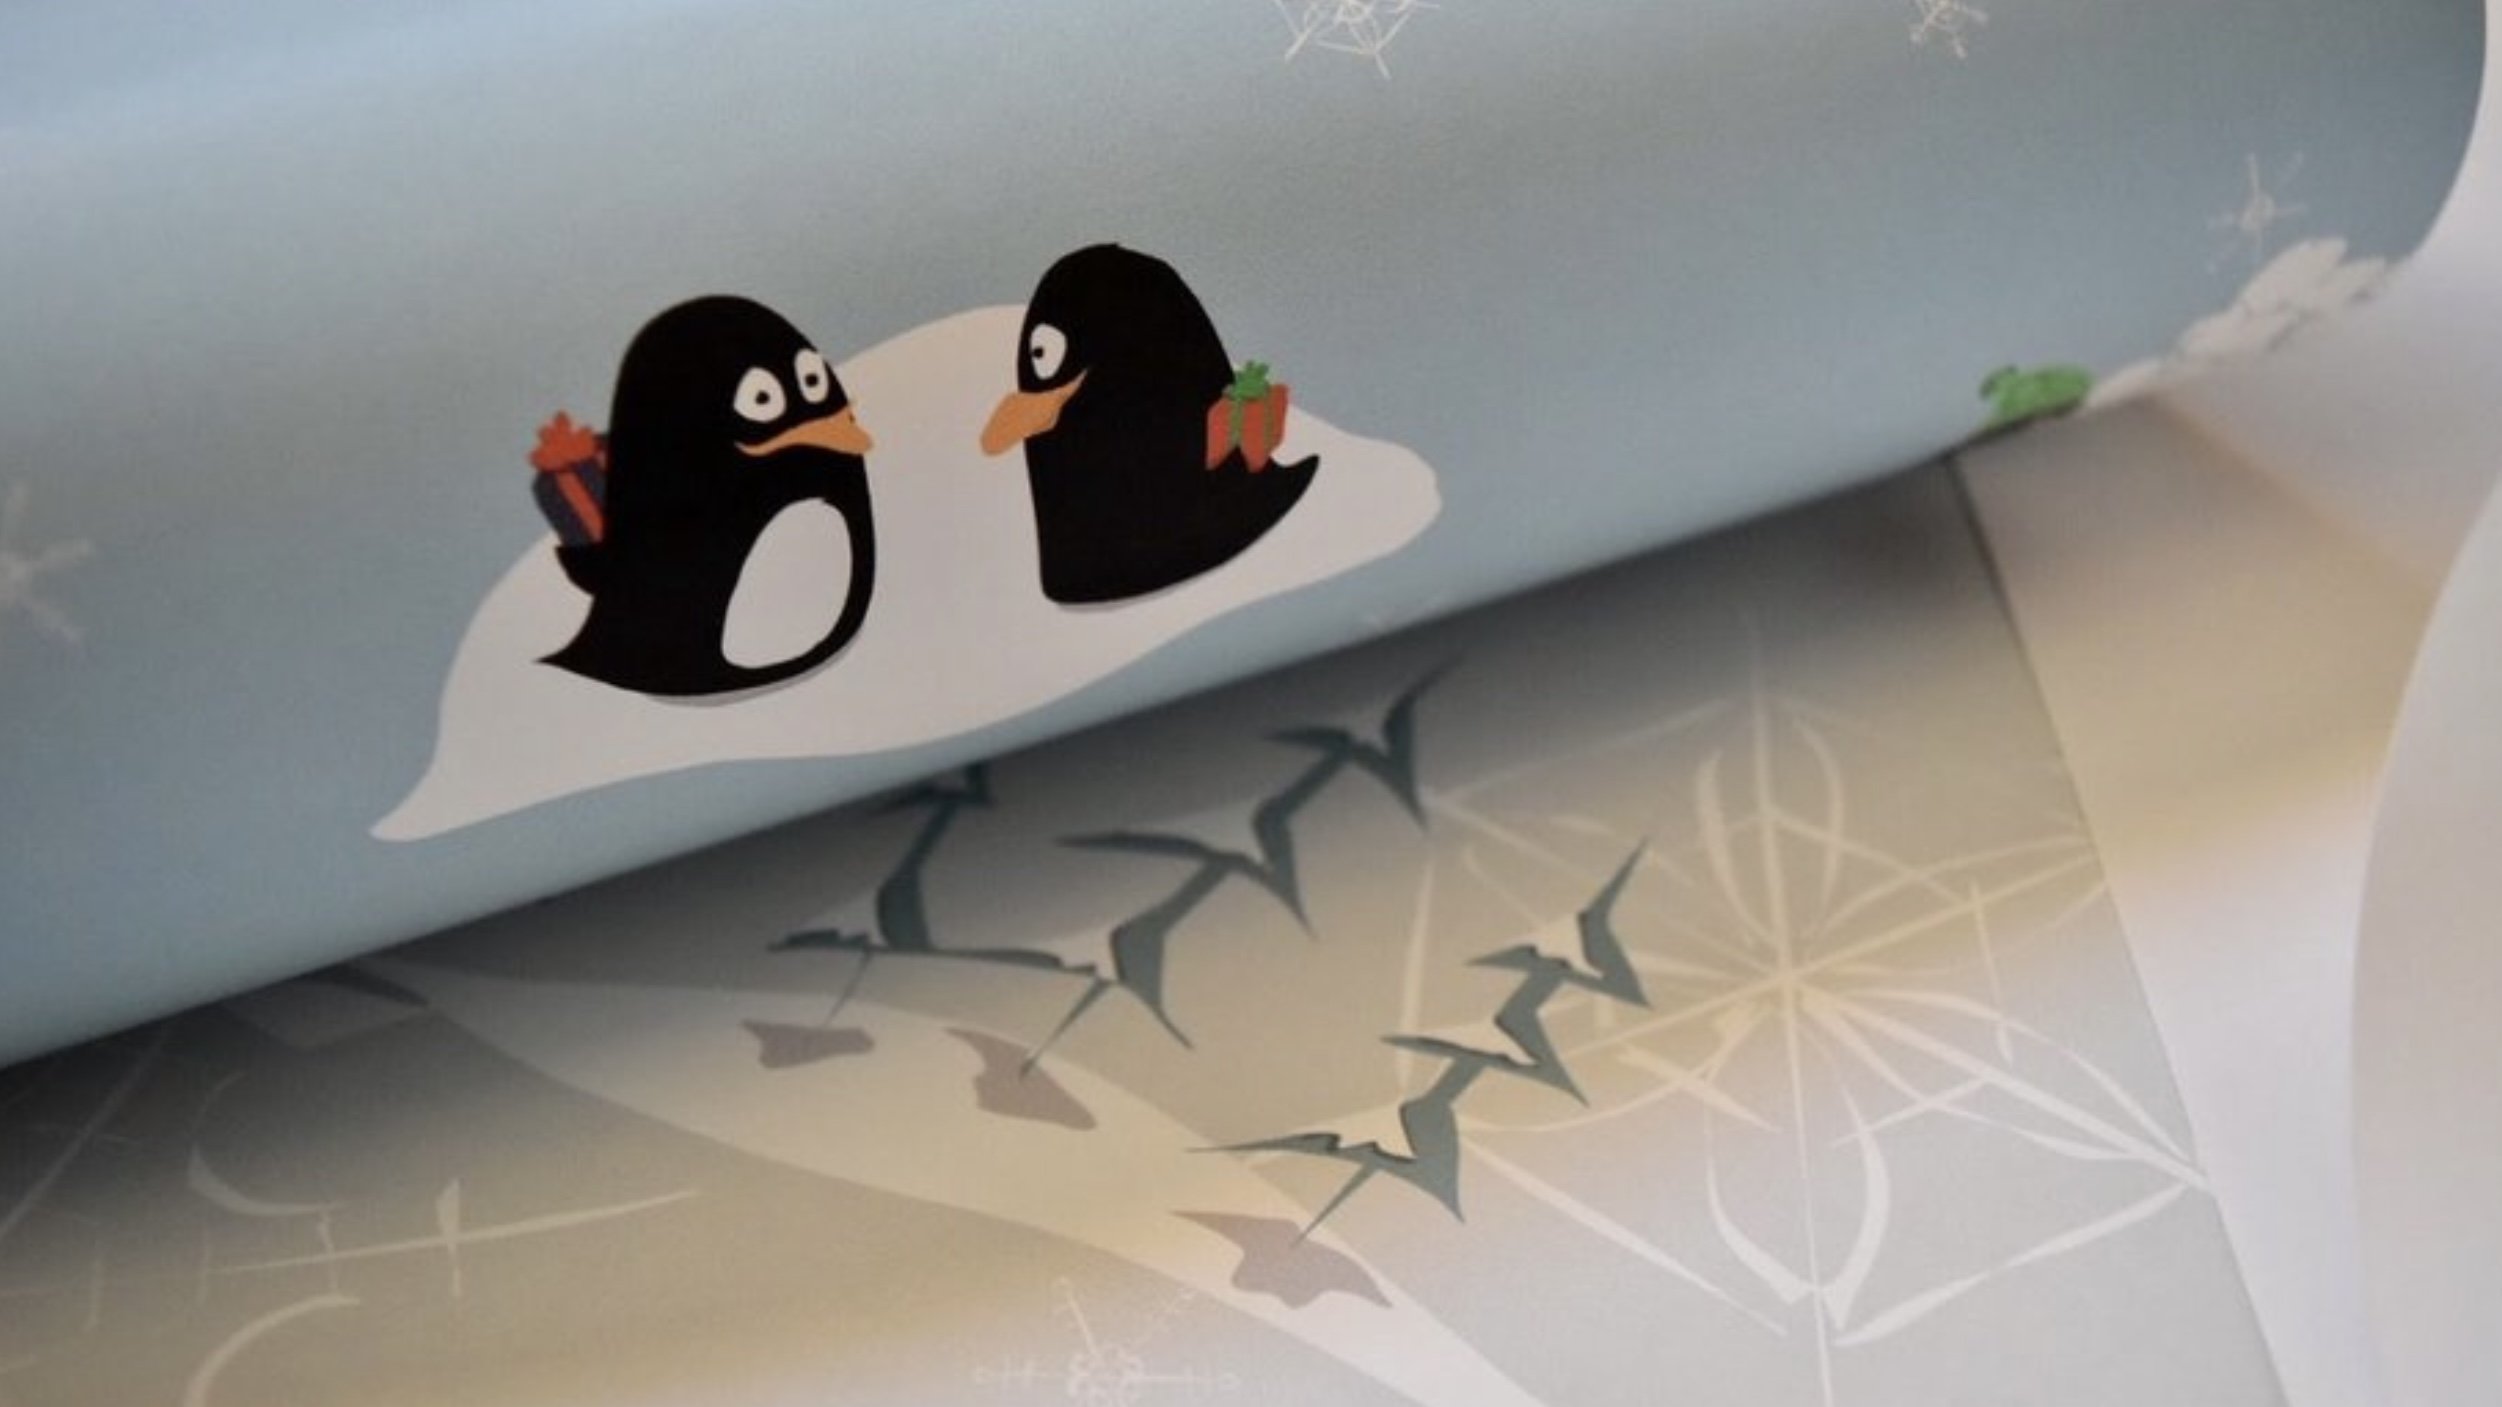
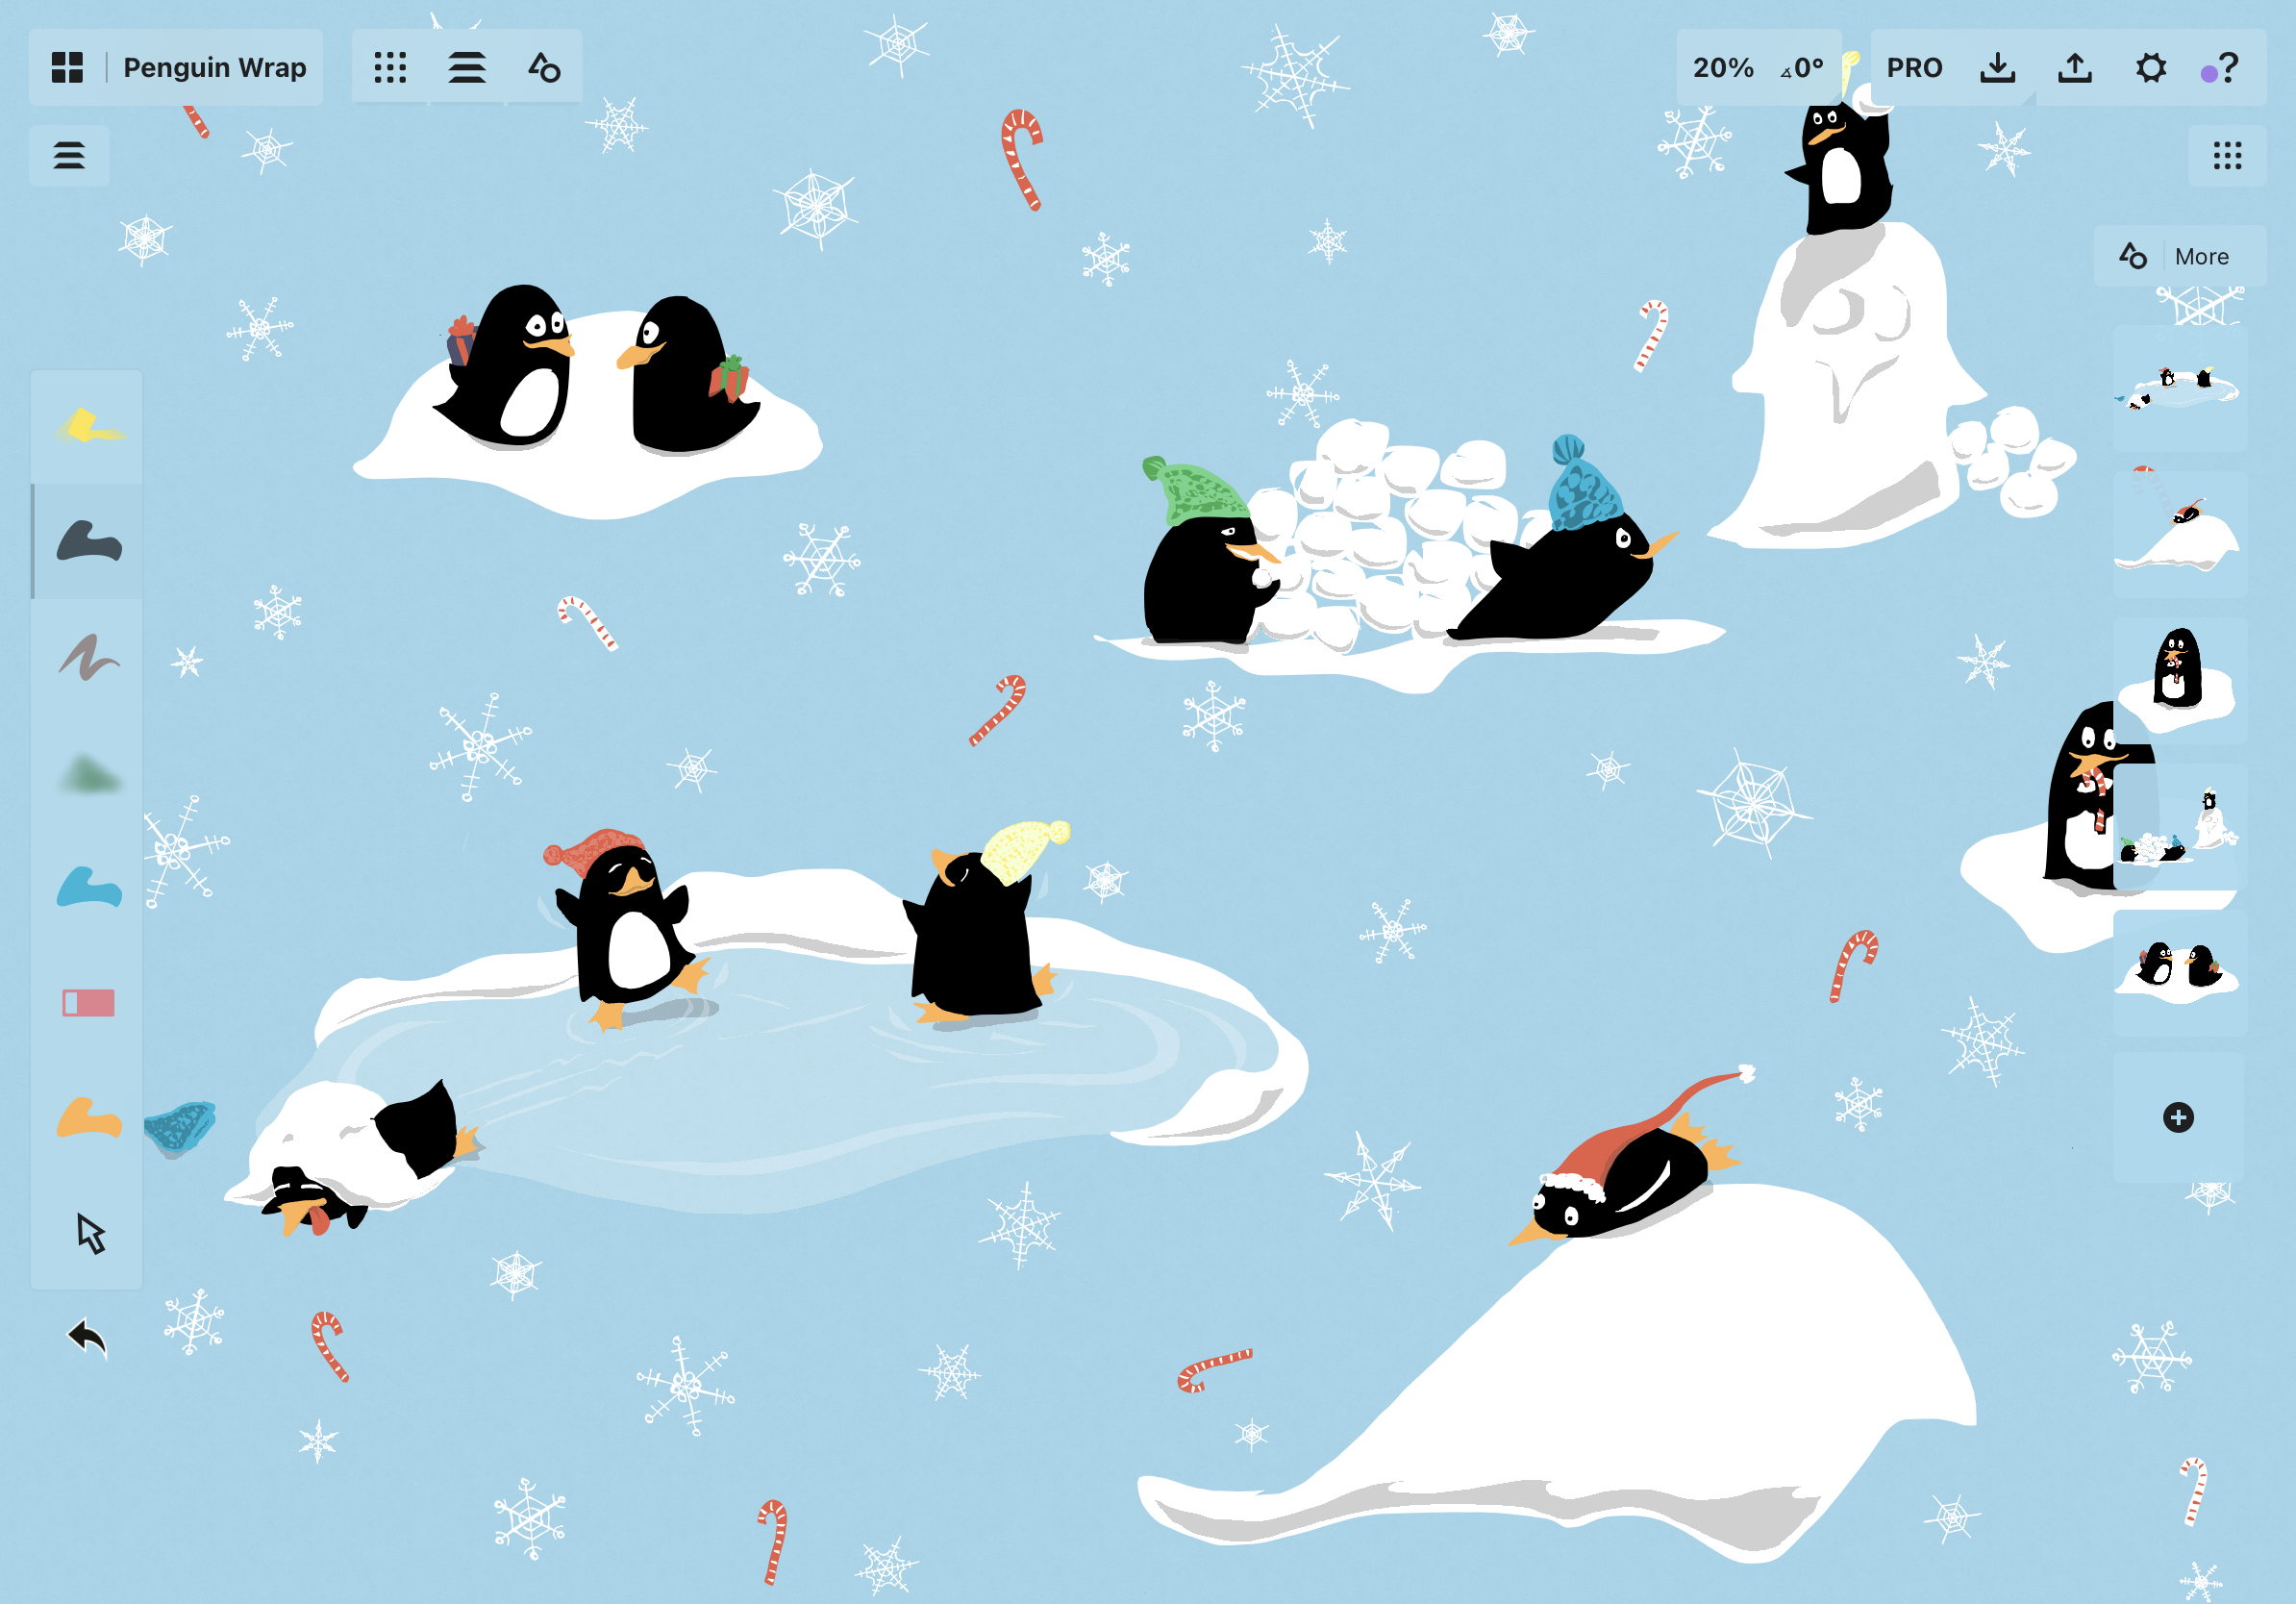
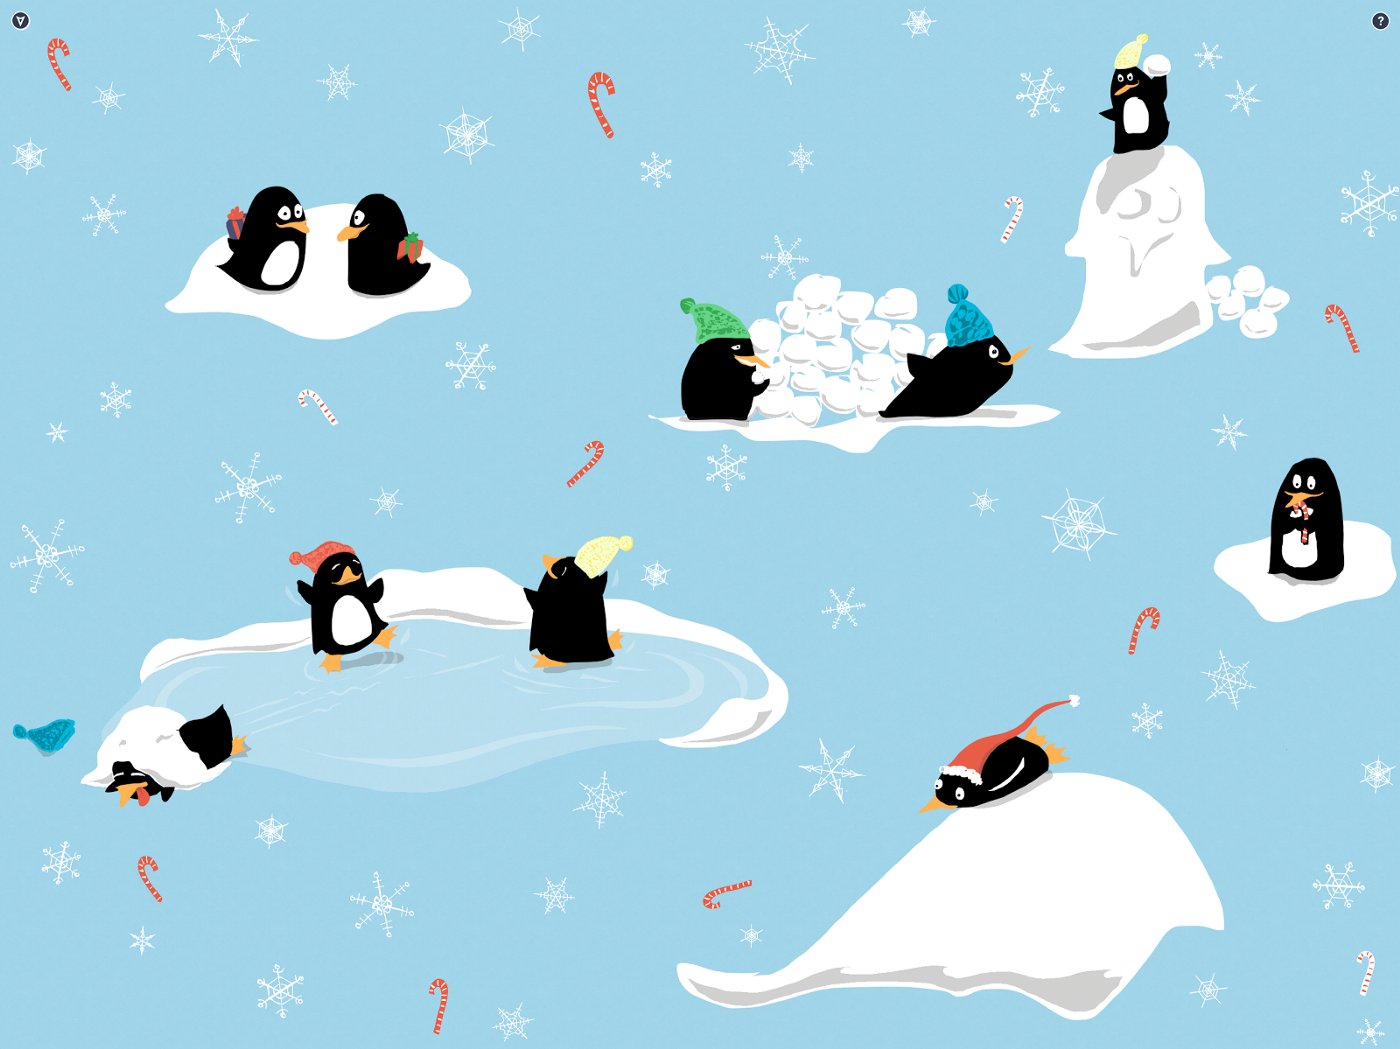
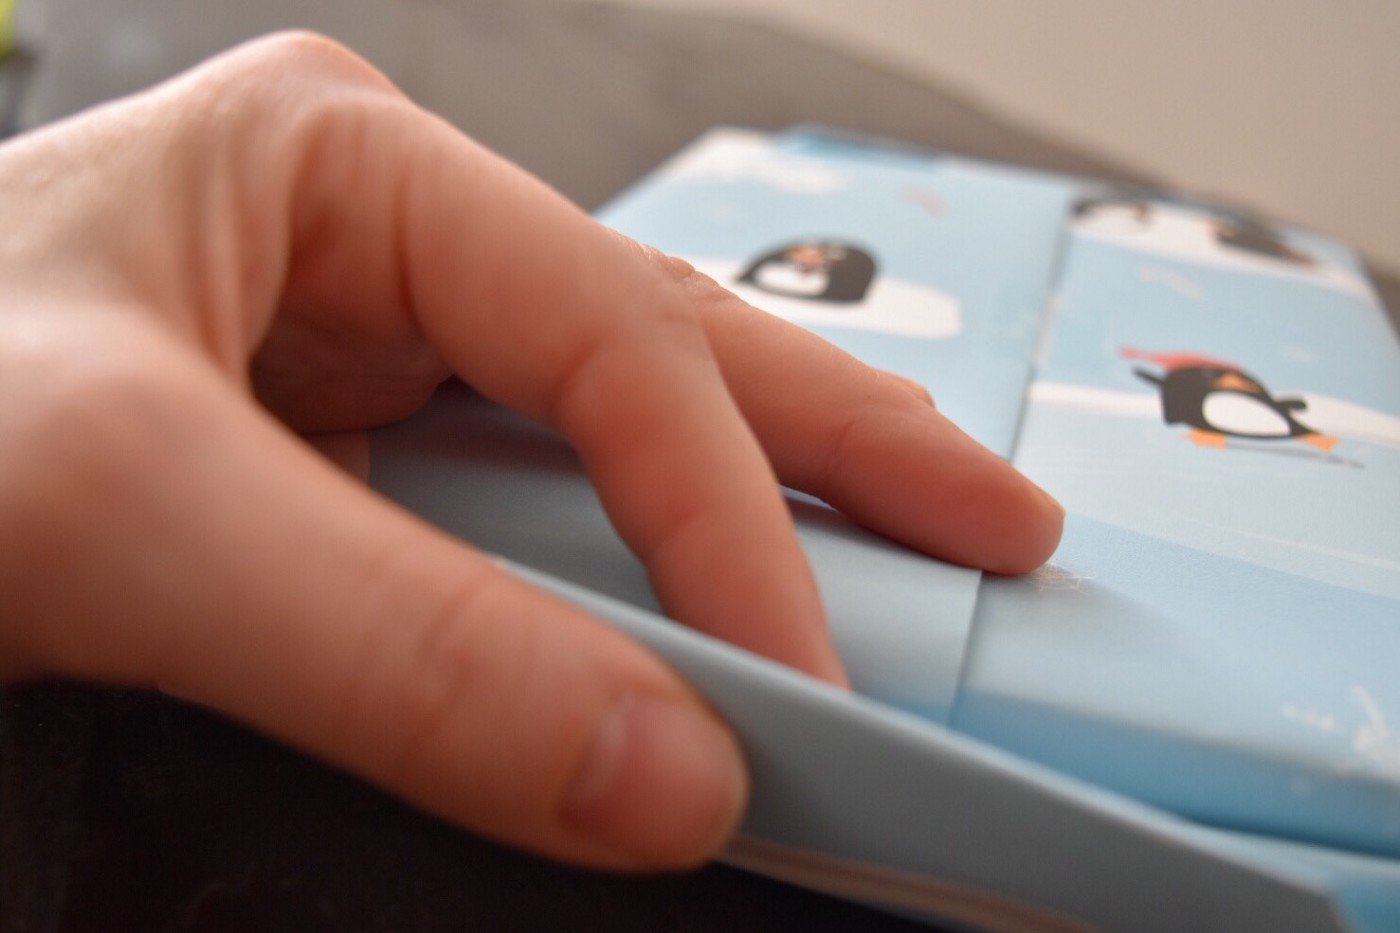
Penguins cavorting with snowballs for the fun paper.
I added the penguins and polar bears to their own object libraries. This workflow is great for themes. Matching gift wrap, gift cards and thank you notes? Easily done.
Tip: If you look at gift wrap varieties that feature characters, you’ll see multiple emotional scenes illustrating their theme. For example, in a pattern about playful penguins, you would see them being mischievous, sledding for fun, or jumping together. Use several of these scenes and follow the Rule of Odds, which says that an odd number of subjects will create a more interesting composition to the eye than an even number..
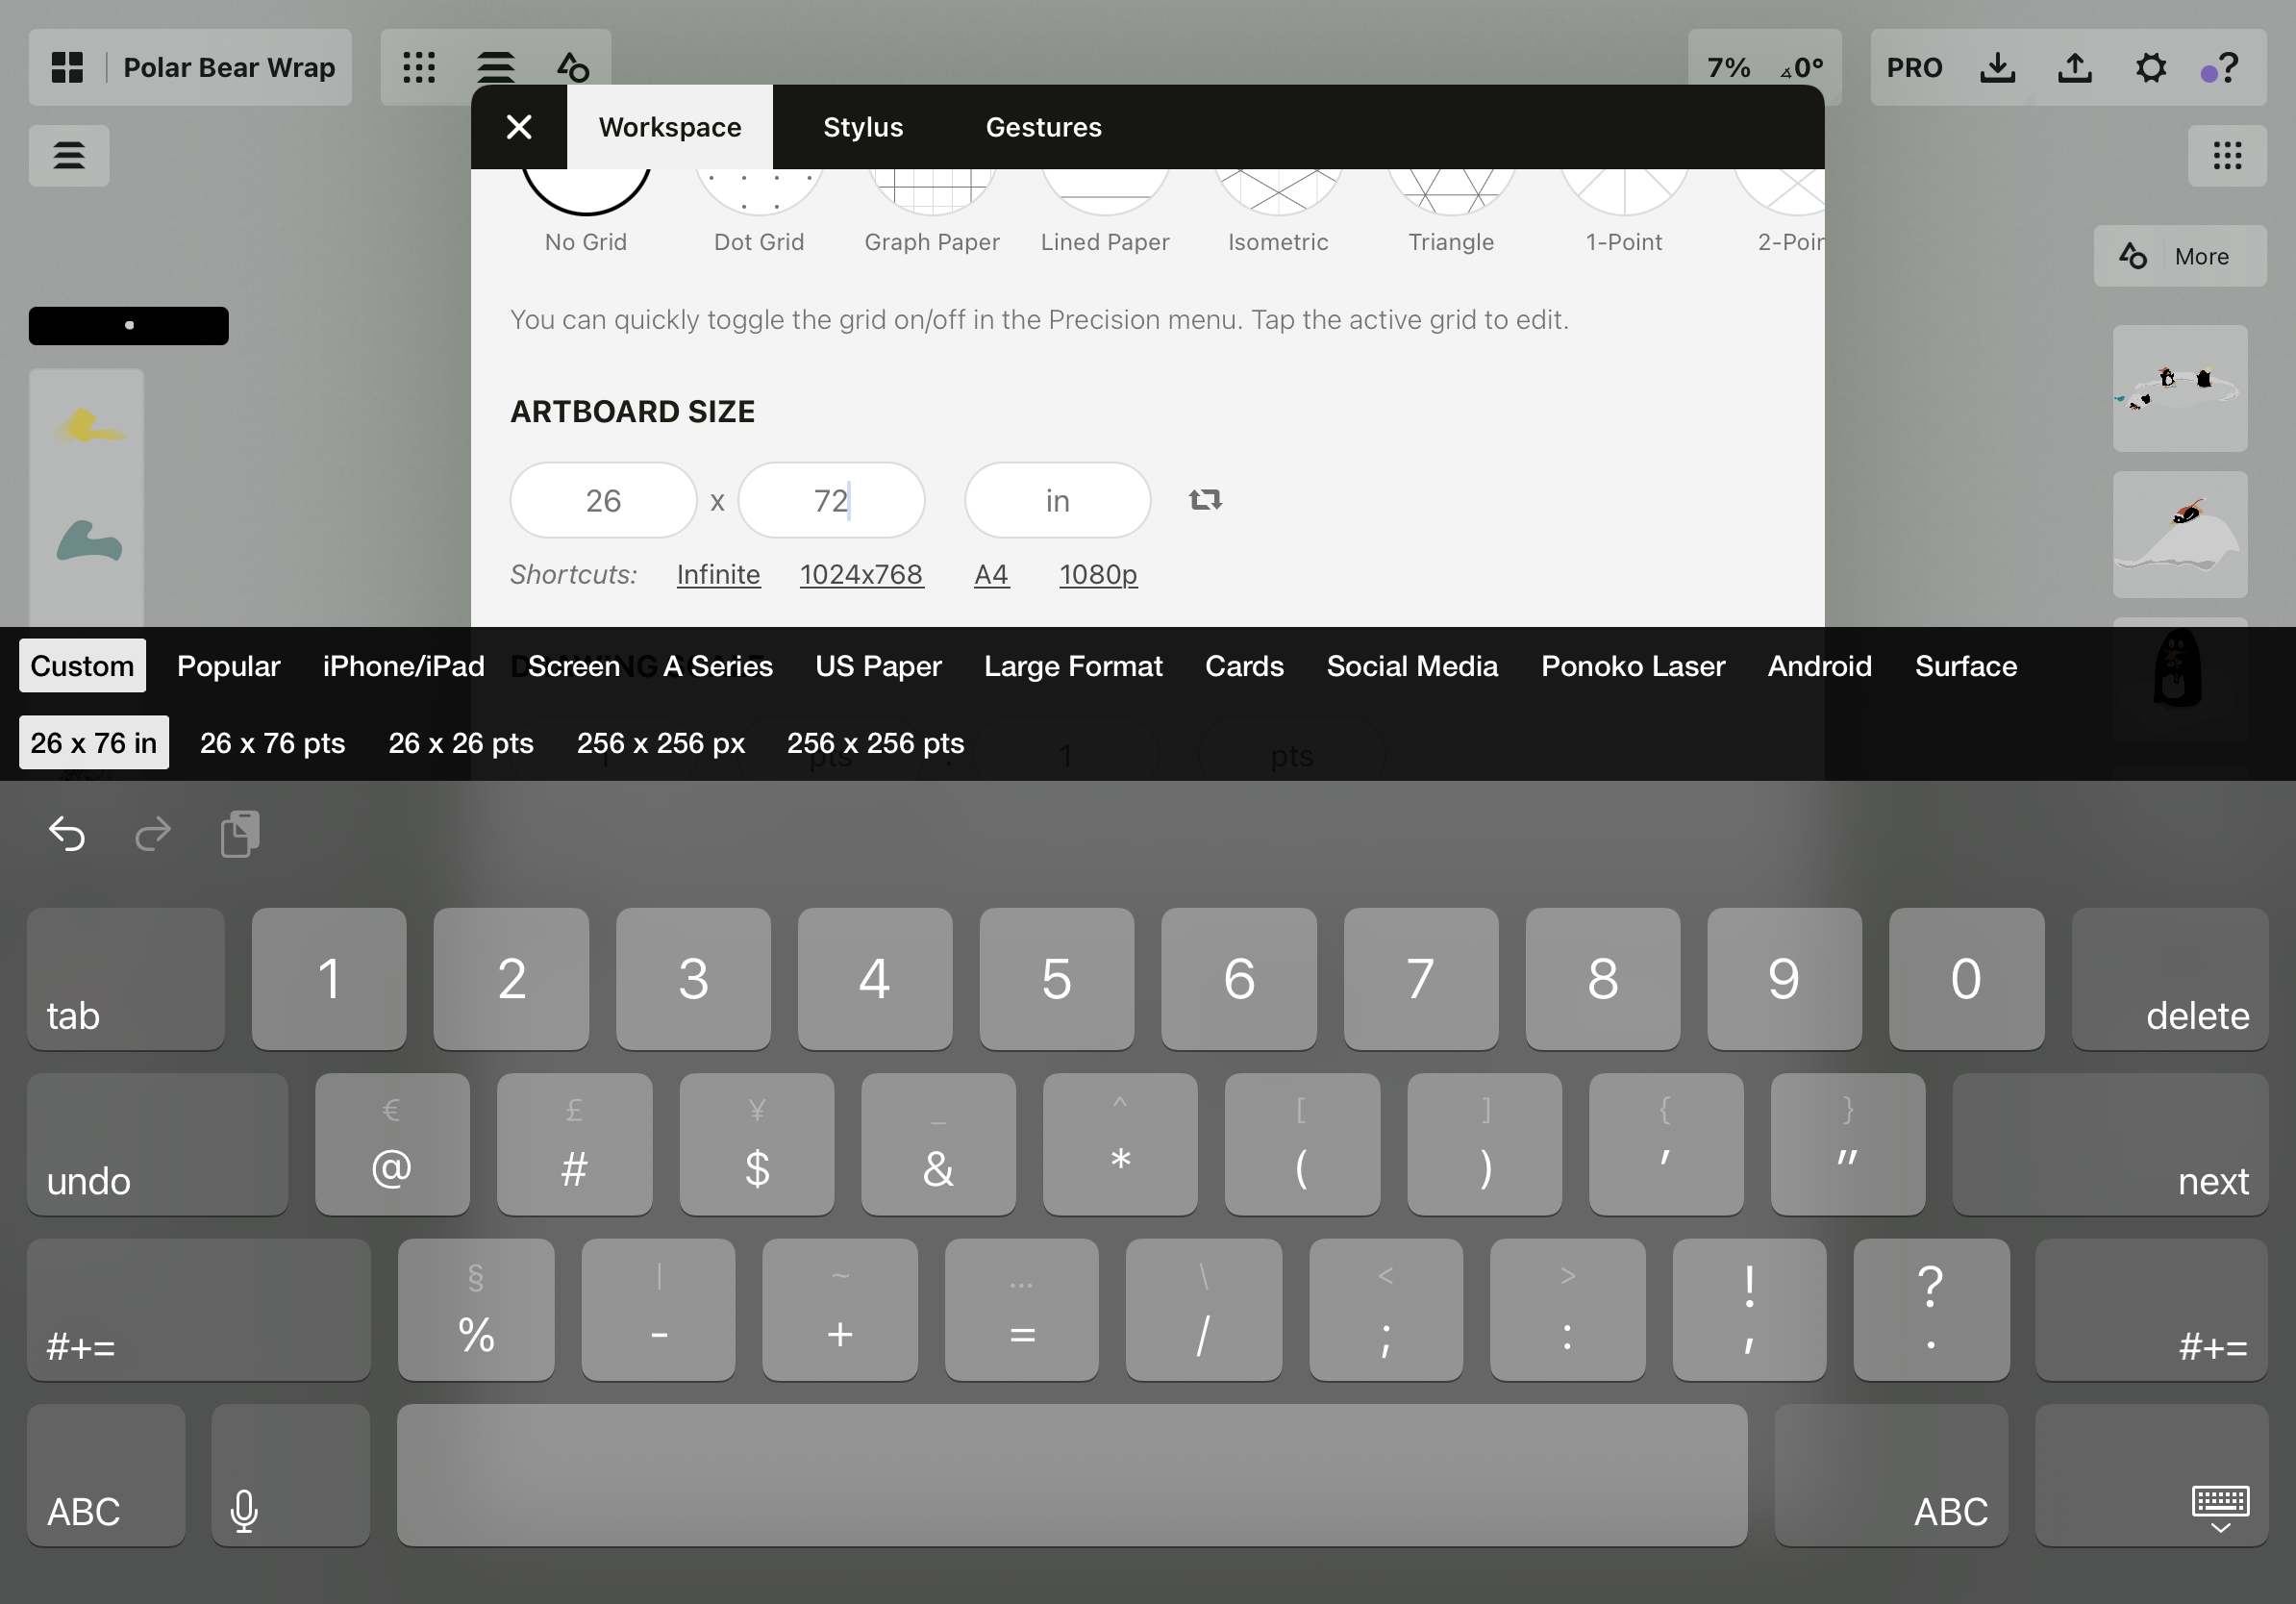
2. Format your design.
For many people, it feels comfortable to have a preset image boundary so you can get a feel for the dimensions of your drawing. If you prefer this, you can choose your paper size in the Settings menu. A roll of Spoonflower gift wrap is 26” x 72”.
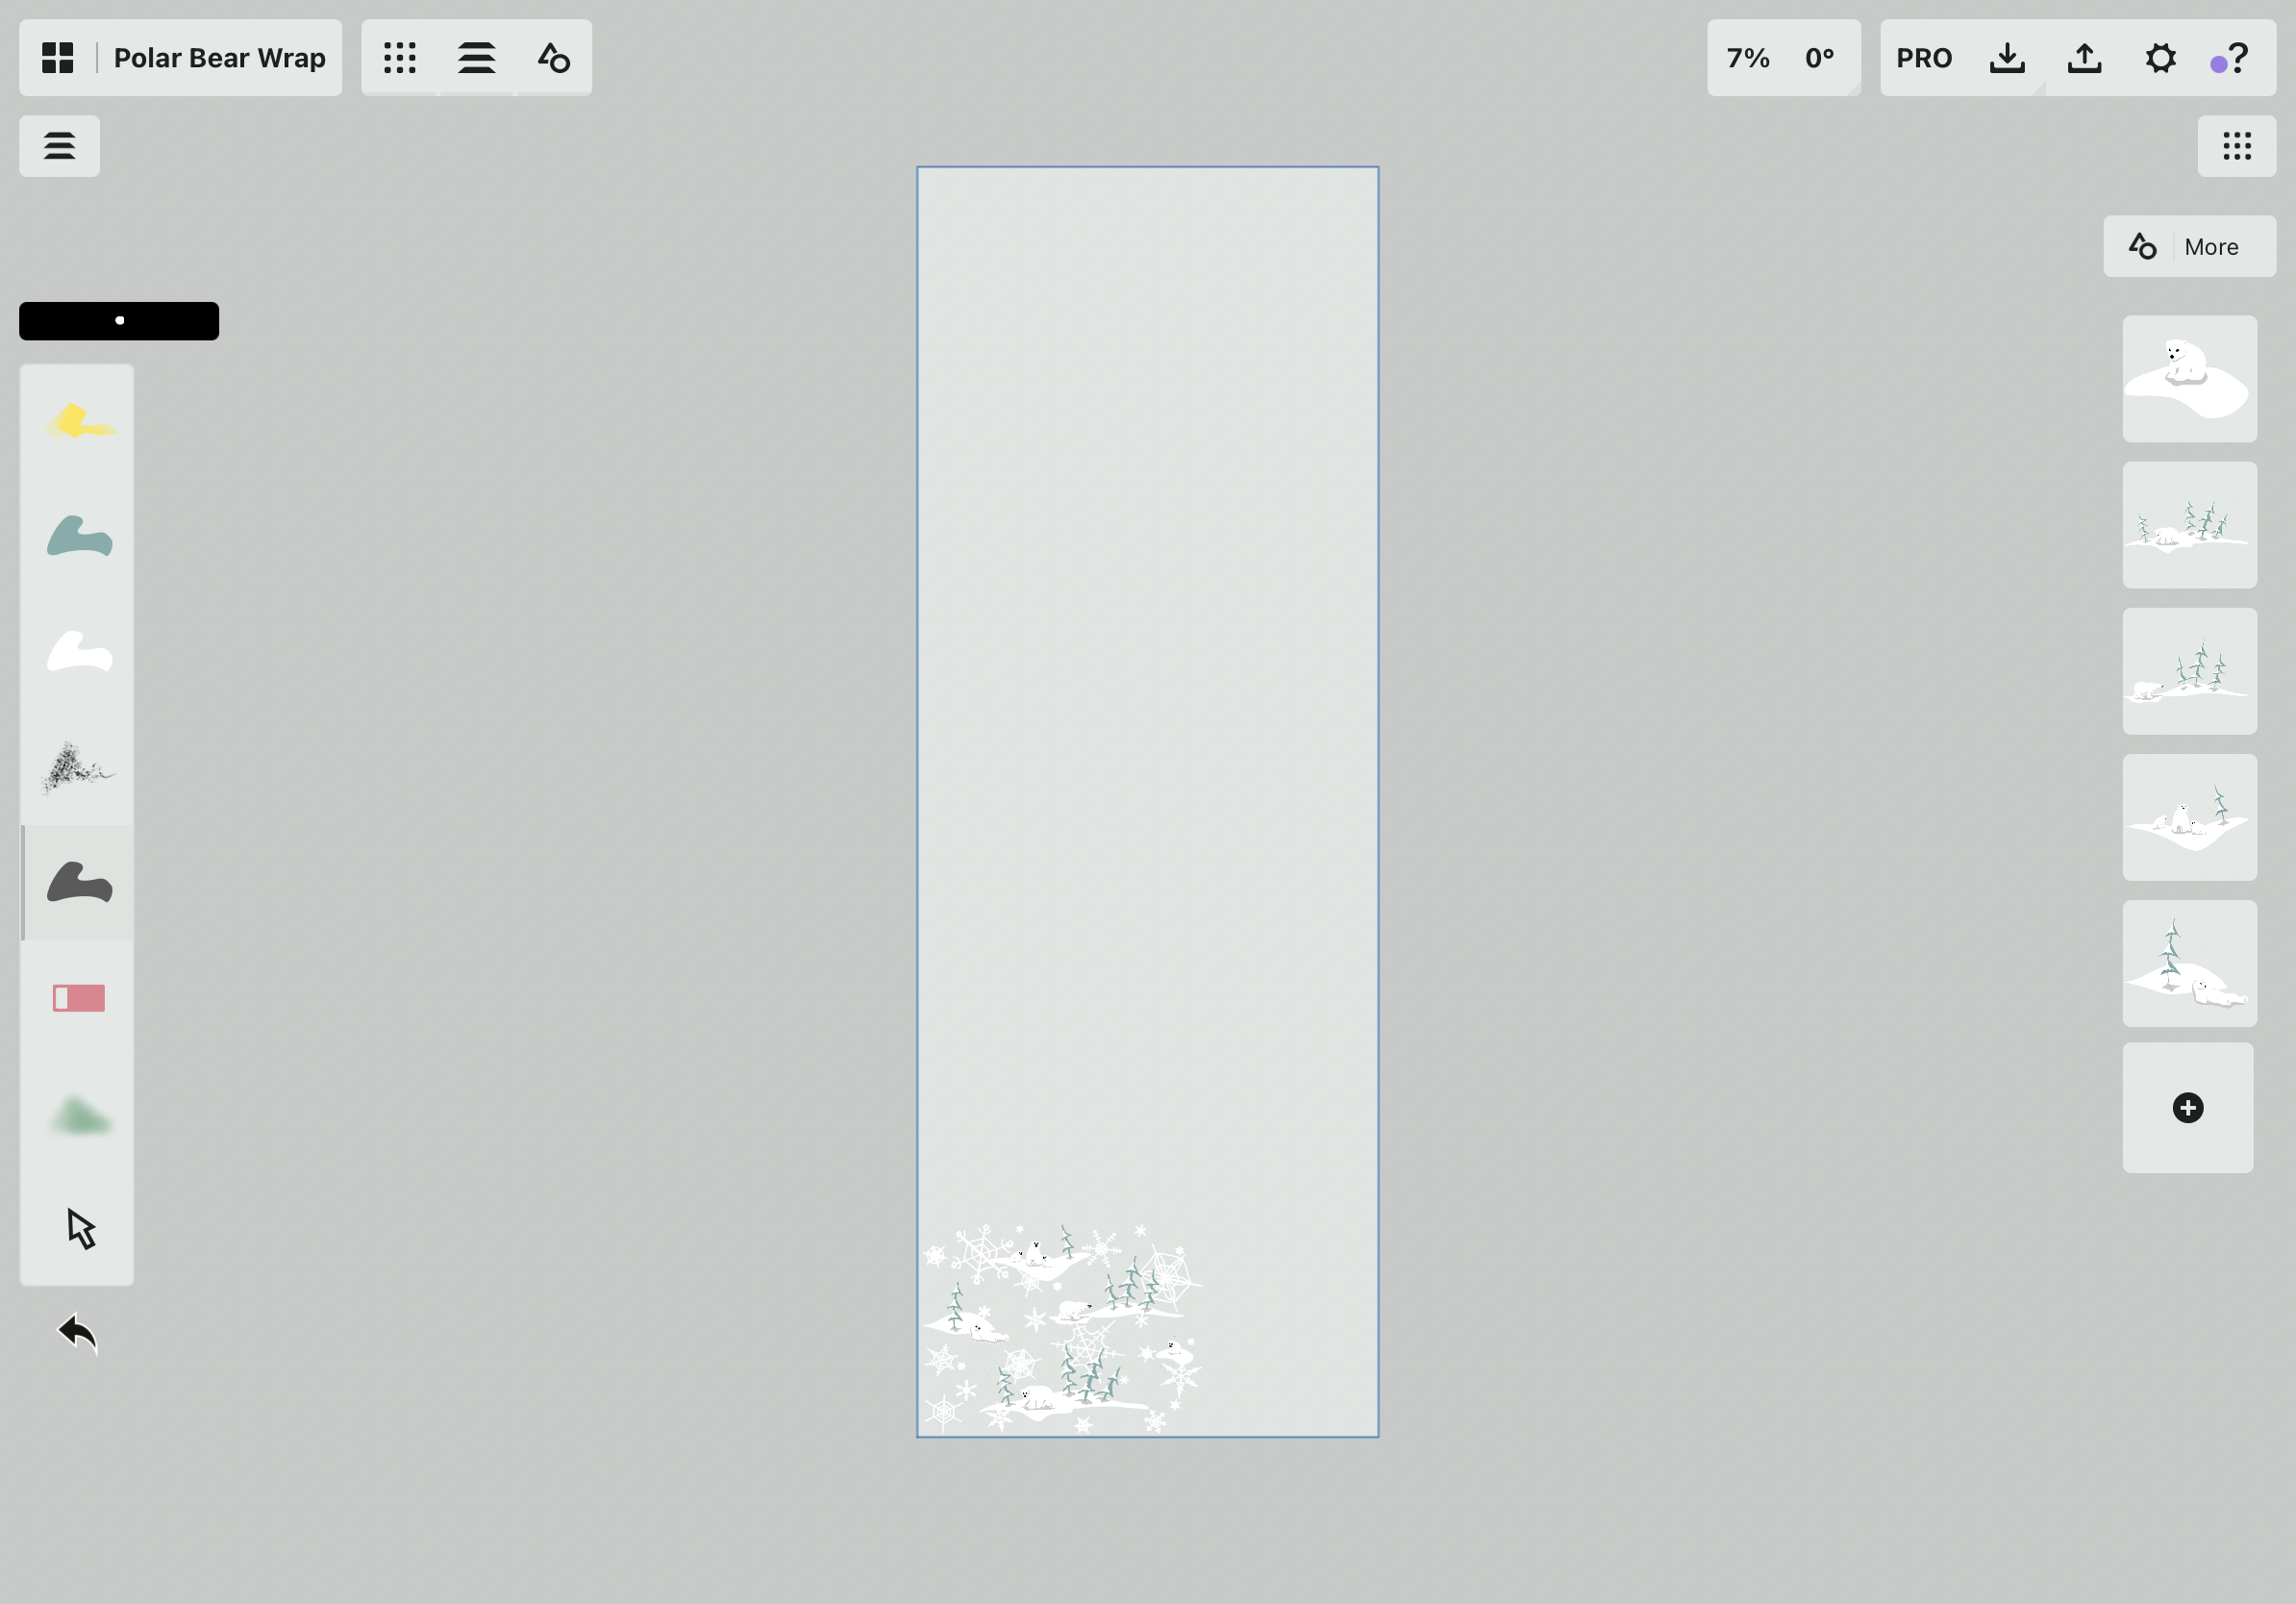
But you don’t need to do this. Not only is that heavy on device memory, but Spoonflower’s options for repeating, bricking and sizing your image make scaling your drawing unnecessary in the end. I simply drew my basic design patterns on the infinite canvas, arranged the elements on my screen, then exported to my photo roll using the Entire Drawing option.
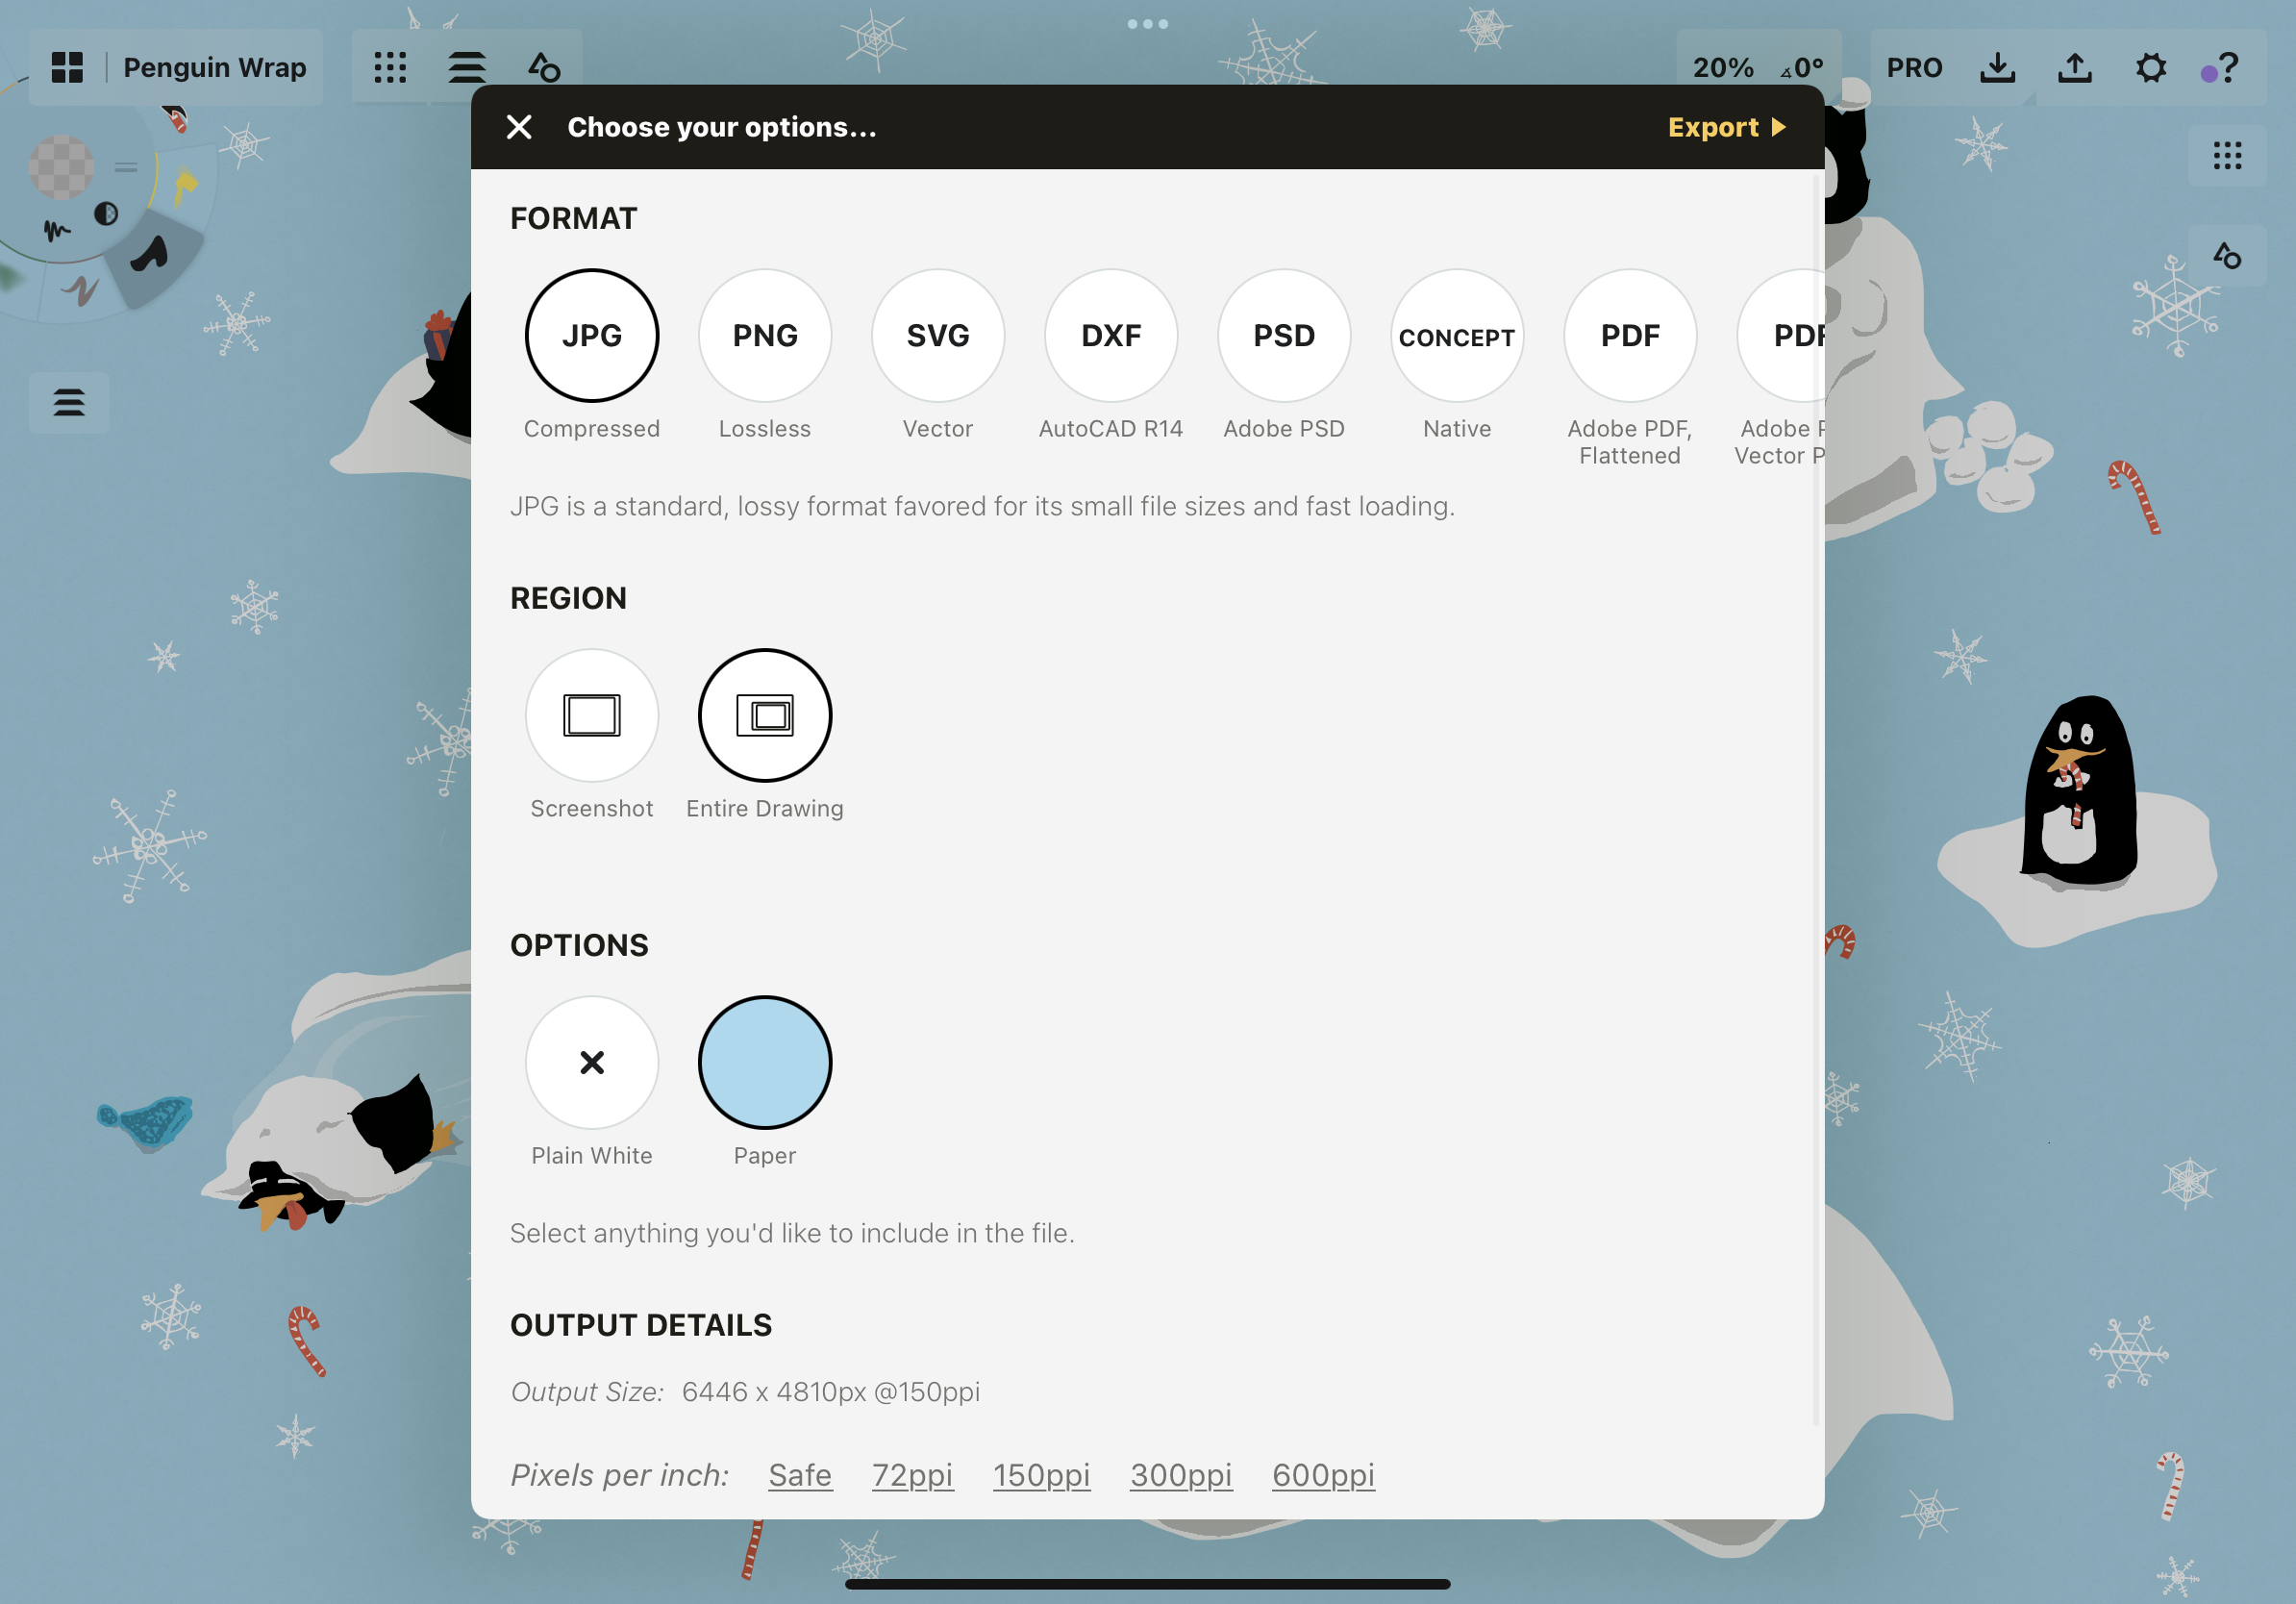
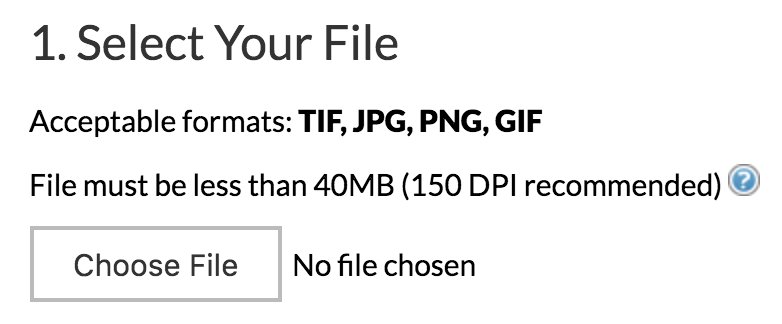
Spoonflower recommends 150dpi for a clear image. 150dpi is the minimum recommended for printing (while 300dpi is the minimum for photos). At the bottom of the Export menu, you'll see options for dpi. Choose a minimum of 150dpi on your device, and export it as a PNG. (Note that on Concepts, the iPad Pro exports at 150dpi with a JPG file, but iPads and iPhones export JPG at 72dpi, so choose PNG on these devices to maintain resolution.) The file needs to be less than 40MB to upload to Spoonflower’s site.
Also, make sure you select Paper to have your background color come through. If you choose transparent (PNG only), it will be printed onto Spoonflower's plain white roll of wrap.
Tip: Do you see how I spread my objects across the page, right to the edges? This image is what will be repeated on the gift wrap. To get an even spread without gaps of empty space in between, space your scenes well and touch the edges of the screen. Take care not to cut off the edges… just touch the edge or scoot it in a millimeter.
3. Upload your design to Spoonflower.
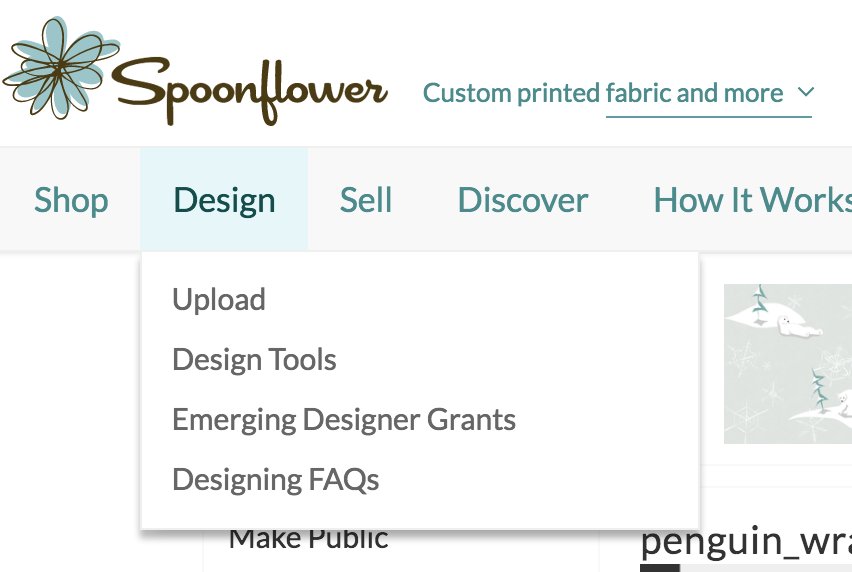
Create a Spoonflower account and click on the Design tab. Choose Upload.
Find your image, confirm that it is your property, and upload it. It will bring you to a screen like this:
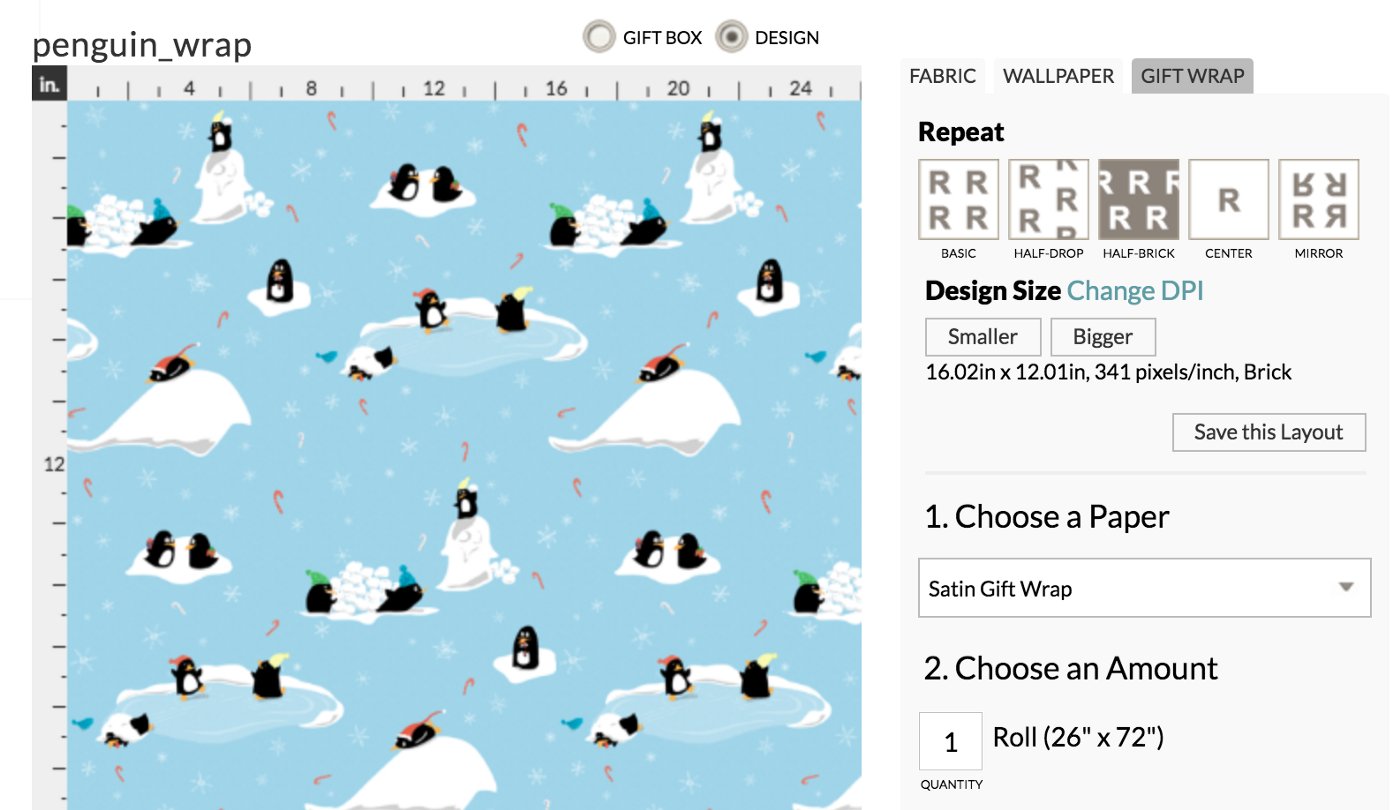
Here, you can see your options. Choose Gift Wrap on the right of the materials tabs. Next, choose which kind of Repeat option you’d like. Then choose the Design Size by clicking on the Smaller or Bigger buttons. For my gift wrap, I set my image size to be 16” x 12” with a half-brick repeat. (Note: The image appears blurry in the site system, but it will print as clear as your uploaded image.)
Choose your number of rolls, submit your order, shipping preferences and payment… and feel the tingle course through you while you wait for it to appear at your door.
Fluttering anticipation. Life in between. Until…
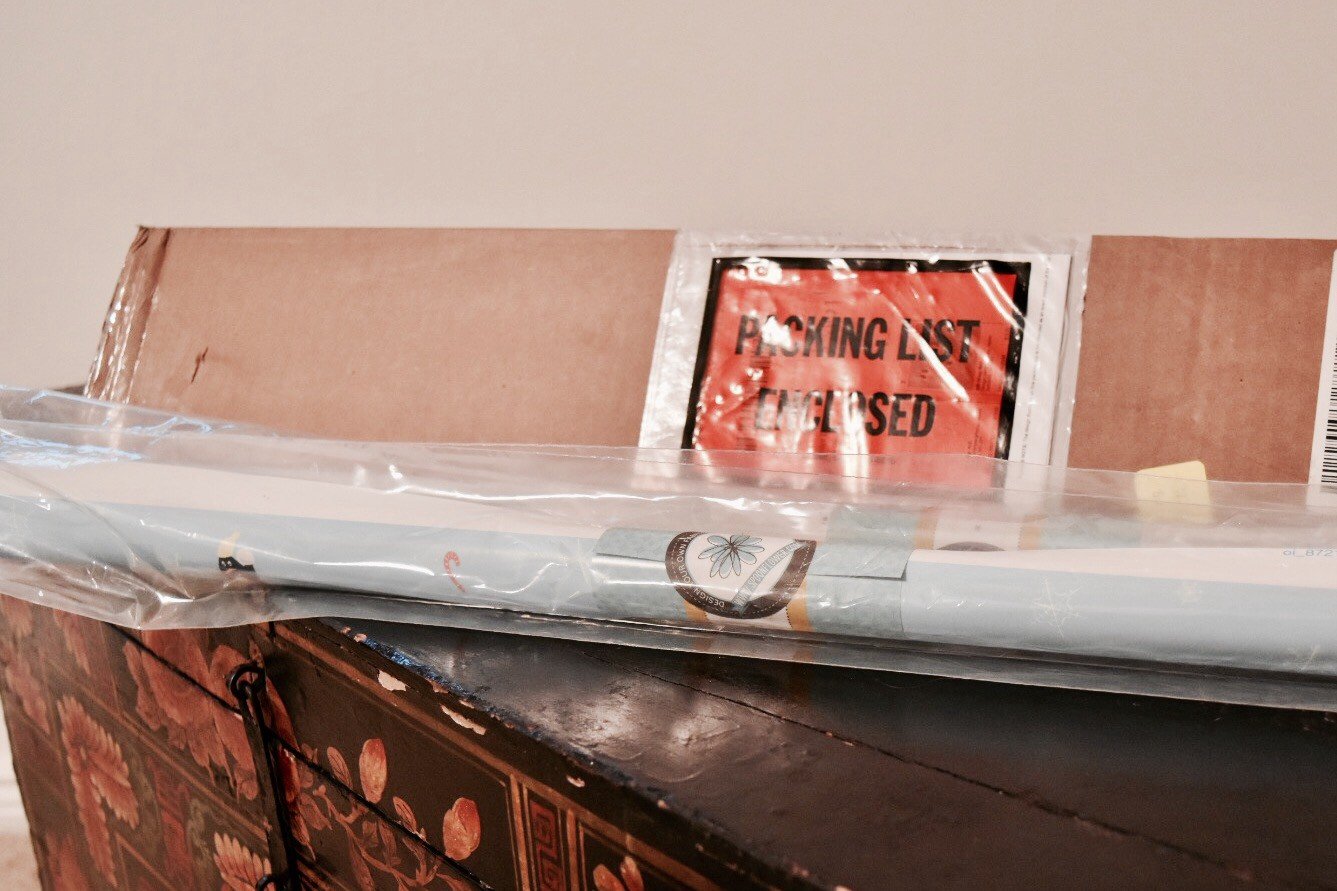
… the Day of Arrival.
Shipping was lightning fast. While my expedited order was promised for 10 business days after, I received a notice it had printed next day and shipped the following. The rolls of gift wrap came in a lovely triangle box, well protected, in pristine condition. My design friends peeked from the plastic.
I unrolled them.
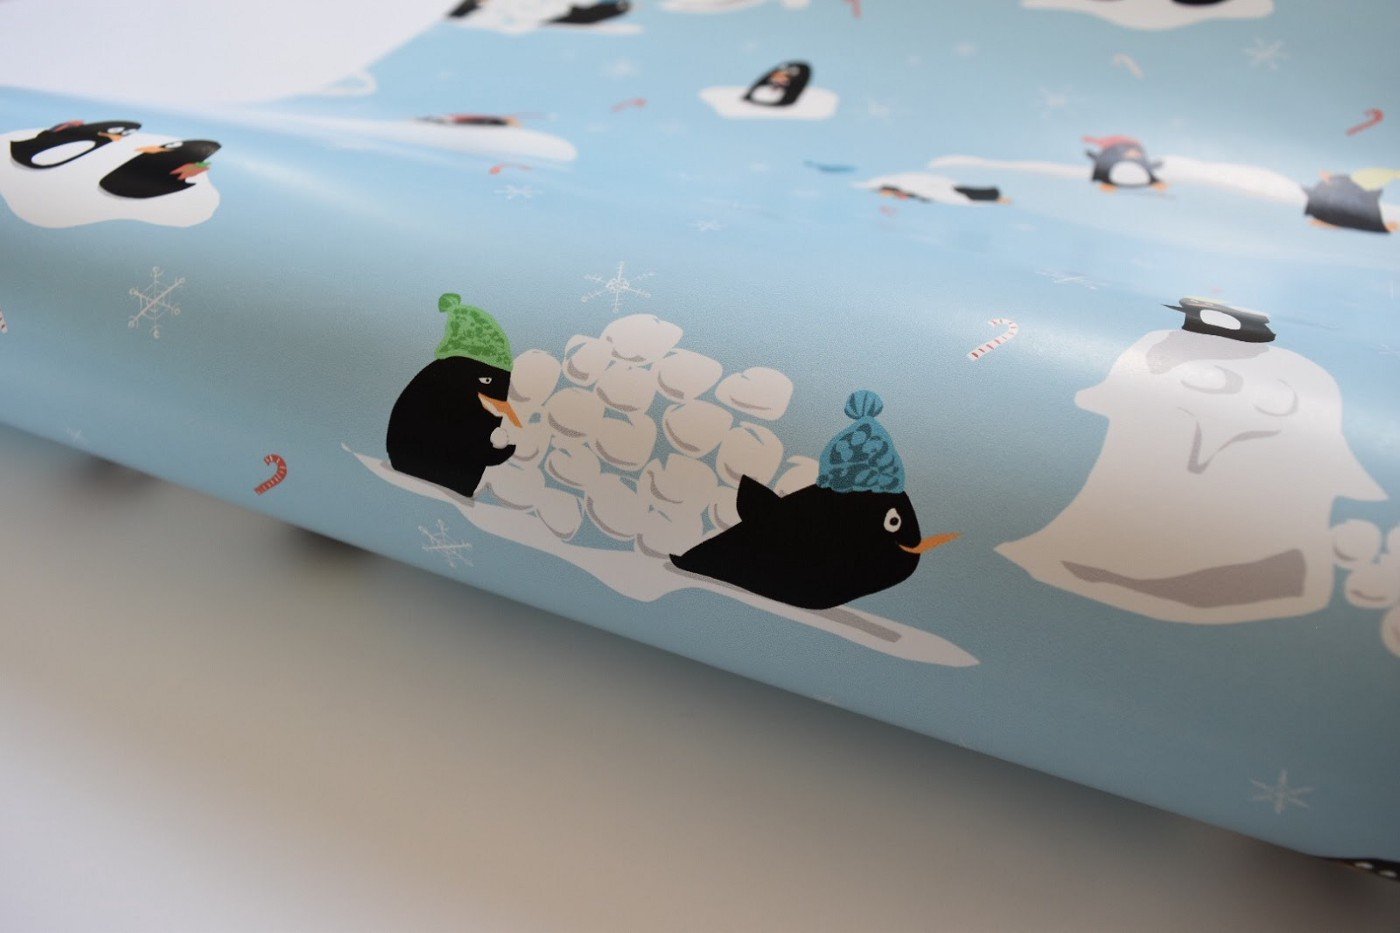
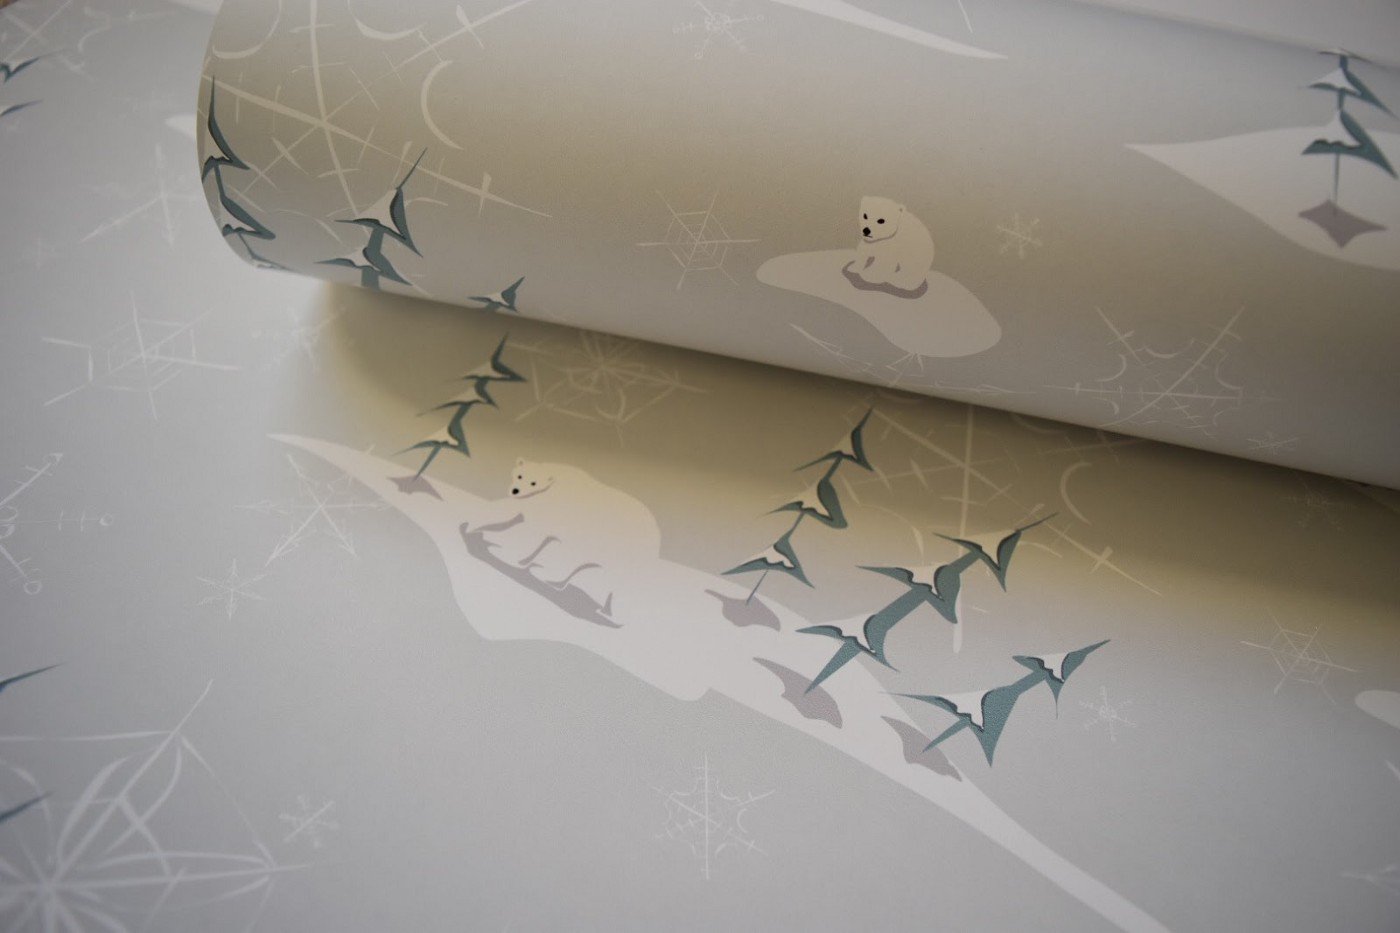
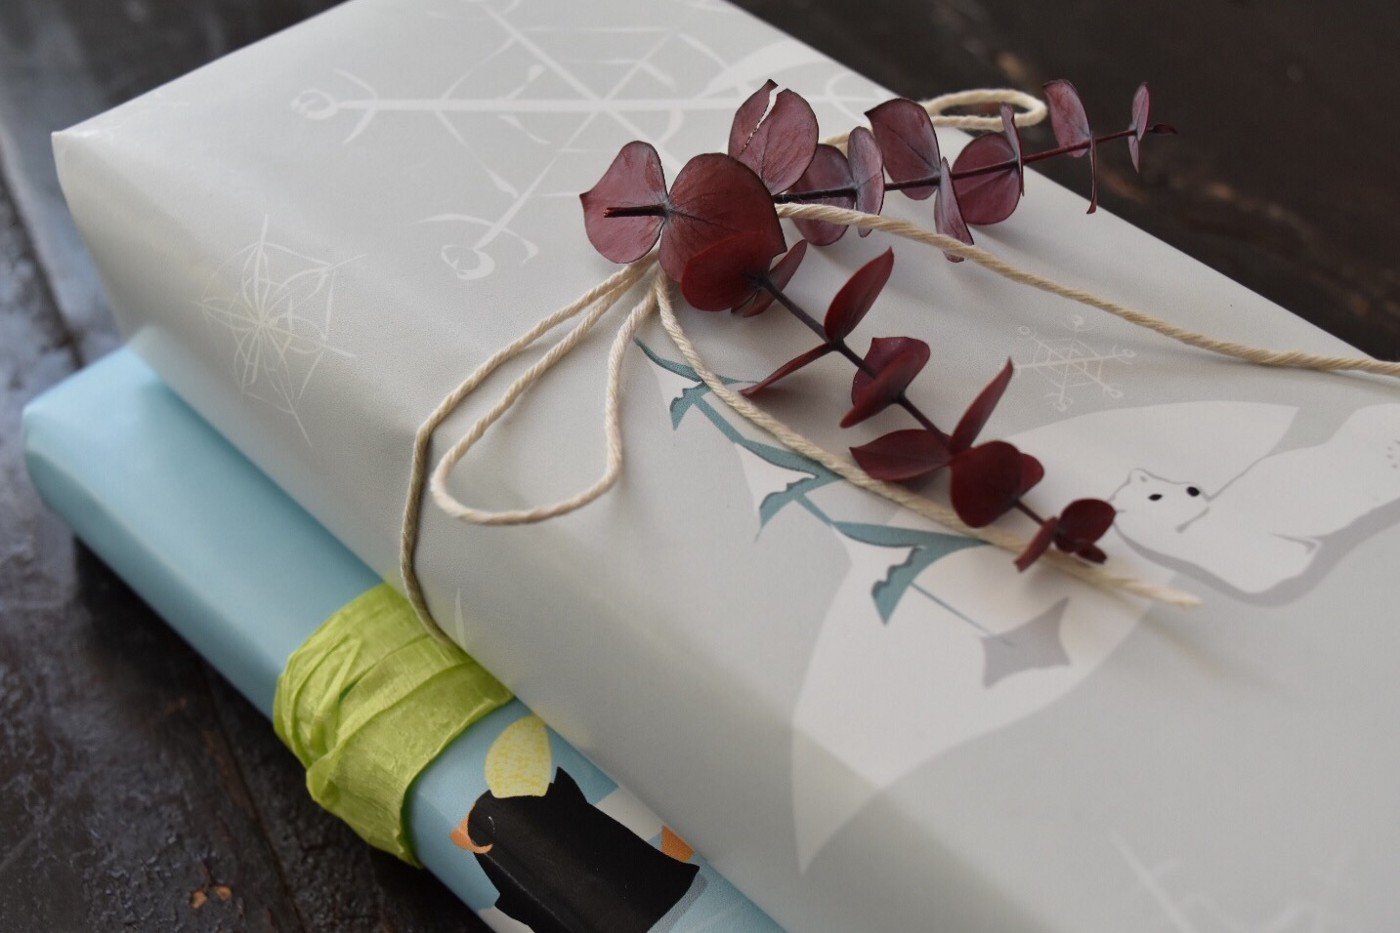
Beautiful, satin, quality paper. I set to wrapping…
… and finished with some touches of red eucalyptus.
Spoonflower, you are a win.
We’d love to see your gift wrap! Send your pictures to support@concepts.app and we’ll share. Happy designing!
Erica Christensen is chief writer for the Concepts team, and a freelance writer and illustrator. She has sold her art through various art markets and commissions, published art-related educational materials, and writes stories the rest of the time. The earth's ecologies give her endless inspirations in artistic textures and world building. She loves hiking through the mountains, and prefers to live outdoors with her notebook, iPad Pro, and flock of children and chickens. You can find her work on Instagram or her website.
Recommended
Imagining the Grinch: Creating Concept Art for Film - Director Yarrow Cheney of Illumination Entertainment shares his creative frame of mind behind The Grinch.
Vintage Design Elegance: Creating for Wine Decor - How Graphic Designer Terrance Lam created a stunning decor for a new wine label for Enrico Winery.
Sketching for Digital Product Design - Artist MiksKS shares their creative process behind designing for digital products and two new brush libraries for Concepts.